

BlueStacks supports a large number of languages, allowing the user to switch the interface language almost to any desired. But not all users may figure out how to change this setting in new versions of the emulator based on modern Android.
Change the language in BlueStacks
Immediately it is necessary to make a reservation that this parameter does not change the language of the applications that you install or have already installed. To change their language, use internal settings, where it is usually possible to install the desired option.We will consider the whole process on the example of the last moment of Blistiks - 4, there may be minor changes in the actions in the future. If you have a language, different from Russian, focus on the icons and location of a particular parameter relative to the list.
Please note that so you do not proliferate your location, because when registering Google, you have already indicated the country of residence and it is impossible to change it. It will be necessary to create a new payment profile that is not included in the framework of this article. Simply put, even through the included VPN Google will continue to provide information for you in accordance with the region selected when registered.
Method 1: Change Language Android Menu in BlueStacks
If you wish, you can only change the settings interface language. The emulator itself will continue to work in the same language, and it changes in another way, this is written in the second way.
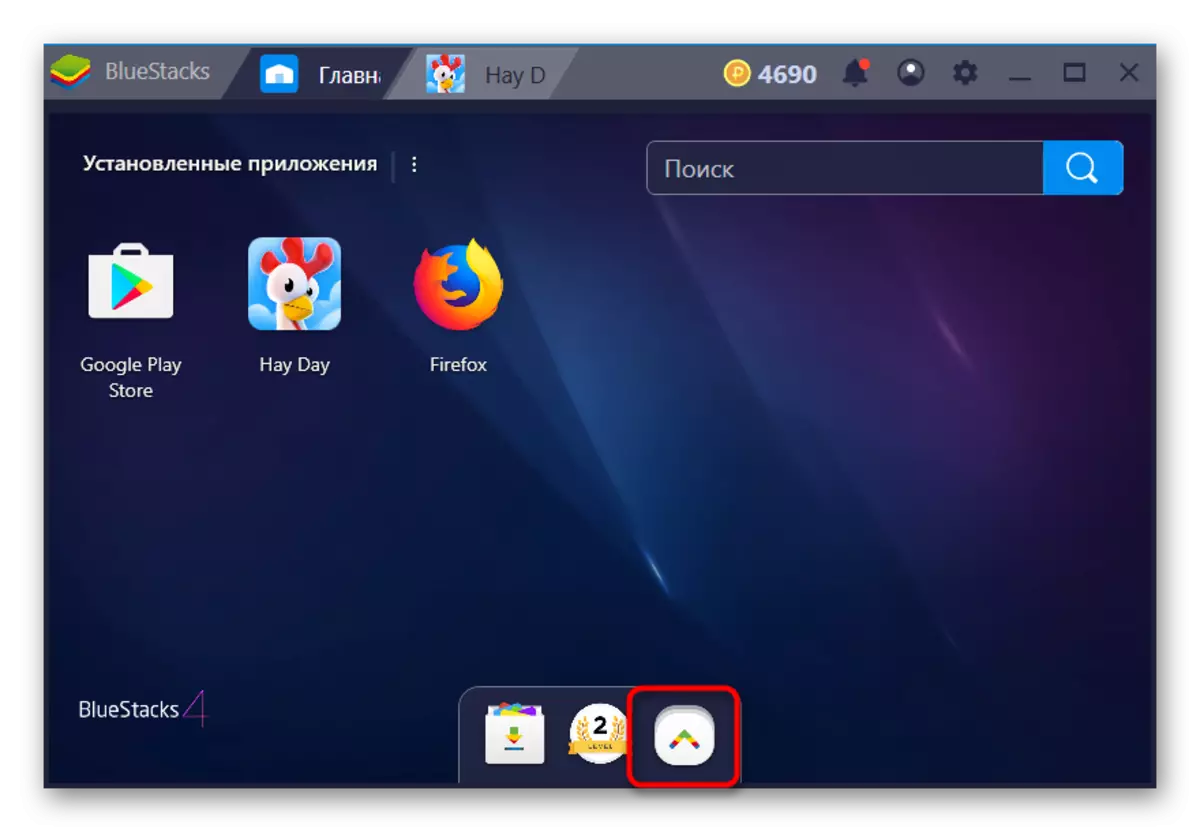
- Run Bluestacks, downstairs click on the "More Applications" icon.
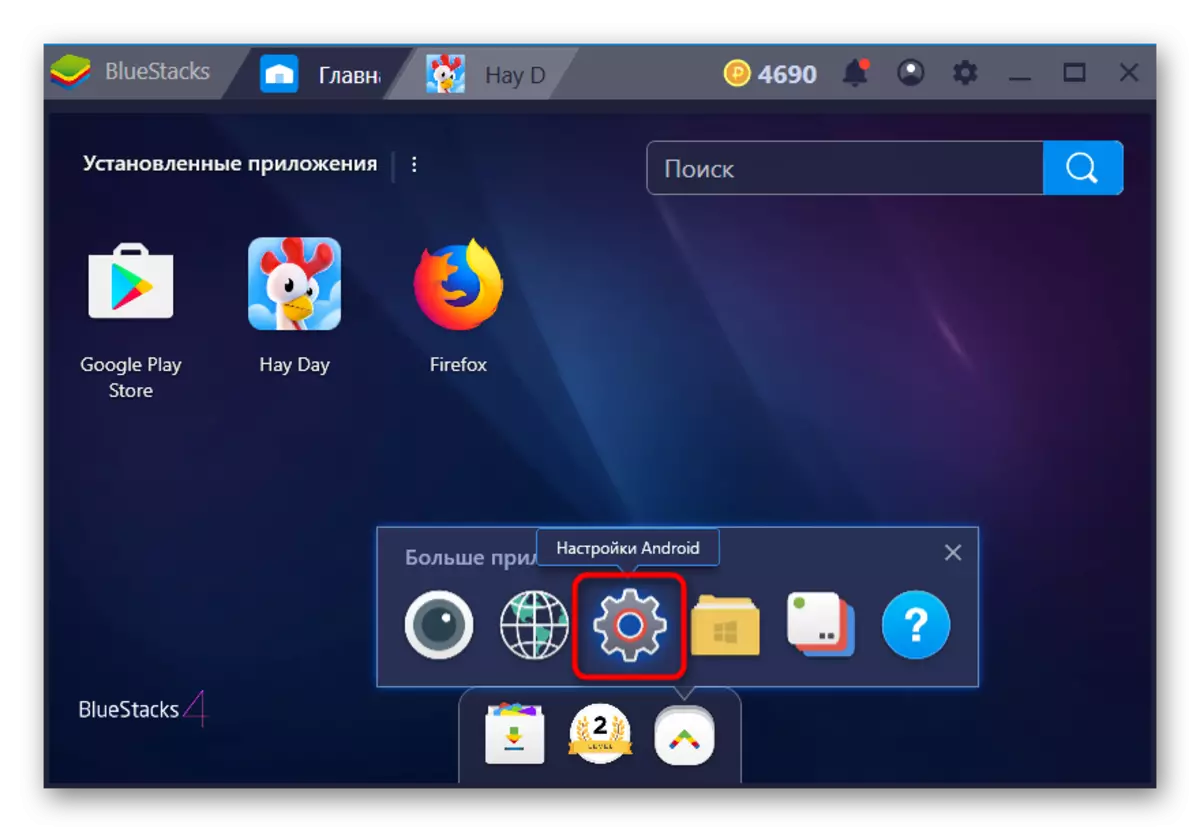
- From the list presented, select "Android Settings".
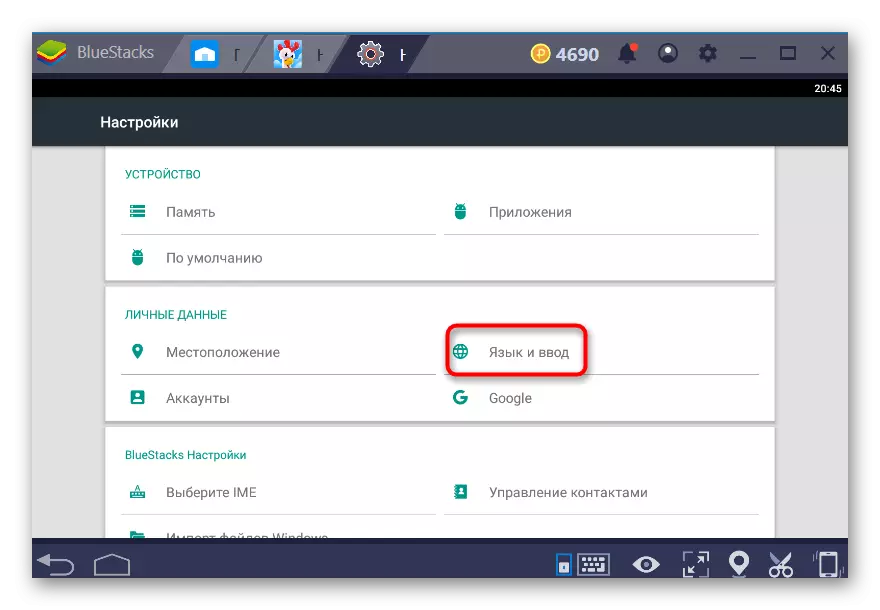
- A menu adapted to the emulator opens. Find and select "Language and Enter".
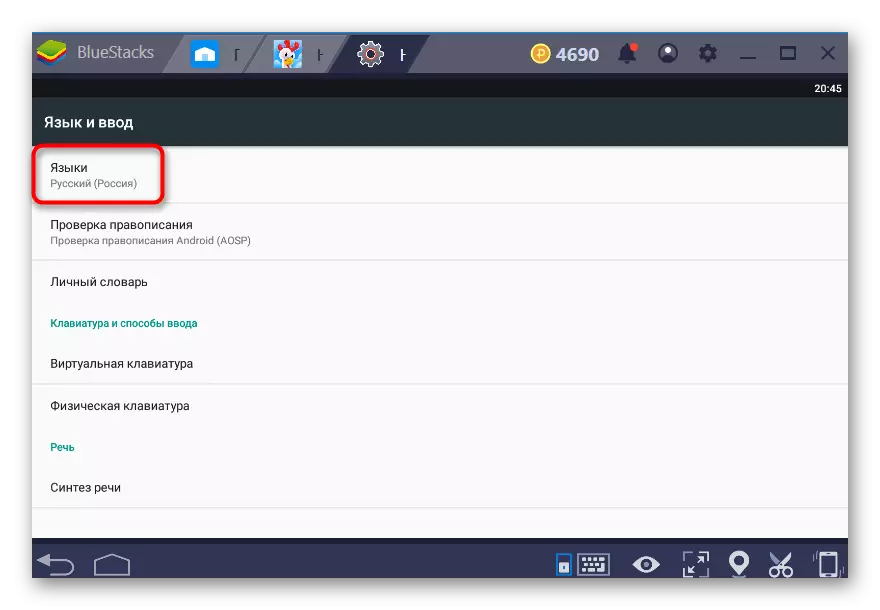
- Immediately go to the first item "Languages".
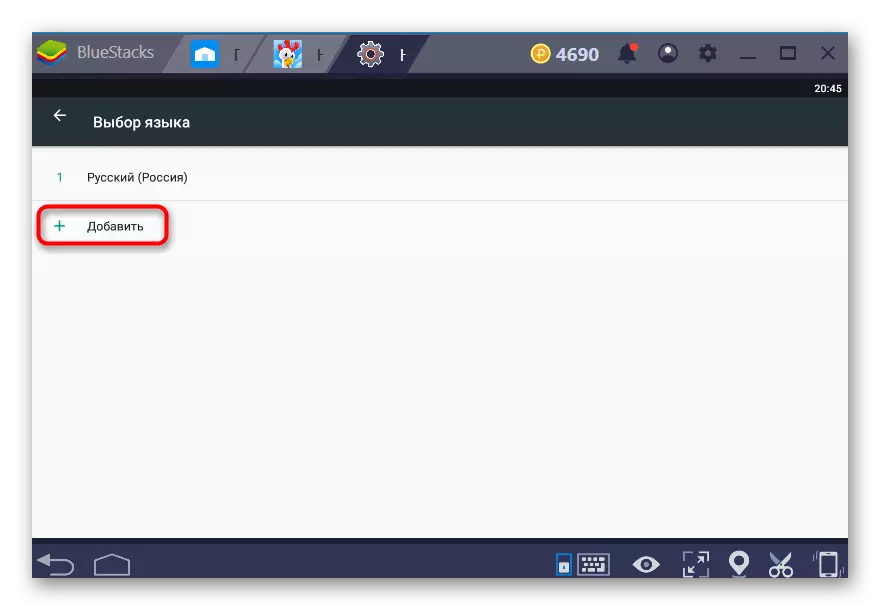
- Here you will see a list of languages used.
- To take advantage of new, it must be added.
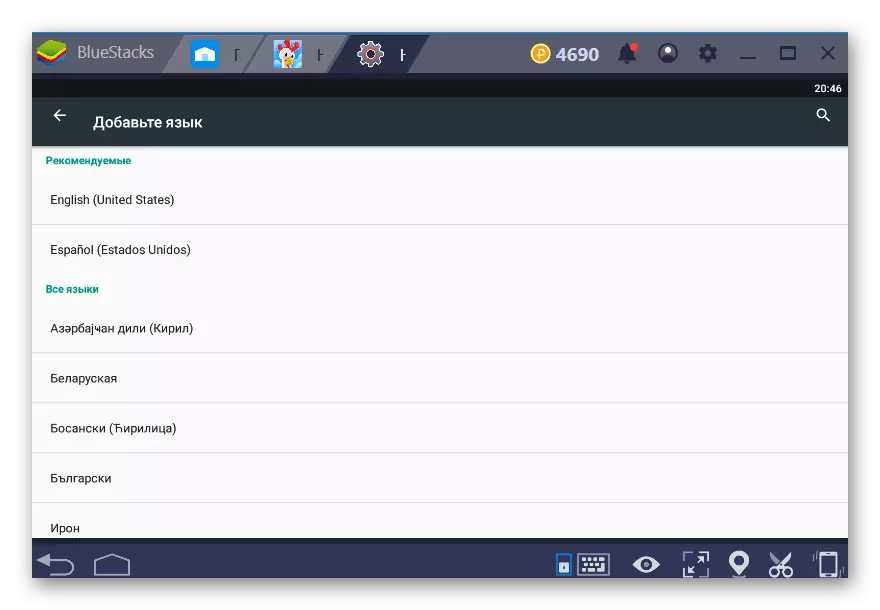
- From the scrolling list, select Select and just click on it. It will be added to the list, and to make it active, drag to the first position using a button with horizontal stripes.
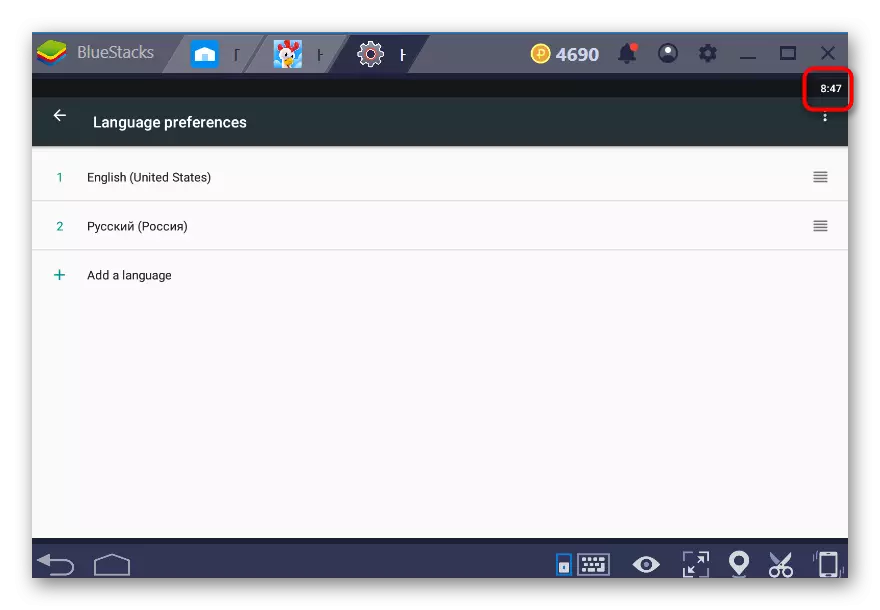
- The interface will immediately be translated. However, the time format from the 12-hour on the 24-hour or vice versa may change, depending on what they change.

Changing the format display time
If you are not satisfied with the updated temporary format, change it, again, in the settings.
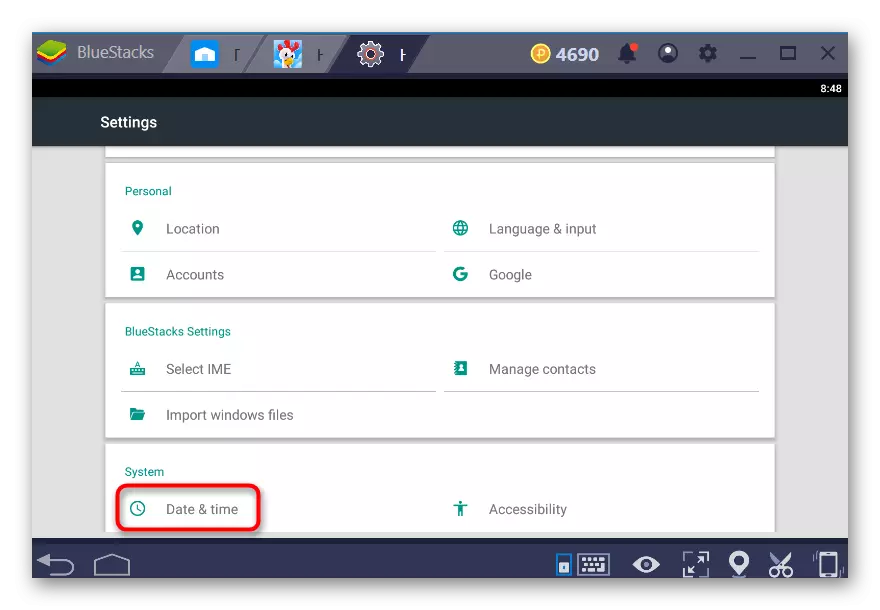
- Press 2 times the "Back" button to go to the main settings menu and go to the Date and Time section.
- Switch the "24-hour format" parameter and make sure that the time it happened is still.

Adding layouts to a virtual keyboard
Not all applications support interaction with the physical keyboard, opening the virtual instead. In addition, somewhere the user and it is necessary to use it instead of physical. For example, you need a specific language, and you do not want to include it in the Windows settings. Add the desired layout there. You can also through the settings menu.
- Go to the corresponding section in the "Android settings" as it was described in steps 1-3 of method 1.
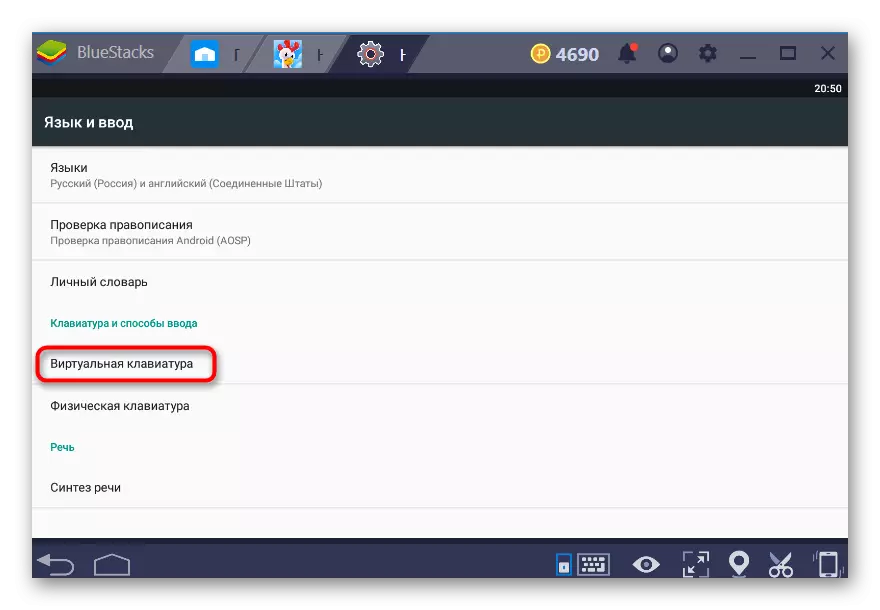
- From the parameters, select "Virtual Keyboard".
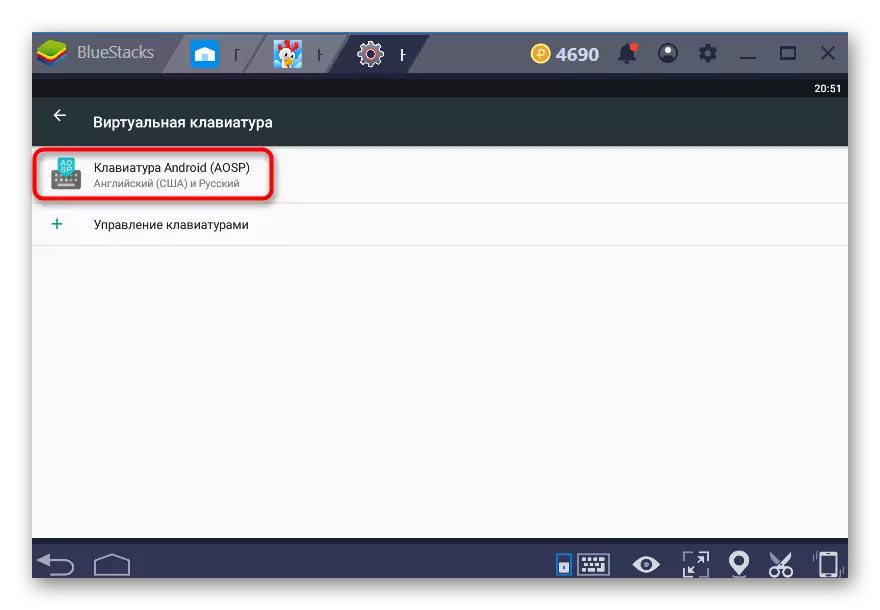
- Go to the settings of the keyboard used by clicking on it.
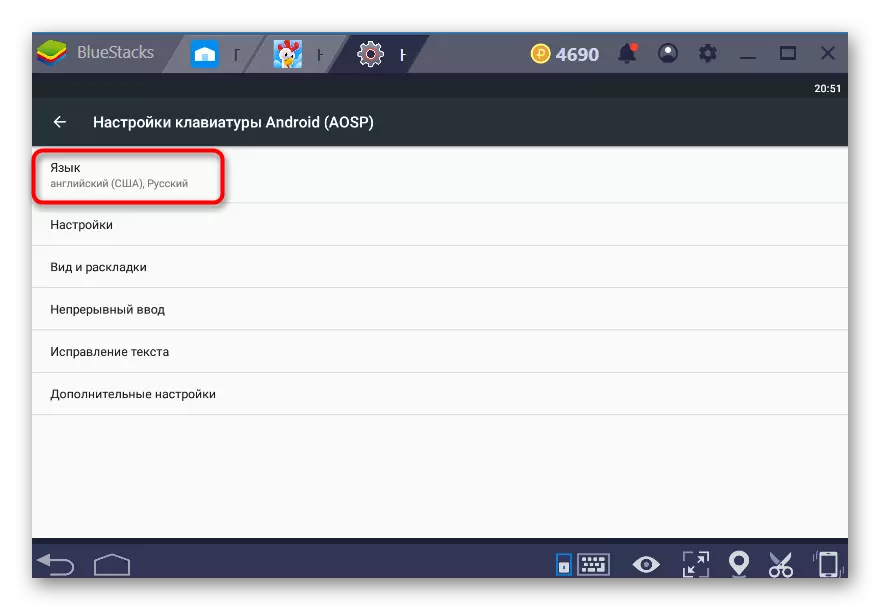
- Select the "Language" option.
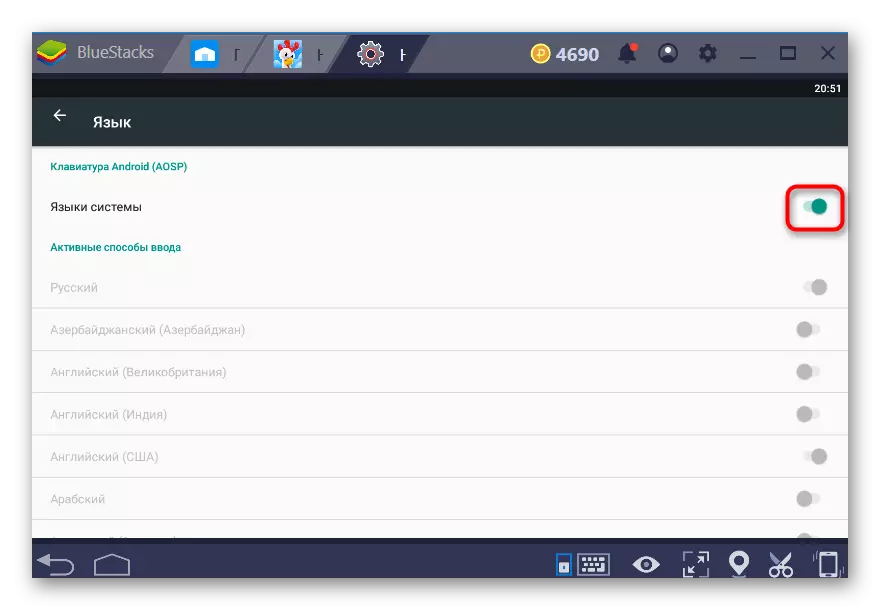
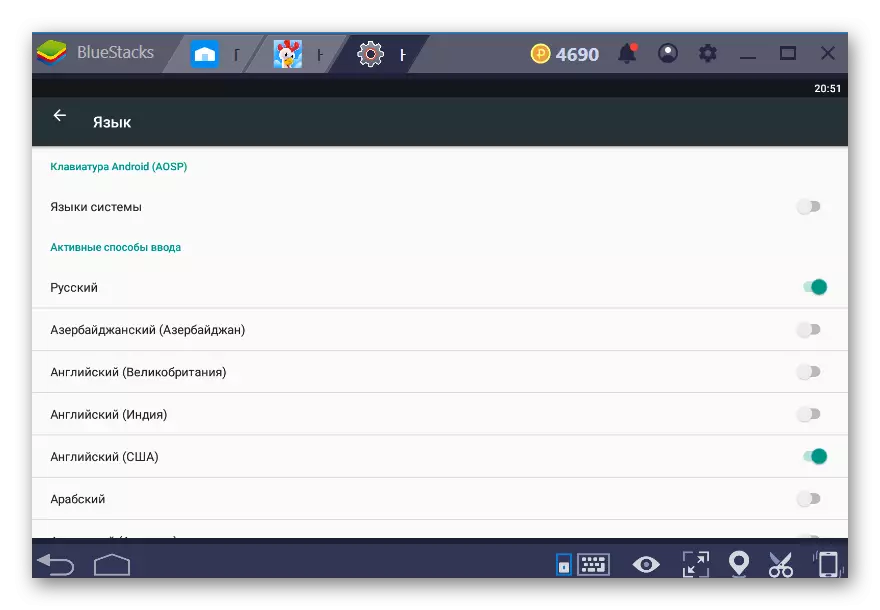
- First, disable the "System Languages" parameter.
- Now just find the desired languages and activate the toggle switch in front of them.
- You can change languages when entering a virtual keyboard, you can be known to you by pressing the globe icon.
Do not forget that the initially virtual keyboard is disabled, so to use it in the "Languages and Enter" menu, go to "Physical Keyboard".
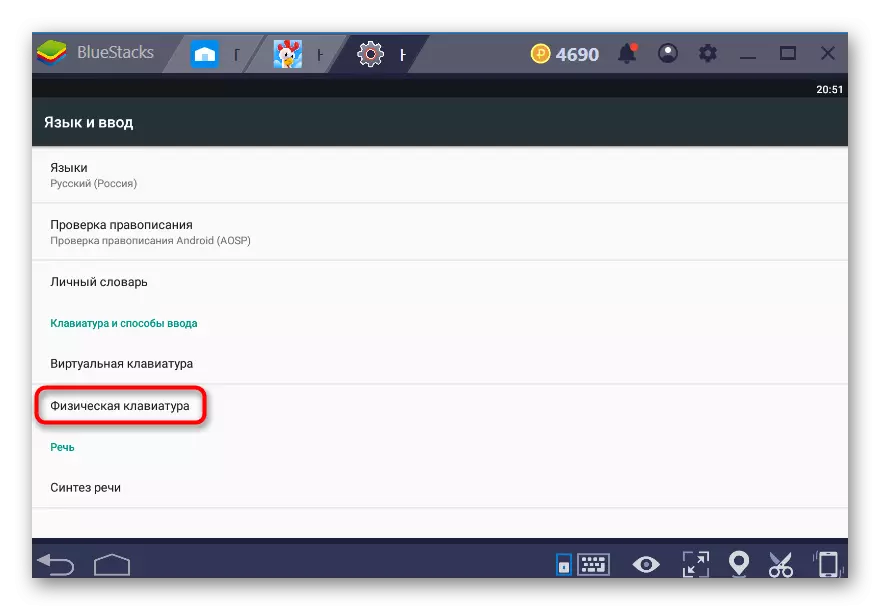
Activate here the only available parameter.

Method 2: Changing the Bluestacks Interface Language
This setting changes the language not only the emulator itself, but also inside Android, on which it, in fact, works. That is, this method includes those that were discussed above.
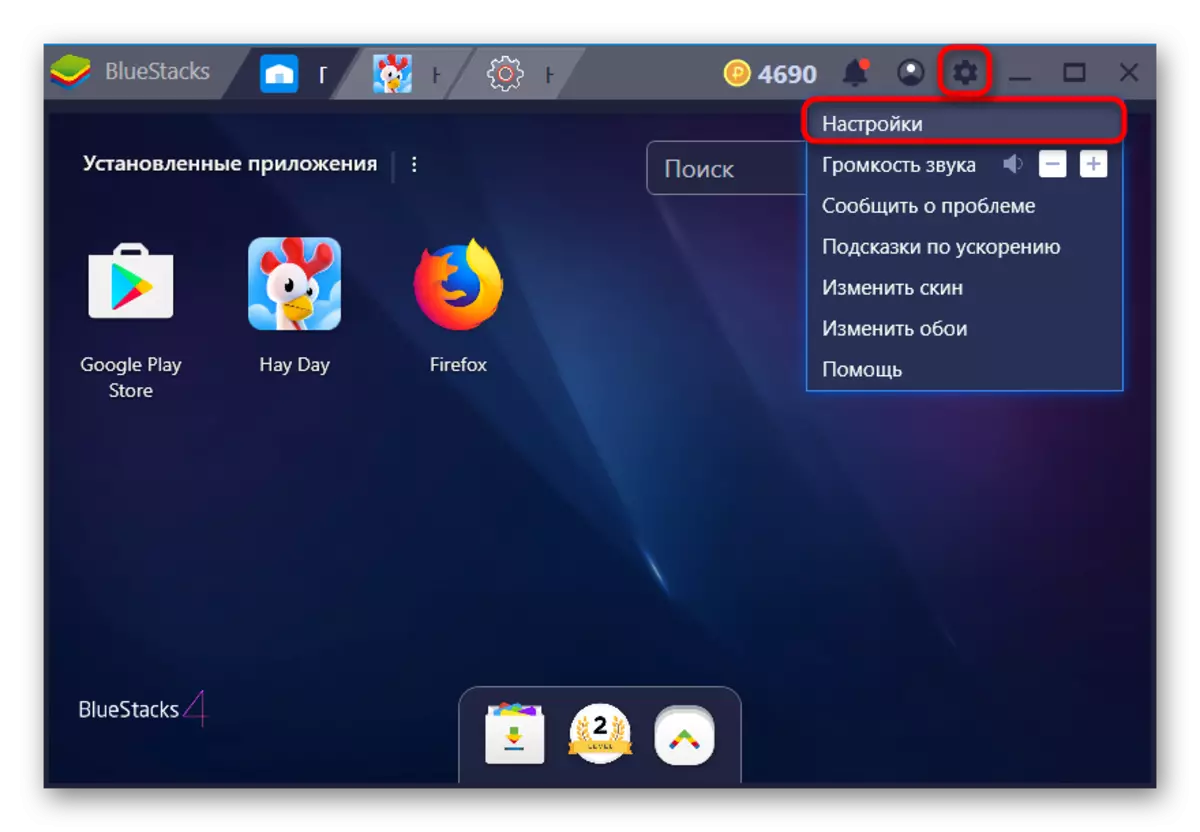
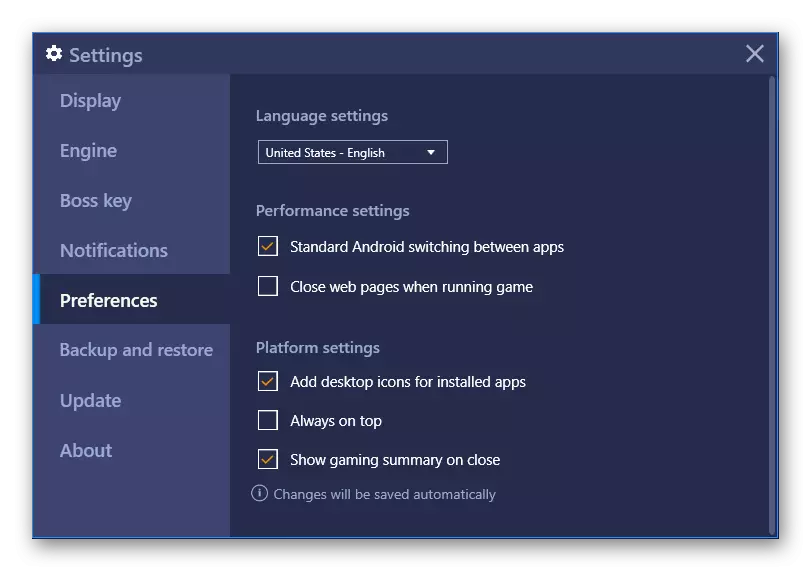
- Open BlueStacks, in the upper right corner, click on the gear icon and select "Settings".
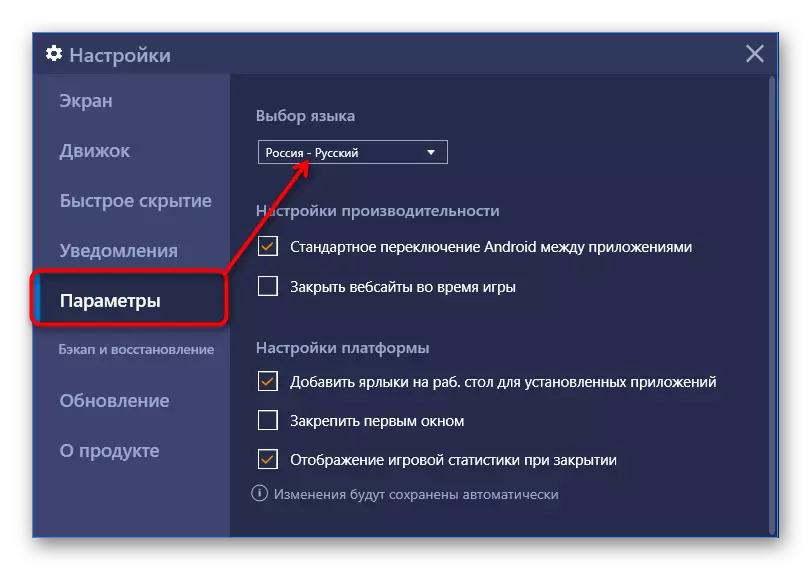
- Switch to the "Parameters" tab and select the appropriate language on the right side of the window. So far, the application is translated by one and a half dozen most common, in the future, most likely, the list will be replenished.
- When specifying the desired language, you will immediately see that the interface has been translated.
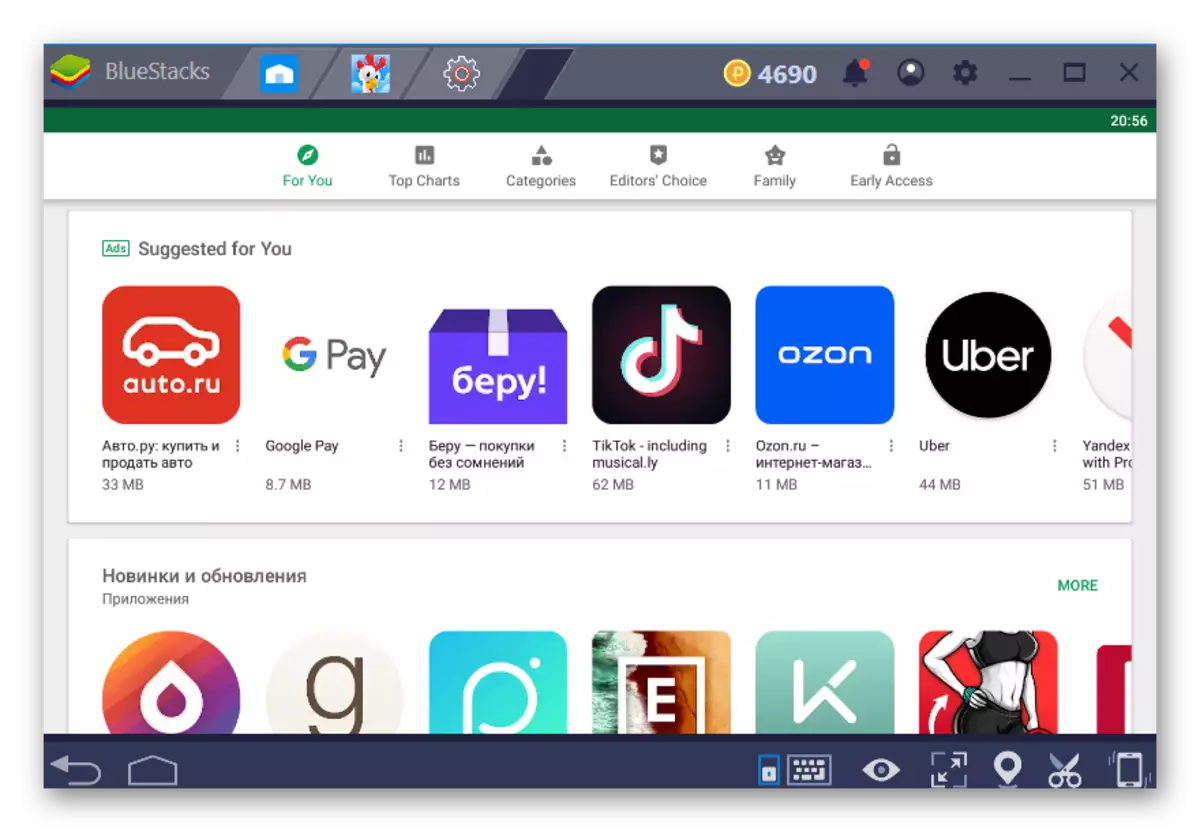
It is worth noting that the Google system application interface will change. For example, in the Play Store the menu will be in a new language, but applications and their advertising will still be for the country in which you are.
Now you know what options you can change the language in the BlueStacks emulator.