
Sometimes PC users face such a situation when it does not work not only to launch programs and games, but even install them on the computer. Let's find out what ways to solve this problem exist on devices with Windows 7.
The procedure for obtaining information about the version of Microsoft Visual C ++ and the subsequent installation of this component occurs along a similar scenario.
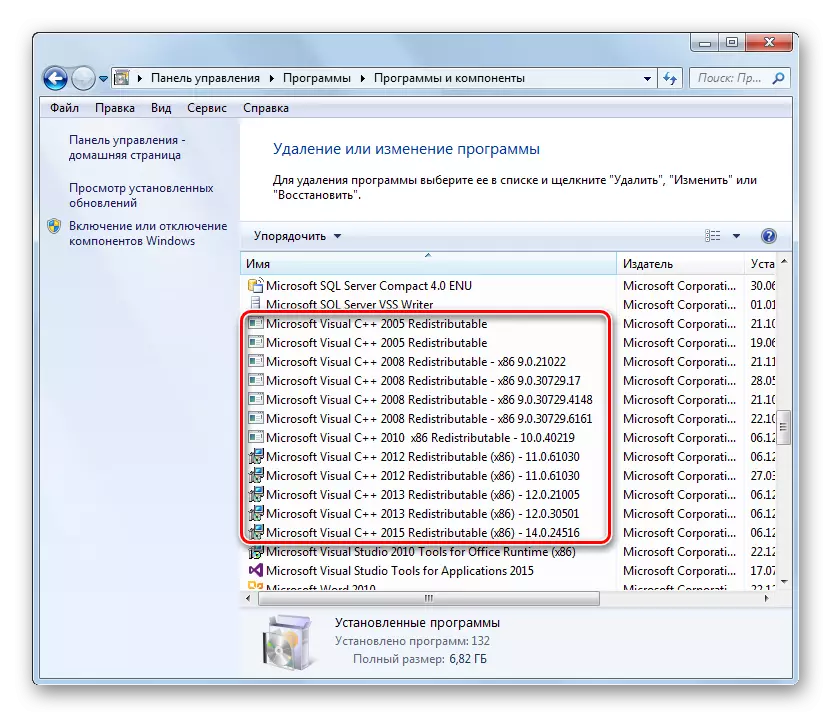
- First open the "Programs and Components" section located in the control panel. The algorithm for this procedure was described in paragraphs 1-3 when it is consistent with the NET Framework component. Lay in the list of all items in which Microsoft Visual C ++ name is present. Pay attention for a year and version. For the correct installation of all programs, it is necessary to have all versions of this component, starting from 2005 to the mostst.
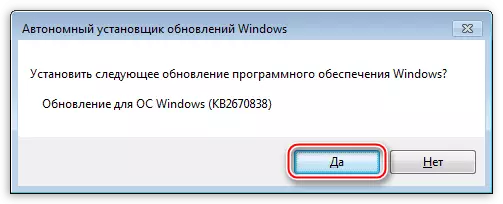
- In the absence of some kind of version (especially the last), it is necessary to download it on the official website of Microsoft and install on PC.
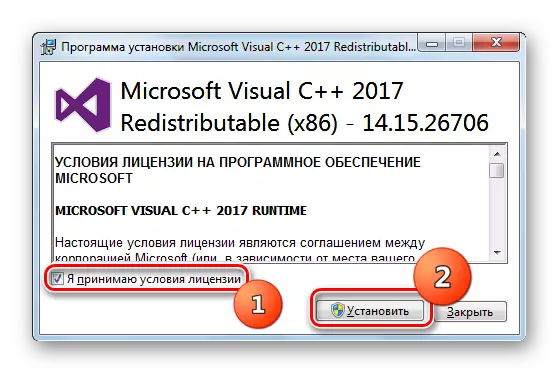
After downloading, run the installation file, accept the license agreement by setting the checkbox in the appropriate checkbox, and click the Install button.
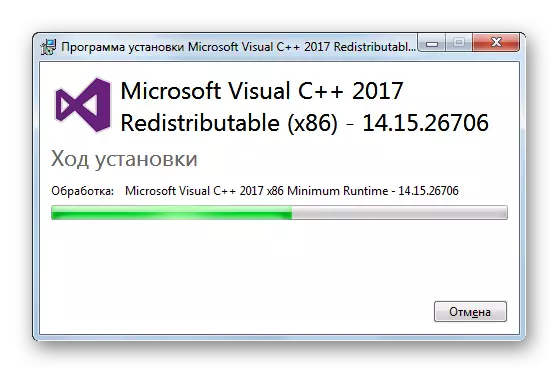
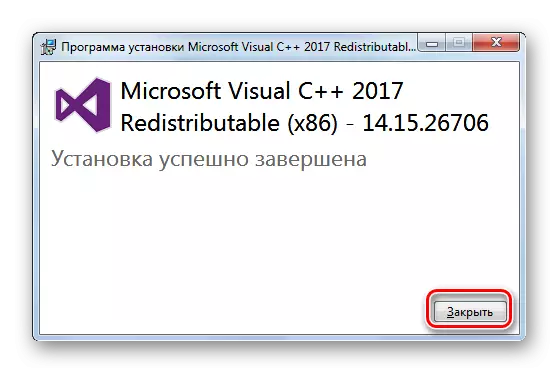
- The Microsoft Visual C ++ installation procedure will be performed.
- After completing it, a window will open where the installation of the installation will be displayed. Here you need to click the "Close" button.
As mentioned above, it is also required to check the relevance of DirectX and, if necessary, update to the last update.
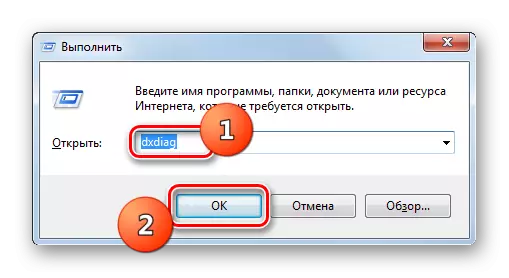
- In order to learn the DirectX version installed on the PC, you need to stick to another action algorithm than when performing the appropriate operation for Microsoft Visual C ++ and Net Framework. Dial the Win + R key combination. In the opened window field, enter the command:
dxdiag
Then click "OK".
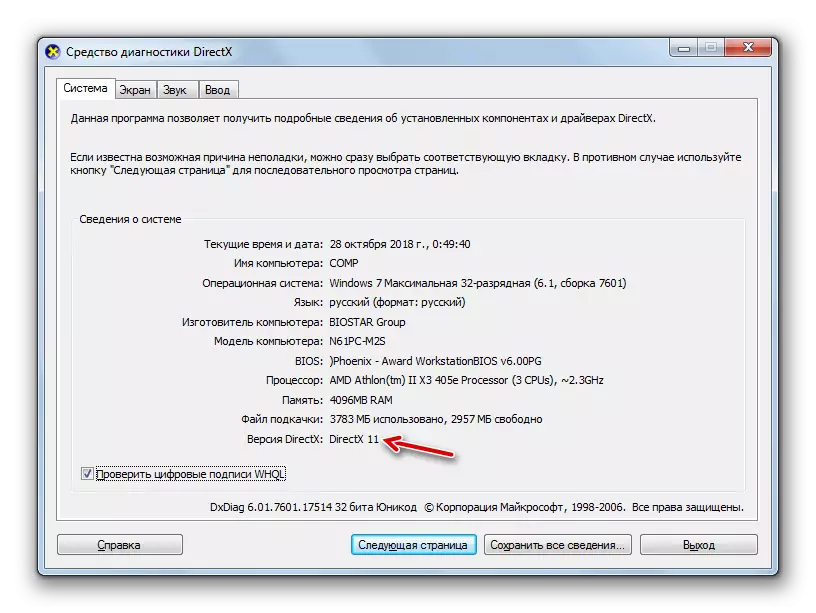
- The DoraCTX will open. In the "System Information" block, find the "DirectX version" position. It is opposite that it will indicate data about the version of this component, which is installed on the computer.
- In the event that the displayed version of DirectX does not meet the latest topical option for Windows 7, it is necessary to produce the update procedure.
Lesson: How to update DirectX to the latest version
Method 2: Elimination of the problem with the lack of rights of the current profile
The installation of programs is usually made in those directory of the PC to which only users with administrative rights have access. Therefore, when attempting to install software from under other system profiles, problems often arise.
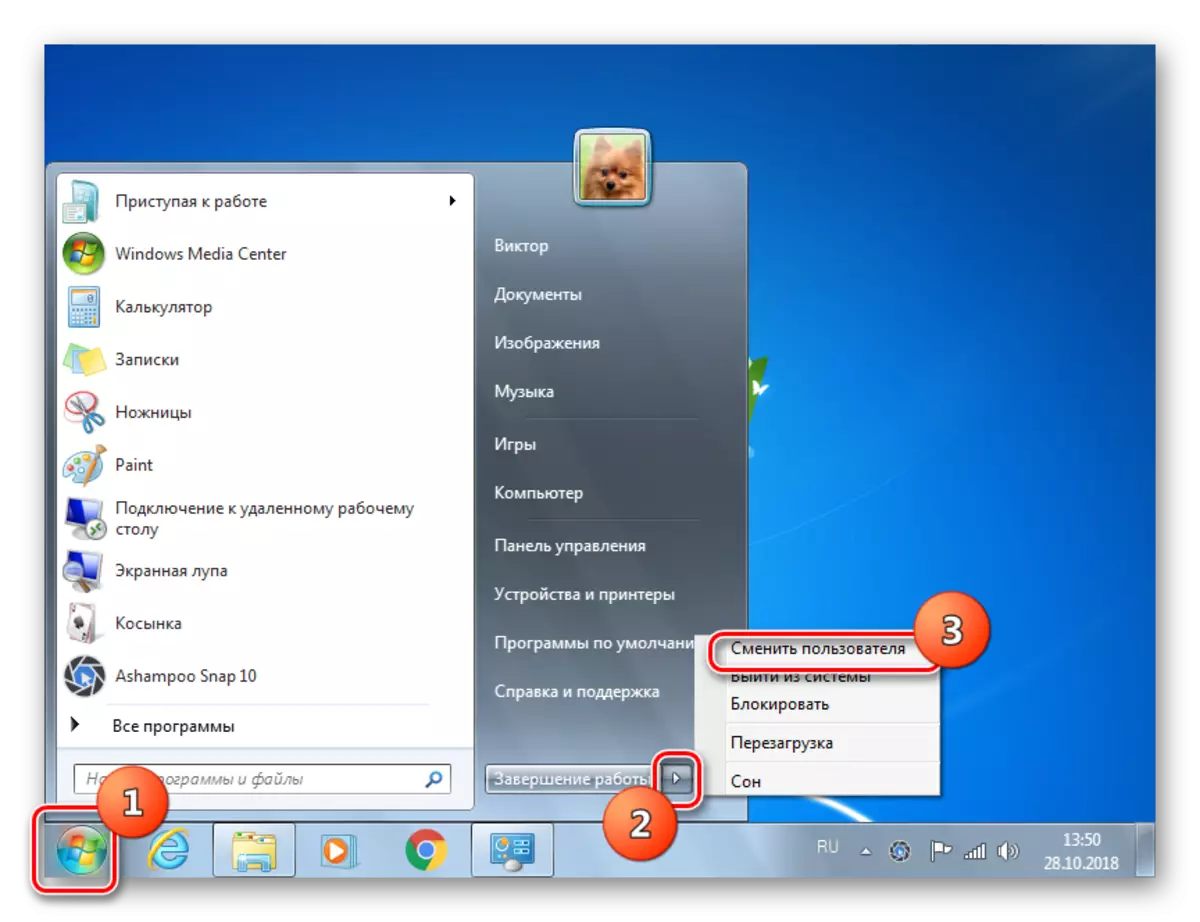
- In order to make the most simply and without any problems on the computer, you need to log in with administrative authority. If you are currently logged in with regular rights, click "Start", then click on the icon in the form of a triangle to the right of the "Completion" element. After that, in the displayed list, select "Change User".
- Next, the Account Selection window opens, where you must click on the profile icon with administrative powers and, if necessary, enter a password to it. Now the software will be installed without problems.
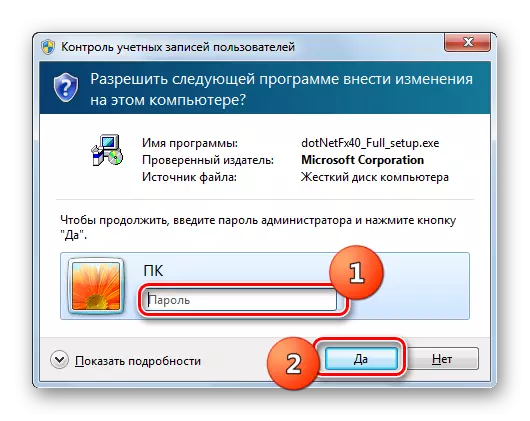
But it is also possible to install applications from under the usual user profile. In this case, after clicking on the installer file, the Account Control window will open (UAC). If a password is not assigned to the administrator profile on this computer, it is enough to click "Yes", after which the software installation will be launched. If the protection is still provided, you must first enter the code expression to the appropriate field to access the administrative account and only after that harvest "Yes." Installation of the application will start.
Thus, if a password is installed on the administrator profile, and you do not know it, you cannot install programs on this PC. In this case, in case of acute need to establish any software you need to seek help to the user who has administrative rights.
But sometimes even when working through the admin profile, problems may arise with the installation of some software. This is due to the fact that not all installers when started are called the UAC window. This state of affairs leads to the fact that the installation procedure takes place with conventional rights, and not administrative, from which the failure should be naturally. Then you need to start the installation process with administrative powers in a compulsory manner. To do this, in the "Explorer", click on the installation file with the right mouse button and in the list that appears, select the option of startup from the person of the administrator. Now the application must be established normally.

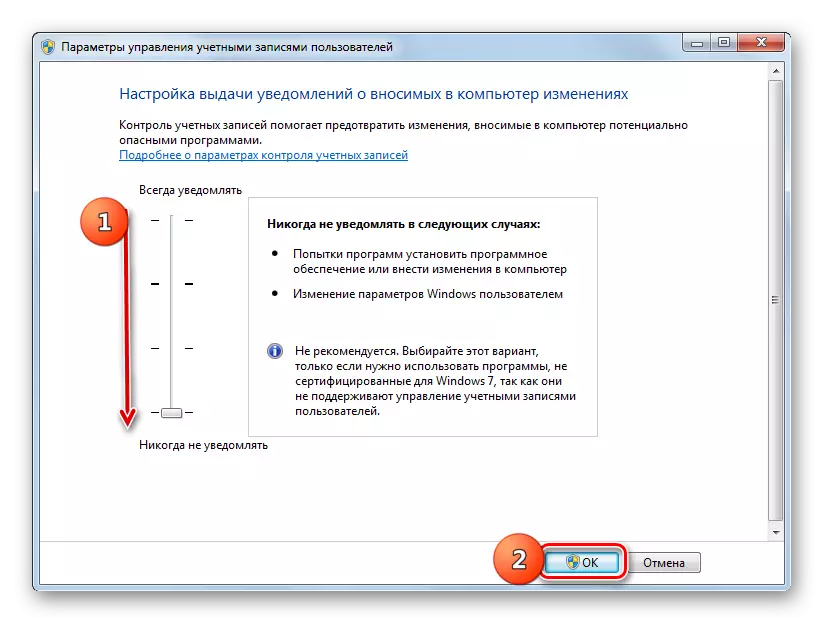
Also in the presence of administrative authority, you can generally disable the control of the UAC. Then all restrictions on the installation of applications under the account with any rights will be removed. But we recommend this only in case of extreme necessity, since such manipulations will significantly increase the level of system vulnerability for malicious and intruders.
Lesson: Disconnect the Warning of the UAC Security System in Windows 7
The cause of problems with installing software on PCs with Windows 7 can be a rather wide list of factors. But most often the specified problem is related to the lack of certain components in the system or with the disadvantage of authority. Naturally, to solve a separate problem situation caused by a specific factor, there is a certain algorithm of actions.