

With the high popularity of the company TELE2, the services of the mobile Internet on the PC uses a small number of users. Nevertheless, each USB modem of this operator guarantees a stable connection to the Internet with enough variable settings. Today we will tell about the available parameters on the 3G and 4G tele2 devices.
TELE2 modem configuration
As an example of the USB modem settings, we will provide standard parameters that usually be displayed by the default device without user intervention. At the same time, some of them are available to change at their discretion, which cancels the guarantee of the proper operation of the network.Option 1: Web interface
In the process of using a corporate 4G-modem, tele2, it is possible to manage it through the web interface in the Internet browser by analogy with routers. On different versions of the device firmware, the appearance of the control panel may differ, but the parameters in all cases are identical to each other.
- Connect the Tele2 modem to the USB port of the computer and wait for the driver installation.
- Open the browser and enter the reserved IP address in the address bar: 192.168.8.1

In need, set the Russian interface language through the drop-down list in the upper right corner.
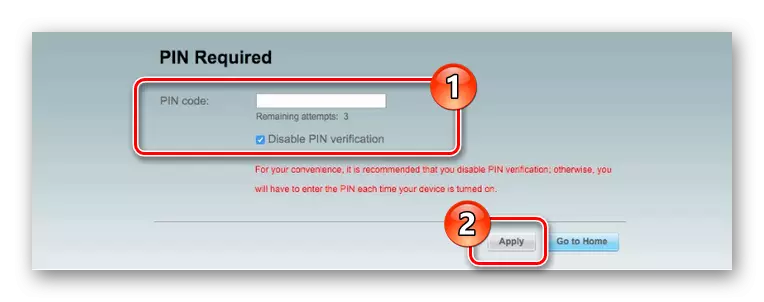
- On the start page you must specify the PIN from the SIM card. It can also be saved by setting the appropriate check mark.
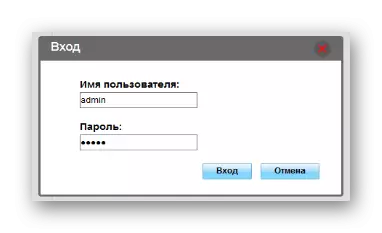
- Through the top menu, go to the "Settings" tab and expand the "Dial Set" section. During the transition process, you will need to specify Admin as a username and password.
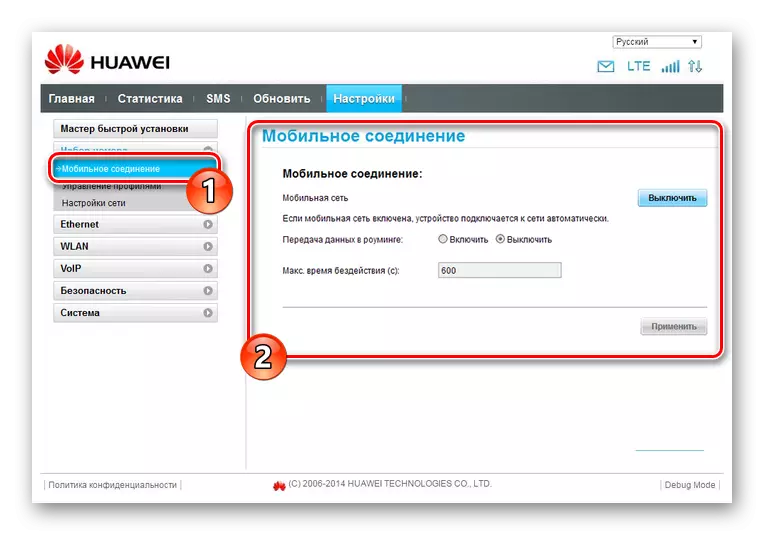
- On the Mobile Connection page you can activate the roaming service.
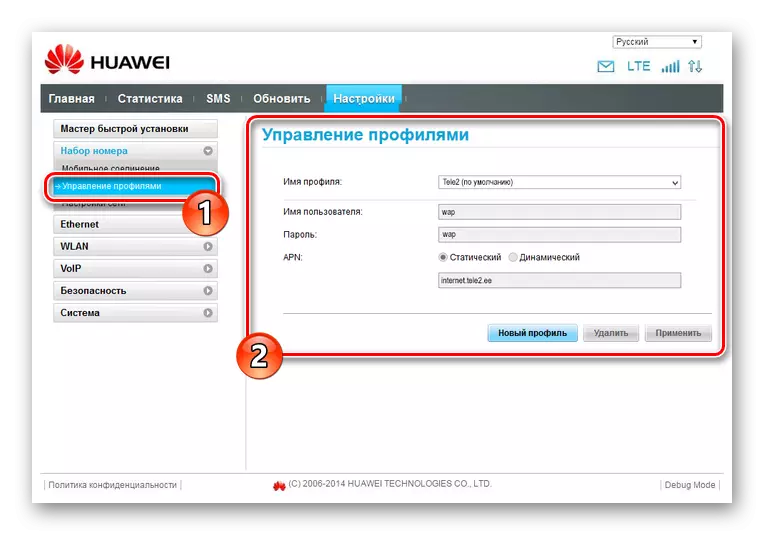
- Select "Profile Management" and change the presented parameters to the specified us. Do not forget to click the "New Profile" button to save the settings.
- Profile name - "Tele2";
- Username and password - "WAP";
- APN - "internet.tele2.ee".
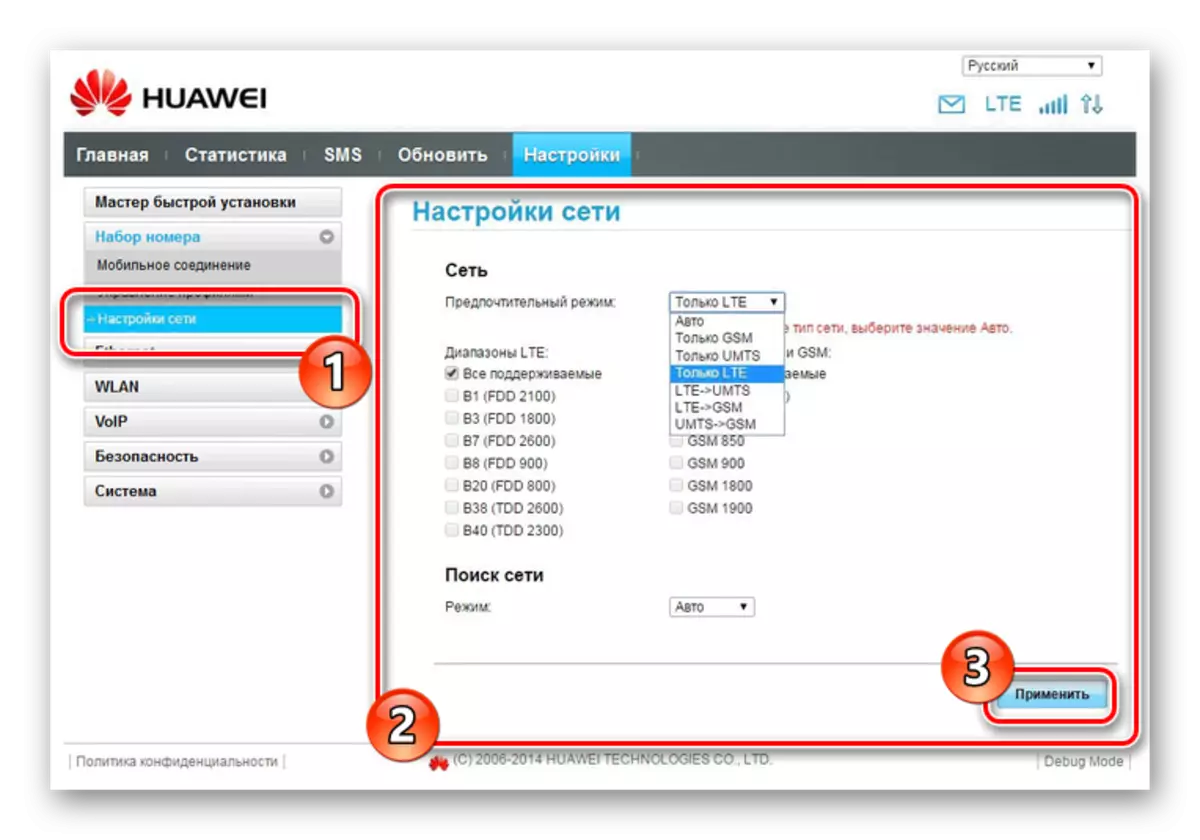
- In the "Network Settings" window, fill in the fields as follows:
- The preferred mode is "LTE only";
- LTE bands are "all supported";
- Network search mode - "Auto".
Click the Apply button to save new parameters.
Note: With properly experience, you can also edit security settings.
- Open the System section and select "Restart". By pressing the same button, restart the modem.


After re-starting the modem, you can connect, thereby successfully connecting to the Internet. Depending on the settings and the capabilities of the device, its characteristics may differ.
Option 2: Tele2 Mobile Partner
To date, this option is the least relevant, since Tele2 Mobile Partner is designed exclusively for 3G modems. However, despite this, the software is easy to use and allows you to edit a large number of different network parameters.
Note: The program does not officially support Russian.
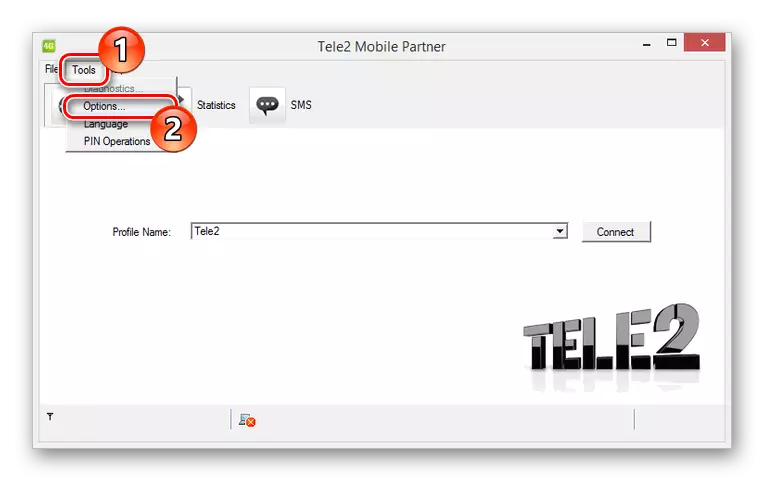
- By installing and running TELE2 Mobile Partner, expand the "Tools" list on the top panel and select Options.
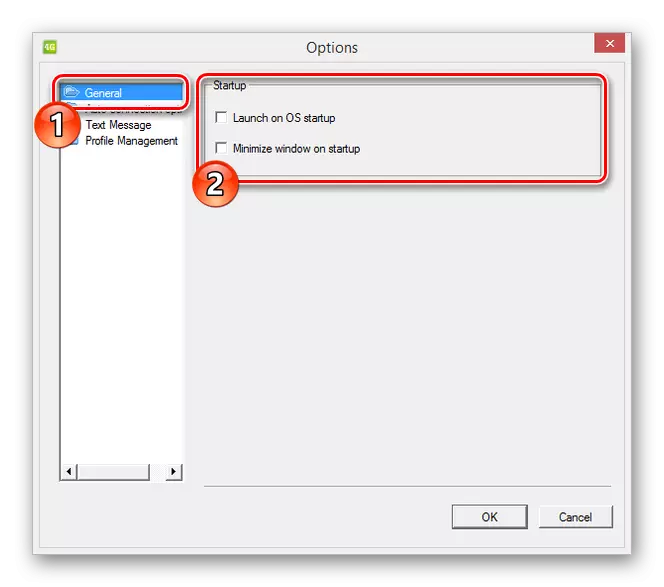
- On the General tab, parameters are located to control the behavior of the program when the OS is turned on and connecting the modem:
- "Launch on Os Startup" - the software will run along with the system;
- "Minimize Windows ON Startup" - the program window will be minimized in the tray at startup.
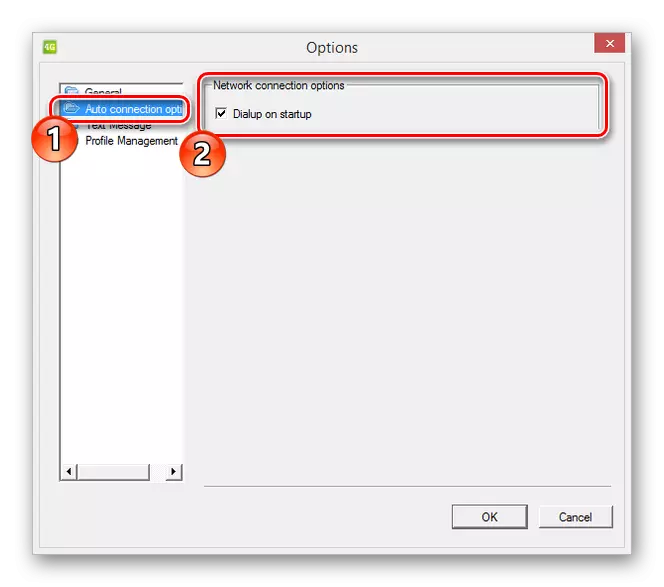
- In the next section "Auto Connection Options" you can install the "Dialup On Startup" checkbox. Due to this, when the modem is detected, the Internet connection will be automatically installed.
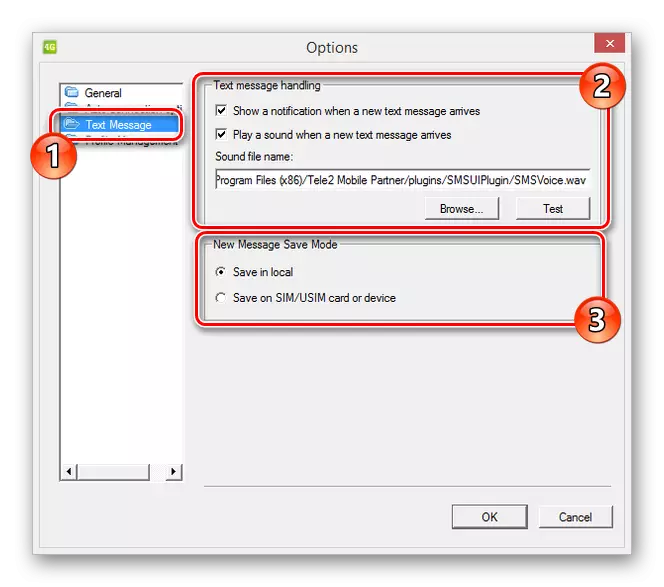
- The "Text Message" page is designed to configure alerts and storage locations. It is recommended to install a marker next to the "Save In Local" item, while other sections are allowed to change at its discretion.
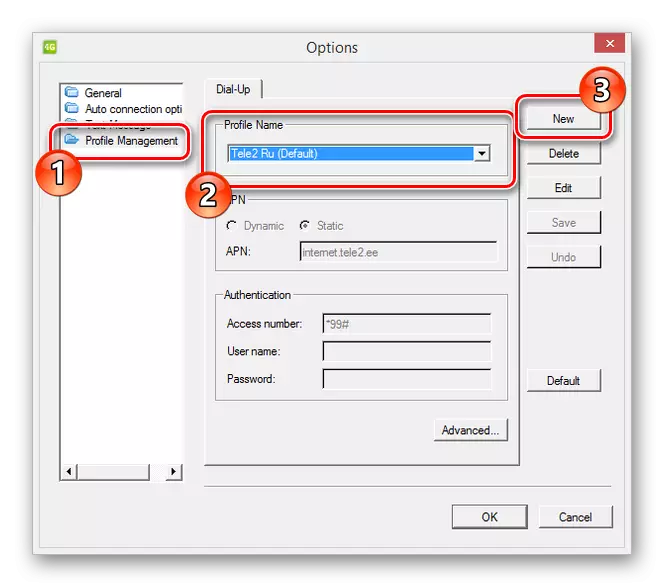
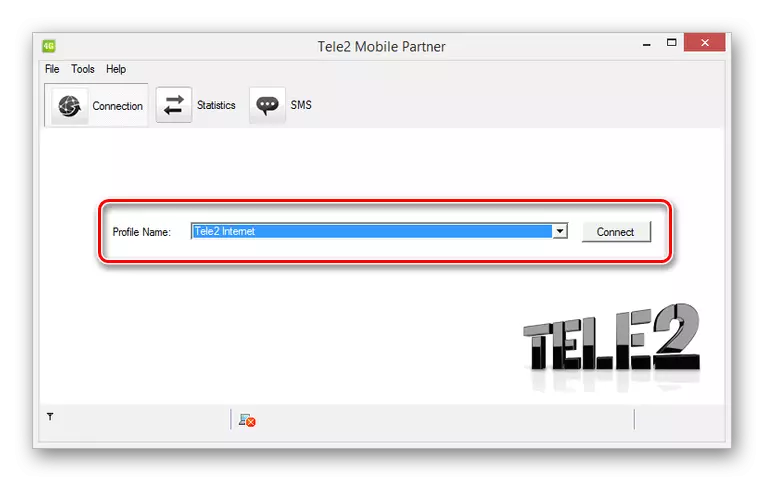
- Switching to the "Profile Management" tab, in the Profile Name list, change the active network profile. To create new settings, click the "New" button.
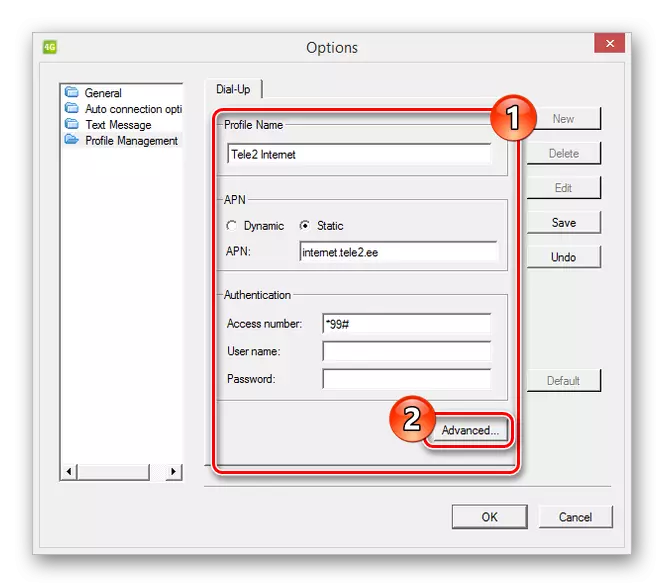
- Here, select the "Static" mode for "APN". In the free fields, with the exception of "User Name" and "Password", specify the following:
- APN - "internet.tele2.ee";
- Access - "* 99 #".
- Clicking on the Advanced button, you will open additional settings. The defaults should be changed in such a way as shown in the screenshot.
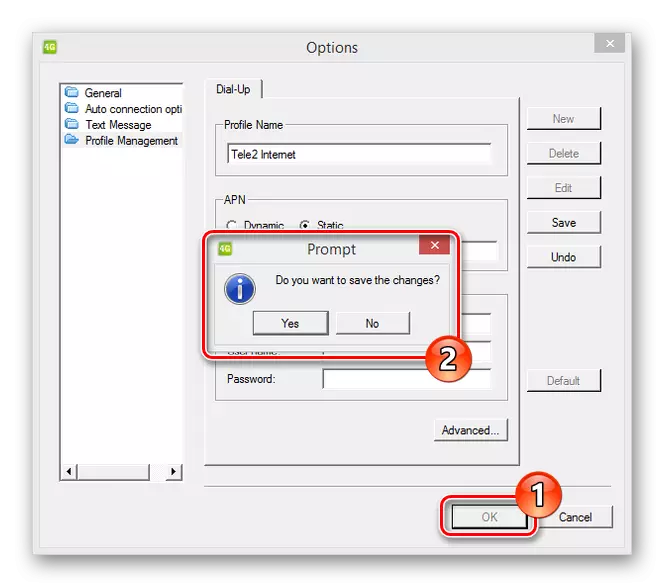
- After completing the process, save the parameters by pressing the "OK" button. This action must be repeated via the corresponding window.
- If you create a new profile before connecting to the Internet, select the network from the Profile Name list.

We hope we were able to help you with the configuration of a USB modem tele2 through the official Mobile Partner program.
Conclusion
In both cases considered, the establishment of the right settings will not be a problem due to standard prompts and the ability to reset the parameters. In addition, you can always use the Help section or contact us in the comments under this article.