
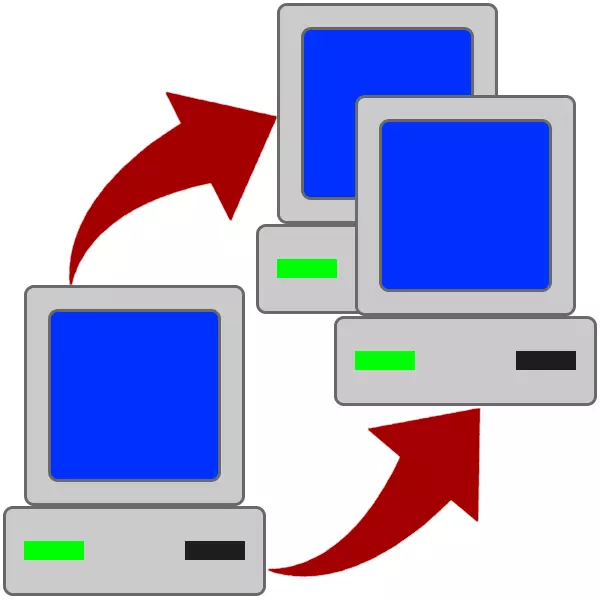
Upgrade PC, in particular, the replacement of the motherboard is accompanied by installing a new copy of Windows and all programs. True, it concerns only newcomers. The experienced users resort to the help of the SYSPREP utility built into the system, which allows you to change the "iron" without reinstalling "Windows". How to use it, we will talk in this article.
Utility sysprep
We will briefly analyze what is this utility. Sysprep works as follows: After starting it removes all the drivers, "tied" the system to the "hardware". Once the operation is completed, you can connect the system hard disk to another motherboard. Next, we will give detailed instructions for transferring Windows to a new "motherboard".How to use sysprep
Before you begin to "move", save all important documents on another media and complete the work of all programs. You will also need to remove virtual drives and discs from the system, if any were created in emulators, for example, Daemon Tools or Alcohol 120%. It is still required to disconnect the antivirus program if it is installed on your PC.
Read more:
How to use Daemon Tools, Alcohol 120%
How to find out which antivirus is installed on the computer
How to turn off antivirus
- Run the utility on behalf of the administrator. You can find it at the following address:
C: \ Windows \ System32 \ Sysprep

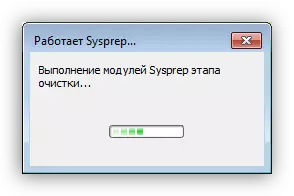
- Customize the parameters as shown in the screenshot. Be careful: errors are unacceptable here.

- We are waiting until the utility finishes its work and turn off the computer.
- Turn off the hard drive from the computer, connect it to the new "motherboard" and turn on the PC.
- Next, we will see how the system starts the service, installs the devices, prepares the PC to first use, in general, behaves in the same way as at the last stage of the usual installation.

- Select the language, keyboard layout, time and cash and press "Next".

- Enter a new username. Please note that the name you used earlier will be "busy", so you need to come up with another. Then this user can be removed and use the old "account".
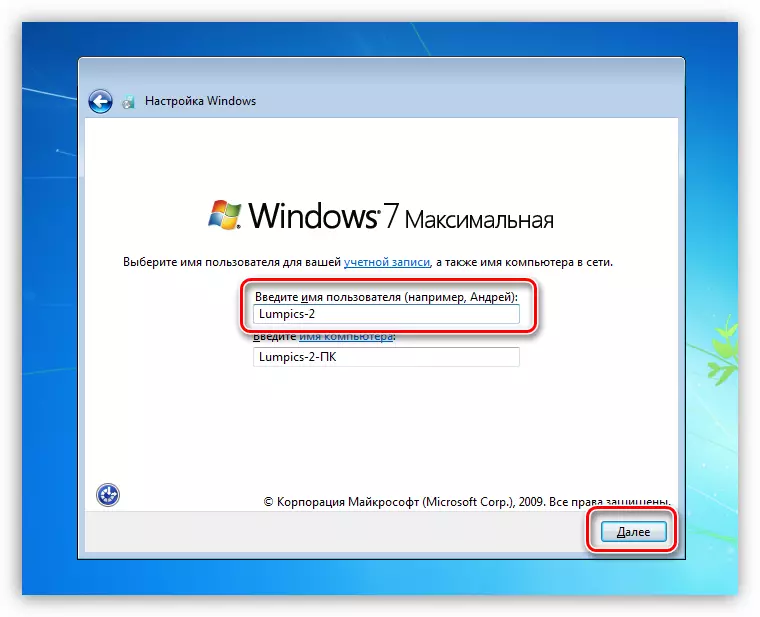
Read more: How to delete an account in Windows 7
- Create a password for the created account. This step can be skipped by simply by clicking "Next".

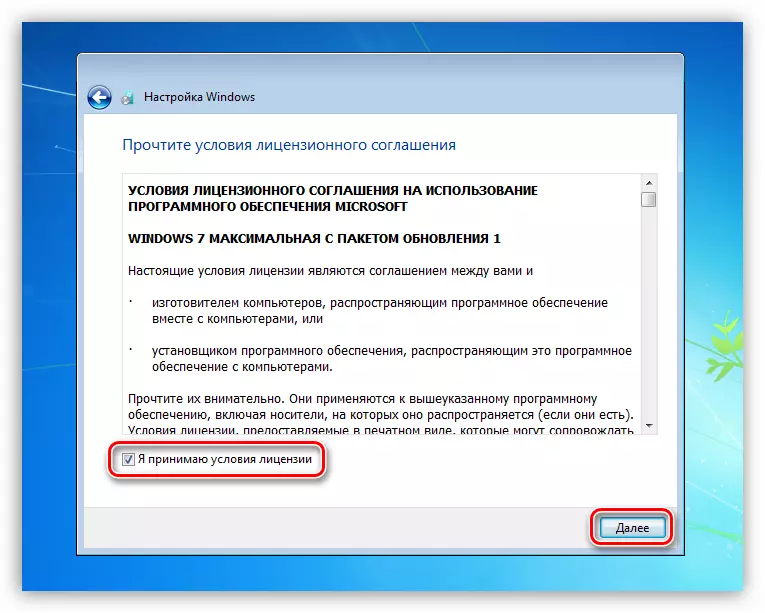
- We accept the Microsoft License Agreement.
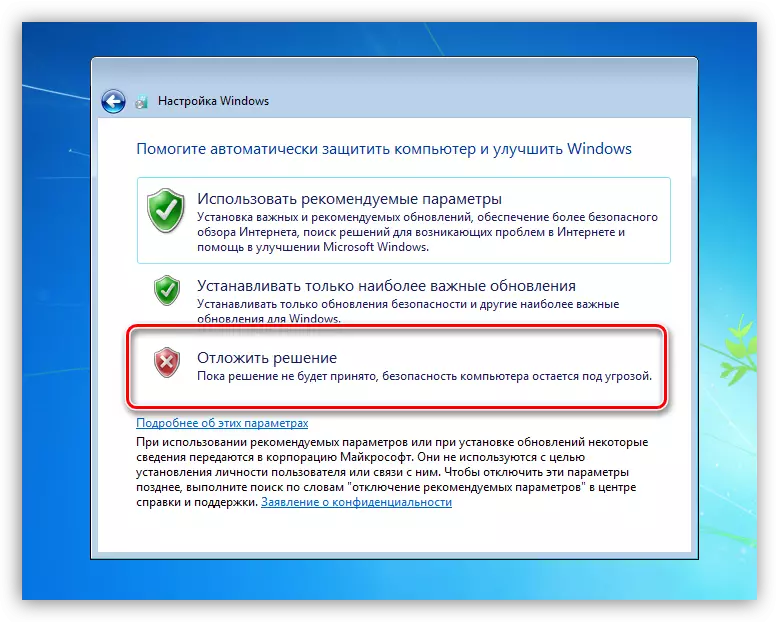
- Next, we determine which update settings should be used. This stage is not important, since all settings can be executed later. We recommend choosing an option with a deferred solution.
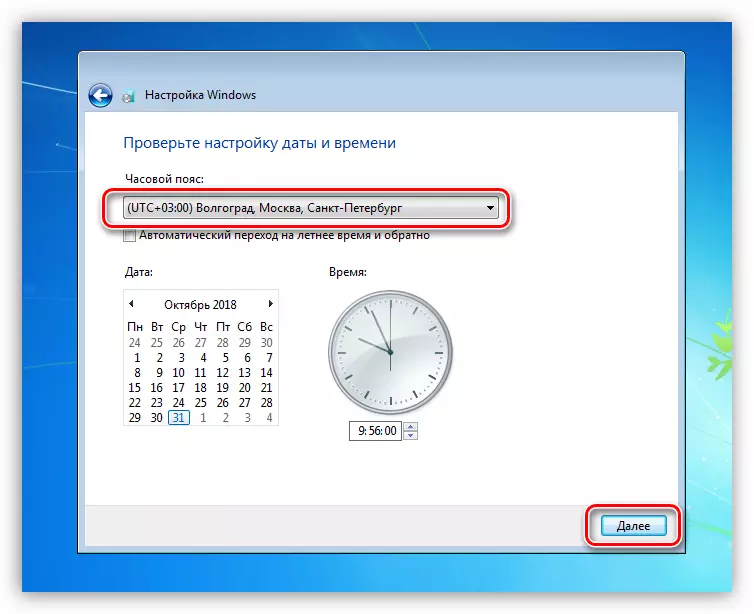
- Expose your time zone.
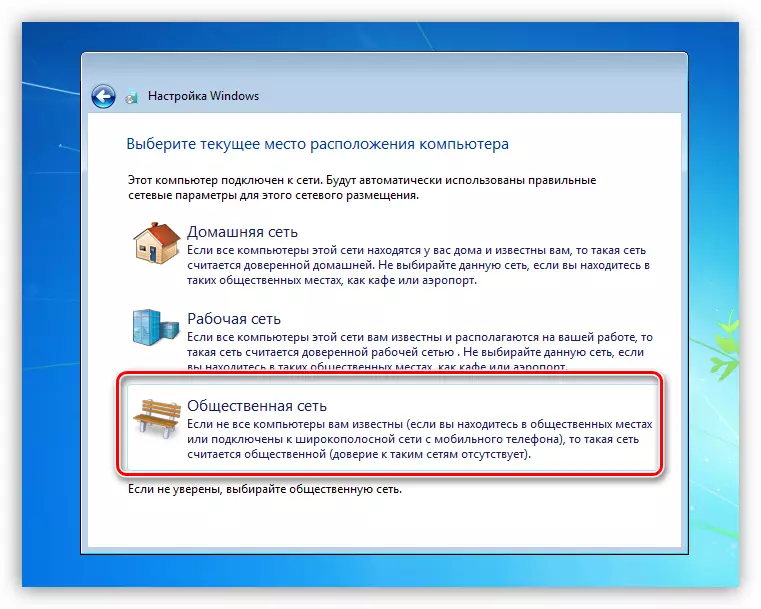
- Select the current location of the computer on the network. Here you can choose a "social network" for the safety net. These parameters can also be configured later.
- After completing the automatic setup, the computer will reboot. Now you can log in and start work.

Conclusion
The instructions shown in this article will help you save a significant amount of time on reinstalling Windows and all necessary for the work of software. The whole process takes a few minutes. Remember that you need to complete the operation of the programs, disable the antivirus and delete virtual drives, otherwise an error may occur, which, in turn, will incorrect completion of the preparation operation or even data loss.