
Regular OS updates help to contain different parts of its various components, drivers and software. Sometimes when updates in Windows, there are failures, leading not only to error messages, but also complete loss of performance. In this article we will talk about how to act in a situation where the system refuses to start after the next update.
Windows 7 does not start after the update
Such behavior of the system is due to one global factor - errors when installing updates. They can be caused by incompatibility, damage to the boot record or the actions of viruses and antivirus programs. Next, we give a set of measures to solve this problem.Cause 1: Unlicensed Windows
To date, the network you can find a huge number of various pirate Windows assemblies. They, of course, are good in their own way, but still have one big drawback. This is the occurrence of problems when performing some actions with system files and settings. The necessary components can be simply "cut" from the distribution or replaced by non-original. If you have one of these assemblies, there are three options here:
- Change assembly (not recommended).
- Use the Windows License Distribution for Clean Installation.
- Go to the decisions below and then completely abandon the system update by turning the corresponding function in the settings.

Read more: How to disable updates on Windows 7
Cause 2: Errors when installing updates
This is the main cause of today's problem, and in most cases these instructions help solve it. To work, we will need an installation medium (disk or flash drive) with "seven".
Read more: Installing Windows 7 using the boot flash drive
First you need to check whether the system starts in "Safe Mode". If the answer is positive, it will be much easier to correct the situation. We are loading and restore the system with a standard tool to the state in which it was before the update. To do this, it is enough to choose a point with the appropriate date.
Read more:
How to enter the safe mode of Windows 7
How to restore windows 7
If there is no recovery points or "Safe Mode" is not available, armed with an installation carrier. We are pretty simple, but requires increased task: you need to delete problem updates using the "command line".
- We load the computer from the flash drive and wait for the starting window of the installation program. Next, press the SHIFT + F10 key combination, after which the console will open.

- Next, you need to determine which of the disk partitions includes the "Windows" folder, that is, marked as systemic. Will help us in this team
dir.
After it, you need to add an estimated letter of the separation with a colon and press ENTER. For example:
Dir E:
If the console does not detect the "Windows" folder at this address, try to enter other letters.

- The following command will display a list of updates installed in the system.
DISM / Image: E: \ / GET-PACKAGES
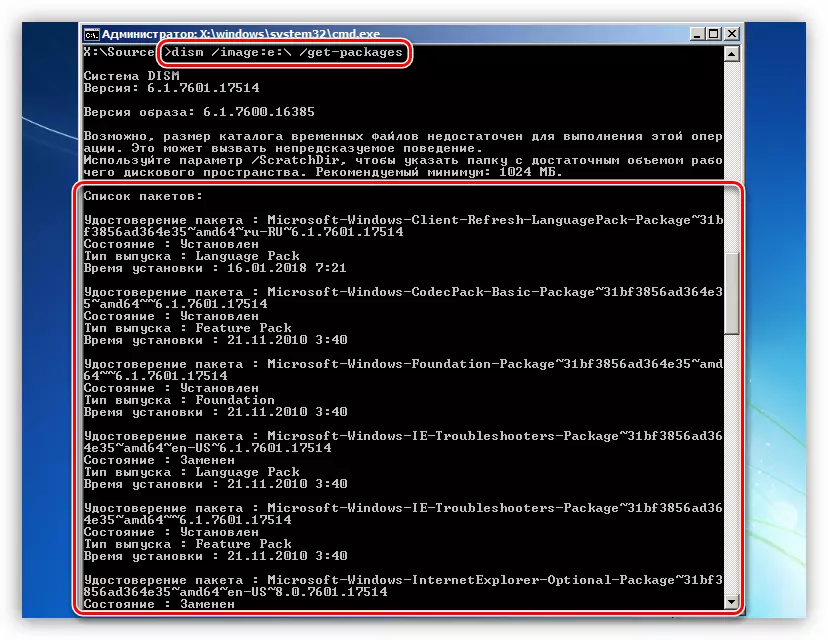
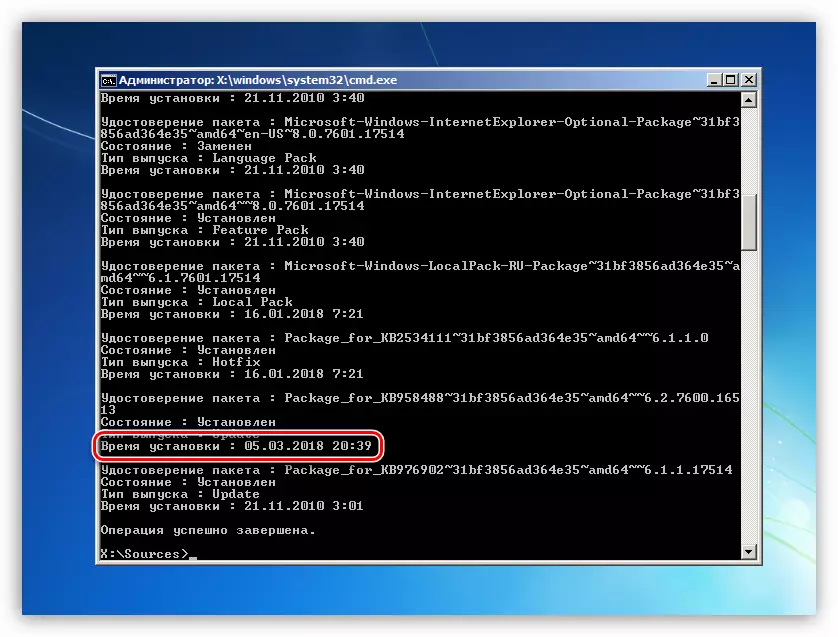
- We run through the list and find updates that have been established before the failure has happened. Just look at the date.
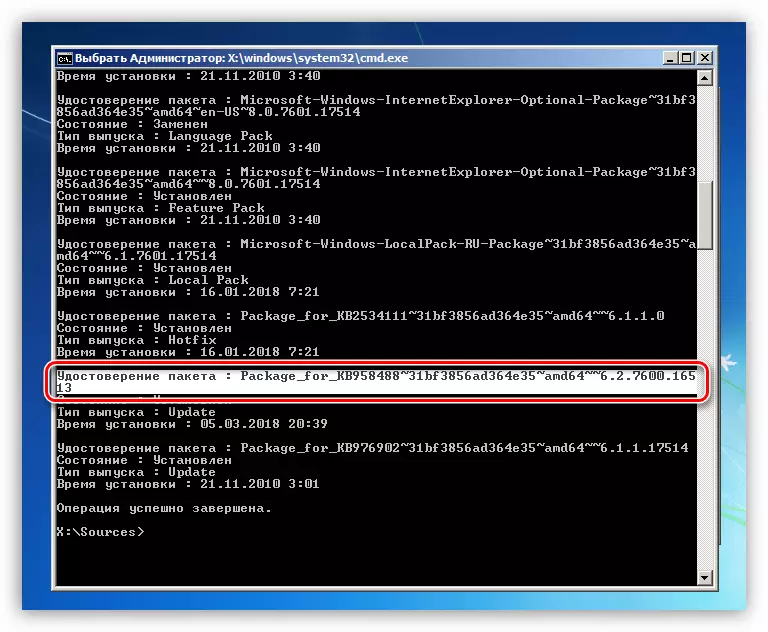
- Now we allocate the name of the update, as shown in the screenshot, along with the words "package certificate" (there will be no other way), and then copy everything into the clipboard by pressing PCM.
- Once again, press the right mouse button, inserting copied to the console. She will immediately give an error.
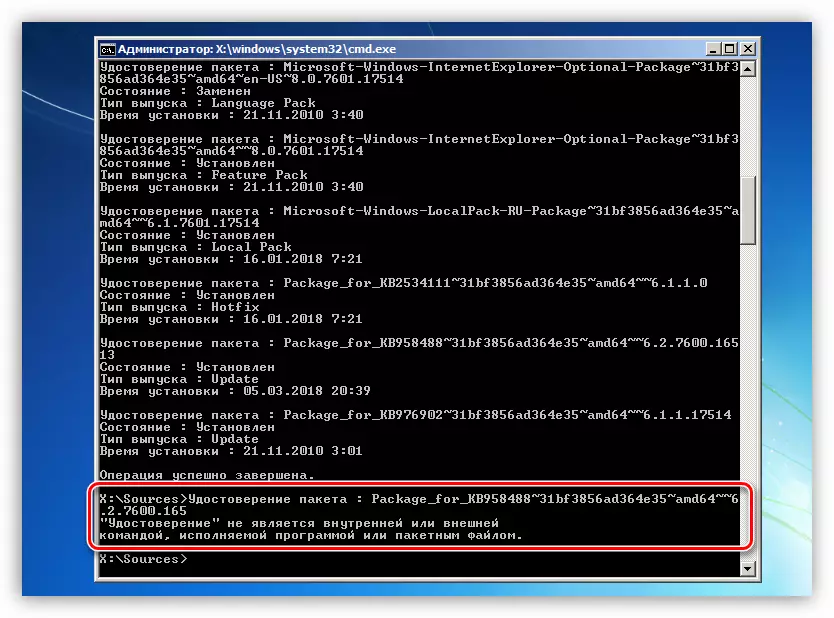
Press the Up key (arrow). The data will be added again to the "Command Line". We check whether everything is correctly inserted. If something is missing, add. These are usually numbers at the end of the name.

- Working the arrows, move to the beginning of the line and remove the word "package certificate" along with a colon and spaces. There should be only a name.

- Introduce the command to the beginning of the line
DISM / Image: E: \ / Remove-Package /
It should be approximately the following (your package can be called differently):
DISM / Image: E: \ / Remove-package /packagename:package_for_kb2859537~31bf8906ad456e35~x86~~~6.1.1.3
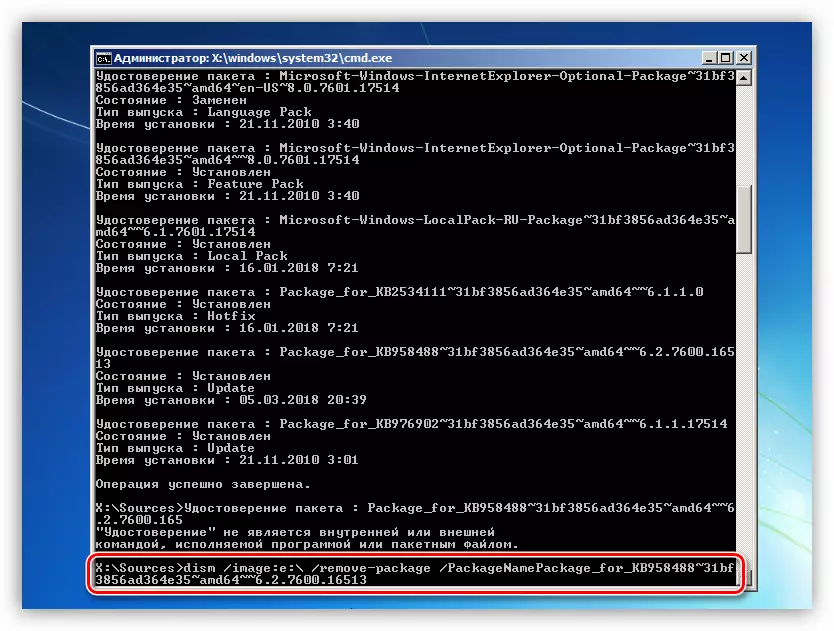
Click Enter. Update deleted.

- In the same way, we find and delete other updates with the corresponding installation date.
- The next step is to clean the folder with downloaded updates. We know that the system partition corresponds to the letter E, so the team will look like this:
RMDIR / S / Q E: \ Windows \ SoftWaredistribution
With these actions, we completely deleted the directory. It will restore it after loading, but the downloaded files will be erased.

- Reboot the machine from the hard disk and try to run Windows.
Reason 3: Malicious Programs and Antivirus
We have already written above that modified components and system files may be present in pirate assemblies. Some antivirus programs may relate to this extremely negative and block or even delete problematic (from their point of view) elements. Unfortunately, if Windows is not loaded, it is impossible to do nothing. You can only restore the operation of the system according to the instructions above and turn off the antivirus. In the future, it may be necessary to completely abandon its use or still replace the distribution.
Read more: How to turn off the antivirus
Viruses behave in about the same, but their goal is to damage the system. There are many ways to clean the PC from pests, but we are only suitable one - using the boot flash drive with an antivirus program, for example, Kaspersky Rescue Disk.
Read more: Creating a bootable flash drive with Kaspersky Rescue Disk 10
Keep in mind that on non-license assemblies, this procedure may result in a complete loss of system performance, as well as data located on the disk.
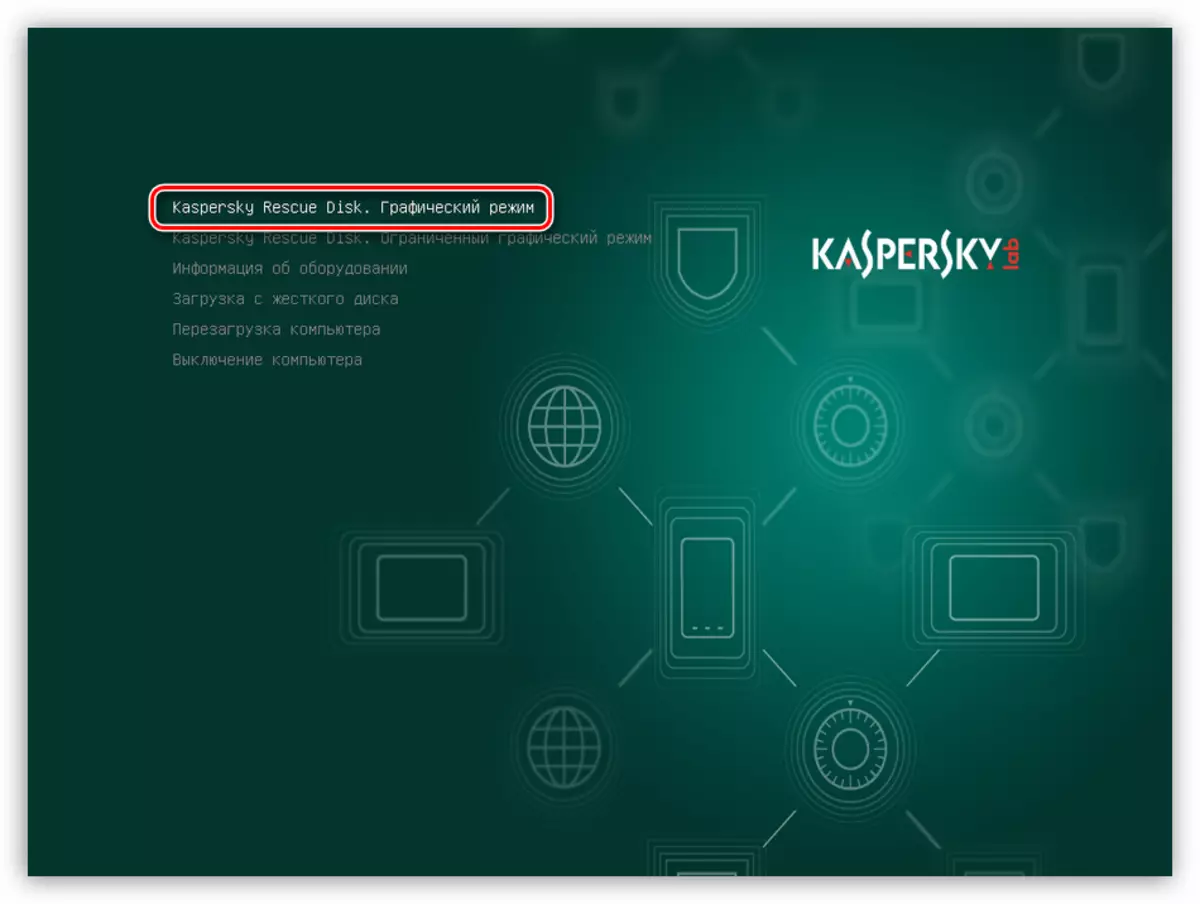
- Upload a PC from the created flash drive, select the language using the arrows on the keyboard, and press ENTER.

- We leave the "graphic mode" and press the Enter again.
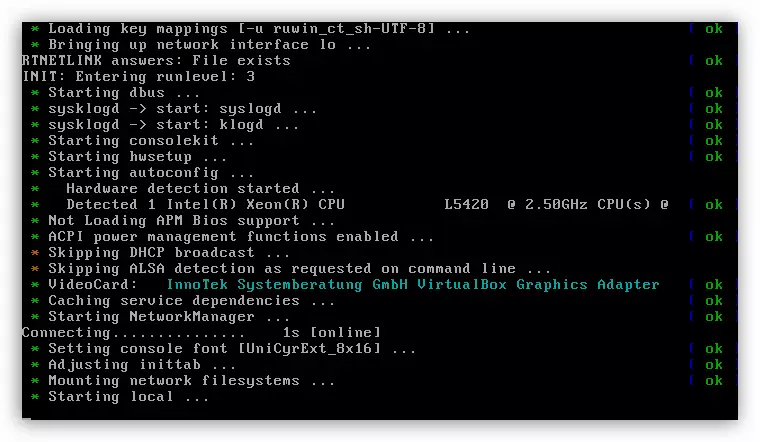
We are waiting for the program startup.
- If a warning appears that the system is in sleep mode or its work has been completed incorrectly, click "Continue".

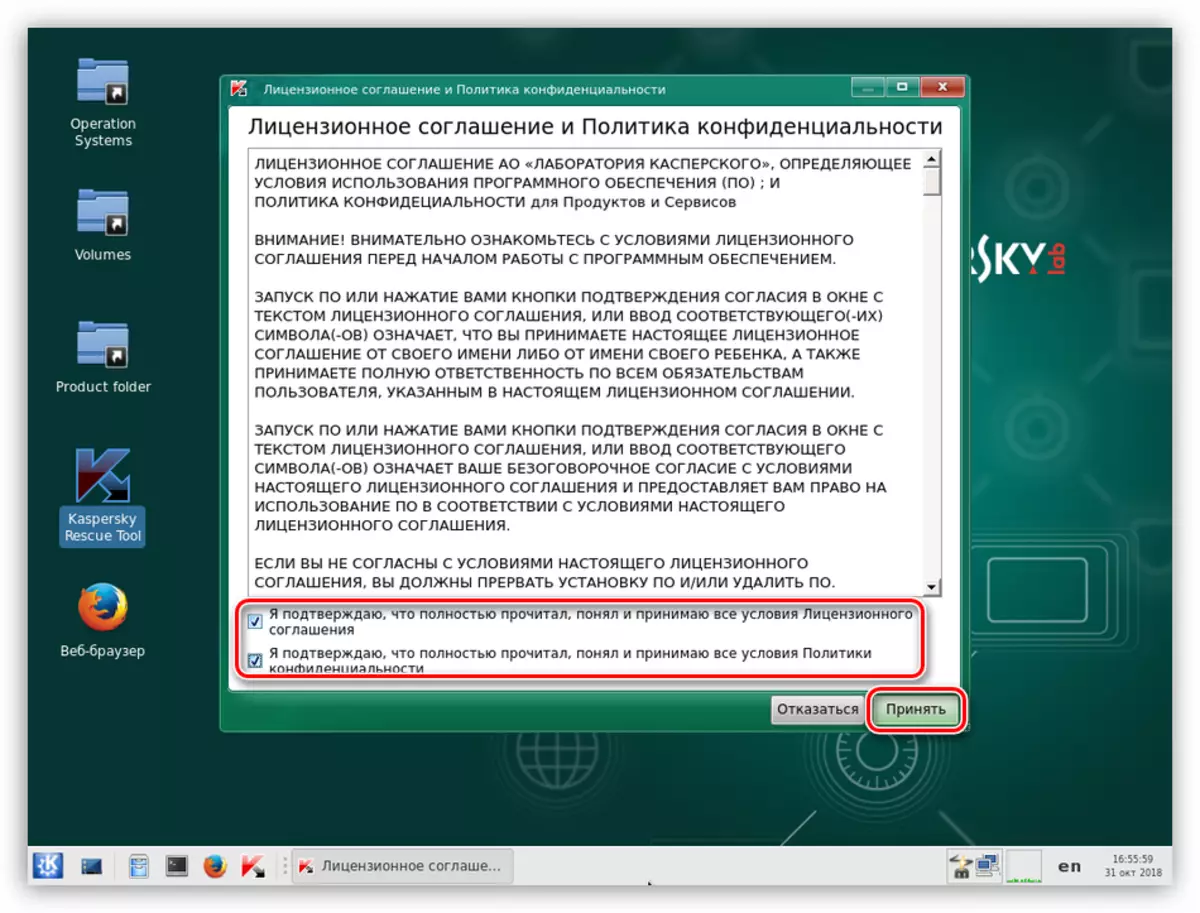
- We accept the terms of the license agreement.
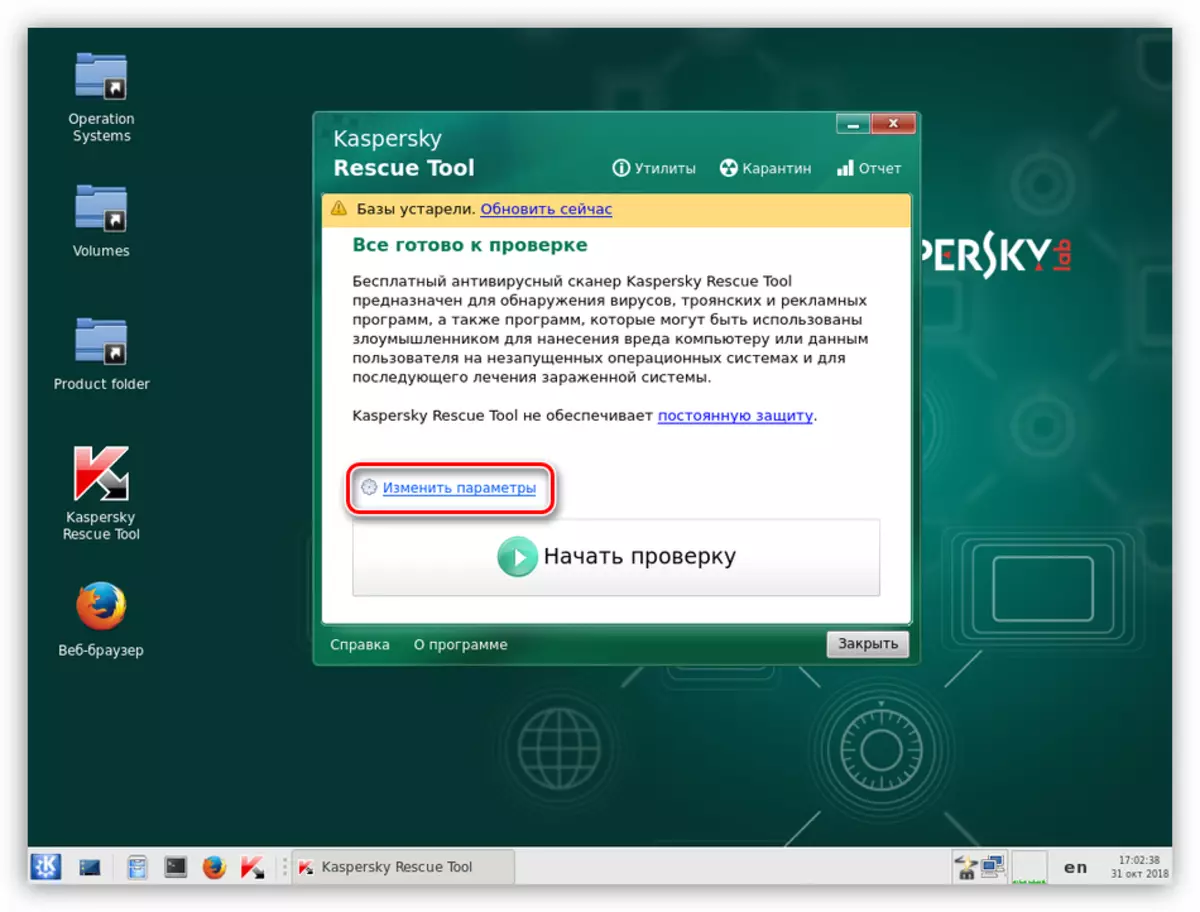
- Next, the program will launch its anti-virus utility, in the window of which click "Change Parameters".
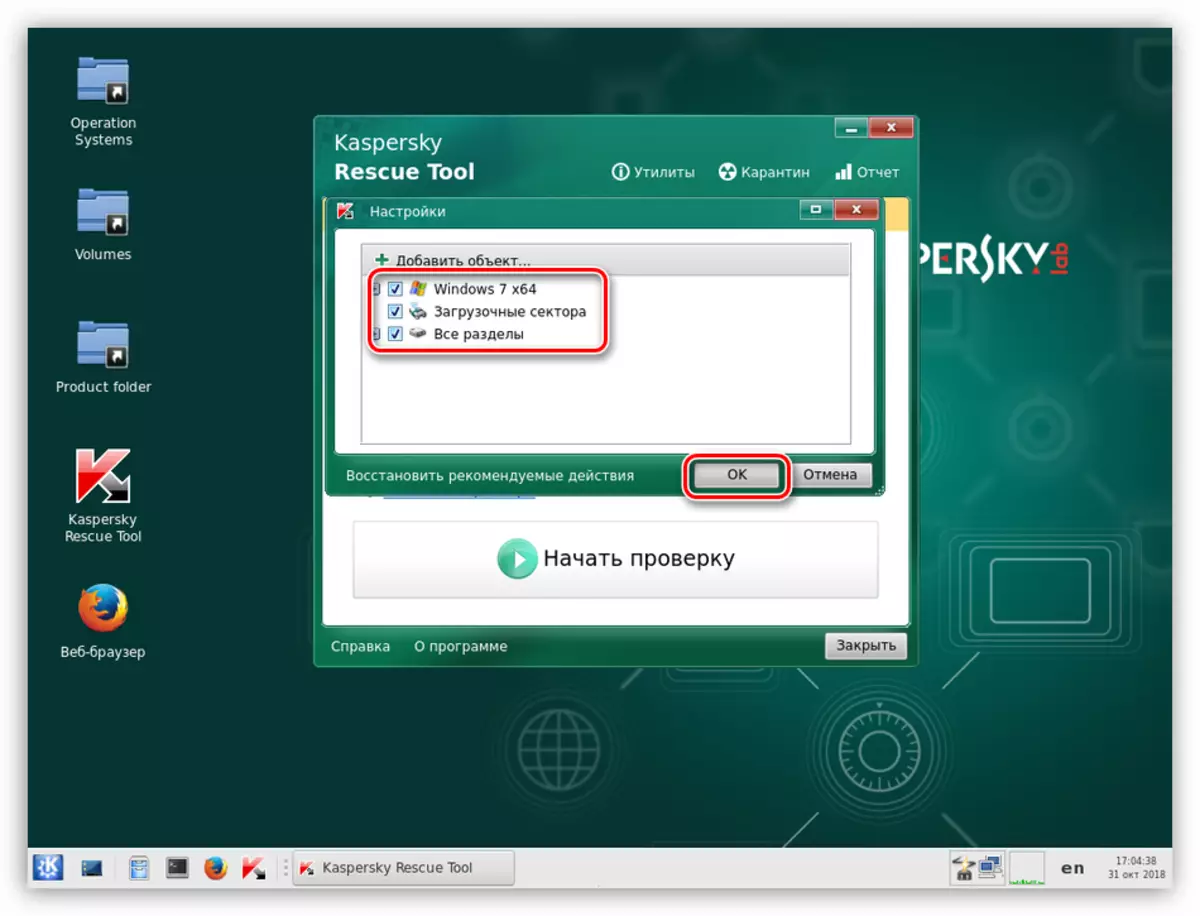
- We set all the daws and click OK.
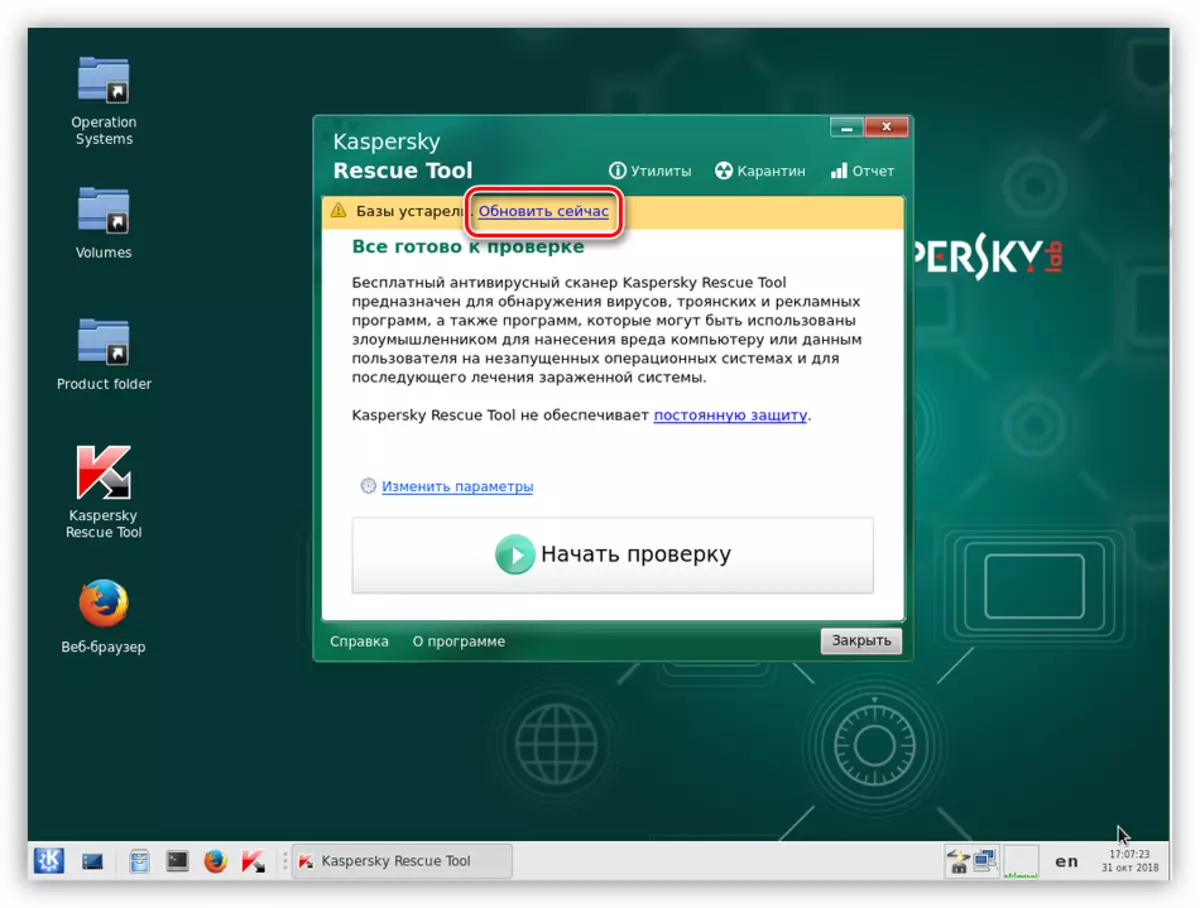
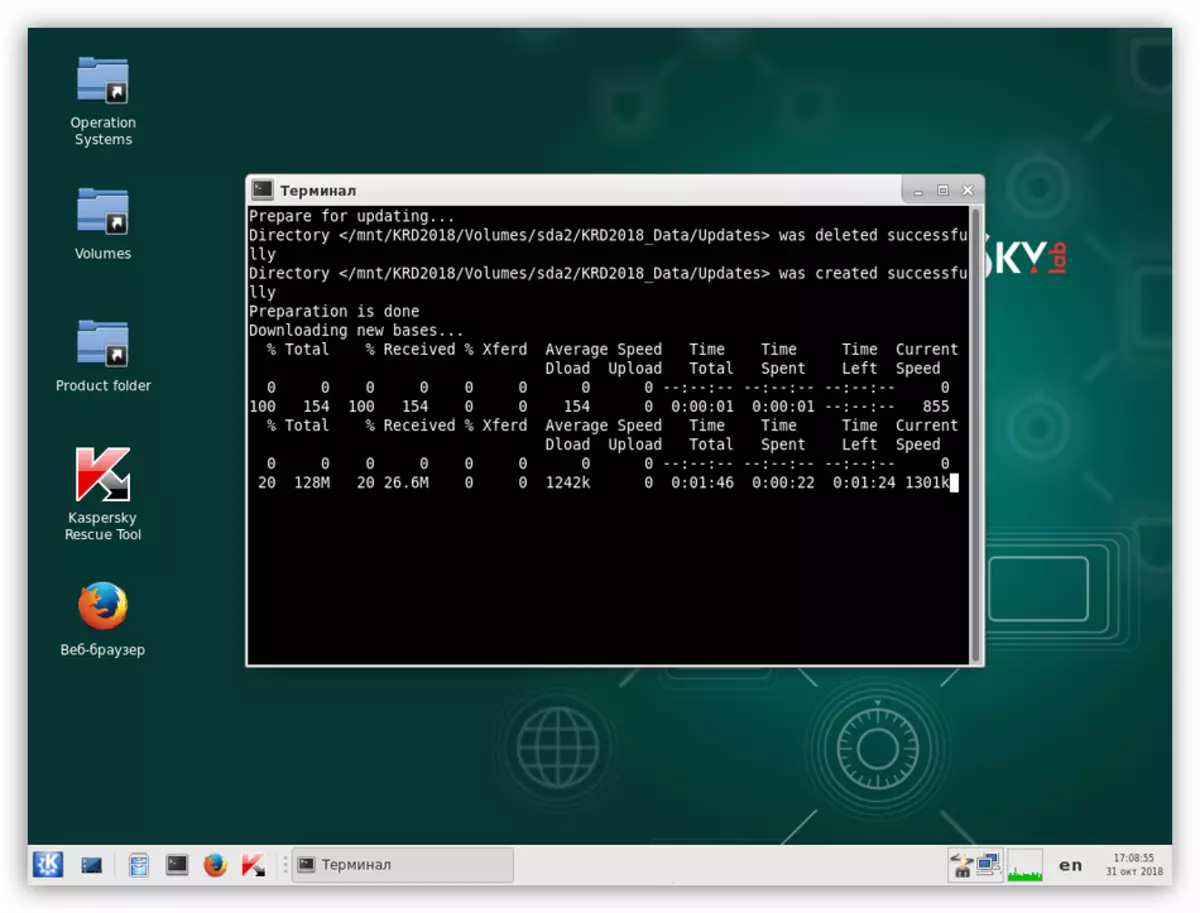
- If the upper part of the utility interface shows a warning that the bases are outdated, click "update now". You will need to connect to the Internet.
We are waiting for the end of the download.
- After re-accepting the license conditions and initialization, click the "Start Check" button.
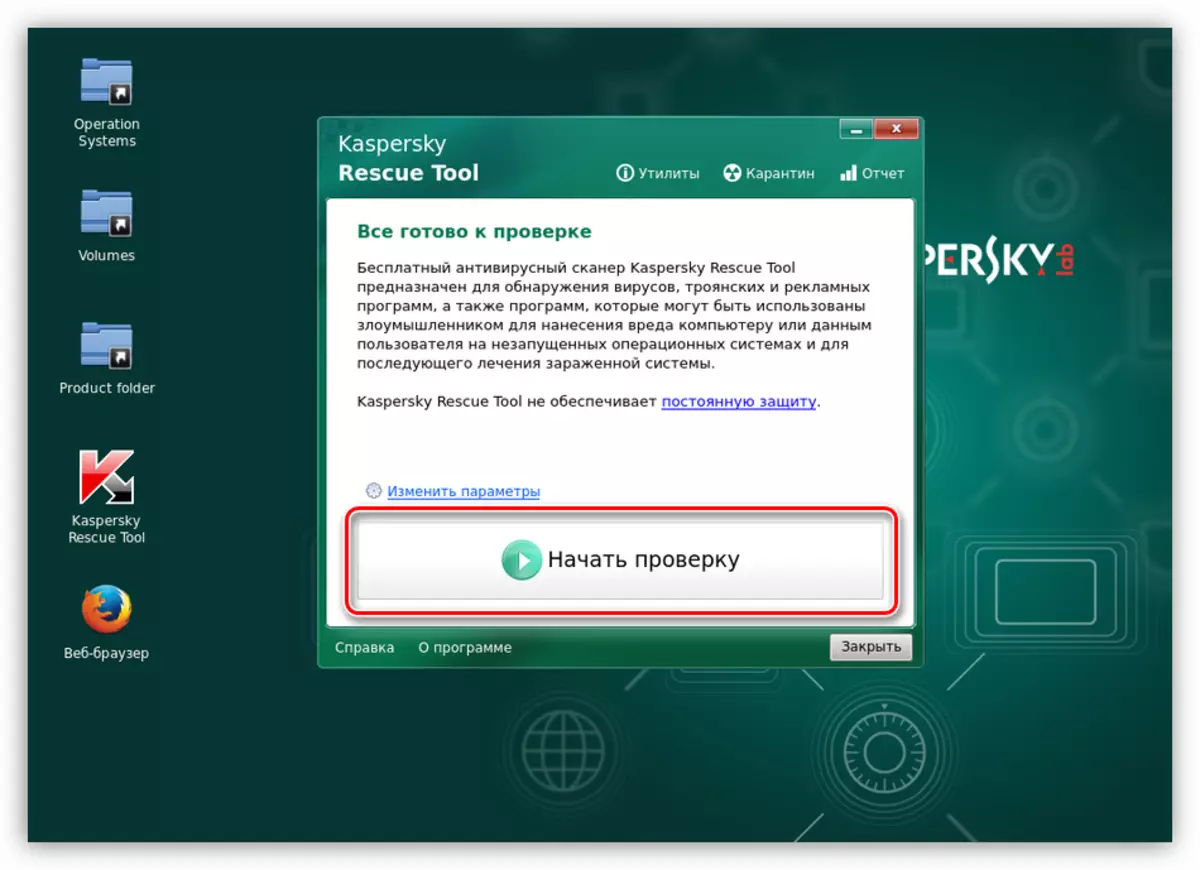
We are waiting for results.

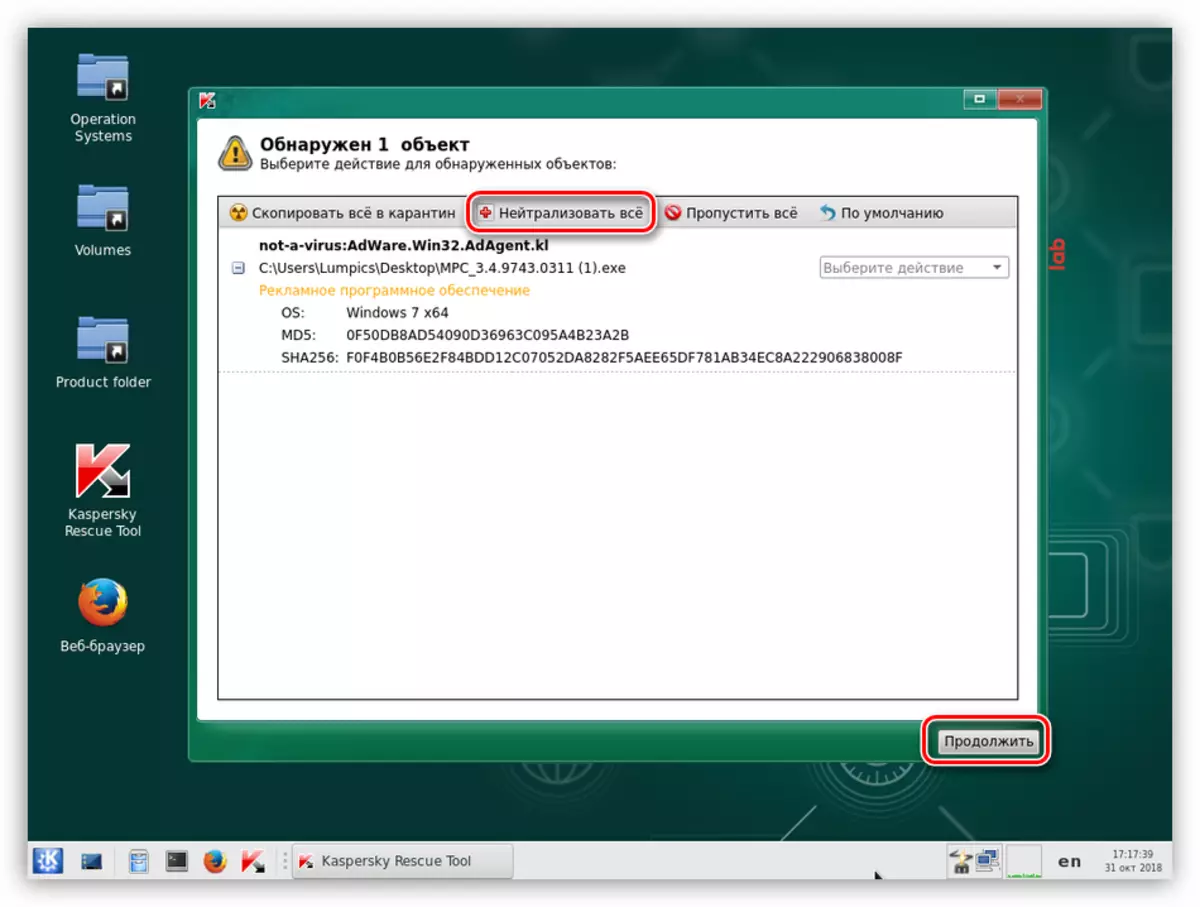
- Press the button "Neutralize everything", and then "continue".
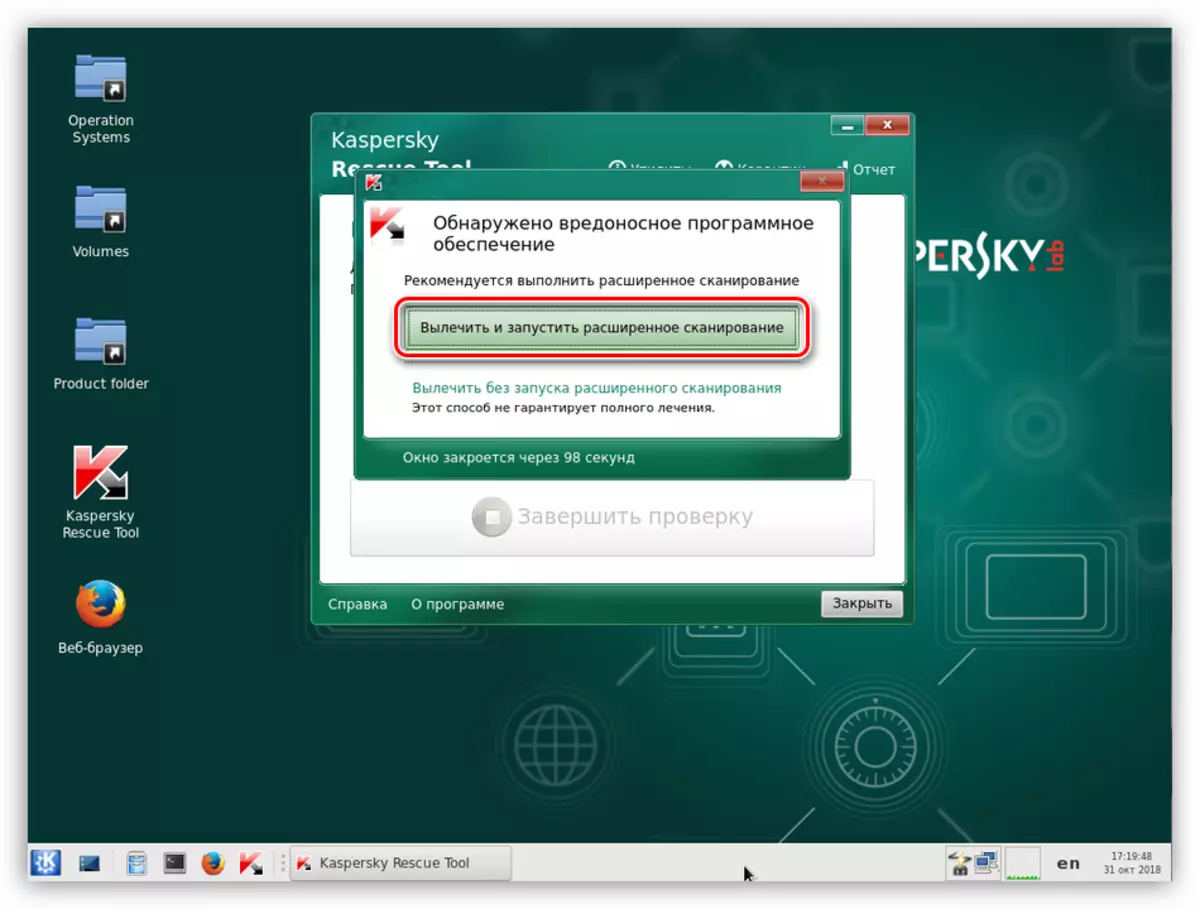
- We choose treatment and extended scanning.
- After completing the next check, we repeat the actions to remove suspicious elements and reboot the machine.
In itself, the removal of viruses will not help us solve the problem, but will eliminate one of the reasons that caused it. After this procedure, you need to proceed to restore the system or deleting updates.
Conclusion
Restoring the performance of the system after unsuccessful update - the task is nontrivial. The user who collided with such a malfunction will have to show attentiveness and patience during the execution of this procedure. If nothing helped, it is worth thinking about changing the Windows Distribution and reinstall the system.