
As you know, in any section of the Winchester, you can create a virtual hard disk using the built-in operating system tools or third-party programs. But there may be such a situation that it will be necessary to delete this object to release the place for other purposes. We'll figure it out how to perform the specified task in various ways to PC with Windows 7.
Method 2: "Disk Management"
The virtual media can also be removed without using third-party software, applying only the "native" snap-in windows 7 called "Disk Management".
- Click "Start" and move to the control panel.
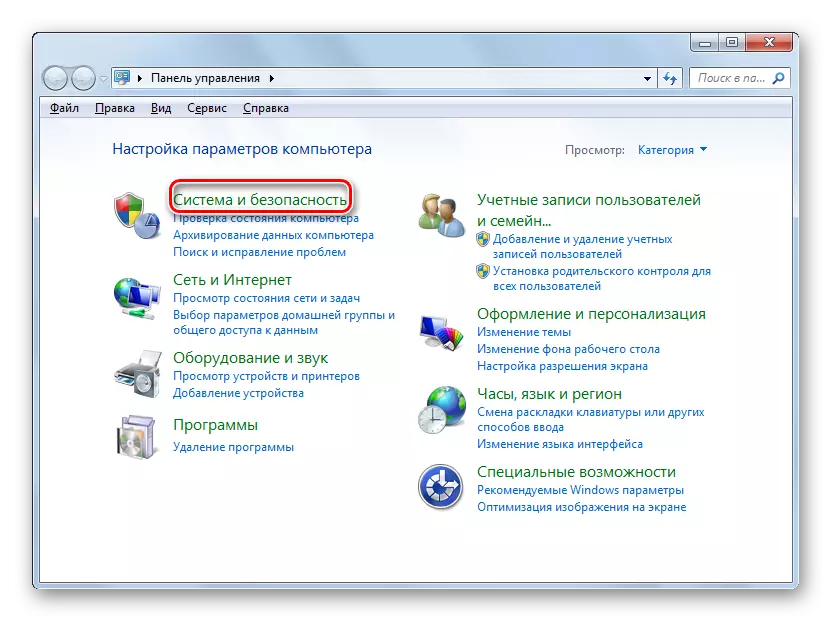
- Go to "System and Security".
- Click Administration.
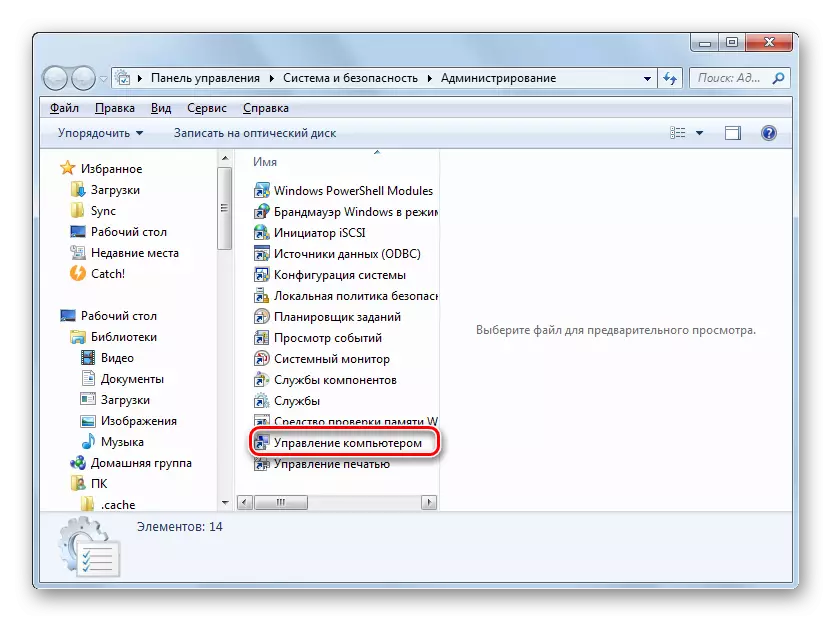
- In the list, find the name of the computer "Computer Management" snap and click on it.
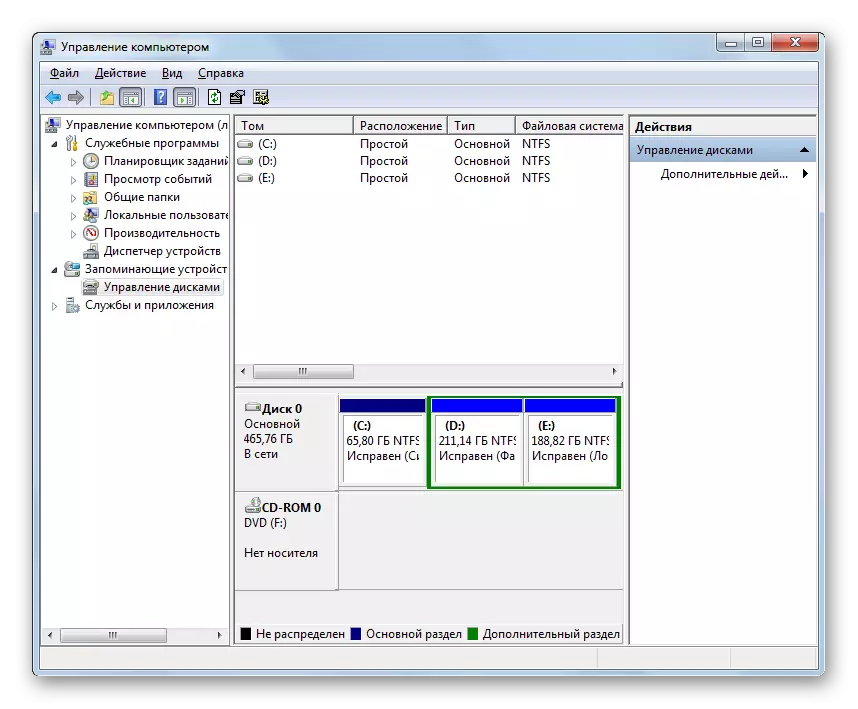
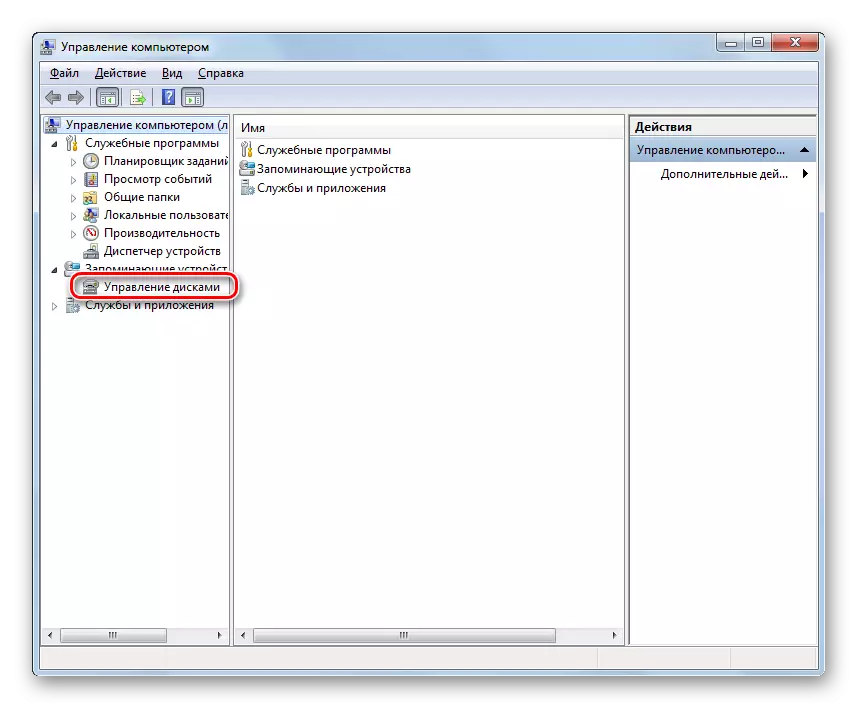
- On the left side of the window that opens, click "Disk Management".
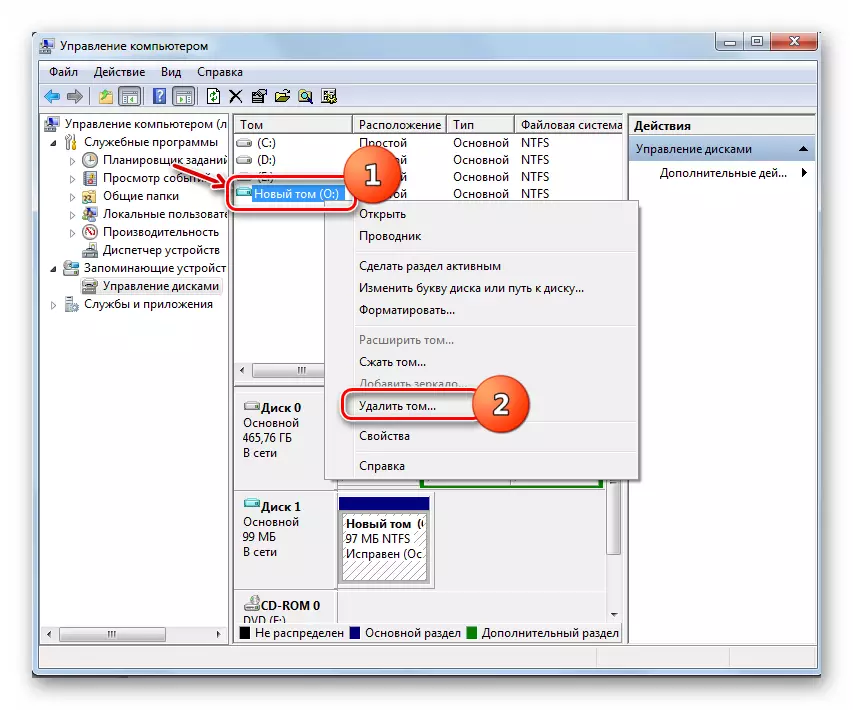
- The list of partitions of the hard disk opens. Watch out the name of the virtual media that you want to demolish. Objects of this type are highlighted by turquoise color. Click on the PCM and select "Delete TOM ...".
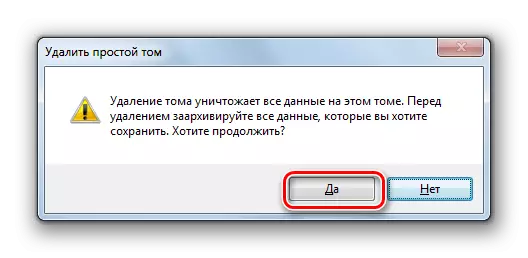
- A window will open, where information appears that when the procedure continues, the data inside the object will be destroyed. To start the removal process, confirm your solution by pressing "Yes."
- After that, the name of the virtual media will disappear from the top of the accessory window. Then go down to the bottom area of the interface. Find an entry that refers to the remote one. If you do not know which item is needed, you can navigate in size. Also to the right of this object will stand status: "not distributed." Click the PCM on the name of this media and select the option "Disconnect ...".
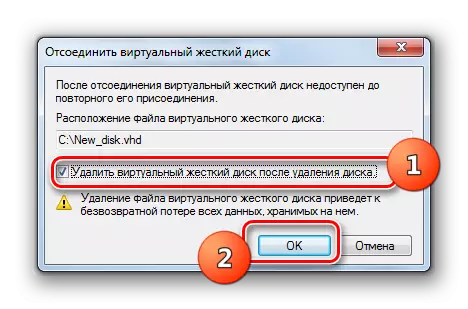
- In the displayed window, select the checkbox opposite the "Delete ..." item and click OK.
- The virtual medium will be completely and finally removed.
Lesson: Disk Management Function in Windows 7


Previously created virtual drive in Windows 7, you can delete through the third-party interface to work with disk carriers, or using the built-in snap-in disk management system. The user himself can choose a more convenient removal option.