

The clipboard (Bo) is one of the most important tools of operating systems facilitating copying and transferring any, not necessarily textual, information. By default, you can insert only the last copied data, and the previous copied object will be erased from the exchange buffer. Of course, this is not very convenient for users, tightly interacting with large amounts of information you want to distribute within programs or Windows itself. In this case, substantial assistance will have additional opportunities for watching Bo, and then it will be discussed precisely about them.
View clipboard in Windows 10
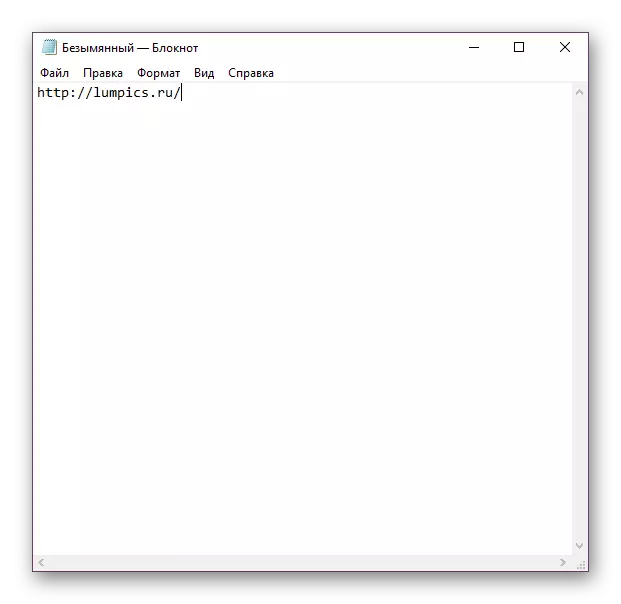
Newcomers should not forget about the classic possibility of viewing the clipboard - inserts a copied file in the program that supports this format. For example, if you copied the text, you can view it by inserting the running program to any text field or in a text document. The copied image is the easiest way to open in Paint, and the whole file is inserted into the convenient Windows directory in the folder or on the desktop. For the first two cases, it is convenient to use the Ctrl + V key combination (or "Edit" / Edit - "Paste"), and for the latter - call the context menu and using the "Paste" parameter.

The old and relatively active users of the Windows operating systems remember how non-worked out the clipboard - cannot be viewed its story, because of which the valuable information was sometimes lost, which the user copied, but forgot to save. For those who needed to switch between data copied in Bo, had to install third-party applications leading copying history. In the "dozen" you can do without it, as Windows developers have added a similar viewing function. However, it is impossible not to notice that according to functionality, it is still inferior to third-party analogues, which is why many continue to use solutions from independent creators of software. In this article, we will look at both options, and you compare and choose the most suitable for yourself.
Method 1: third-party programs
As mentioned above, programs from various developers have an extended range of features, thanks to which users can not only see the last few copied objects, but also mark important data, create entire folders with them, access history from the first use and improve their interaction With more methods.
One of the most popular programs that has proven itself is Clipdiary. It is multifunctionable, where in addition to the above-above, there is also an insertion of the formatted and unformatted text to select the user, creating templates, the restoration of randomly remote copied data, viewing the information setting and flexibly configured control. Unfortunately, the program is not free, but it has a 60-day trial period, which will help to understand whether it is worth buying it on a permanent basis.
Download ClipDiary from the official site
- Download and install the program in the usual way, and then run it.
- Go through the primary setting for further use. Immediately it is necessary to make a reservation that each copied object here is called "clip".
- In the first window, you will need to select a keyboard key to quickly call the ClipDiary window. Leave the standard value or set the desired one. A tick includes support for Win key that protects against accidentally pressing a given combination. The application is also started from the third of the Windows, where it turns on even when pressed to the cross.
- Check out the brief instructions for use and go further.
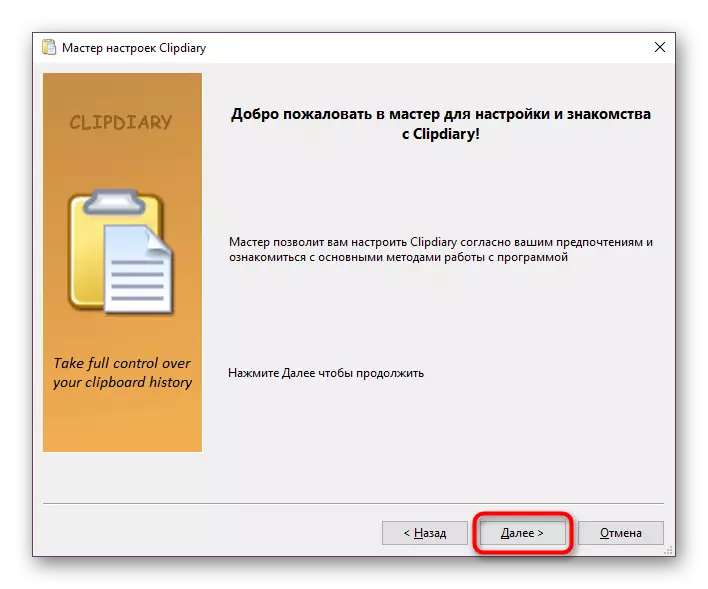
- Now it will be proposed to practice. Use the recommendations or install a tick opposite item "I realized how to work with the program" and go to the next step.
- To quickly place objects in the clipboard, making them active, the program proposes to specify two key combinations.
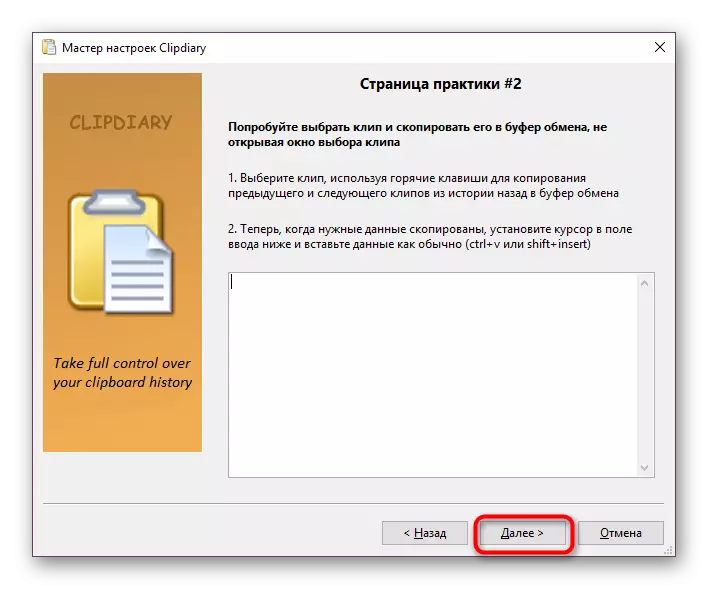
- To secure new knowledge, the Practice page will open again.
- Complete the setting.
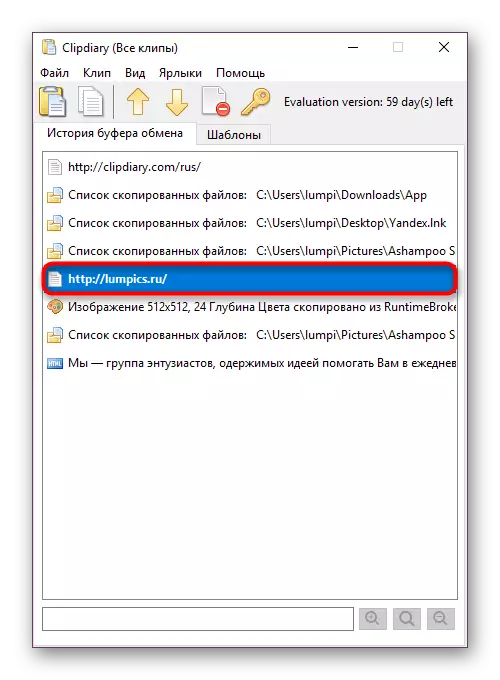
- You will see the main Clipdiary window. Here the list from the old to the new will be kept the story of all your copying. The application remembers not only the text, but also other elements: links, pictures and other multimedia files, whole folders.
- Using previously set key combinations, you have access to all the savings. For example, to put one of the old records in the clipboard, select it with the left mouse button and press Ctrl + C. The item will be copied, and the program window closes. Now it can be inserted to where you need.
For an instant insertion into a specific application, you will need to do this window active (switch to it), and then run ClipDiary (by default on Ctrl + D or from the tray). Highlight the LCM the desired entry and press ENTER - it will immediately appear, for example, in a notebook, if you need a text insertion exactly.
The next time you start within the framework of the same session of Windows, you will see that the copied file will be highlighted in bold - they are marked with all stored "clips" that you were placed in the clipboard.
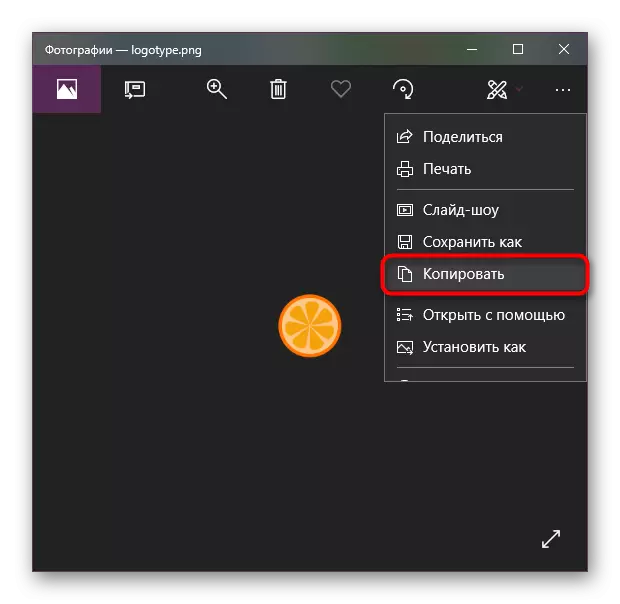
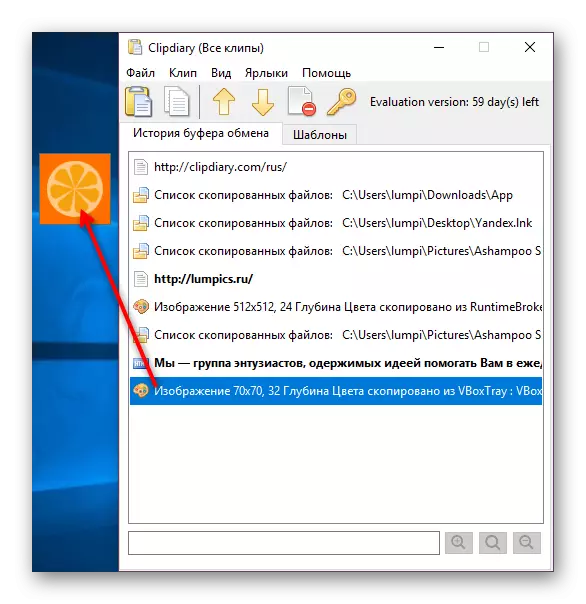
- Copying images may be a bit difficult. For some reason, Clipdiary does not copy images with standard ways, but does it only if the picture is saved on the PC and the process itself occurs through the program interface in which it is open.
The image placed in the clipboard is available for viewing, if you simply select it with a single click LKM, a pop-up window will appear with a preview.


With the rest of the possibilities that are considered additional, you can easily figure out yourself and configure the program for yourself.
As analogues of this application, we recommend not less than (and even more) functional and complimentary analogues in the face of CLCL and FREE Clipboard Viewer.
Method 2: Built-in clipboard
In one of the major updates, Windows 10 finally received a built-in clipboard viewer, which is endowed with only necessary features. We can only take advantage of versions of 1809 and higher. By default, it is already enabled in the OS settings, so it is only enough to call a special key combination specifically.
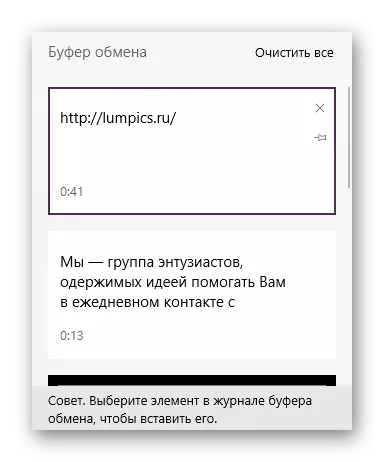
- Press the Win + V key combination to open Bo. All copied objects are ordered in time: from fresh to old.
- You can copy any object by scrolling the mouse with a scroll and clicking on the desired entry of the left mouse button. At the same time, it will not rise to the top of the list, and will still remain in its place. Nevertheless, you can insert it into a program that supports this format.
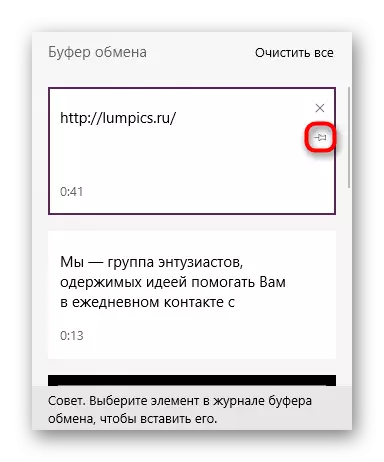
- It is important to know that after rebooting the computer, the standard Windows exchange buffer is completely cleaned. Supports saving any number of entries using the pin icon. So it will stay there until you discard her the same action. By the way, it will continue even if you decide manually clean the magazine Bo.
- This log is cleared by the "Clear All" button. Single records are removed on the usual cross.
- Images are not previewed, but they are saved as a small preview, which helps them recognize in the general list.
- Clicking the clipboard is clicked by the usual click of the left mouse button in any other place of the screen.


If for some reason you are turned off, you can easily activate it.
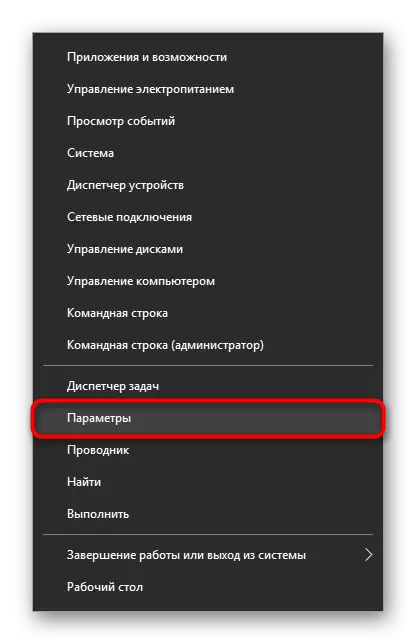
- Open "Parameters" through an alternative "Start".
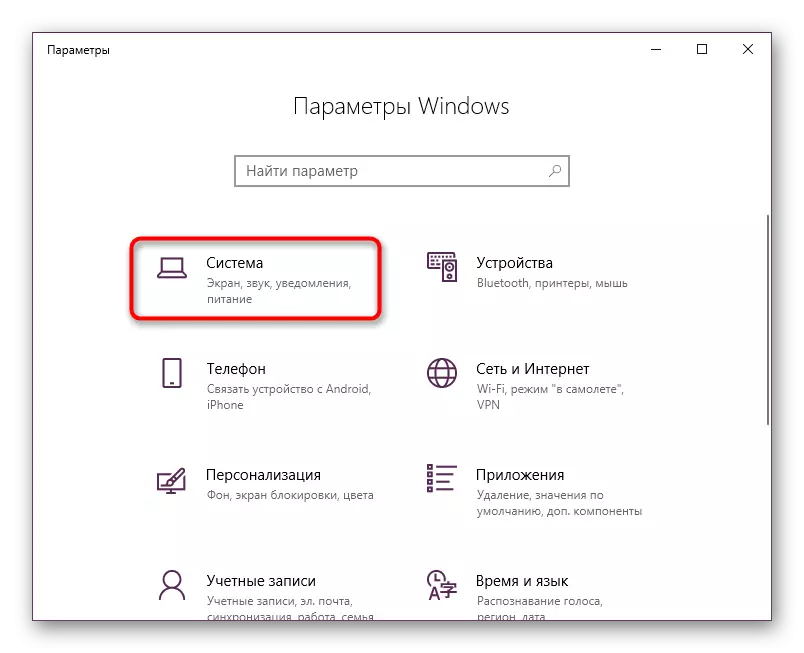
- Go to the System section.
- In the left block, find the "Exchange buffer".
- Include this tool and check its performance by calling it by the window called previously by a combination of keys.


We disassembled two ways to open the clipboard in Windows 10. As you have already noticed, both of them differ in terms of their efficiency, in view of which you do not have any work when choosing a suitable method for working with the exchange buffer.