

In the Windows 7 operating system there is a built-in configurable element responsible for archiving a specific disk space. It creates backup files of files and allows you to restore them at any time. However, this tool is not needed to be needed, and the continuous execution of processes from its part only interferes with comfortable work. In this case, the service is recommended to disable. Today we gradually understand this procedure.
Turn off the archive in Windows 7
We divided the task for steps to make it easier to navigate in the instructions. There is nothing difficult to implement this manipulation, just follow the manuals below.Step 1: Turning off the schedule
First of all, it is recommended to remove the archiving schedule, which will ensure the inactivity of the service in the future. It is only required to produce this if earlier the creation of backup copies was actively. If deactivation is necessary, follow these steps:
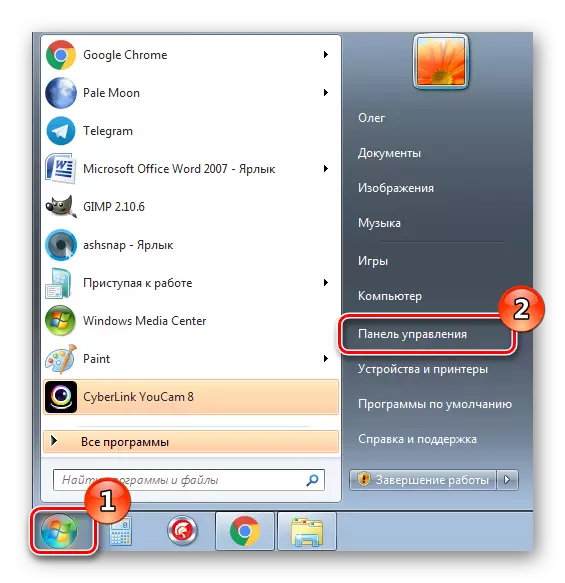
- Through the "Start" menu, go to the control panel.
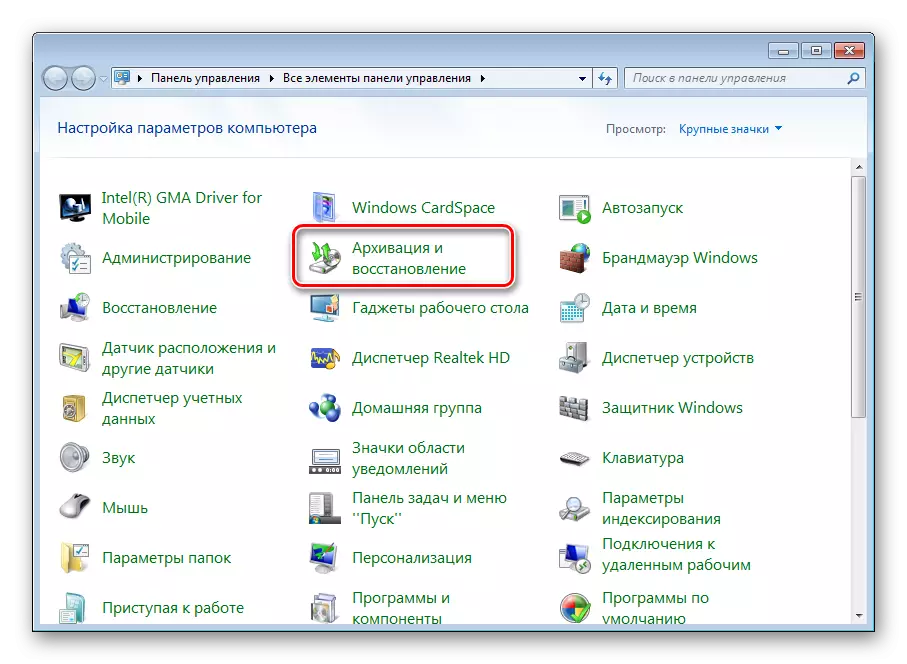
- Open the "Archiving and Recovery" section.
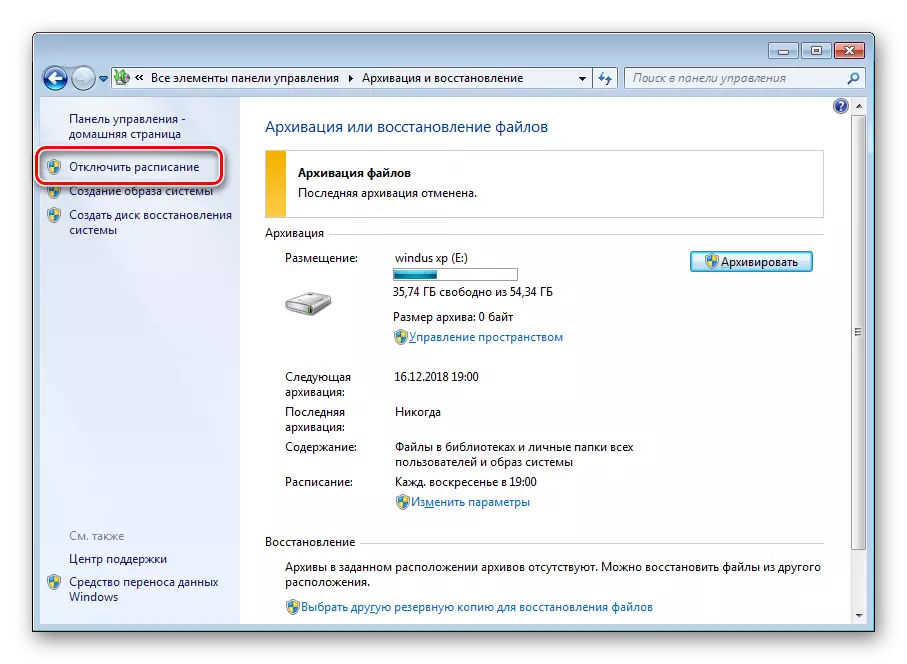
- In the left pane, find and click on the "Disable Schedule" link.
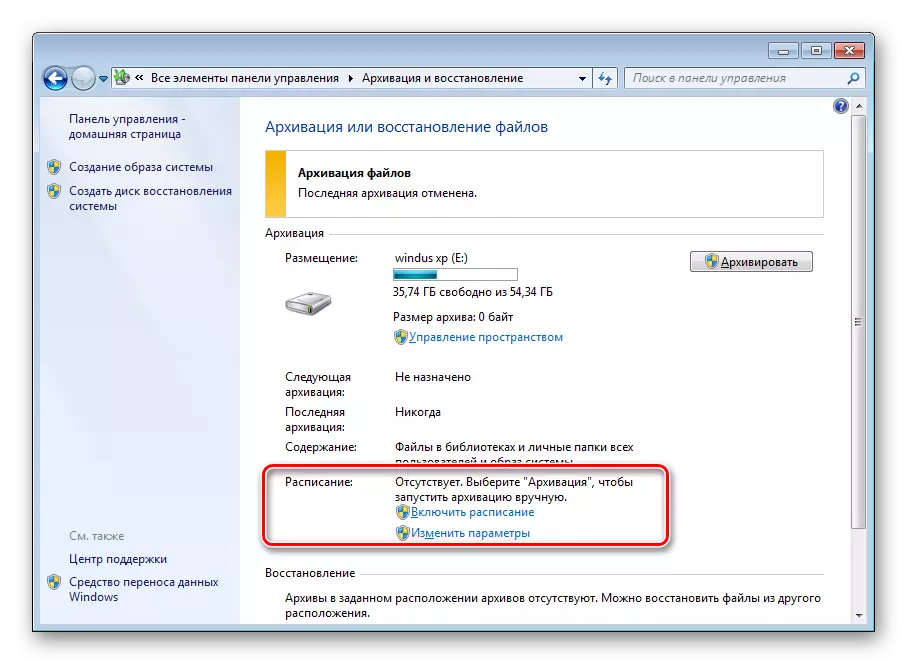
- Make sure the schedule was successfully turned off by looking at this information in the "Schedule" section.
If you have received an error 0x80070057 when switching to the category "Archiving and recovery", you will need to first correct it. Fortunately, it is literally in a few clicks:
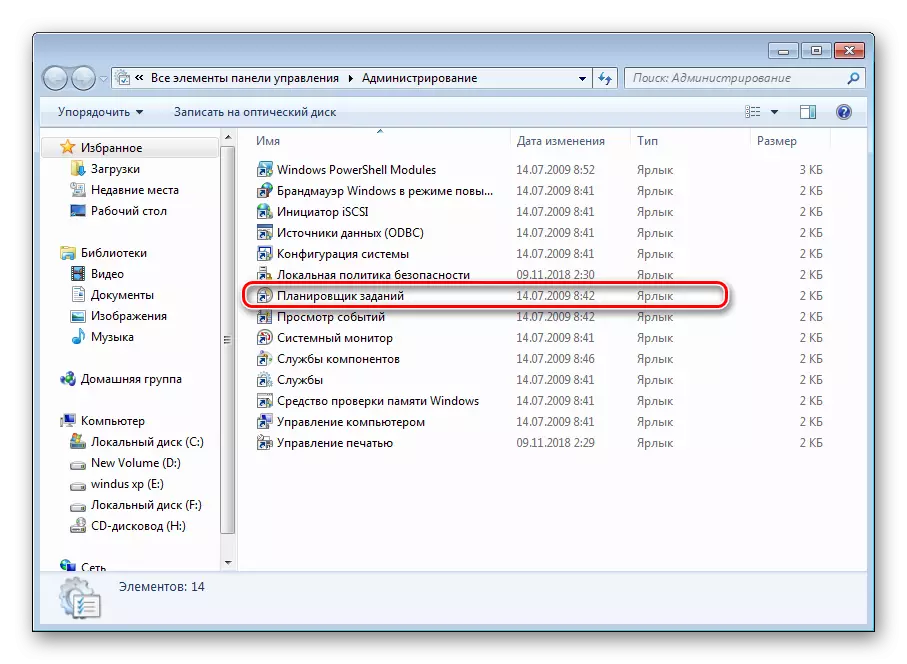
- Return to the "Control Panel" and this time go to the "Administration" section.
- Here in the list you are interested in the string "Task Scheduler". Click on it twice with the left mouse button.
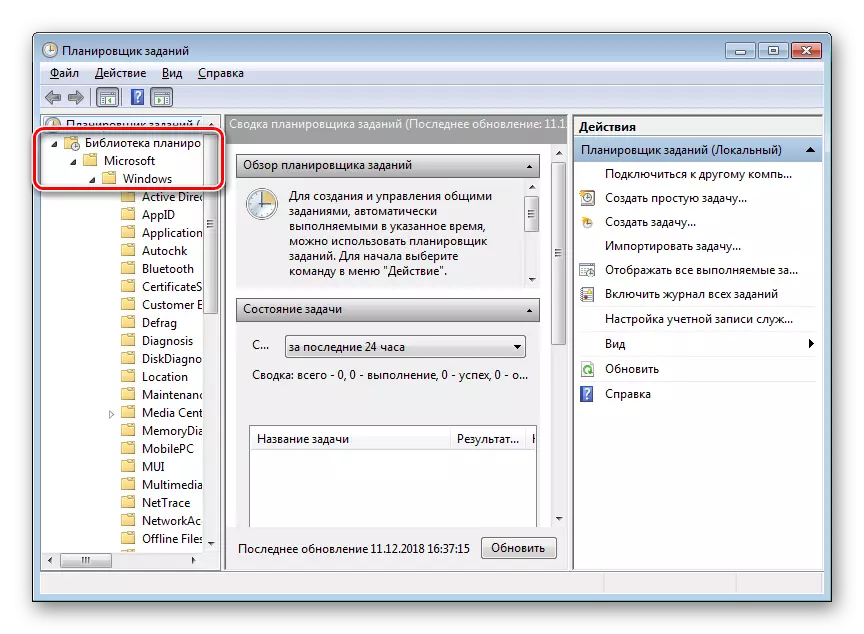
- Expand the job Planner Library directory and open the Microsoft - "Windows" folders.
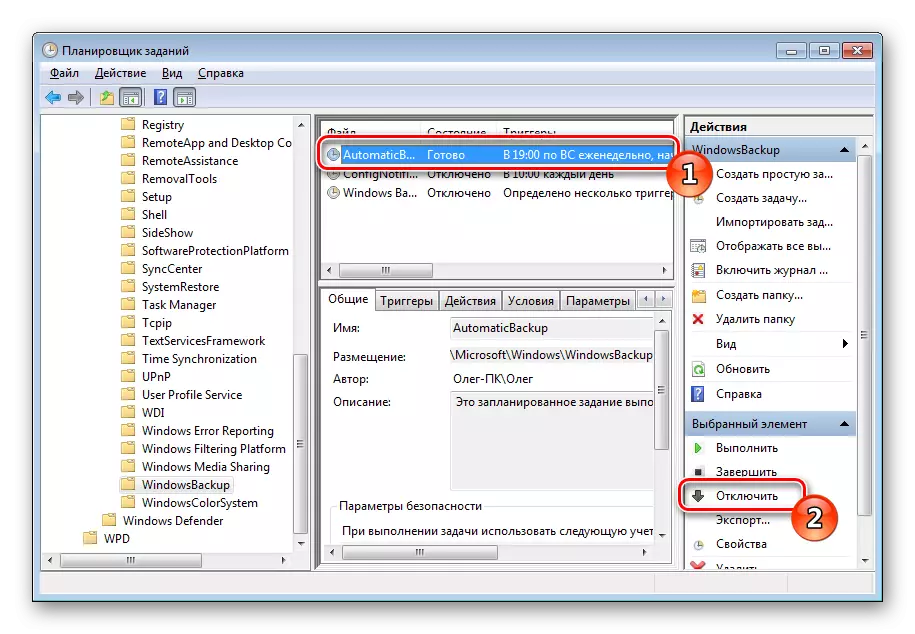
- Scroll down the list where you find "WindowsBackup". In the table in the middle, all tasks will be displayed that will be deactivated.
- Highlight the required string and on the on the right panel, click on the "Disable" button.

After executing this process, restart the computer and you can go to the "Archiving and Recovery" category, and then turn off the schedule there.
Step 2: Delete the created archives
It is not necessary to produce this, but if you want to clean the backup space on the hard disk, delete the previously created archives. This actions are made as follows:
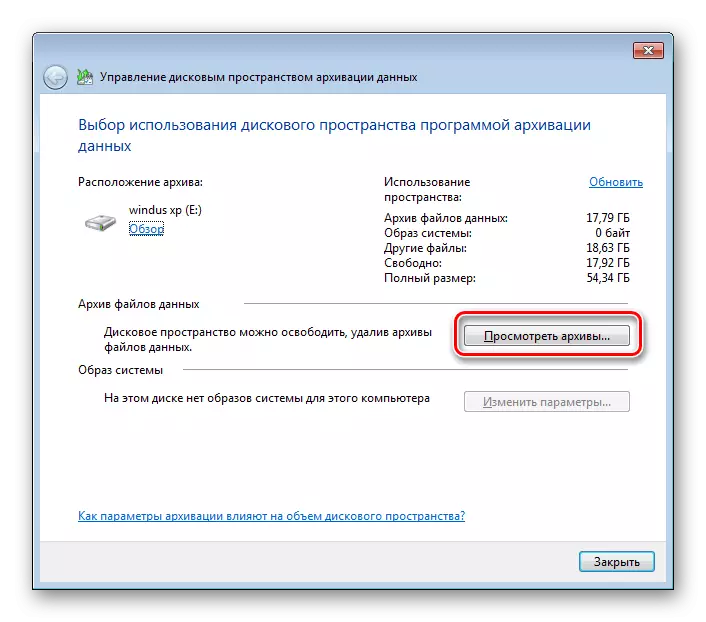
- Open "Backup and Recovery" Go to the "Space Management" link
- In the "Data File Archives", click on the "View Archives" button.
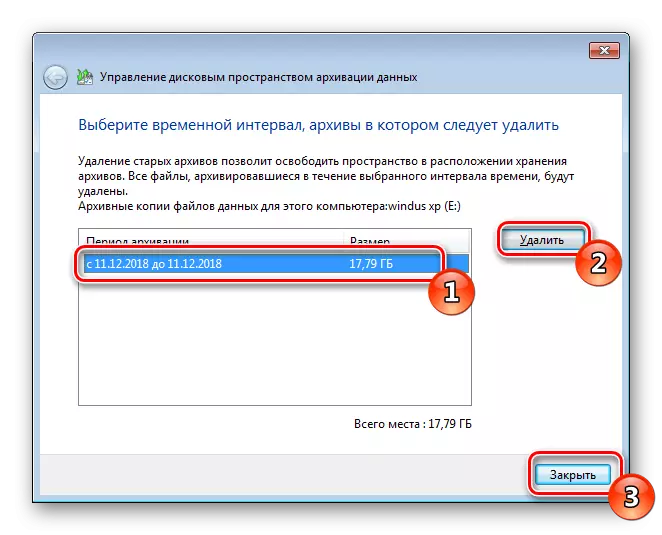
- In the appended list of archiving periods, select all unnecessary copies and remove them. Complete the process by clicking on the Close button.

Now with the installed hard disk or removable media, all created backups have been deleted during a certain period of time. Go to the next step.
Step 3: Disable Archiving Service
If you independently disable the archiving service, this task will never start without prior manual launch. The service is deactivated in the same way as all others - through the appropriate menu.
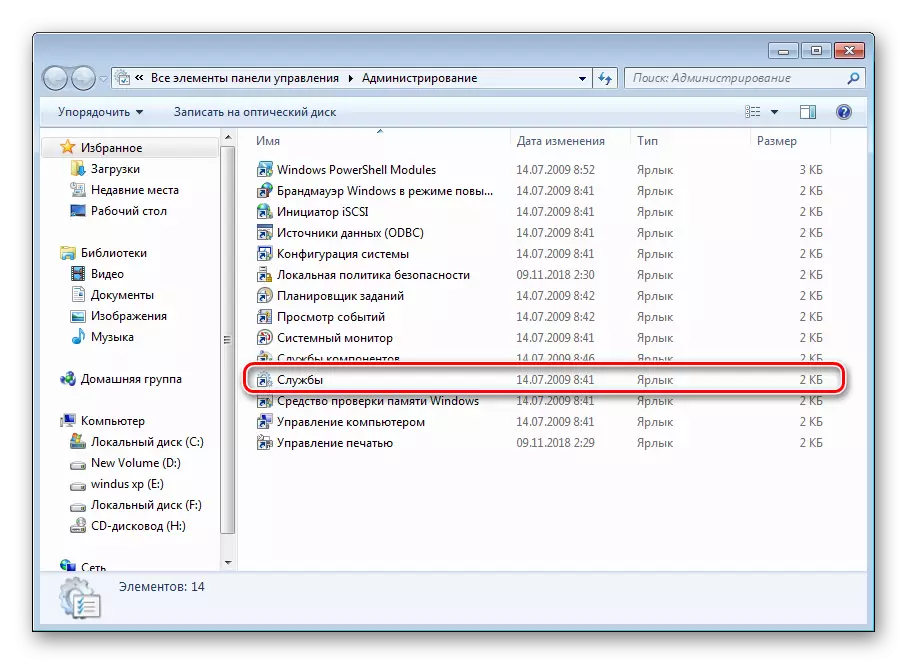
- In the Control Panel, open the Administration section.
- Select the "service" string.
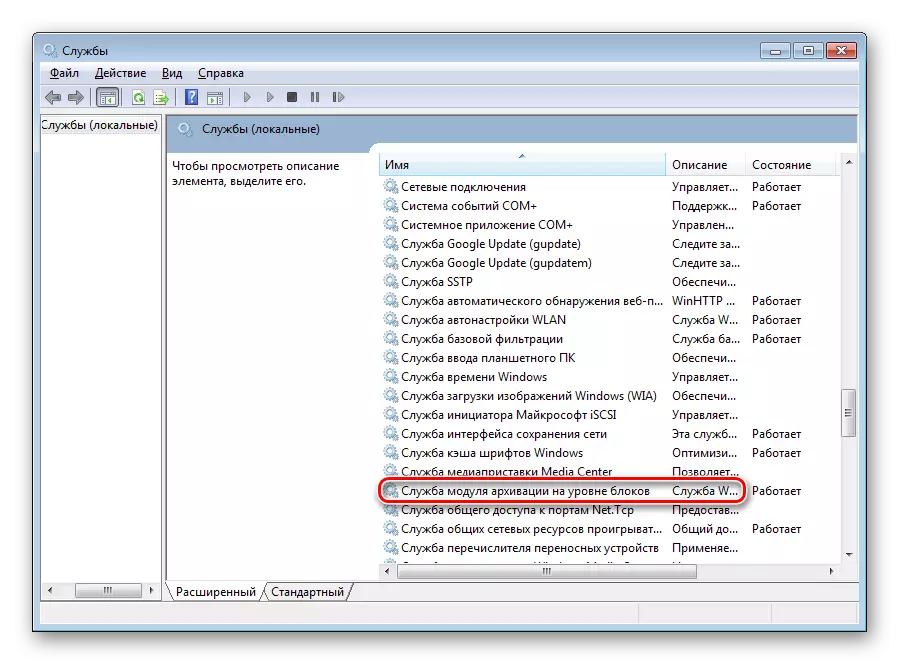
- Run down a bit down the list, where to find the "archiving module service at the block level". Click on this line twice LX.
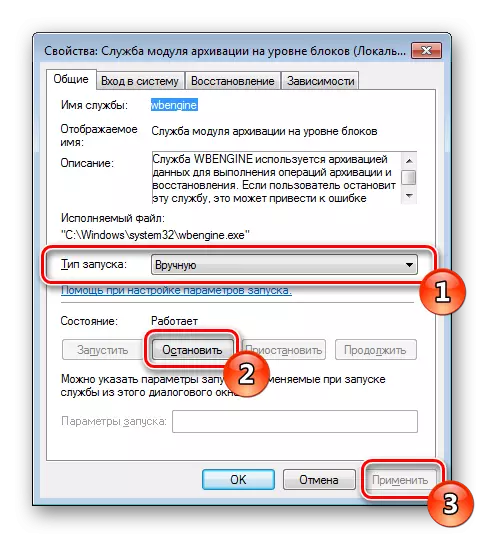
- Specify the appropriate type of startup and click on the "Stop" button. Before going out, do not forget to apply the changes.
Upon completion, restart the PC and automatic archiving will never bother you again.
Step 4: Disable notifications
It remains only to get rid of the annoying system notification that will constantly remind you that it is recommended to configure archiving. Remove notifications as follows:
- Open the "Control Panel" and select the category "Support Center".
- Go to the "Setup Support Center" menu.
- Remove the box from the Windows Archiving Point and press OK.


The fourth stage was the last, now the archiving tool in Windows 7 operating system is disabled forever. He will not disturb you until you start it yourself by performing the appropriate actions. If you have any questions on this topic, feel free to ask them in the comments.
See also: Restore system files in Windows 7