

Some Windows 10 users may have an inscription "Test mode", located in the lower right corner. In addition to it, the editors of the installed operating system and its assembly data are indicated. Since in fact it turns out to be useless for almost all ordinary users, the desire to disable it reasonably arises. How can this be done?
Test mode disabling in Windows 10
There are two options at once how you can get rid of the appropriate lettering - disable it completely or just hide test notification. But to begin with, it is worth clarifying where this mode came from and whether it should be deactivated.As a rule, this alert in the corner becomes visible after the user disabled the verification of the digital signature of the drivers. This is a consequence of the situation when he failed to establish any driver in the usual way due to the fact that Windows could not check its digital signature. If you didn't do this, perhaps the case is already in non-license assembly (repack), where such check was disabled by the author.
Method 2: Test mode disabling
With the complete certainty that the test mode is not needed and after it is turned off all the drivers will continue to function properly, use this method. It is even easier for the first, since all actions are reduced to what you need to execute one command in the "command line".
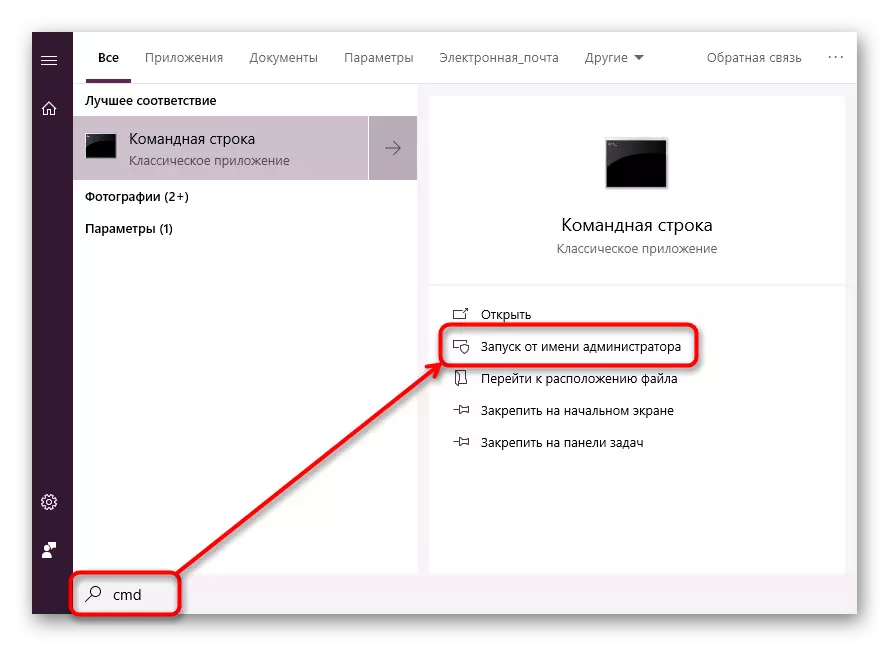
- Open the "Command Line" on behalf of the administrator through the "Start". To do this, start typing it or "CMD" without quotes, then call the console with the appropriate authority.
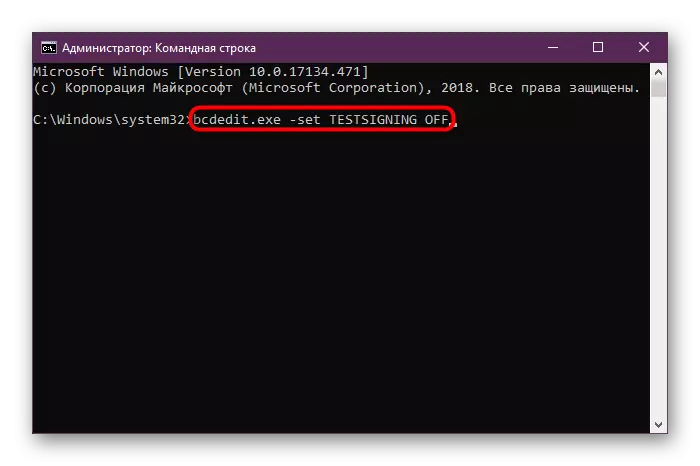
- Enter the bcdedit.exe -set testsigning OFF command and press ENTER.
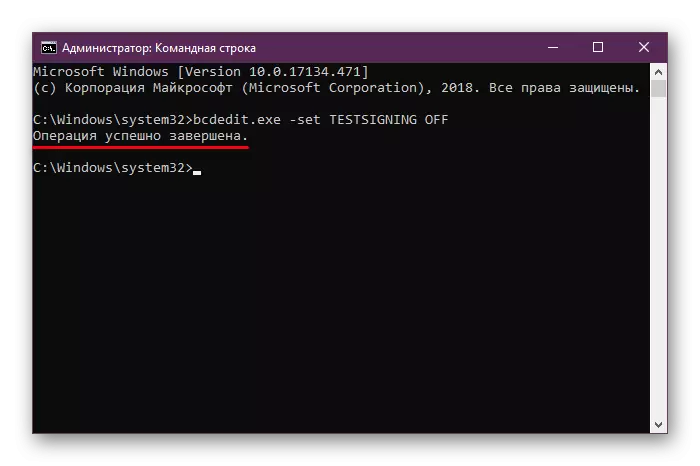
- You will be notified about the applied actions.
- Restart the computer and check whether the inscription was removed.
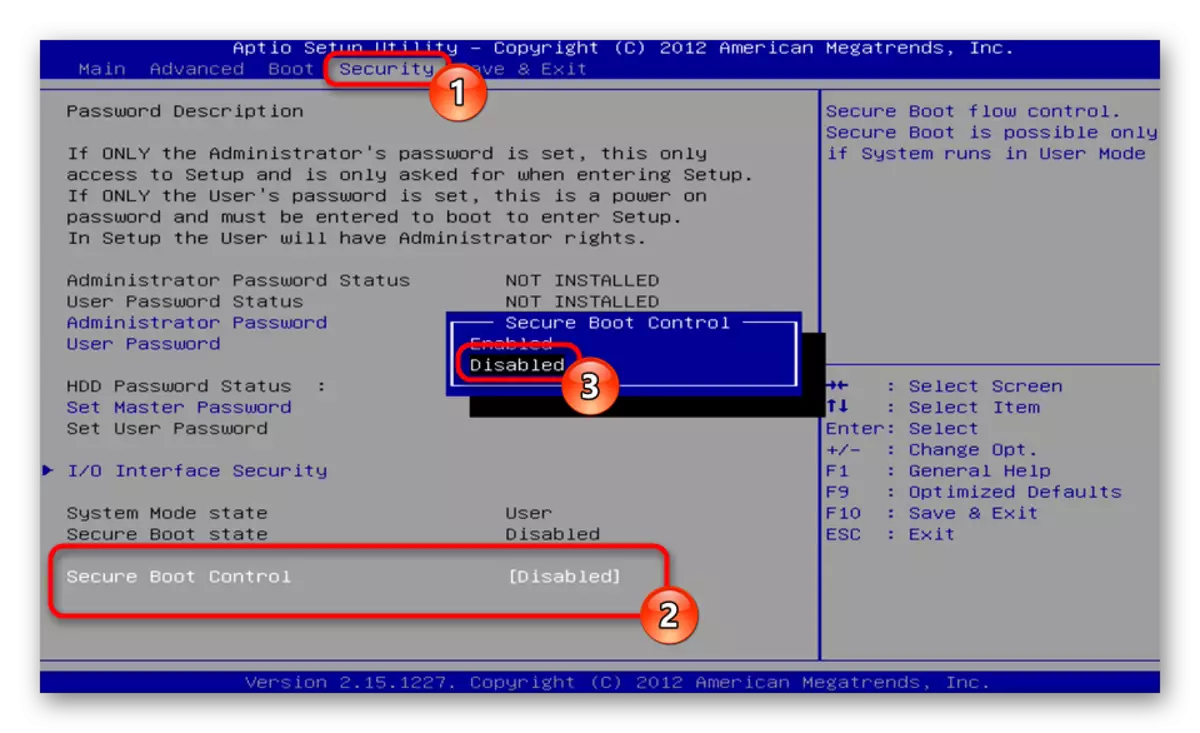
If, instead of a successful disconnection, you saw a message with an error message in the "command line", disconnect the "Secure Boot" option, protecting your computer from unverified software and operating systems. For this:
- Switch to BIOS / UEFI.
Read more: How to get to the BIOS on the computer
- Using the arrow on the keyboard, go to the "Security" tab and set the "Secure Boot" option to "disabled". In certain BIOS, this option can be located on the "System Configuration", Authentification, Main tabs.
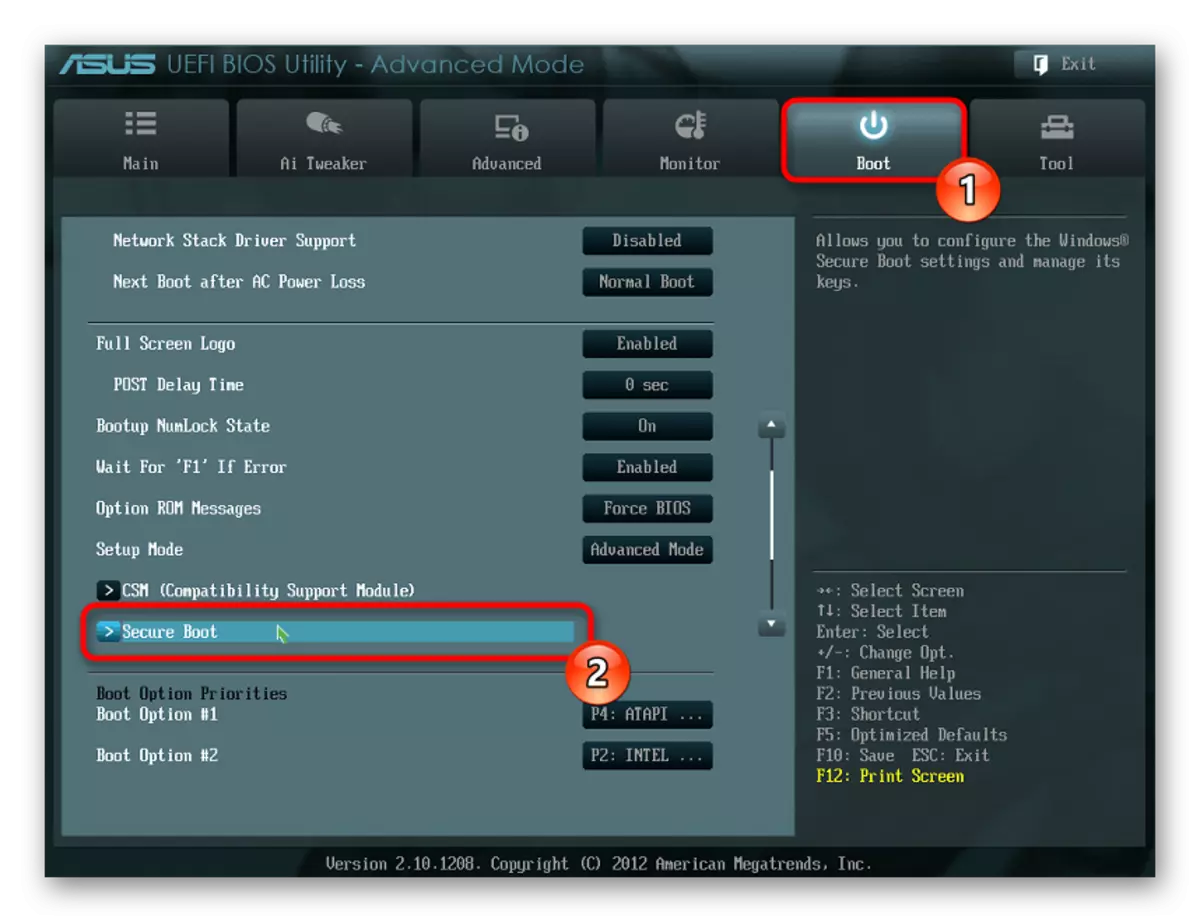
- In UEFI, you can additionally use the mouse, and in most cases the tab will be "boot".
- Press F10 to save the changes and exit BIOS / UEFI.
- Turning off the test mode in Windows, you can enable "Secure Boot" back if you wish.
On this we finish an article if you have any questions left or have difficulty when performing instructions, contact us in the comments.