

Active users of computers and laptops often translate PCs into reduced power consumption when it takes a briefly to leave the device. In order to reduce the amount of energy consumed, there are 3 modes in Windows, and hibernation is one of them. Despite its convenience, it is not necessary for each user. Next, we will tell about two ways to disconnect this mode and how to remove the automatic transition to hibernation as an alternative to a complete shutdown.
Disable hibernation in windows 10
Initially, hibernation was focused on laptop users as a mode in which the device consumes the least energy. This allows the battery longer to hold the charge than if the sleep mode was used. But in certain cases, hibernation brings more harm than good.
In particular, it is strongly not recommended to include those who, instead of a conventional hard disk, SSD is installed. This is due to the fact that during hibernation, the entire session is maintained as a file on the drive, and for CCM, constant overwriting cycles are not categorically welcome and reduced service life. The second minus is the need to take several gigabytes under the hibernation file, which will be free from every user. Thirdly, this mode does not differ at the speed of its work, since the entire saved session first corresponds to the RAM. With "sleep", for example, the data is initially stored in RAM, because of which the launch of the computer occurs significantly faster. Well, finally, it is worth noting that for desktop PC hibernation is practically useless.
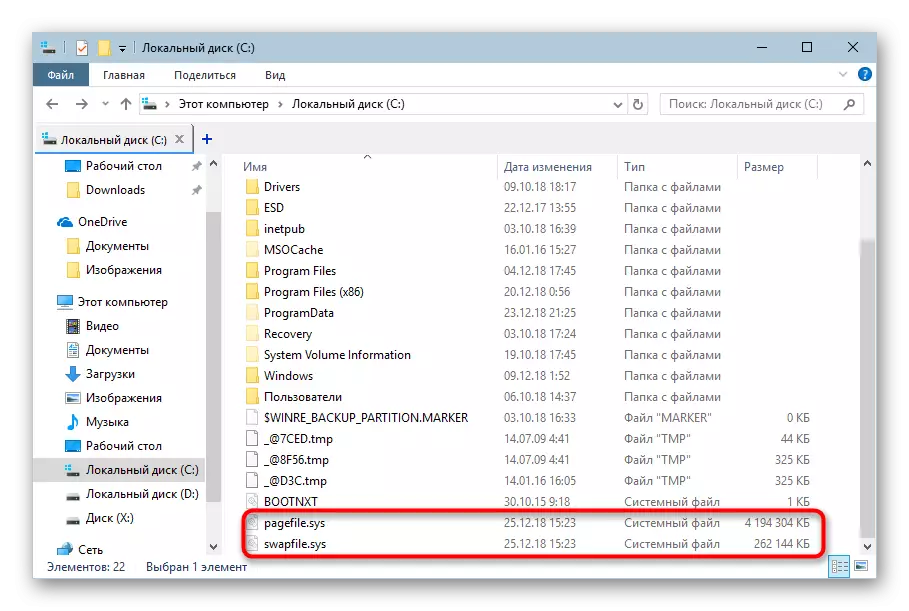
On some computers, the mode itself can be enabled even if the corresponding button is missing in the Start menu when the type of turning off the machine is selected. It is easiest to know whether the hibernation is enabled and how much space it takes on a PC by entering the folder with: \ Windows and looking if the file "hiberfil.sys" is present with a reserved hard disk space to save the session.
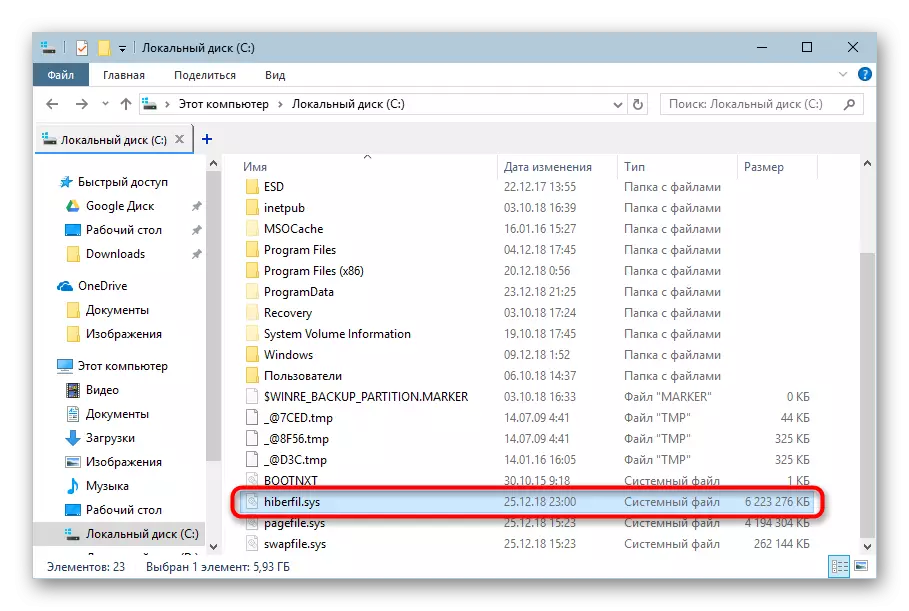
This file can only be seen if the display of hidden files and folders is enabled. Find out how this is done, you can link below.
Read more: Displays hidden files and folders in Windows 10
Disabling the transition to hibernation
If you do not plan to finally part with the hibernation mode, but do not want the laptop to switch to it yourself, for example, after downtime in a few minutes or when you close the lid, make the following system settings.
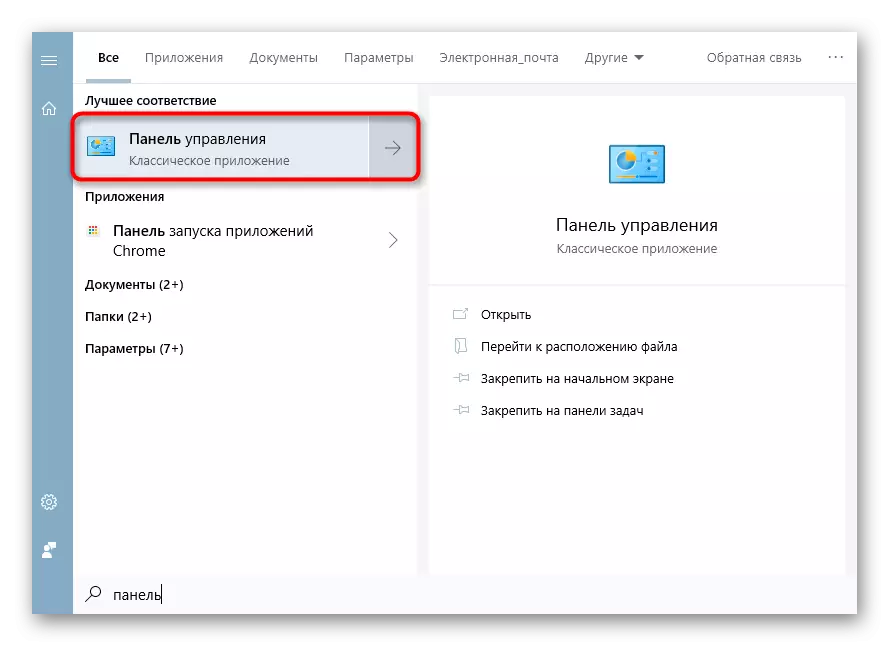
- Open the "Control Panel" through the "Start".
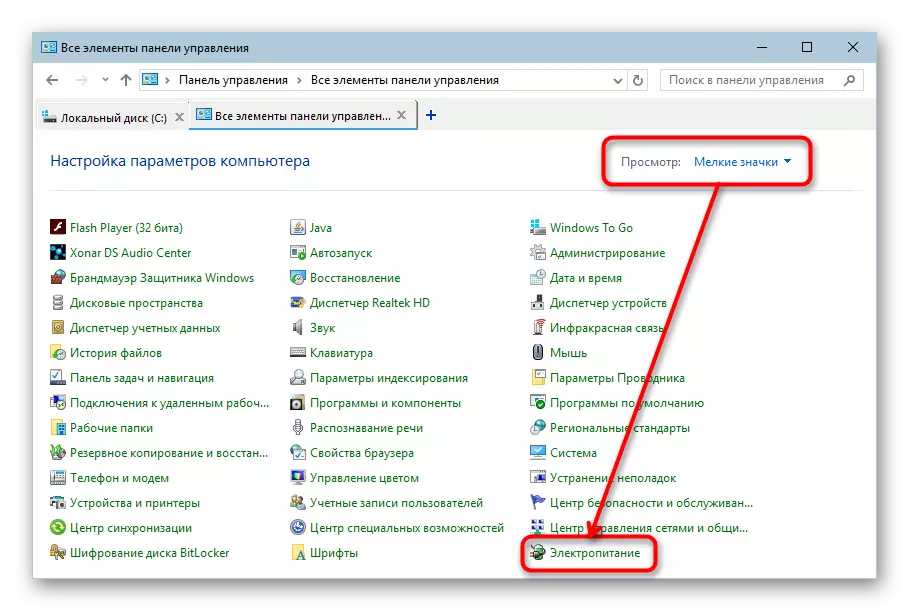
- Set the view type "Large / Minor Icons" and go to the "Power" section.
- Click the "Setup of the Power Scheme" link next to the level of performance that is used in Windows currently.
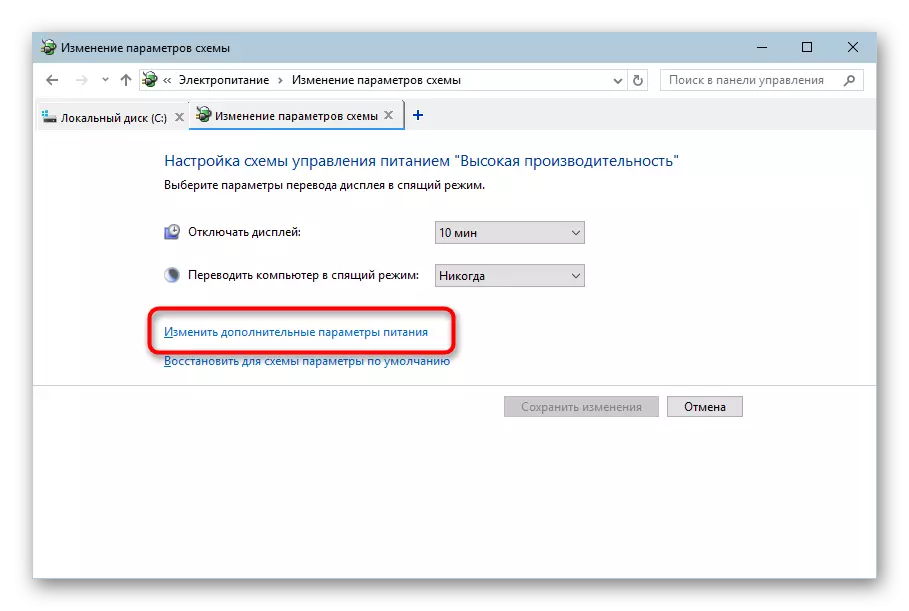
- In the Window, click on the "Change Advanced Power Parameters" link.
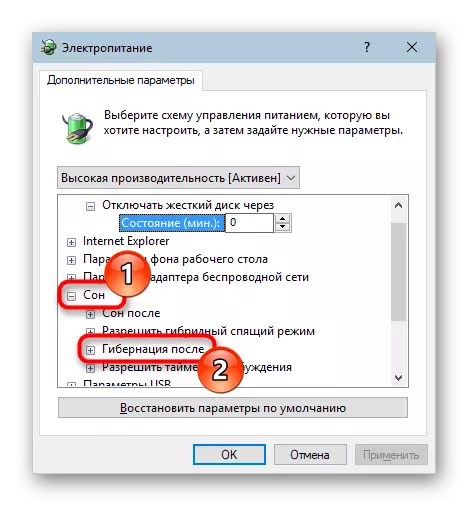
- A window will open, where to deploy the Sleep tab and find the item "Hibernation after" - it also needs to be deployed.
- Click on the "value" to change the time.
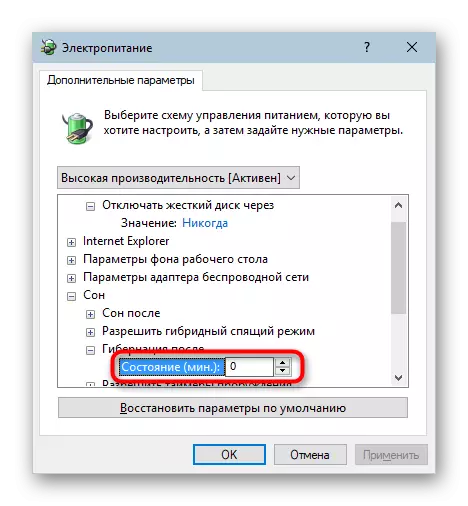
- The period is set in minutes, and to disable hibernation, enter the number "0" - then it will be considered disconnected. It remains to click on "OK" to save the changes.


As you already understood, the mode itself will remain on in the system - the file with a reserved location on the disk will remain, the computer will simply not go to the hibernation until you reinstall the desired period of time before switching. Then we will analyze how to disable it at all.
Method 1: Command String
Very simple and effective in most cases the option is to enter a special team in the console.
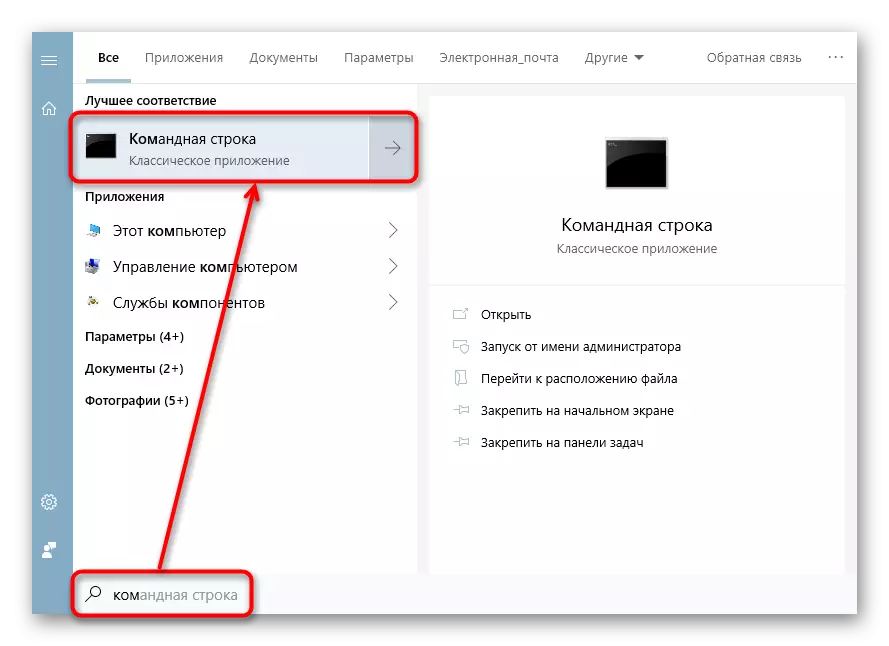
- Call "Command Line" by printing this name in "Start" and open it.
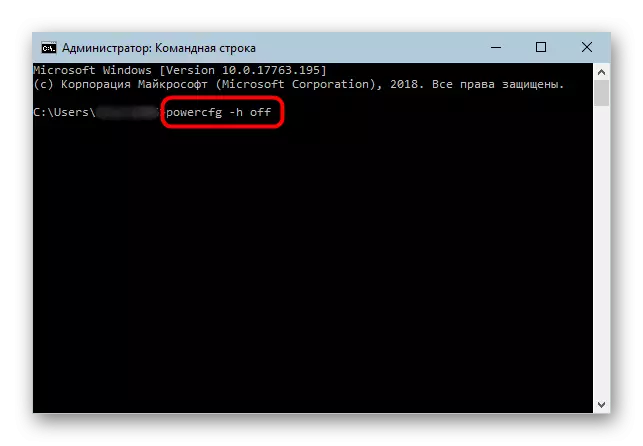
- Enter the PowerCFG -H OFF command and press ENTER.
- If you have not seen any messages, but at the same time a new line appeared to enter the command, which means everything was successful.
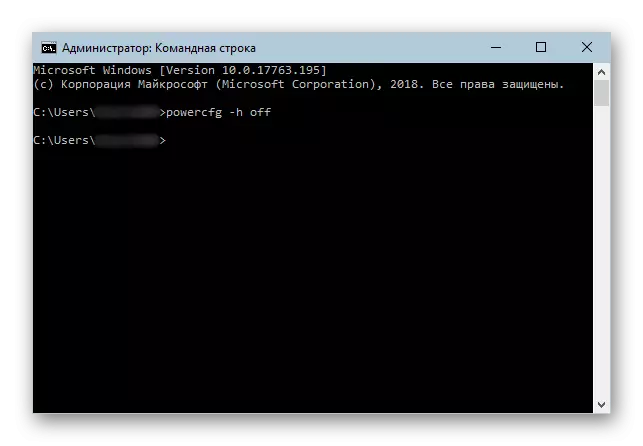
The "hiberfil.sys" file from C: \ Windows will also disappear.
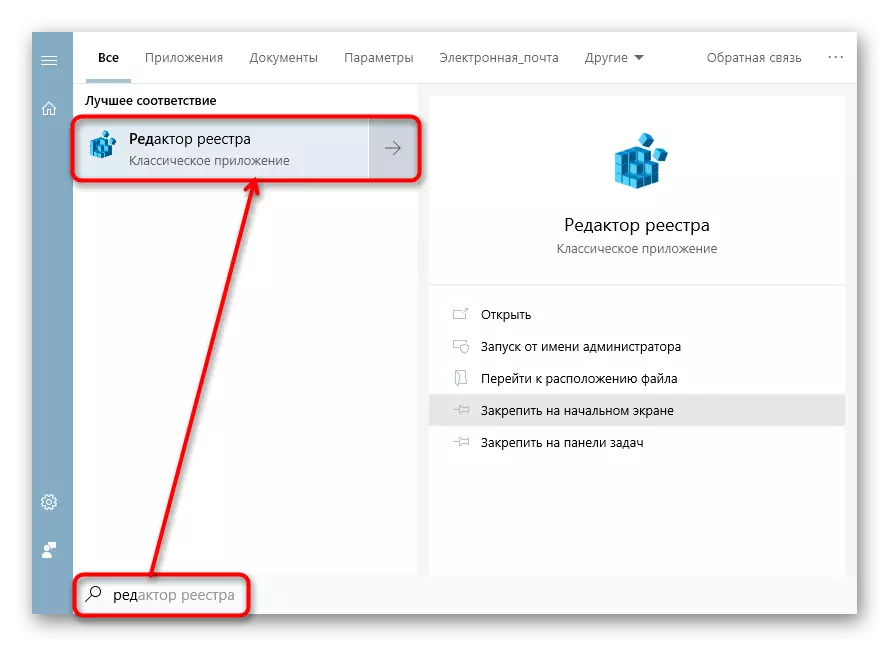
Method 2: Registry
When for some reason the first method turns out to be inappropriate, the user can always resort to additional. In our situation, they became the "Registry Editor".
- Open the Start menu and start typing the registry editor without quotes.
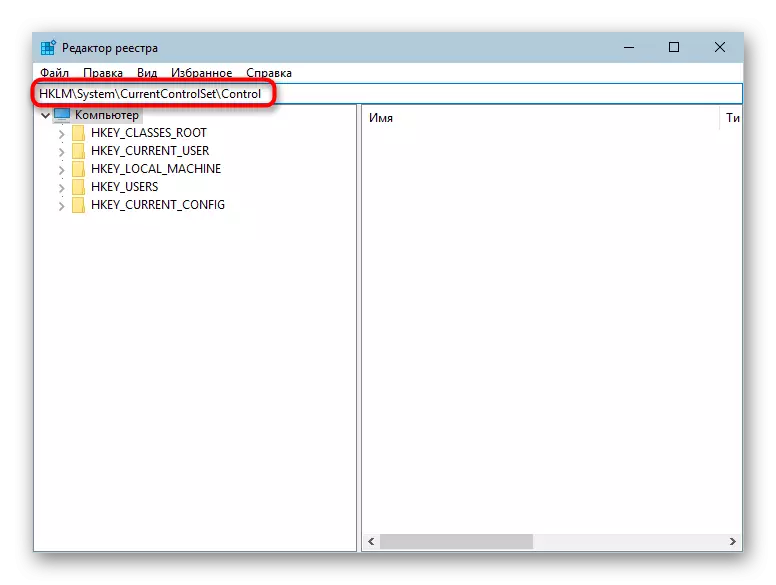
- Insert the HKLM \ SYSTEM \ CURRENTCONTROLSET \ CONTROL path in the address bar and press ENTER.
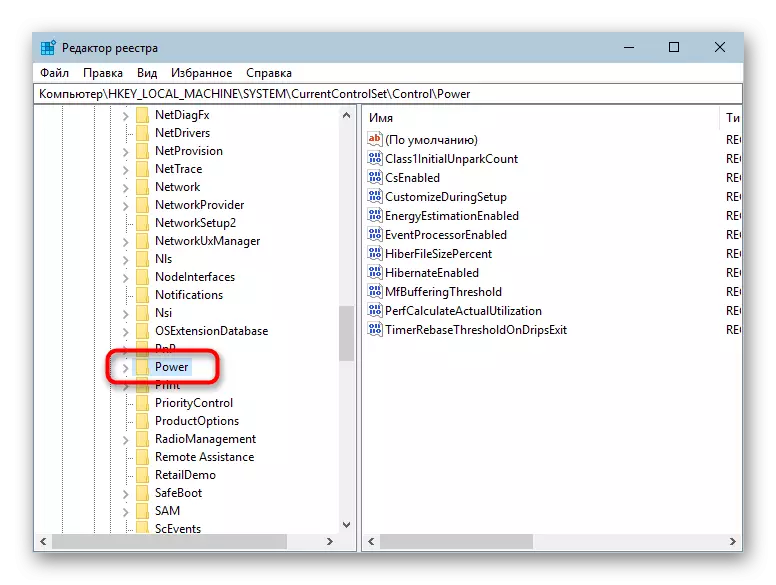
- A registry branch opens, where to the left is looking for the Power folder and go to it with the left mouse click (do not expand).
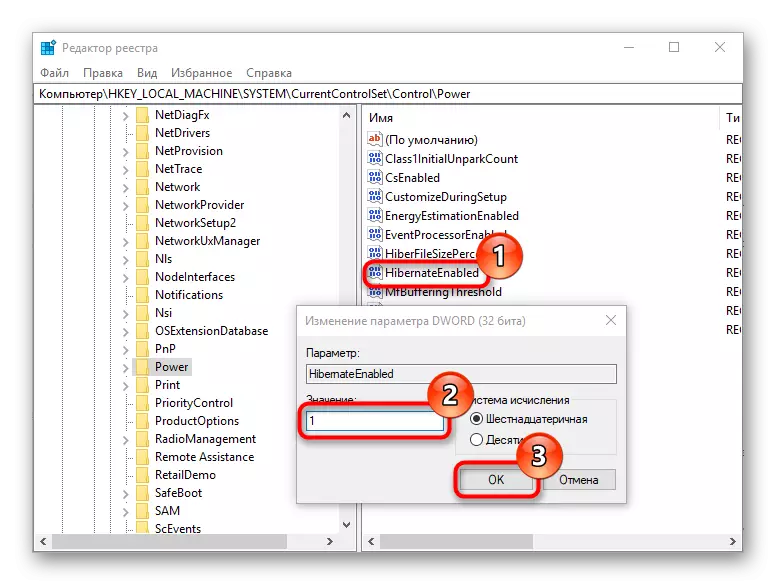
- In the right side of the window we find the "HibernateEnabled" parameter and open it by double clicking the left mouse button. In the "value" field, we write "0", and then apply changes to the "OK" button.
- Now, as we see, the file "Hiberfil.sys", which is responsible for the work of hibernation, disappeared from the folder where we found it at the beginning of the article.
By selecting any of the two ways offered, you turn off the hibernation instantly, without restarting the computer. If in the future you do not exclude the possibility that you will resort to the use of this mode again, save yourself the material on the reference below.
Read also: Enable and configure hibernation on Windows 10