
By default, the Windows 10 operating system does not allow multiple users to simultaneously connect to one computer, but in the modern world, such a necessity occurs more and more. Moreover, this function is applied not only for remote work, but also for personal purposes. From this article you will learn how to configure and use the terminal server in Windows 10.
Windows 10 Terminal Server Setup Guide
No matter how difficult at first glance did not seem to be voiced in the topic of the article, the task is actually all before indecency. All that is required of you is to clearly follow these instructions. Please note that the connection method is similar to those in earlier versions of the OS.Read more: Creating a terminal server on Windows 7
Step 1: Installation of specialized
As we said earlier, the standard Windows 10 settings do not allow using the system simultaneously to several users. When trying to such a connection, you will see the following picture:

To fix it, you need to make changes to OS parameters. Fortunately, for this there is a special software that will do everything for you. Immediately warn you that the files that will be discussed below are modifying system data. In this regard, in some cases, they are recognized as dangerous for the Windows itself, so it is possible to use them or not - to solve only you. All the actions described were verified in practice by us personally. So, proceed, first of all, do the following:
- Click on this link, then click on the string that is indicated in the image below.
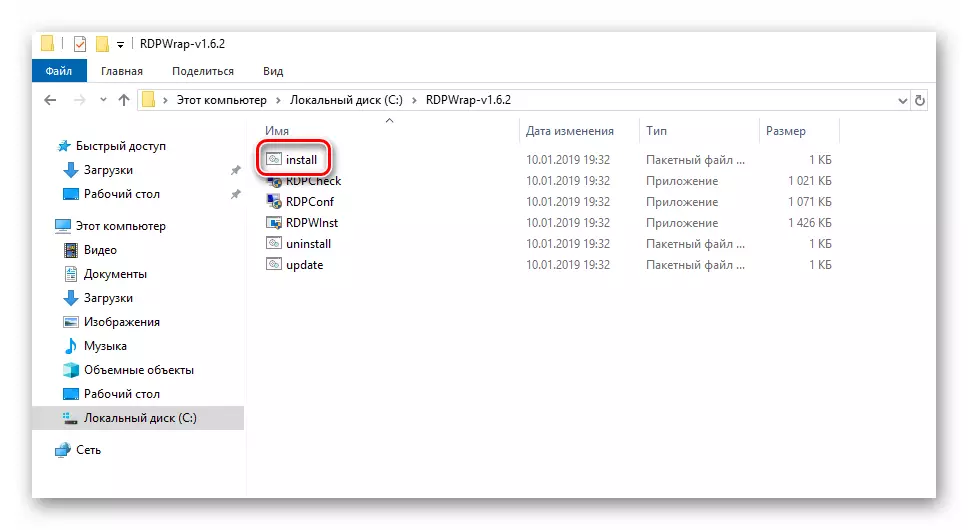
- As a result, the archive boot will begin with the desired software on the computer. Upon completion of the download, remove all its contents at any convenient place and find the named "Install" among the received files. Run it on behalf of the administrator. To do this, click on it right mouse button and select the line with the same name from the context menu.
- As we mentioned earlier, the system will not determine the publisher of the file being launched, so it can work the built-in "Windows Defender". He simply will warn you about it. To continue, click the Run button.
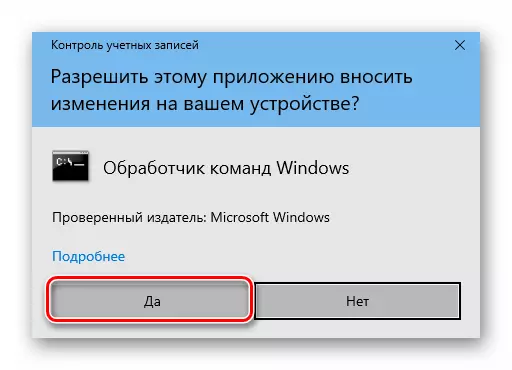
- If your profile control is enabled, a request may appear on the screen to launch the "Command Line" application. It is in it that will be installed by software. Click in the "Yes" window that appears.
- Next, the "Command Line" window will appear and automatic installation of modules will begin. You only need to wait a bit until it appears to press any key that you need to do. This will automatically close the installation window.
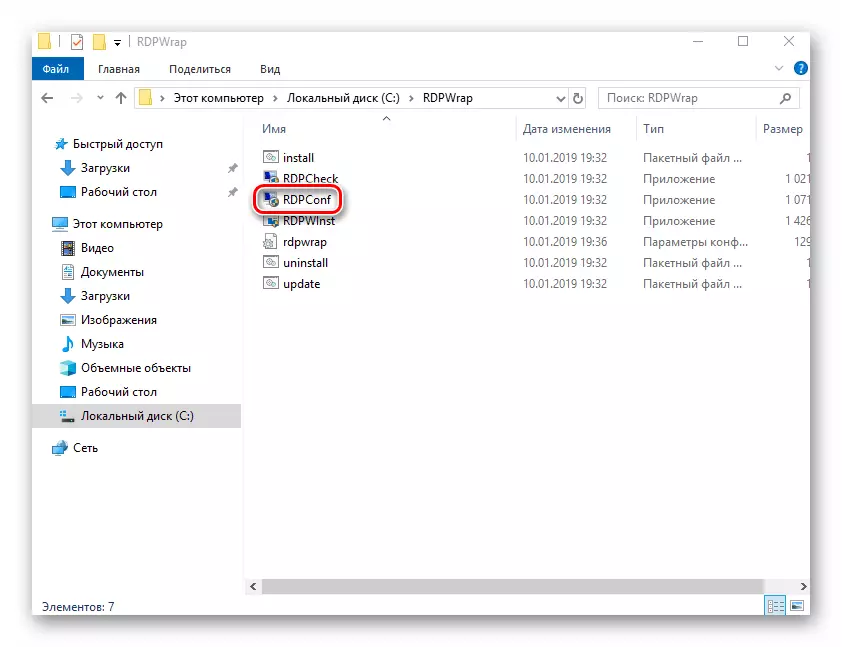
- It remains only to check all the changes made. To do this, find "RDPCONF" in the list of extracted files and run it.
- Ideally, all items that we noted in the next screenshot should be green. This means that all changes are made correctly and the system is ready to connect multiple users.


This is the first step to configure the terminal server completed. We hope you have no difficulty. Moving further.
Step 2: Changing the parameters of profiles and settings
Now you need to add profiles under which other users can connect to the desired computer. In addition, we will produce some system settings. The list of action will be as follows:
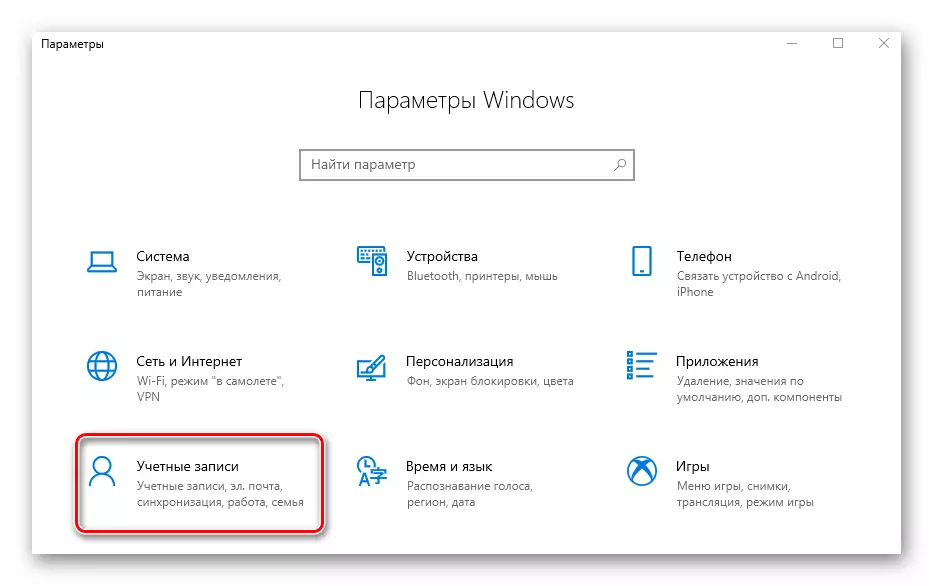
- Click on the desktop together the "Windows" and "I" keys. This action activates the Windows 10 basic settings window.
- Go to the "Accounts" group.
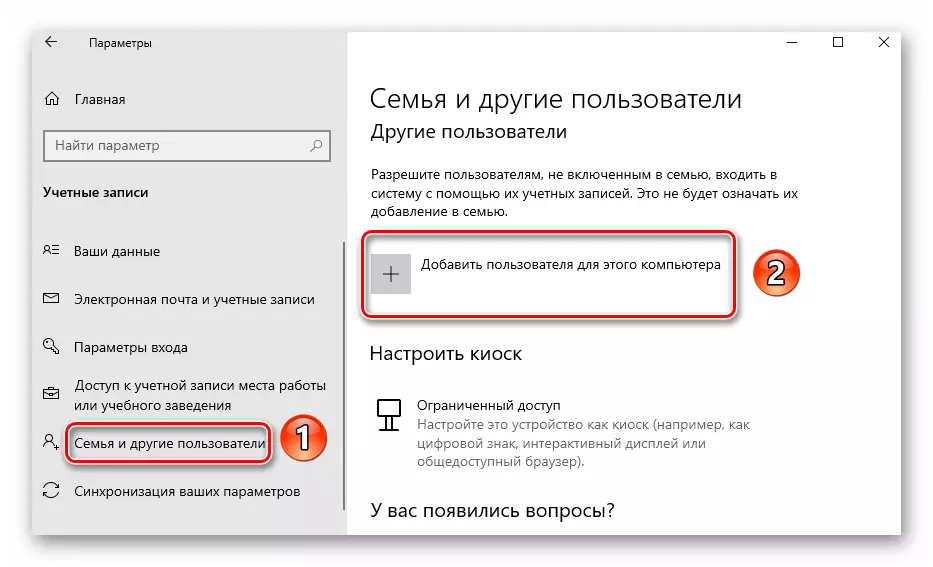
- In the side (left) panel, go to the "Family and other users" subsection. Click on the "Add user for this computer" button somewhat right.
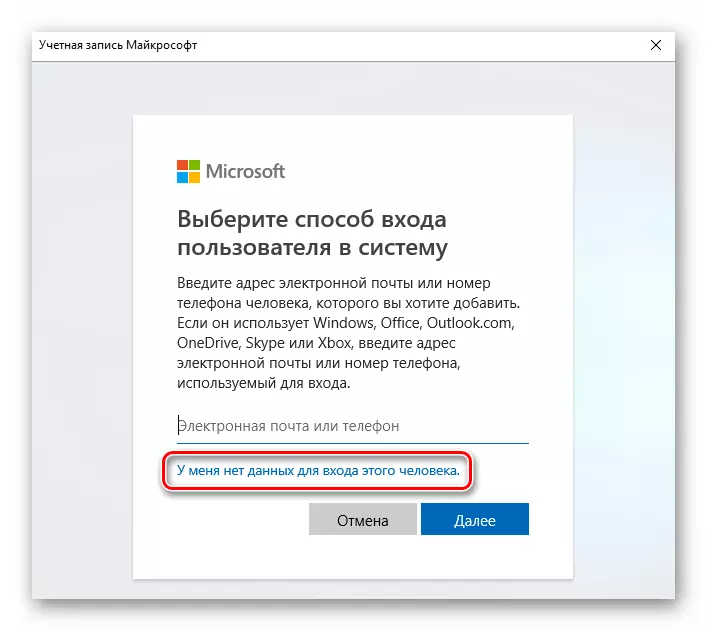
- A window with Windows login parameters will appear. You should not enter anything in the only string. It is necessary to simply click on the inscription "I do not have data to enter this person."
- Next, you need to click on the "Add user without a Microsoft account".
- Now specify the name of the new profile and the key to it. Remember that the password should be missed. Otherwise, there may be problems with remote connections to the computer. All other fields also need to fill. But this is already the requirement of the system itself. After completion, click the Next button.
- A few seconds later, the new profile will be created. If everything goes successfully, you will see it in the list.
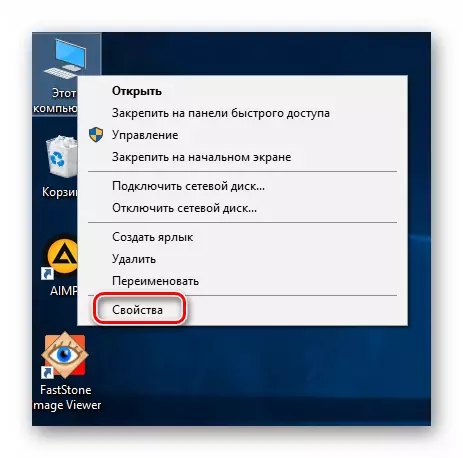
- We now move on to changing the parameters of the operating system. To do this, on the desktop on the "Computer" icon, right-click. Select the "Properties" parameter from the context menu.
- In the next window that opens, click on the list marked below.
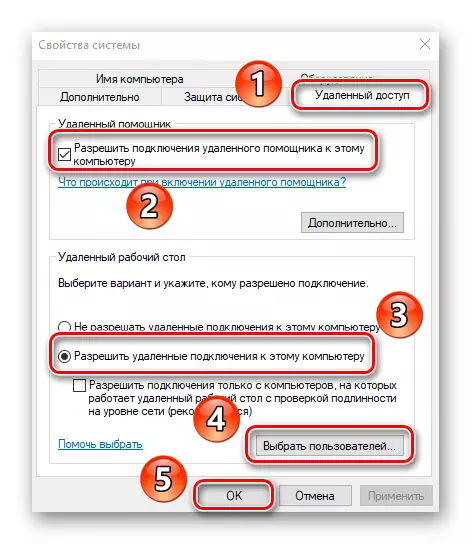
- Go to the "Remote Access" subsection. Below you will see the parameters that should be changed. Tick the checkbox "Allow connections to a remote assistant to this computer", as well as activate the "Allow deleted connections to this computer" option. Upon completion, click the Select Users button.
- In the new small window, select the Add function.
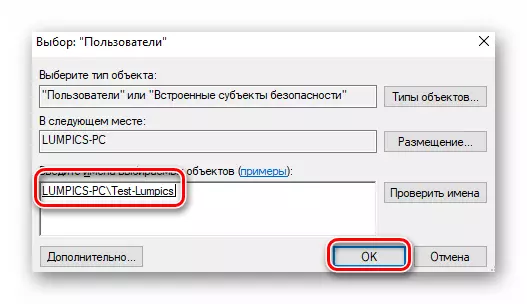
- Then you need to register the username to which remote access to the system will be opened. Make it need in the lowest floor. After entering the profile name, click on the "Check Names" button, which is right.
- As a result, you will see that the username will be transformed. This means that it has passed the check and was found in the list of profiles. To complete the operation, click OK.
- Apply the changes made in all open windows. To do this, click them on "OK" or "Apply". It remains quite a bit.


Step 3: Connect to a remote computer
Connection to the terminal will occur through the Internet. This means that we need to first find out the address of the system to which users will connect. Make it is not difficult:
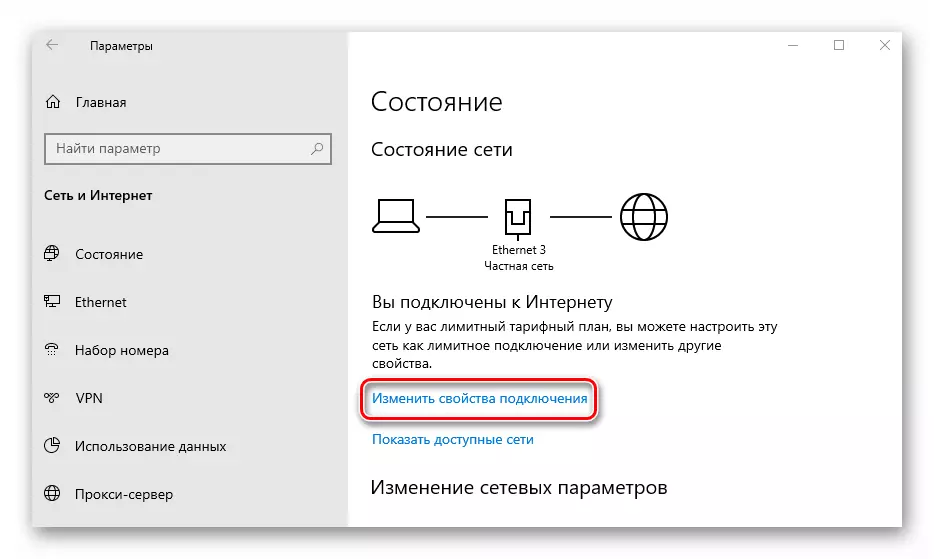
- Open the "Parameters" of Windows 10 again using the "Windows + I" keys or the Start menu. In the system settings, go to the "Network and Internet" section.
- On the right side of the window that opens, you will see the "Change Connection Properties" string. Click on it.
- The next page will be displayed all available information about the network connected. Go down until you see the network properties. Remember the numbers that are located opposite the stitch noted in the screenshot:
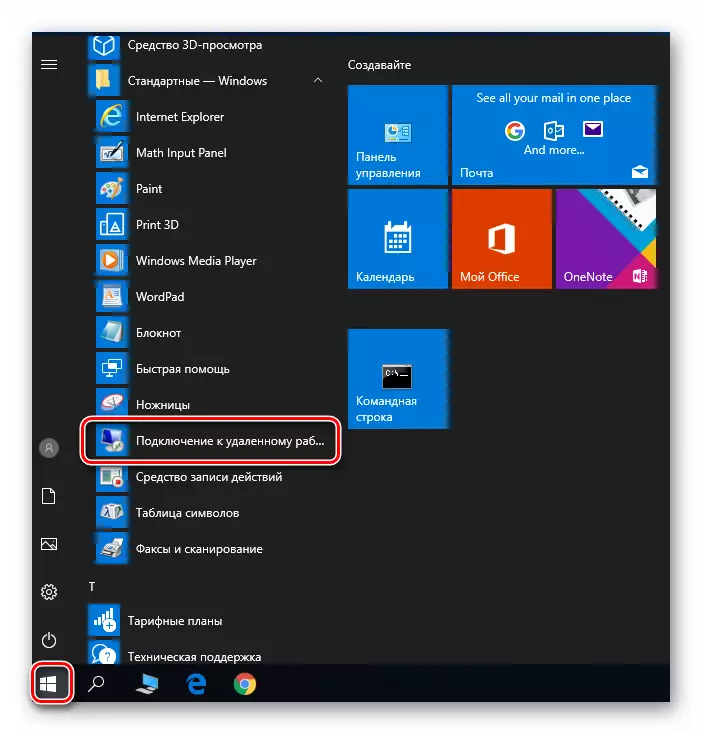
- We received all the necessary data. It remains only to connect to the created terminal. Next steps need to be performed on the computer from which the connection will occur. To do this, click on the Start button. In the list of applications, find the "Standard-Windows" folder and open it. The list of items will be "Connecting to a remote desktop", and you need to run it.
- Then in the next window, enter the IP address you learned earlier. At the end, click the "Connect" button.
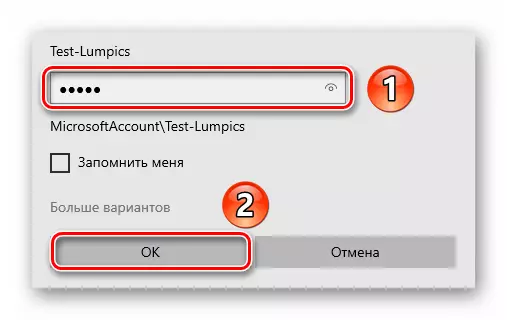
- As with the standard login in Windows 10, you will need to enter the username, as well as the password from the account. Please note that at this stage you need to enter the name of that profile you gave permission to remotely connect earlier.
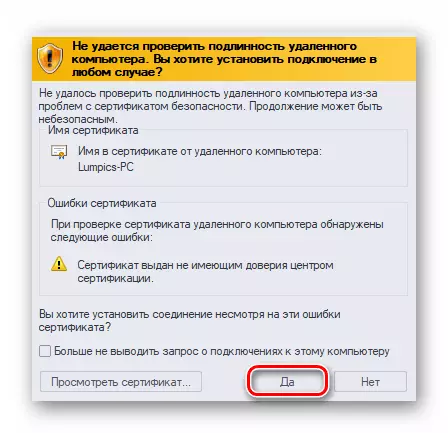
- In some cases, you can see the notification that the system failed to verify the authenticity of the remote computer certificate. If this happens, click Yes. True, it is necessary only if you are confident in the computer to which you connect.
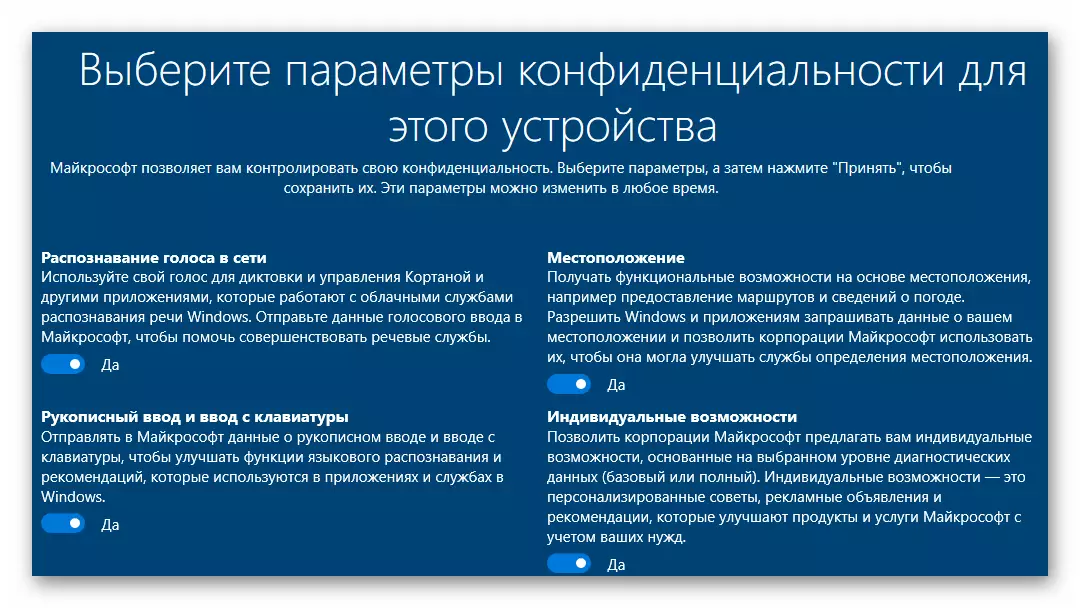
- It remains only to wait a bit while the remote connection system is loaded. When you first connect to the terminal server, you will see a standard set of options that can be changed if desired.
- Ultimately, the connection should be completed, and you will see the desktop image on the screen. In our example, it looks like this:


That's all we wanted to tell you in the framework of this topic. Having done the steps described above, you can easily connect to your or work computer remotely almost from any device. If you subsequently have difficulties or questions, we recommend familiarizing yourself with a separate article on our website:
Read more: We solve the problem with the impossibility of connecting to a remote PC