

Google forms are currently one of the best online resources that allow without significant restrictions to create different kinds of polls and testing. In the course of our today's article, we will consider the procedure for creating tests using this service.
Creating Tests in Google form
In a separate article, by the following submitted link, we considered Google forms in order to create conventional surveys. If you have difficulty using the service, be sure to refer to this instruction. In many ways, the procedure for creating surveys is similar to tests.
Read more: How to create a Google form for polls
Note: In addition to the resource under consideration, there are several other online services that allow you to create polls and tests.
Go to Google forms
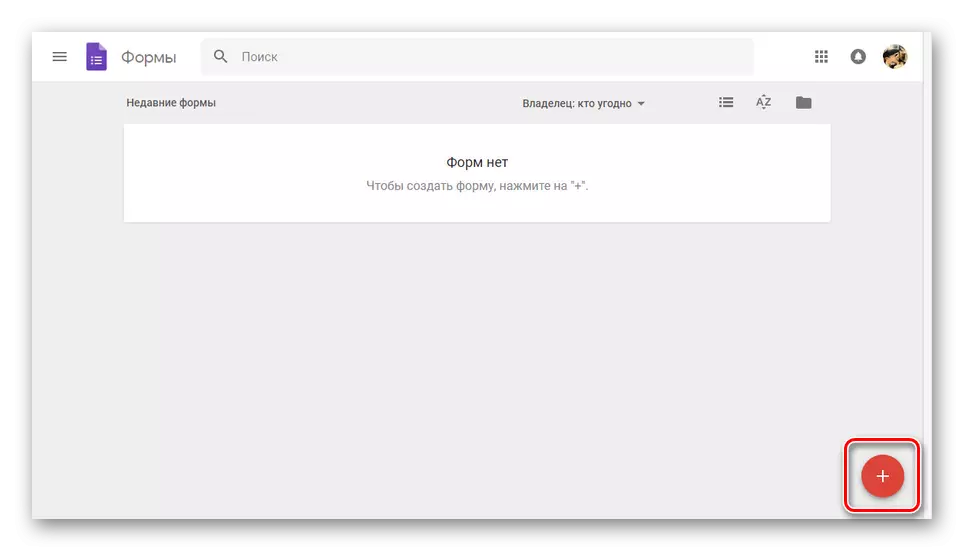
- Open the site on the link presented above and log in in a single Google account by providing appropriate rights annex. After that, on the top panel, click on the "Empty File" block or on the "+" icon in the lower right corner.
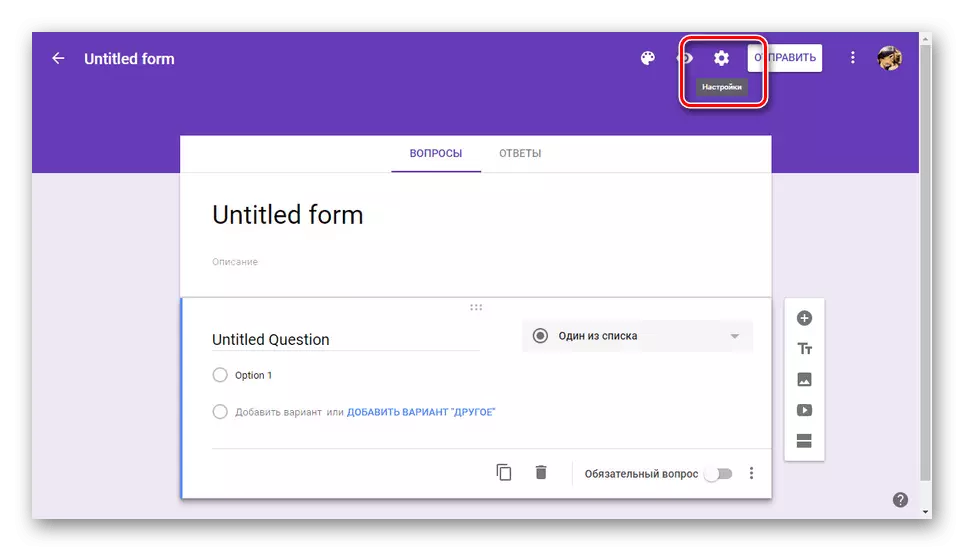
- Now click on the "Settings" signature icon on the right upper part of the active window.
- Click the Tests tab and move the status of the slider in the inclusion mode.

At its discretion, change the parameters presented and click on the "Save" link.
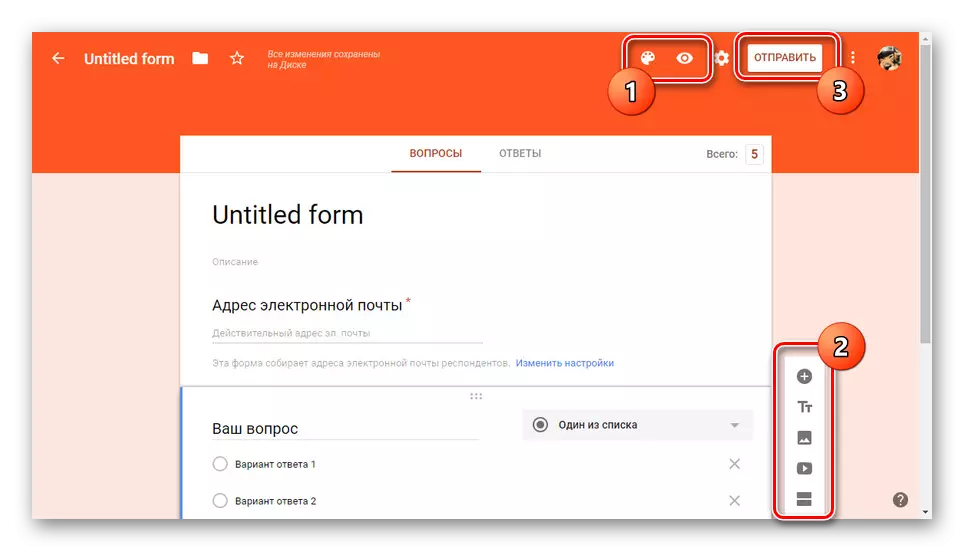
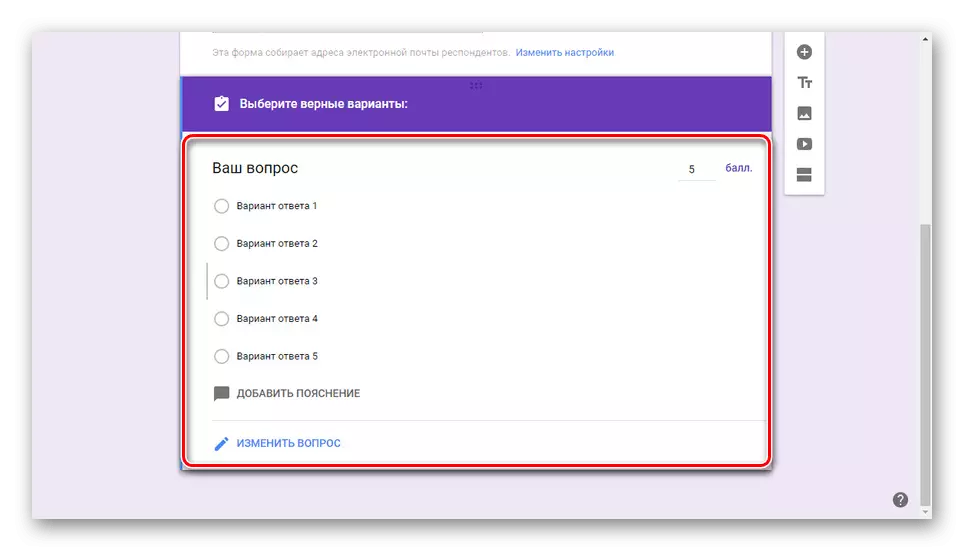
- Upon returning to the homepage, you can start creating questions and answering issues. You can add new blocks using the "+" button on the sidebar.
- Open the "Answers" section to change the number of points for one or more faithful options.
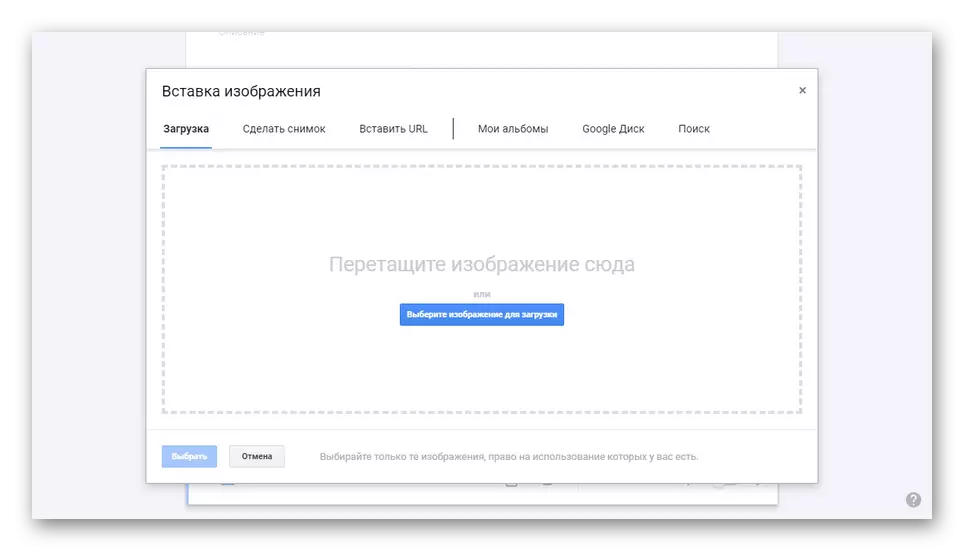
- If necessary, you can add elements of design in the form of images, videos and some other parts before publishing.
- Click the "Submit" button on the top control panel.
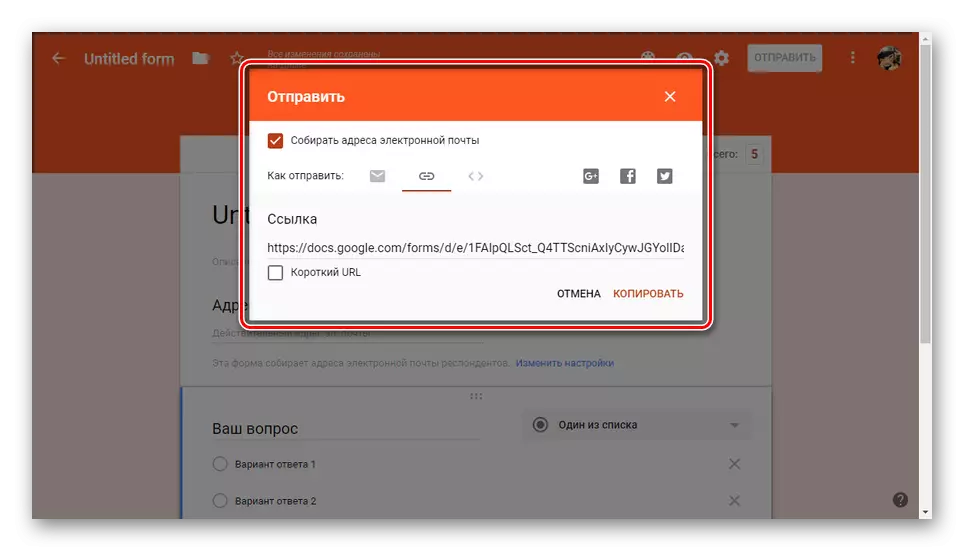
To complete the process of creating the test, select the type of sending, whether it is mailing to email or access.
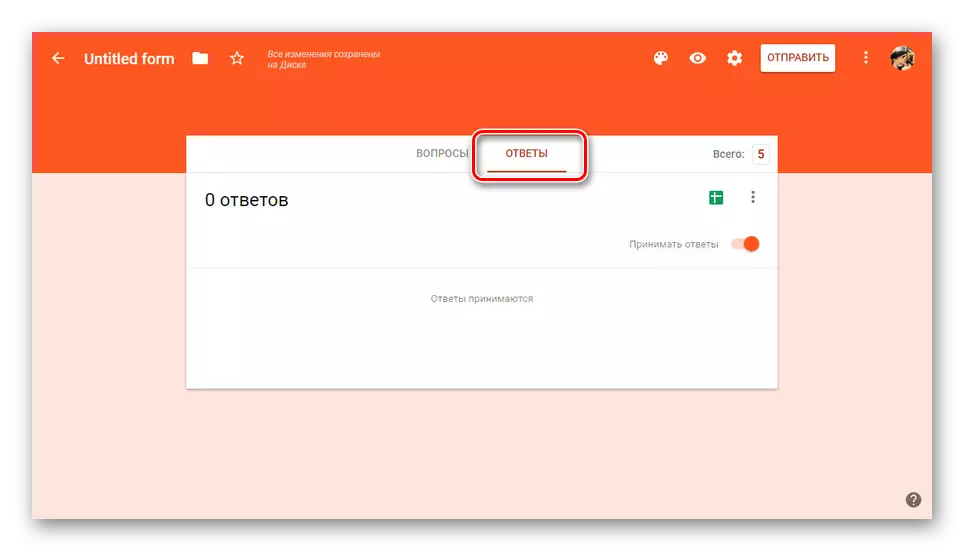
All received responses can be viewed on the tab with the name of the same name.
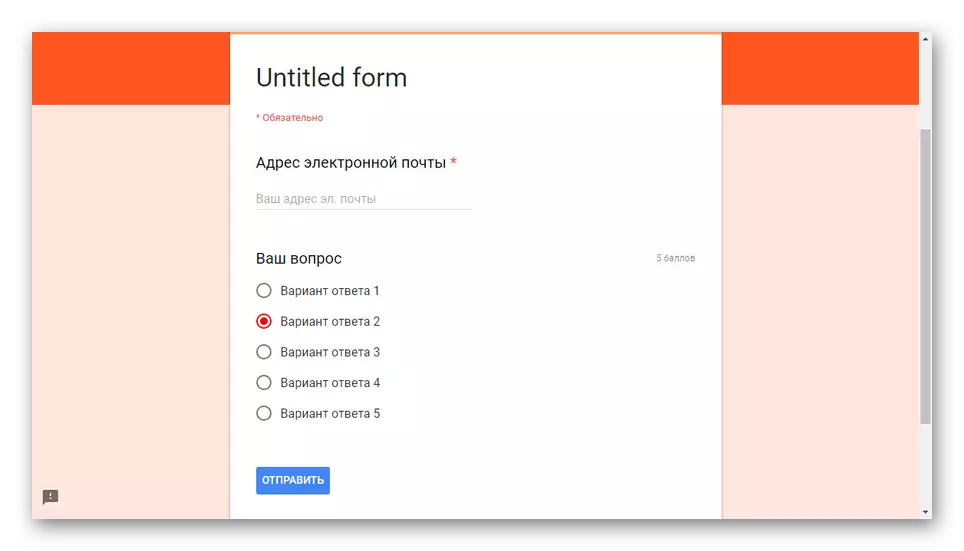
The final result can be checked independently by clicking on the relevant link.


In addition to the Google Form Web service, which we have described in the course of the article, there is also a special application for mobile devices. However, it does not support Russian and does not provide many additional features, but still worth mentioning.
Conclusion
On this, our instruction is coming to completion and therefore we hope that you were able to get the most open response to the question. If necessary, you can contact us in the comments under an article with questions under the article.