

The iPhone camera allows you to replace the digital camera to be replaced by most users. To create good snapshots, it is enough to run the standard attachment application. However, the quality of the photo and video can be greatly improved, if you properly configure the camera on the iPhone 6.
Customize the camera on the iPhone
Below we will look at several useful iPhone 6 settings, which are often resorted to photographers when you want to create a high-quality shot. Moreover, most of these settings will suit not only for the model we are considered, but also for other generations of the smartphone.Activation of the "Grid" function
The harmonious construction of the composition is the basis of any artistic picture. To create the right proportions, many photographers include a mesh on the iPhone - a tool that allows you to delete the location of objects and horizon.

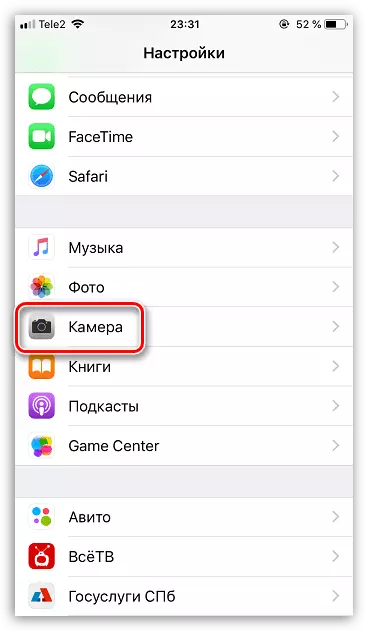
- To activate the grid, open the settings on the phone and go to the "Camera" section.
- Translate the slider around the grid point to the active position.

Fixing exposure / focus
An extremely useful feature that each iPhone user should know about. Surely you faced the situation when the camera focused not on the object that you need. Fix it can be tapped by the desired object. And if you hold the finger for a long time - the application will keep the focus on it.

To adjust the exposure, tap the object, and then, without removing the finger, swipe up or down to increase or decrease the brightness, respectively.

Panoramic shot
Most iPhone models support the function of panoramic survey - a special mode, with which you can fix the view angle of 240 degrees on the image.
- To activate panoramic surveys, run the camera application and at the bottom of the window Make several swipes to right left until you go to the Panorama item.
- Move the camera to the initial position and tap on the shutter button. Slowly and continuously move the camera to the right. As soon as the panorama is completely completed, the iPhone will save the image into the film.

Shooting video with a frequency of 60 frames per second
By default, iPhone records Full HD video with a frequency of 30 frames per second. You can improve the quality of the shooting by increasing the frequency of the frequency to 60 through the phone parameters. However, this change will affect the final size of the video.
- To set a new frequency, open the settings and select the Camera section.
- In the next window, select the "Video" section. Put the checkbox near the parameter "1080p HD, 60 frame / s". Close the settings window.


Using a smartphone headset as a shutter shutter button
You can start shooting a photo and video on the iPhone using a standard headset. To do this, connect a wired headset to the smartphone and run the camera application. To proceed with photo or video, press once on the headset any volume button. Similarly, you can use the physical buttons to increase and reduce sound and on the smartphone itself.

HDR
HDR function is a mandatory tool for obtaining high-quality pictures. It works as follows: when photography, several images are created with different exposures, which are subsequently glued into one photo of excellent quality.
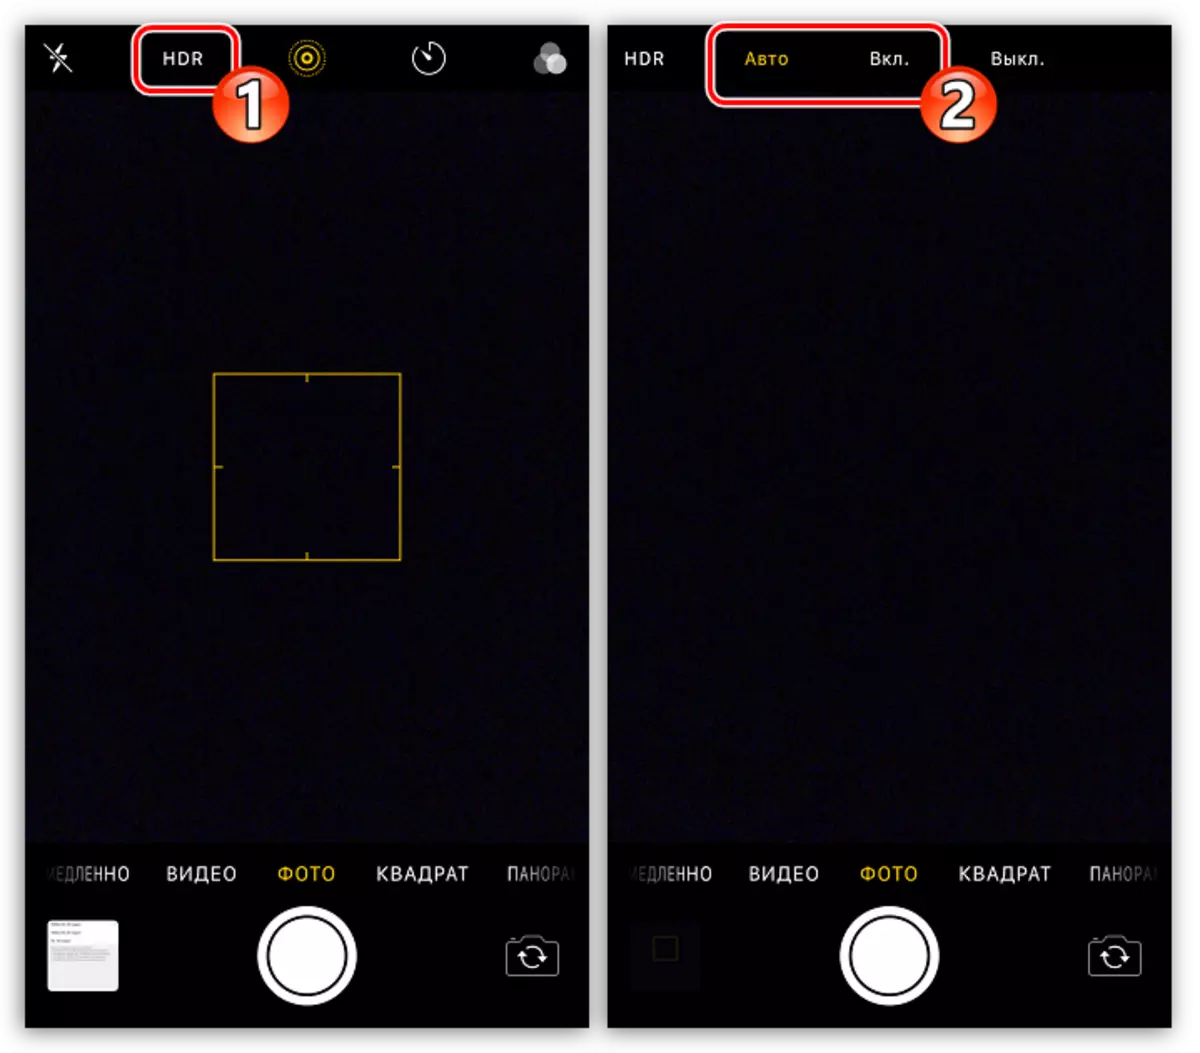
- To activate HDR, open the camera. At the top of the window, select the HDR button, and then the "Auto" or "ON" item. In the first case, the HDR snapshots will be created in conditions of insufficient illumination, and in the second the function will always work.
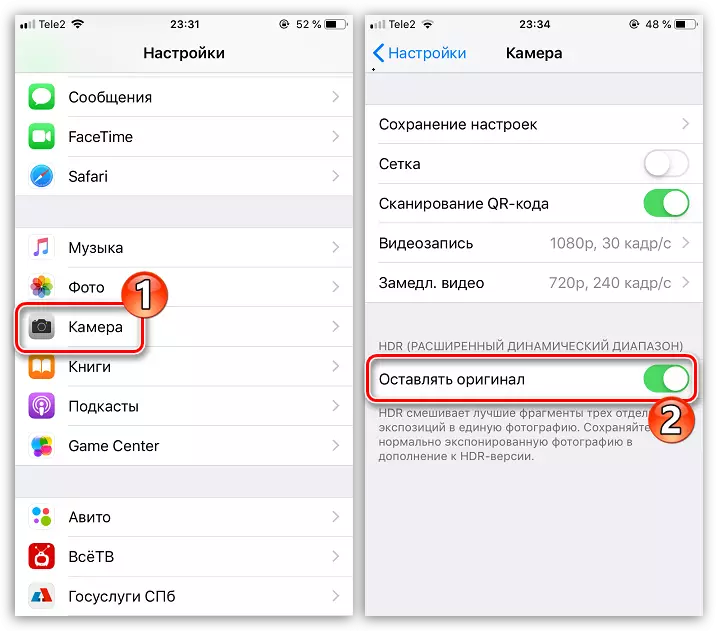
- However, it is recommended to activate the conservation function of the originals - in case HDR goes only to harm photographs. To do this, open the settings and go to the Camera section. In the next window, activate the "Leave Original" option.
Using real-time filters
The standard camera application can also act as a small photo editor and video. For example, during the shooting process, you can immediately apply various filters.
- To do this, select the icon in the upper right corner shown in the screenshot below.
- At the bottom of the screen, filters are displayed, between which it is possible to switch the swipe left or right. After selecting the filter, start the photo or video.


Slow motion
An interesting effect for video can be achieved thanks to Slow-Mo - slow motion mode. This feature creates a video with a larger frequency than in the usual video (240 or 120 k / s).
- To start this mode, make several swipes from left to right until you move to the "Slowly" tab. Move the camera to the object and run the shooting video.
- When the shooting is completed, open the roller. To edit the beginning and end of a slow fragment, tap the "Edit" button.
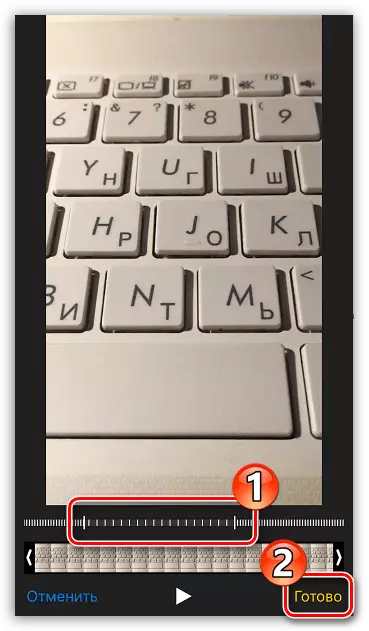
- In the lower part of the window, a timeline will appear on which the sliders must be placed at the beginning and end of the slow motion fragment. To save the changes, select the "Finish" button.
- By default, the shooting of a slow video is carried out with a resolution of 720p. If you plan to view a roller on a widescreen screen, it is pre-using the settings to increase the resolution. To do this, open the settings and go to the "Camera" section.
- Open the "Slow Videos" item, and then install a checkbox near the "1080p, 120 frame / s" parameter


.

Creating a photo while shooting video
In the process of recording a video of the iPhone allows you to create photos. To do this, run video shooting. In the left side of the window you will see a small round button, after clicking on which the smartphone will instantly make a photo.Saving settings
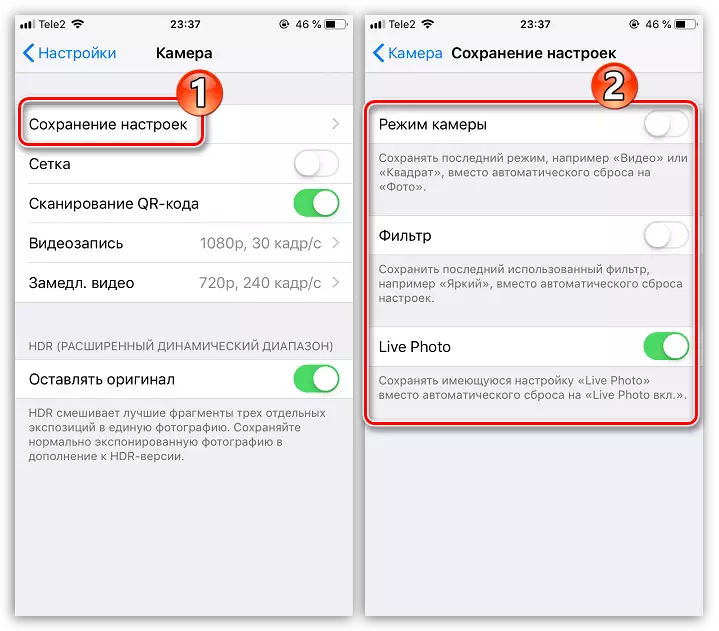
Suppose you every time using the iPhone camera, turn on one of the same shooting mode and choose the same filter. If you start the application, you cannot specify the parameters again and again, activate the settings function.
- Open the iPhone settings. Select the Camera section.
- Go to "Saving settings". Activate the necessary parameters, and then exit this section of the menu.
This article showed the basic settings of the iPhone camera, which will allow you to create really high-quality pictures and videos.