

Quite often, the contents of the cell in the table do not fit in the boundaries that are installed by default. In this case, the question of their expansion becomes relevant in order for all the information to fit and be in sight of the user. Let's find out what methods can this procedure in Excele can be performed.
Expansion procedure
There are several options extending cells. Some of them include manually disputing the boundaries, and with others you can configure the automatic execution of this procedure depending on the length of the content.Method 1: Simple Dragging Borders
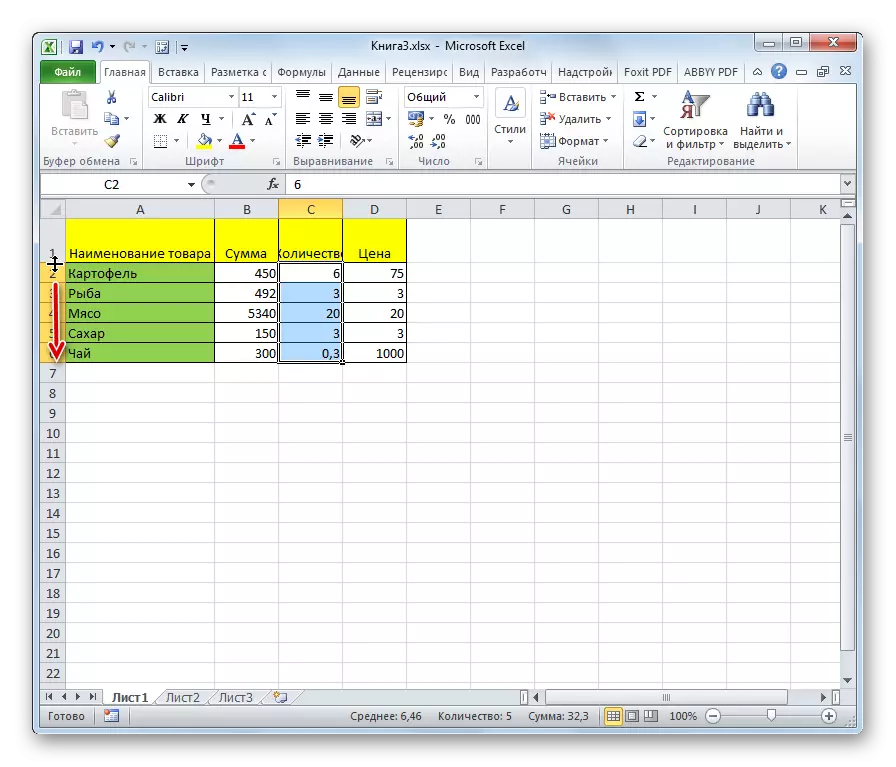
The easiest and intuitive option to increase the sizes of the cell is to drag the boundaries manually. This can be done on a vertical and horizontal scale of rows and columns coordinates.
- We establish the cursor on the right border of the sector on the horizontal coordinate scale of the column we want to expand. At the same time, a cross appears with two pointers directed to the opposite sides. Click the left mouse button and the right borders to the right, that is, away from the center of the expandable cell.
- If necessary, such a procedure can be done with lines. To do this, you need to put the cursor on the lower limit of the line you are going to expand. Similarly, clamp the left mouse button and pull the border down.

Attention! If on the horizontal coordinate scale you set the cursor to the left limit of the expandable column, and on the vertical one to the upper limit of the line, performing the procedure for tugging, then the sizes of target cells will not increase. They simply move aside due to the change in the magnitude of other sheet elements.
Method 2: Expansion of several columns and rows
There is also an option to extend several columns or rows at the same time.
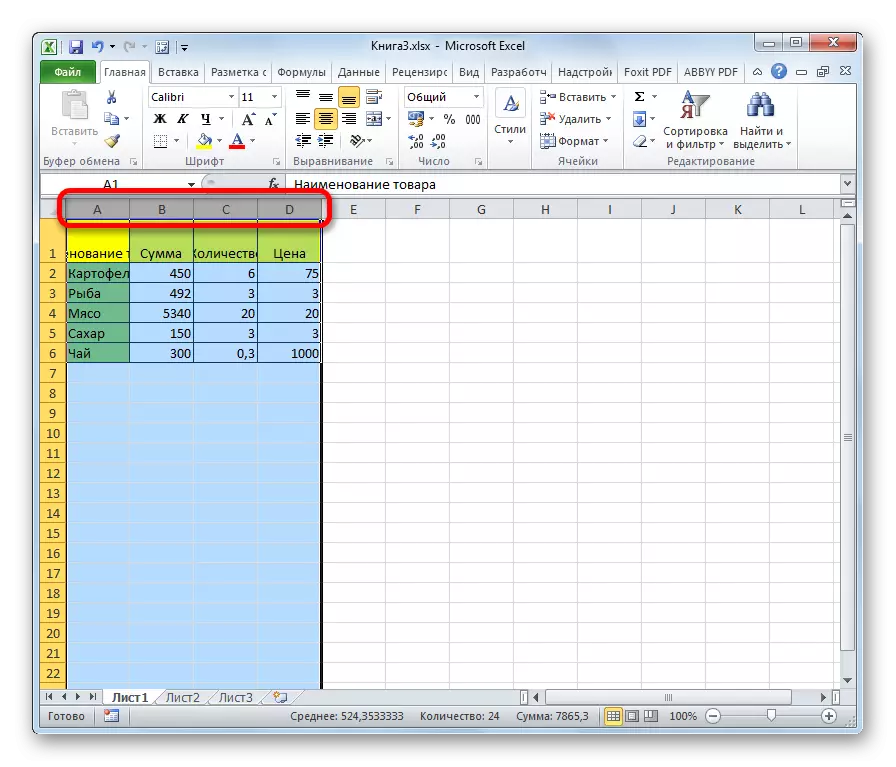
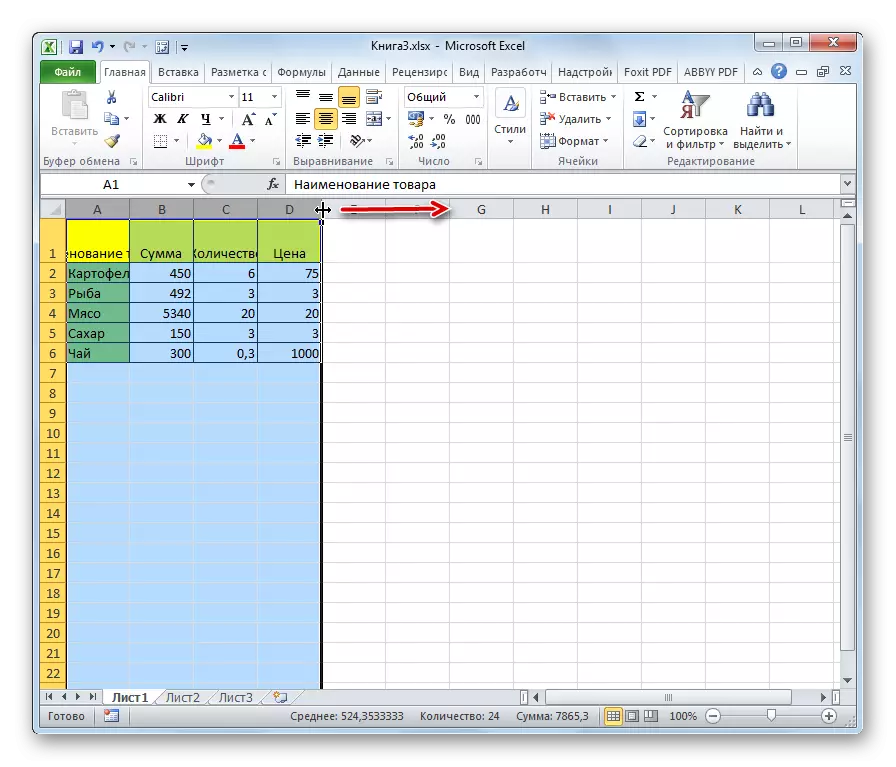
- We highlight several sectors on the horizontal and vertical coordinate scale.
- We establish the cursor on the right border the right of the right from the cells (for a horizontal scale) or to the lower limit of the lower cell (for the vertical scale). Click the left mouse button and pull the arrow appeared respectively or down.
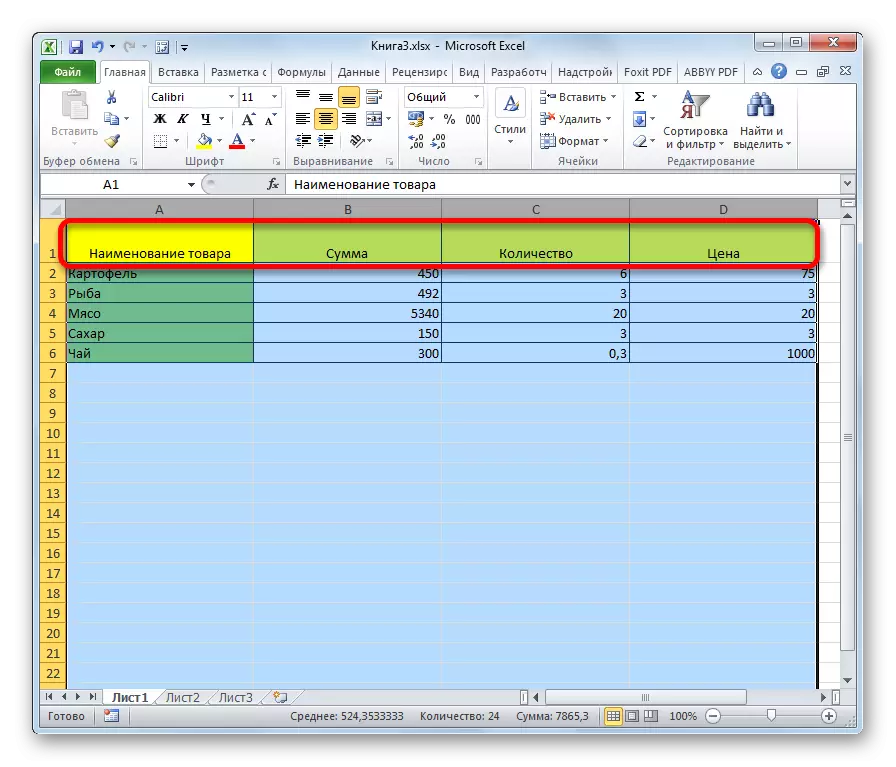
- This expands not only the extreme range, but also the cells of the entire selected area.
Method 3: manual size input through the context menu
You can also make manual input of the cell size, measured in numerical values. By default, the height has a size of 12.75 units, and the width is 8.43 units. You can maximize up to 409 points, and the width to 255.
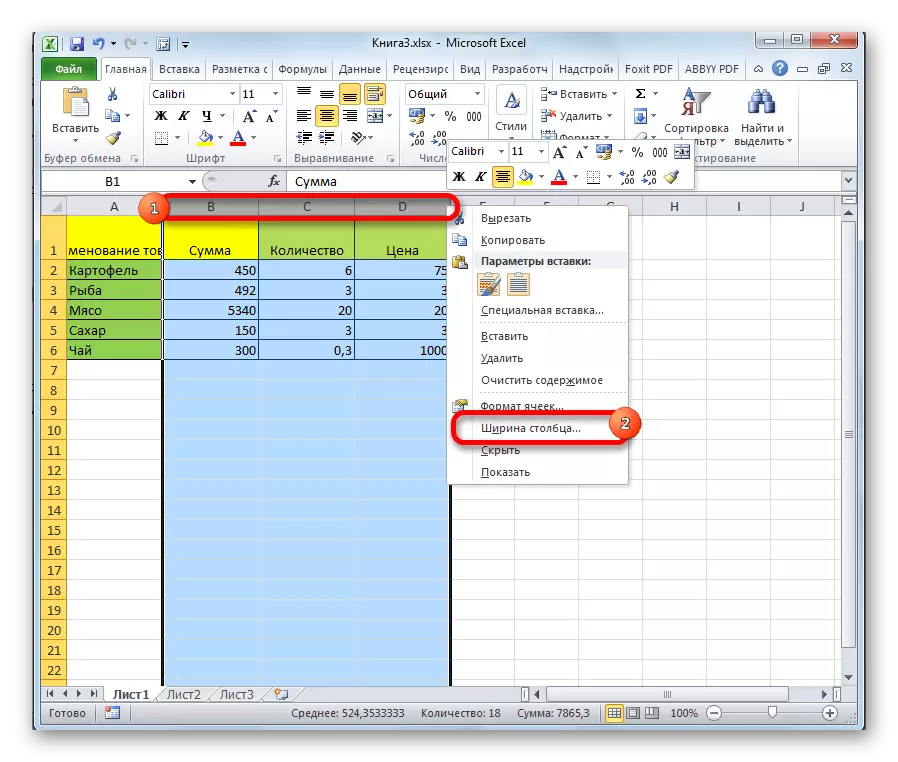
- In order to change the parameters of the cell width, select the desired range on the horizontal scale. Click on it right mouse button. In the context menu that appears, select the "Column Width" item.
- A small window opens, in which you need to install the desired column width in units. Enter the desired size from the keyboard and click on the "OK" button.

A similar method is made a change in lines.
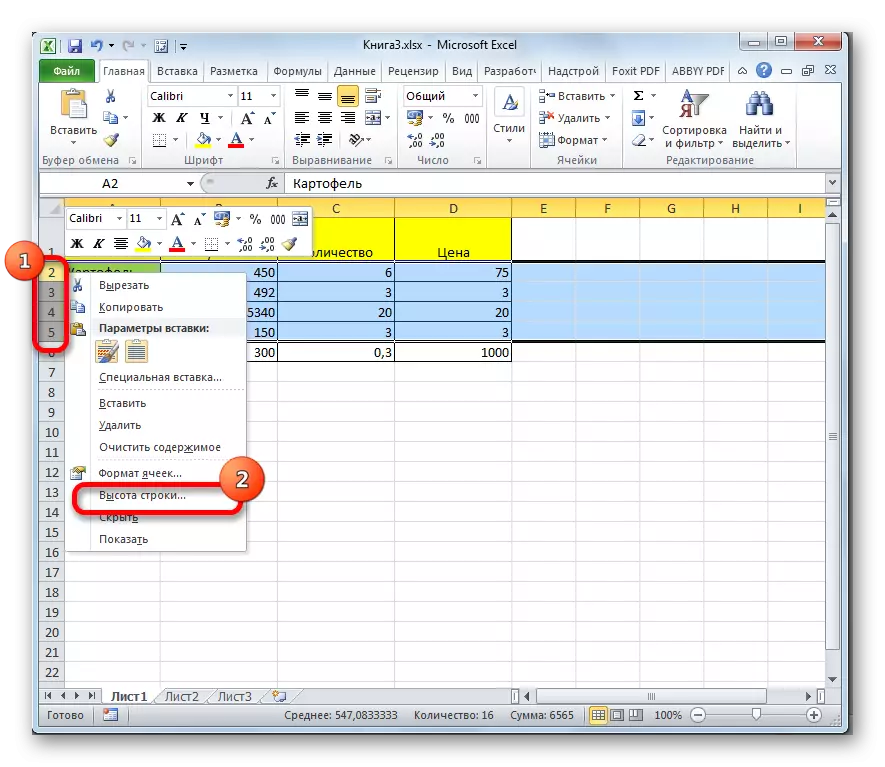
- Select sector or range of vertical coordinate scales. Click on this site with the right mouse button. In the context menu, select the "String Height ..." item.
- A window opens, in which you need to drive the desired height of the cells of the selected range in units. We do it and click on the "OK" button.

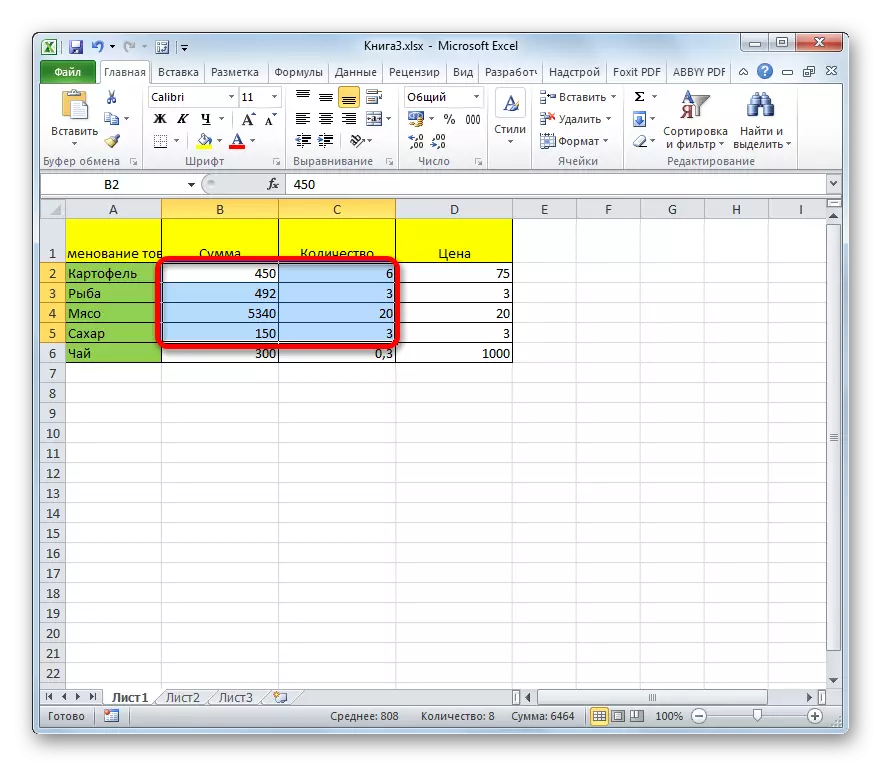
The above manipulations allow you to increase the width and height of the cells in units of measurement.
Method 4: Enter the size of cells through the button on the ribbon
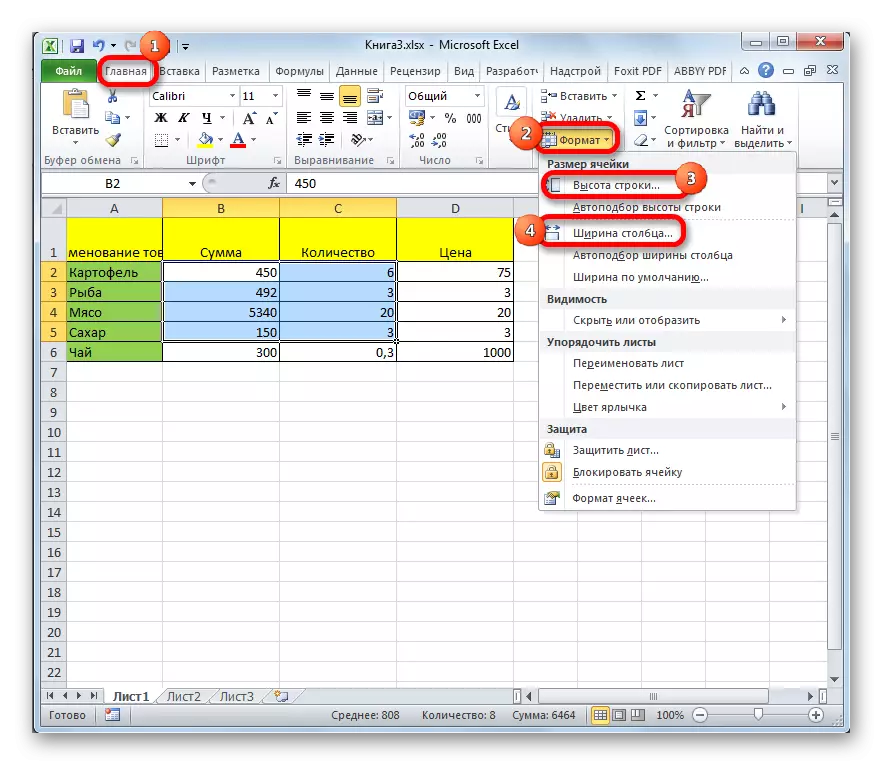
In addition, it is possible to set the specified cell size through the tape button.
- We allocate the cell on the sheet, the size of which you want to install.
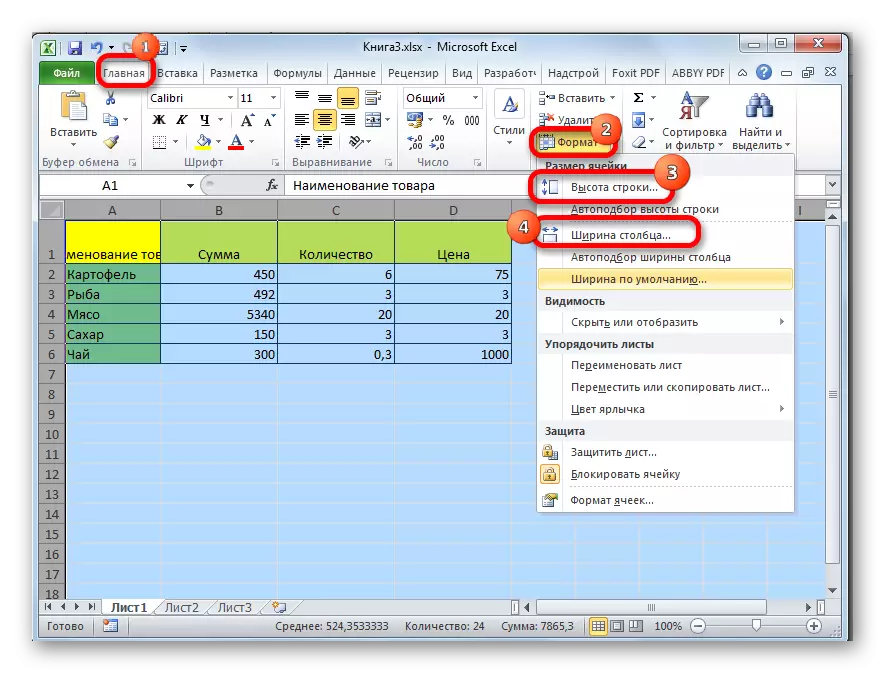
- Go to the "Home" tab, if we are in another. Click on the "Format" button, which is located on the tape in the "Cell" toolbar. A list of actions opens. Alternately choose in it the points "line height ..." and "column width ...". After pressing each of these items, small windows will be opened, about which the story was following when describing the previous method. They will need to introduce the desired width and height of the selected range of cells. In order for cells to increase, the new value of these parameters must be greater than the previously installed.
Method 5: Increase the size of all sheets of sheet or book
There are situations when you need to increase absolutely all cells of the sheet or even books. Tell how to do it.
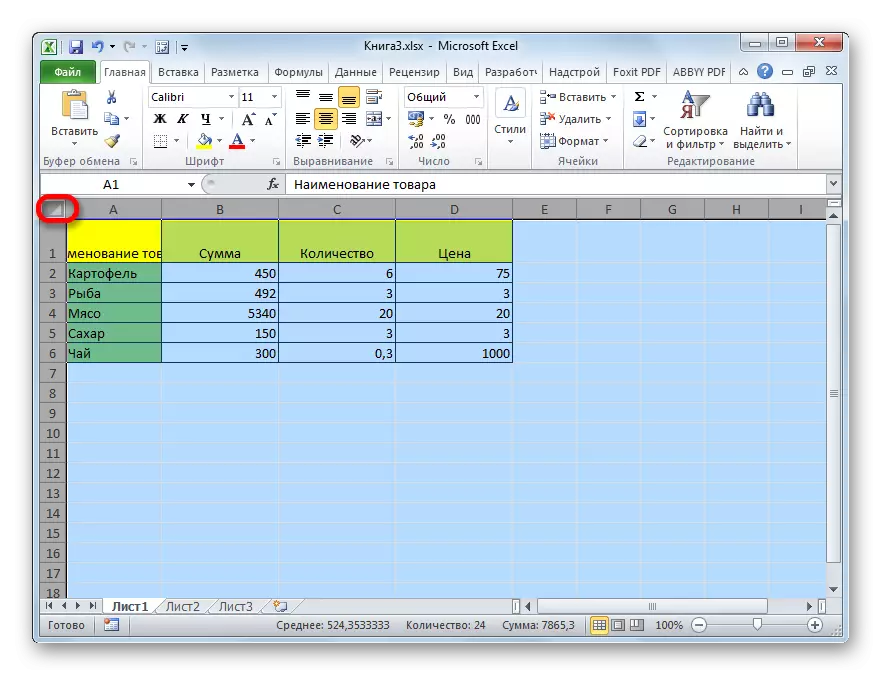
- In order to make this operation, first of all, select the desired items. In order to select all sheet elements, you can simply press the keyboard key on the Ctrl + A keyboard. There is a second option. It implies pressing the button in the form of a rectangle, which is located between the vertical and horizontal Excel coordinate scale.
- After the sheet has been singled out by any of these methods, click on the already familiar "Format" button on the tape and produce further actions in the same way as described in the previous method with the transition to the points "Column Width ..." and "Line height ..." .
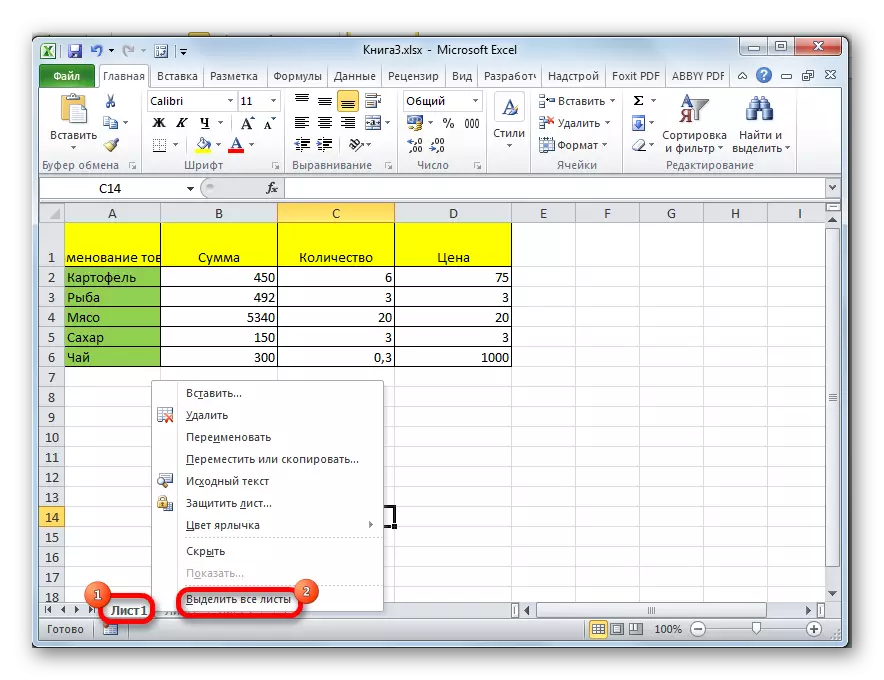
Similar actions produce to increase the size of the cells of the entire book. Only to highlight all sheets we use another reception.
- By clicking the right mouse button on the label of any of the sheets, which is located at the bottom of the window immediately above the status scale. In the menu that appears, select "Allocate all sheets" item.
- After the sheets are highlighted, perform a ribbon operation using the "Format" button, which were described in the fourth method.
Lesson: How to make cells of the same size in Excel
Method 6: Width
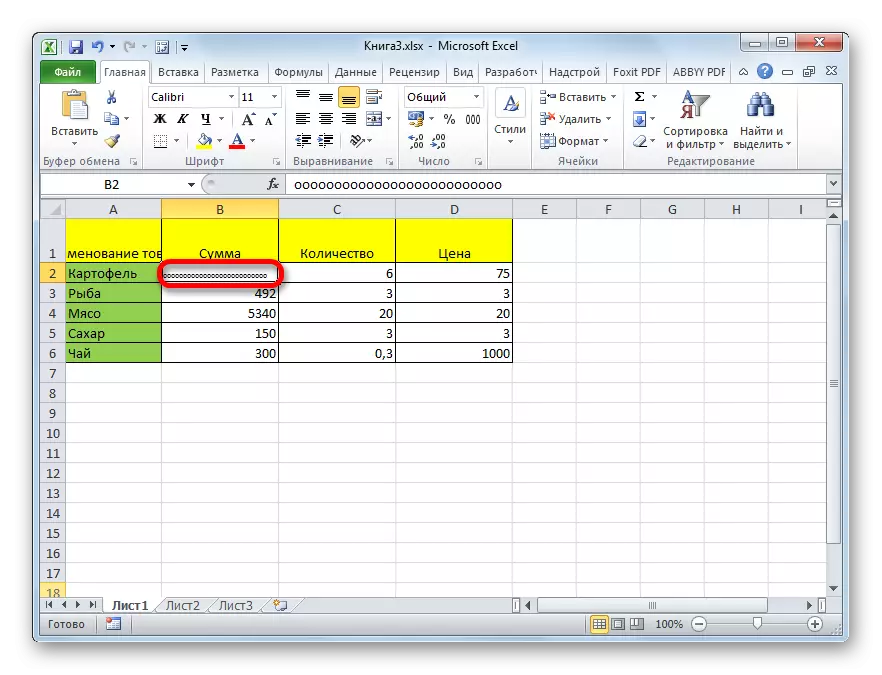
This method cannot be called a full increase in cell size, but, nevertheless, it also helps to fully fit the text into the available boundaries. When it is assisted, an automatic decrease in the text symbols is so that it fit into the cell. Thus, it can be said that its size relative to the text increases.
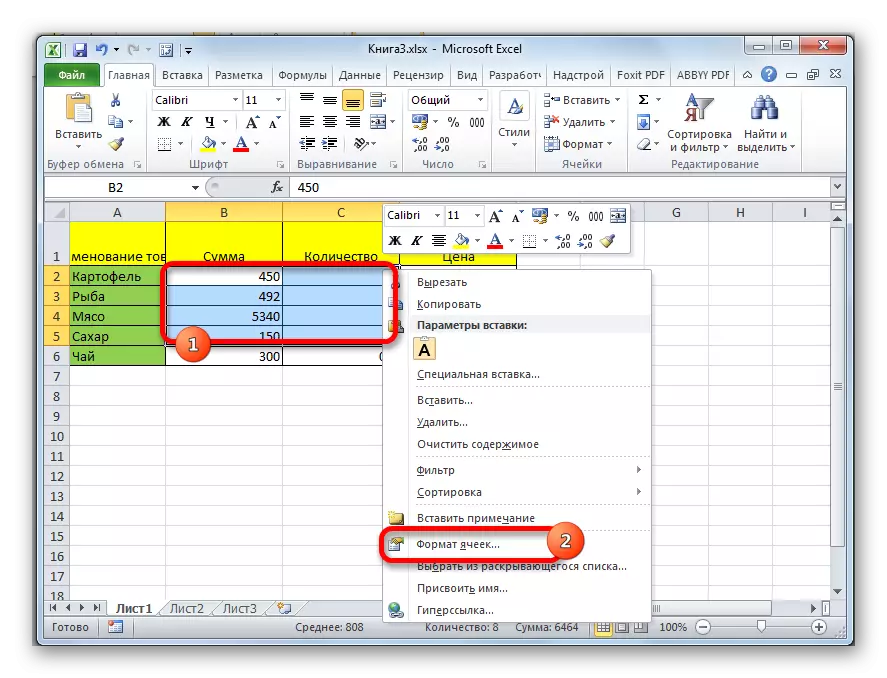
- We allocate the range to which we wish to apply the properties of the width of the width. Click on highlighting the right mouse button. The context menu opens. Select it in it "Cell format ...".
- The formatting window opens. Go to the "Alignment" tab. In the "Display" settings block, we set a tick near the "Width" parameter. Click on the "OK" button at the bottom of the window.
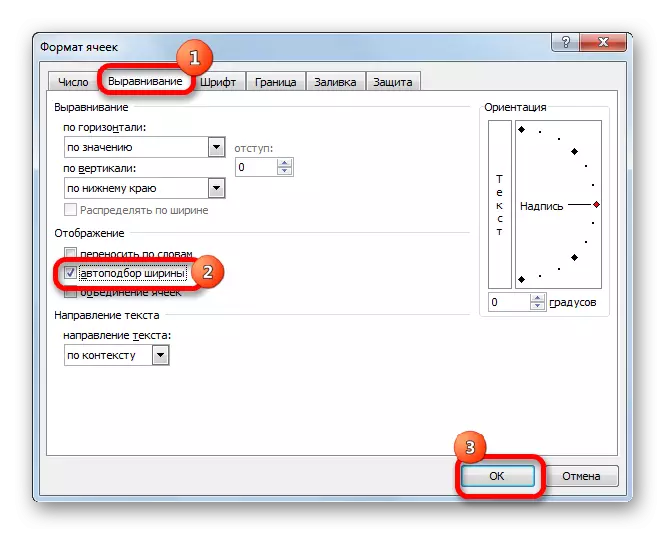
After these actions, no matter how long the recording is, but it will fit in the cell. True, you need to consider that if there are too many characters in the sheet element, and the user will not expand it with one of the previous ways, then this entry can become very small, up to the unreadable. Therefore, they can be content with a given version to ensure the data into the boundaries, not in all cases is acceptable. In addition, it should be said that this method only works with text, but not with numeric values.
As we see, there are a number of ways to increase the size of both individual cells and entire groups, up to an increase in all sheet elements or books. Each user may choose the most convenient option for it to perform this procedure in specific conditions. In addition, there is an additional way to accommodate content to the cell limits using the width of the width. True, the last method has a number of restrictions.