
The overwhelming majority of software developers are trying to adapt their product to new versions of Windows. Unfortunately, there are exceptions. In such situations, difficulties arise with the launch of software, which was released for a long time. From this article, you just find out how to solve the issue of compatibility on devices running Windows 10.
Activation of compatibility mode in Windows 10
We allocated two basic ways to solve the problem that voiced earlier. In both cases, the built-in operating system functions will be used. This means that you do not need to install additional software. It suffices to follow the instructions below.Method 1: troubleshooting tool
The troubleshooting utility, which is present by default in each Windows 10 edition, is able to solve many different problems. One of its functions will be needed to us in this method. Next steps:
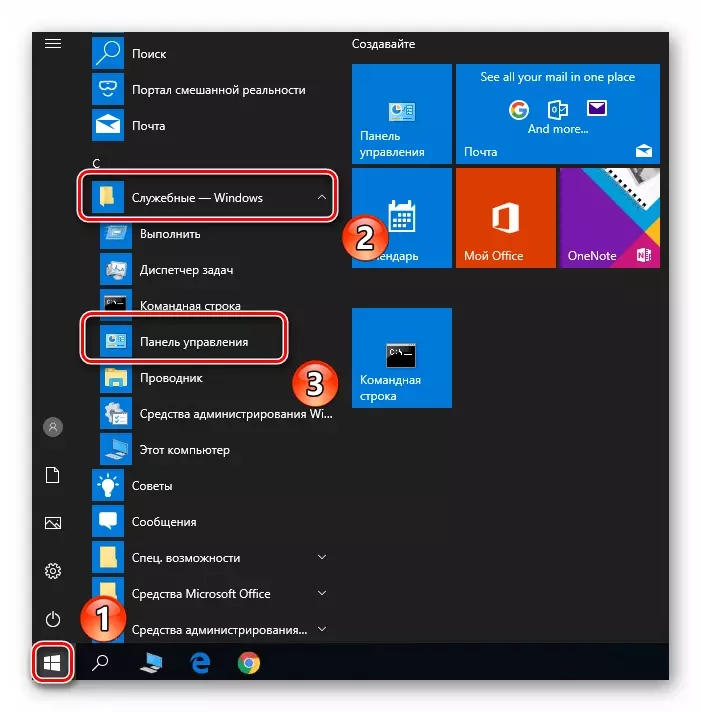
- Open the Start window by clicking on the button with the same name on the desktop. In the left part, find the "OBJECT-Windows" folder and deploy it. In the list of nested applications, click on the "Control Panel" item.
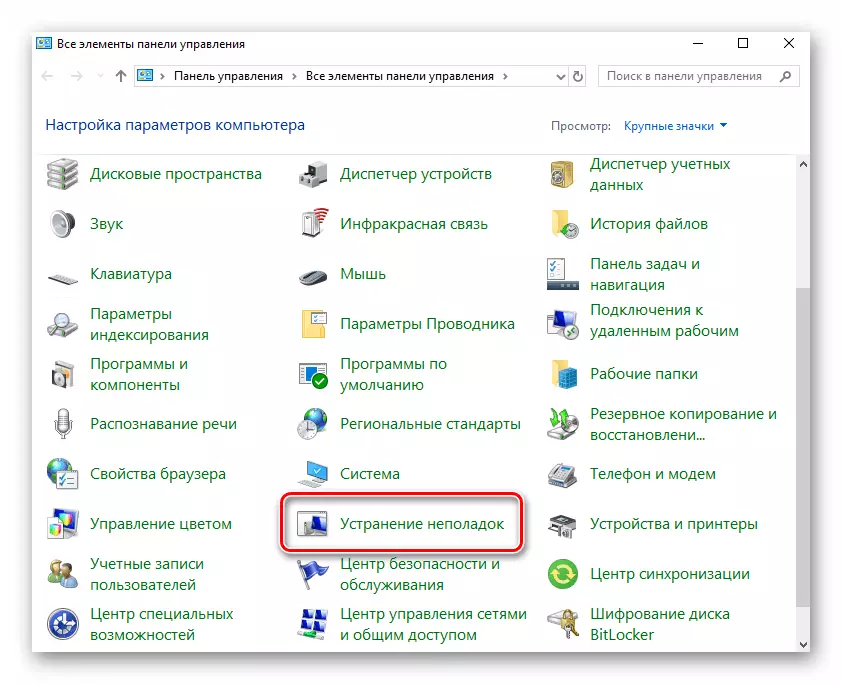
- Next, run the troubleshooting utility from the opened "Control Panel" window. For a more convenient search, you can activate the display mode of the contents of "large icons".
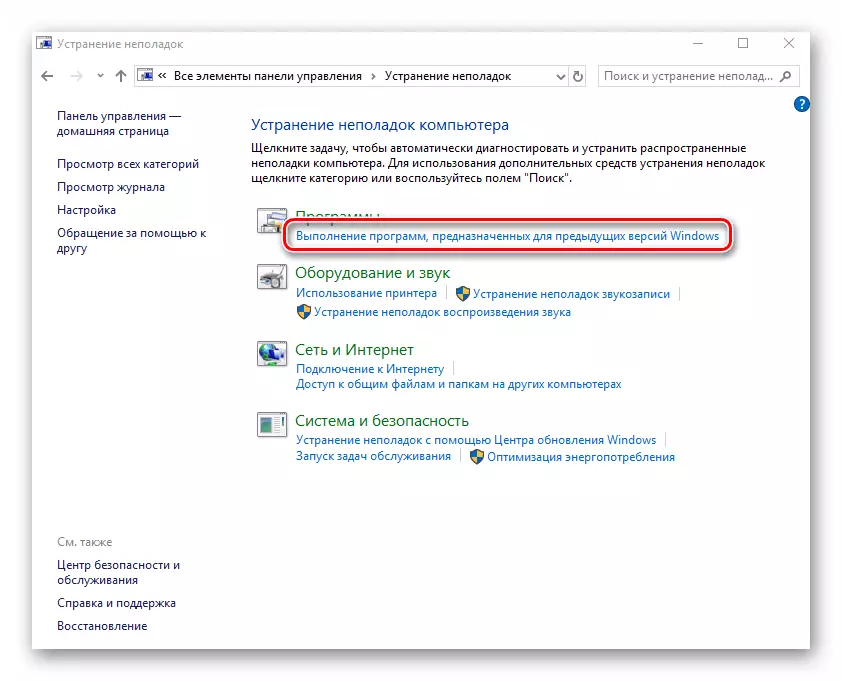
- In the window that opens after this window, you need to click on the line that we noted in the following screenshot.
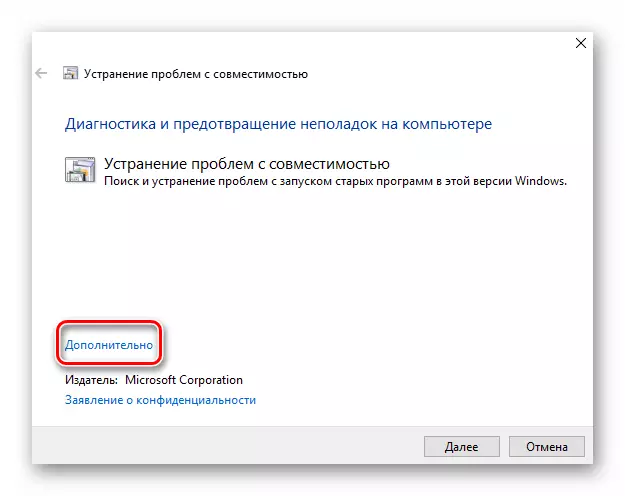
- As a result, the utility "Elimination of compatibility issues" will be launched. In the window that appears, click the "Advanced" string.
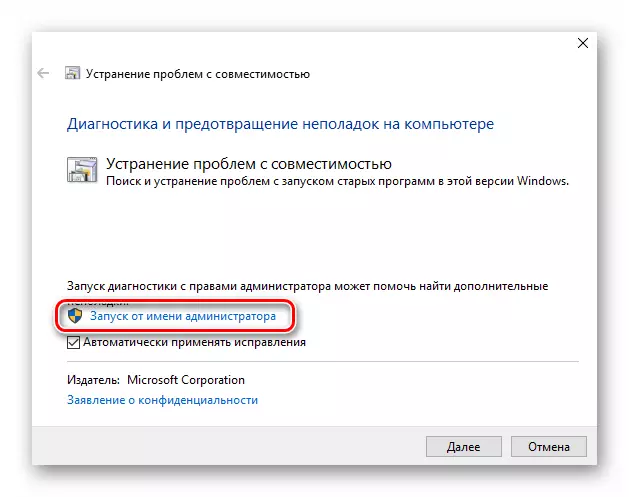
- Click on the "Startup from the Administrator" string. As it is clear from the title, it will restart the utility with maximum privileges.
- After restarting the window, press the left mouse button on the "Advance" row.
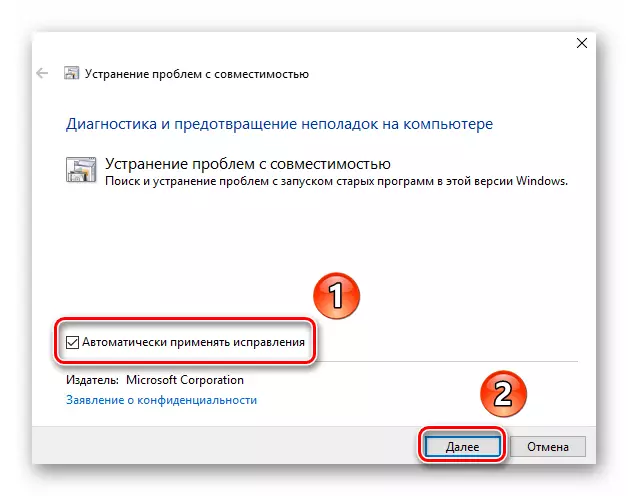
- Next, it should be noted the option "Automatically use fixes" and click the Next button.
- At this stage you need to wait a bit until the utility scans your system. This is done to identify all programs that are present on the computer.
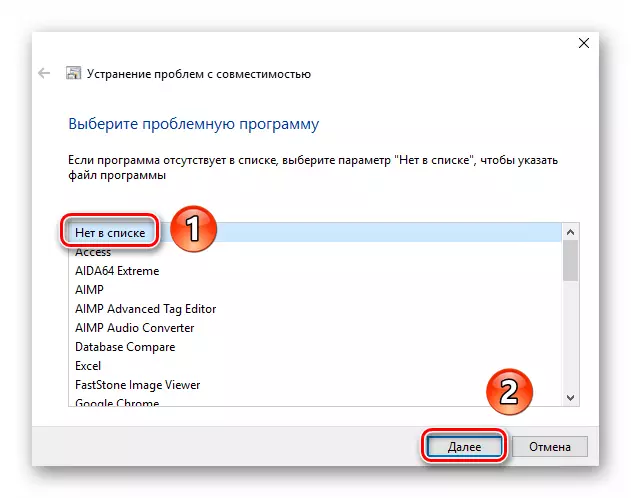
- After some time, a list of such software will appear. Unfortunately, very often the problem application is not displayed in the list result. Therefore, we recommend immediately select "No in the list" and click the "Next" button.
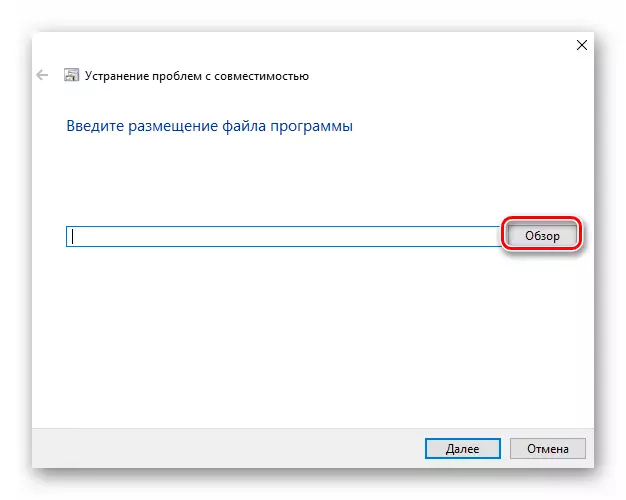
- In the next window, you must specify the path to the executable program file with which problems occur at startup. To do this, click "Overview".
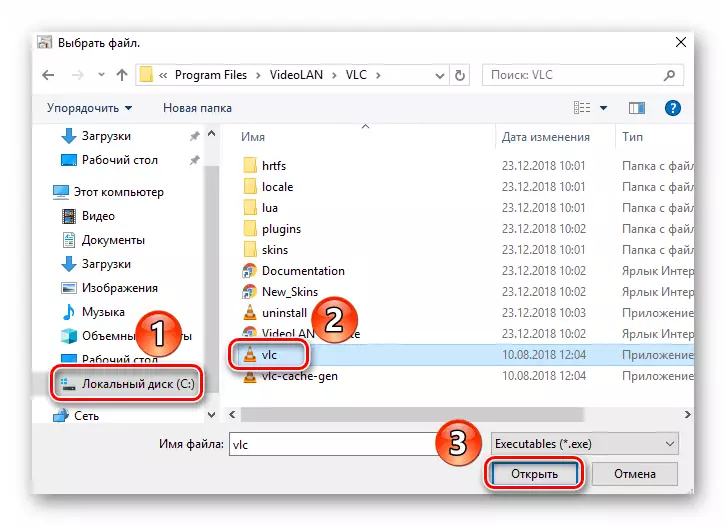
- A file selection window will appear on the screen. Find it on your hard disk, highlight a single press of LKM, and then use the Open button.
- Then click the Next button in the "Elimination of Compatibility Problems" window to continue.
- The automatic analysis of the selected application and identify problems with its launch. As a rule, it will be necessary to wait 1-2 minutes.
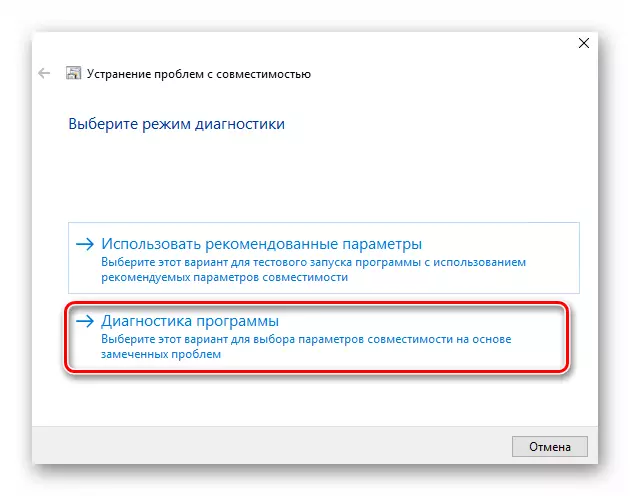
- In the next window, you need to click on the "Program Diagnostics" line.
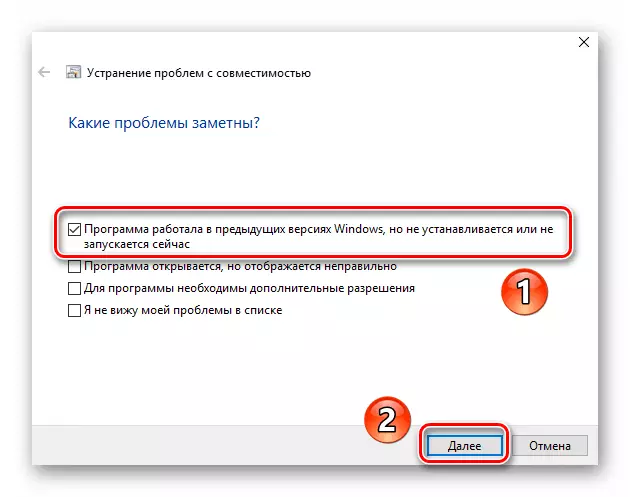
- From the list of possible problems, you need to select the very first item, and then click the "Next" button to continue.
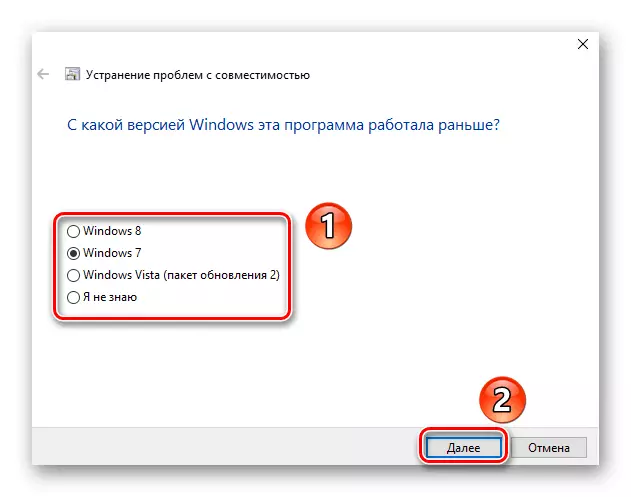
- At the next step, you must specify the version of the operating system in which the previously selected program worked correctly. After that, you need to click "Next".
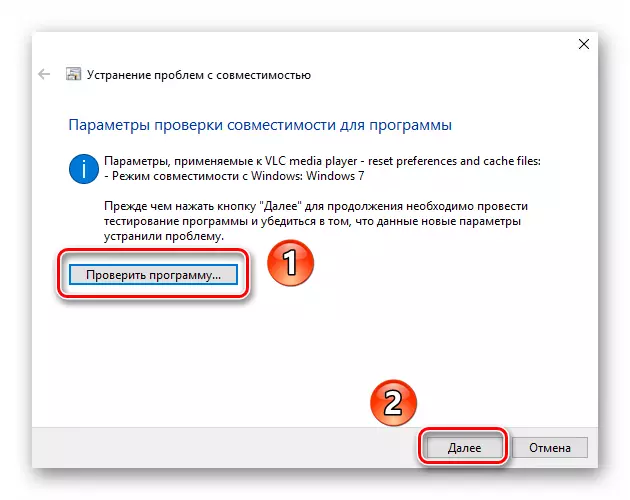
- As a result, the necessary changes will be applied. Additionally, you can check the performance of the problematic software with new settings. To do this, click the "Check Program" button. If everything works properly, then in the same window click "Next".
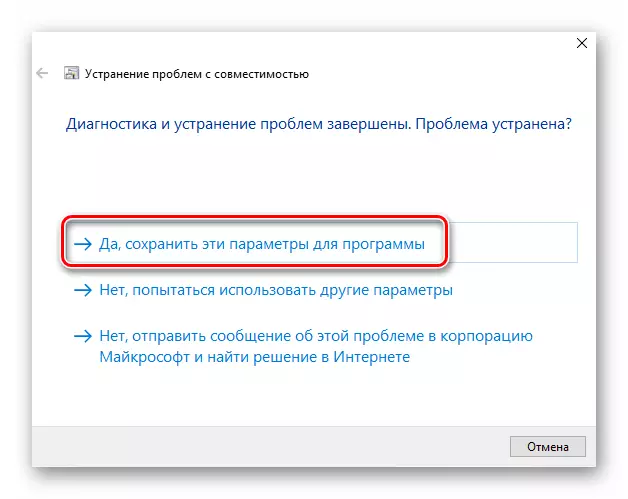
- This is the process of diagnosing and troubleshooting problems. You will be prompted to save all previously made changes. Click the Yes button, save these parameters for the program. "
- The process of saving takes some time. Wait until the window specified below does not disappear.
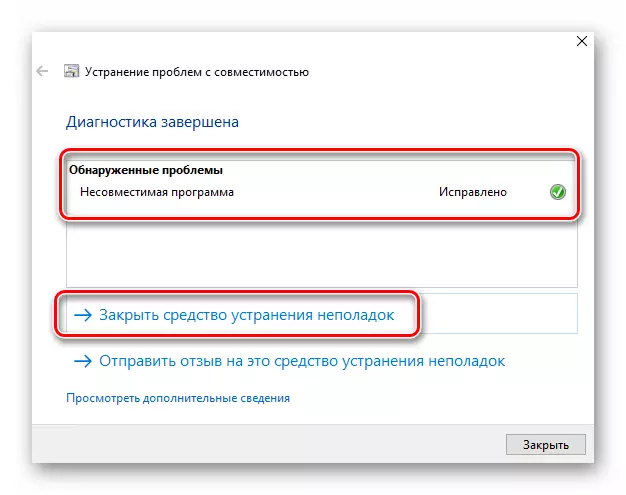
- Next will be presented a brief report. Ideally, you will see a message that the problem is fixed. It remains only to close the "troubleshooting tool" by clicking on the button with the same name.


Following the instructions described, you can easily use the Compatibility Mode for the desired application. If the result was unsatisfactory, try the following method.
Method 2: Changing the Properties of the Label
This method is much easier than the previous one. To implement it, you need to perform a few simple actions:
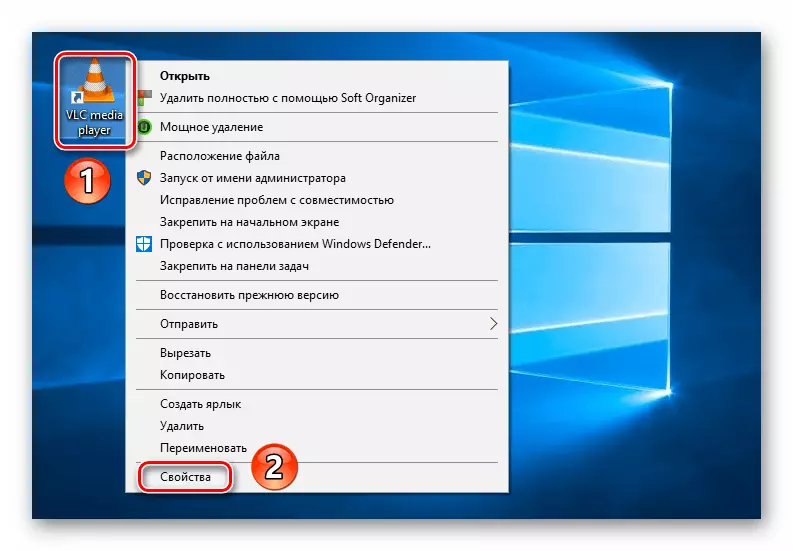
- On the shortcut of the problem program, right-click. From the opened context menu, select the "Properties" string.
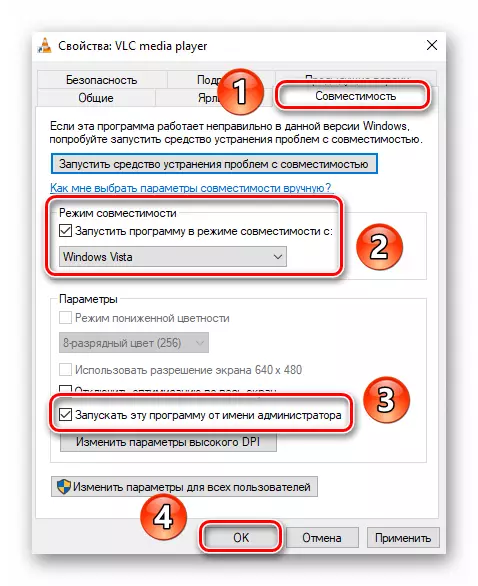
- A new window will appear. Move in it in the tab called "Compatibility". Activate the "Run Program in Compatibility" function. Already then, from the drop-down menu below, select the version of Windows in which the software worked correctly. If necessary, you can put a tick next to the string "Run this program on behalf of the administrator." This will allow on an ongoing basis to launch an application with maximum privileges. At the end, click OK to apply the changes made.
As you can see, run any program in compatibility mode is not at all difficult. Remember that without the need, the specified function is better not to include, since it is sometimes the reason for other problems.