

User access to operating system objects is carried out on the basis of the safety rules provided for by the developers. Sometimes Microsoft is reinsured and deprived of us the opportunity to be a full owner of their PC. In this article we will tell how to solve the problem of opening some folders arising due to the lack of rights of your account.
No access to the target folder
When installing Windows, we create an account, which is the "Administrator" status by default. The fact is that this user is not a full admin admin. This is done for security purposes, but, at the same time, this fact causes some problems. For example, when trying to penetrate the system directory, we can get a refusal. It's all about MS allocated by MS developers, or rather, in their absence.
Access can be closed to other folders on the disk, even created by yourself. The reasons for such behavior of the OS are already in artificial restriction of operations with this object with antivirus programs or viruses. They can change security rules for the current "account" or to make themselves the owner of the directory with all the consequences and unpleasant for us. To exclude this factor, you need to turn off the antivirus for a while and check the ability to open the folder.

Read more: How to turn off the antivirus
You can also try to produce the required operation with a directory in "Safe Mode", since most antivirus programs are not started in it.
Read more: How to go to "Safe Mode" on Windows 10
The next step is a mandatory computer check for viruses. If they are detected, clean the system should be cleaned.
Read more: Fighting computer viruses
Next, we consider other ways to eliminate the problem.
Method 1: third-party programs
In order to perform operations with a target folder, you can use the profile software, for example, Unlocker. It allows you to remove the lock from the object, help remove it, move or rename. In our situation, it can help that moving to another place on the disk, for example, on the desktop.

Read more: How to use unlocker
Method 2: Go to the administrator account
To begin with, check the account status in which the input is currently executed. If "Windows" dreamed of you inherited from the previous owner of a PC or laptop, then it is likely that the current user does not have administrative rights.
- We go to the classic "control panel". To do this, open the "Run" string by the combination of the Win + R keys and write
Control
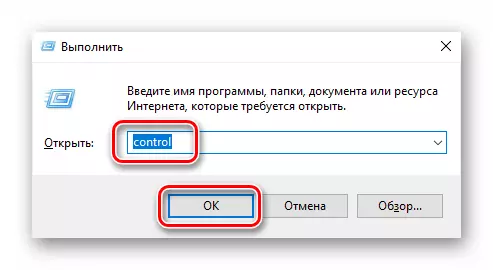
Click OK.
- Select the "Minor Icons" view mode and go to user account management.

- We look at your "account." If the "Administrator" is indicated next to it, our rights are limited. Such a user has the status "standard" and cannot be changed in parameters and some folders.
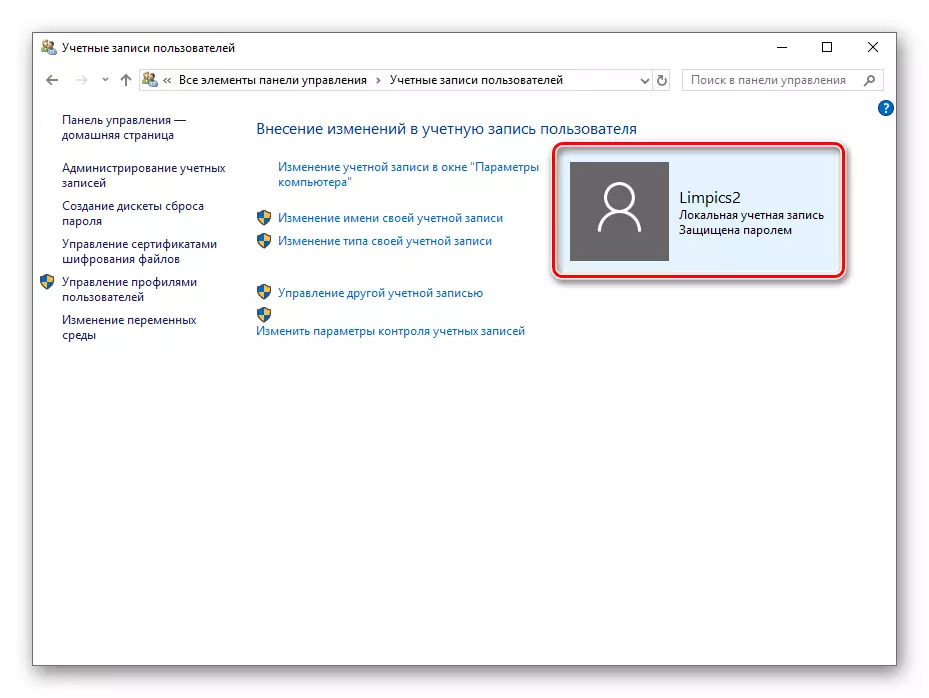
This means that the recording with admin rights may be disabled, and we will not be able to activate it in the usual way: the system will not allow this due to the status. You can verify this by clicking on one of the links with the settings.

UAC will give the window of the following type:
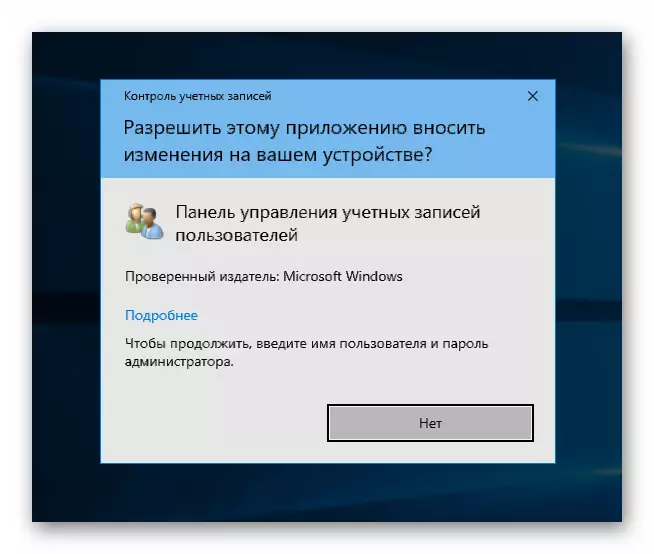
As you can see, the "Yes" button is missing, access is closed. The problem is solved by activating the relevant user. You can do this on the lock screen by choosing it in the list in the lower left corner and entering the password.
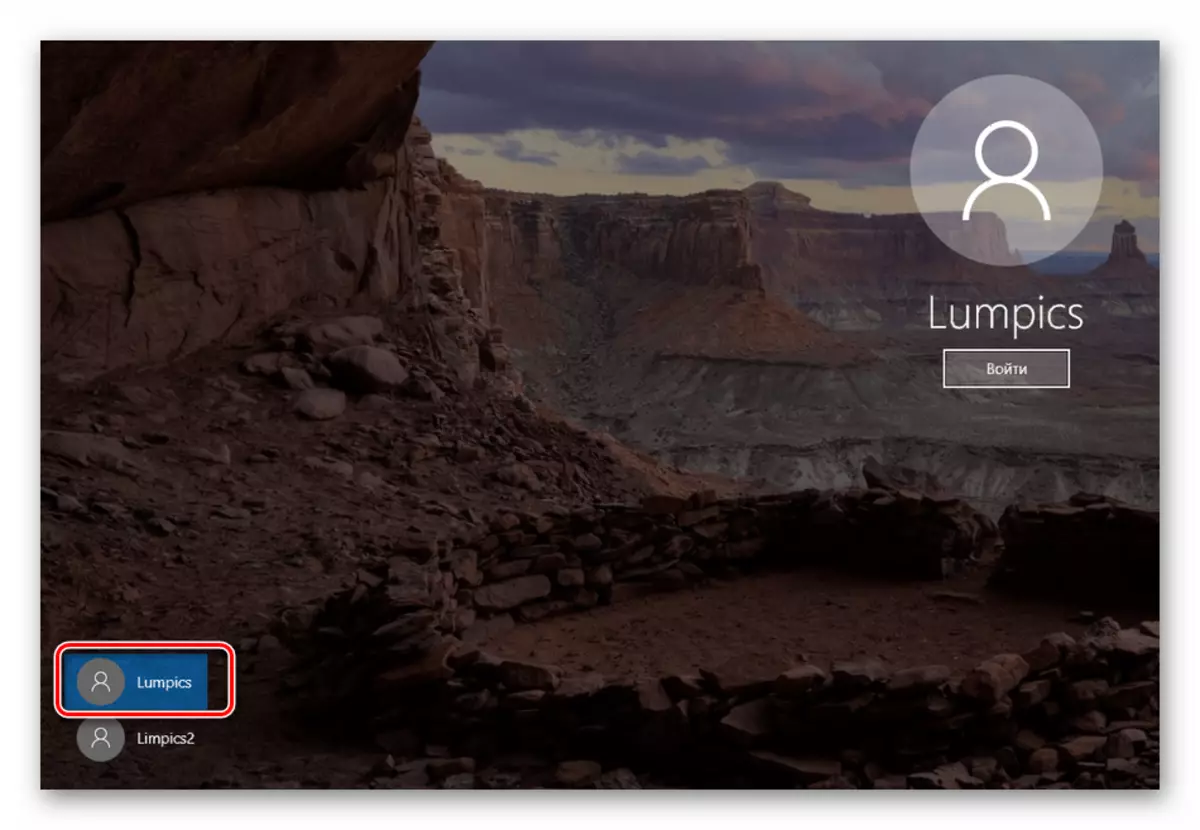
If there is no such list (it would be too easy) or the password is lost, carry out the following actions:
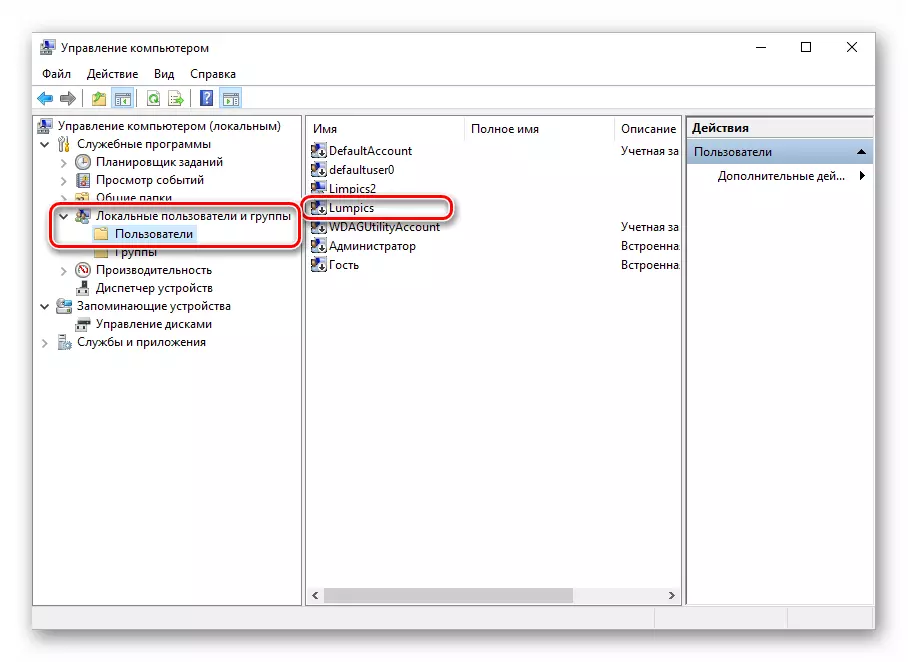
- To begin with, define the name "Account". To do this, press the PCM on the "Start" button and go to the "Computer Management".

- Open the "Local Users and Groups" branches and click on the "Users" folder. Here are all "accounts" existing on the PC. We are interested in those that have ordinary names. Administrator, "Guest", paragraphs with the "Default" and WDagutiltyAcCount and WDagutiltyAcCount. In our case, these are two entries "Lumpics" and "Lumpics2". The first, as we see, is disabled, what is the icon with an arrow near the title.
Press on it PCM and go to the properties.

- Next, go to the "Membership in Groups" tab and make sure it is an administrator.
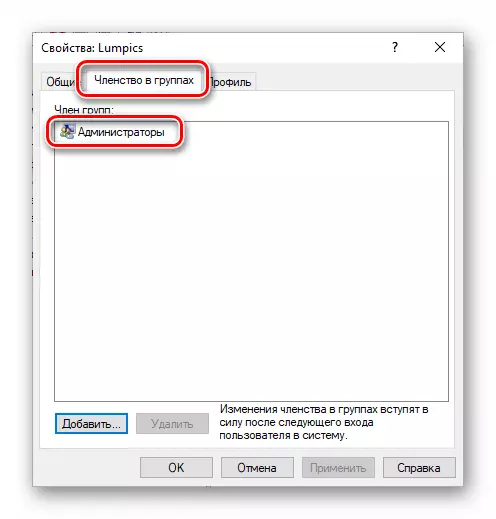
- We remember the name ("Lumpics") and close all windows.
Now we will need bootable media with the same version of "dozens", which is installed on our PC.
Read more:
How to make a bootable USB flash drive with windows 10
How to set up loading from a flash drive in BIOS
- Loading from the flash drive and at the first stage (language selection) by click "Next".

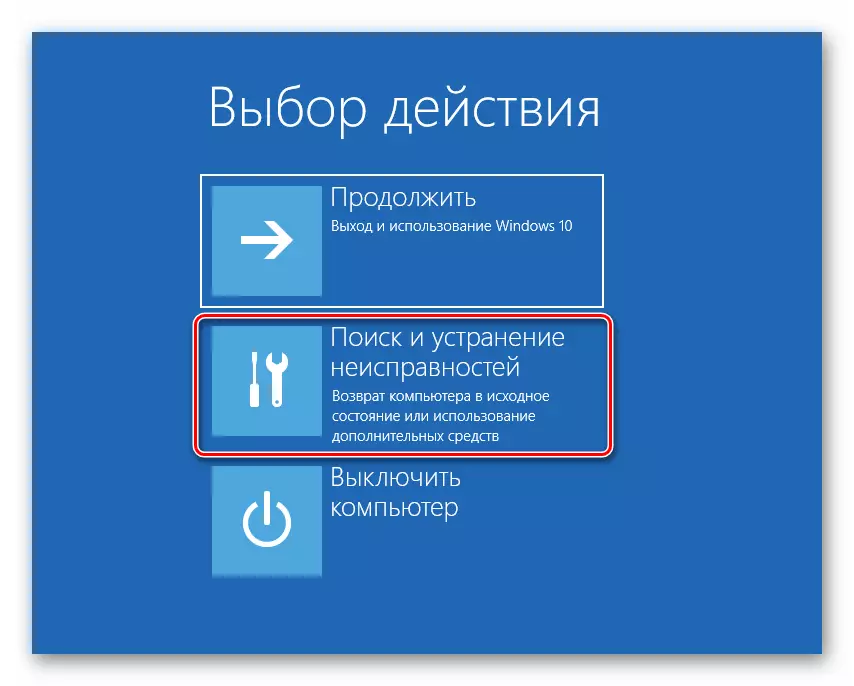
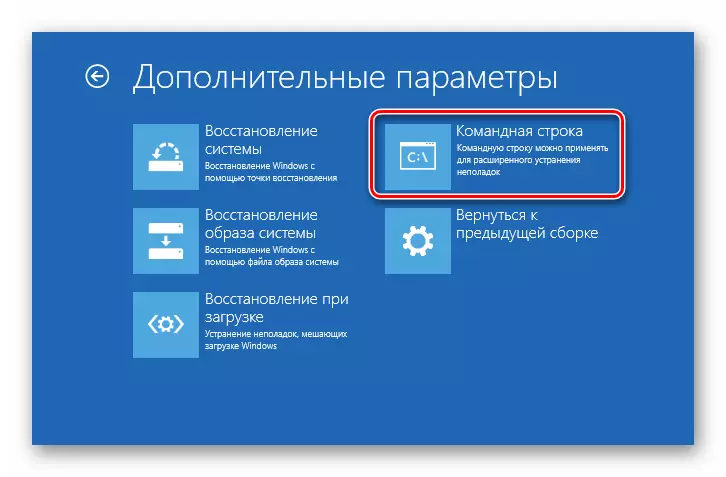
- Go to the restoration of the system.

- On the recovery environment, we click on the item shown in the screenshot.
- Call "Command Line".
- Open the registry editor for which we enter the command
regedit.

Press ENTER.
- Select a branch
HKEY_LOCAL_MACHINE
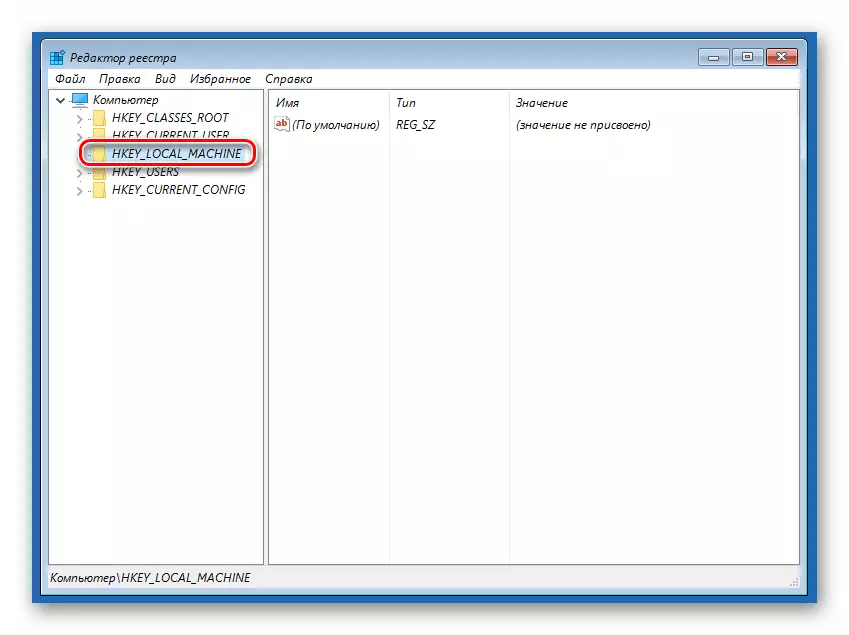
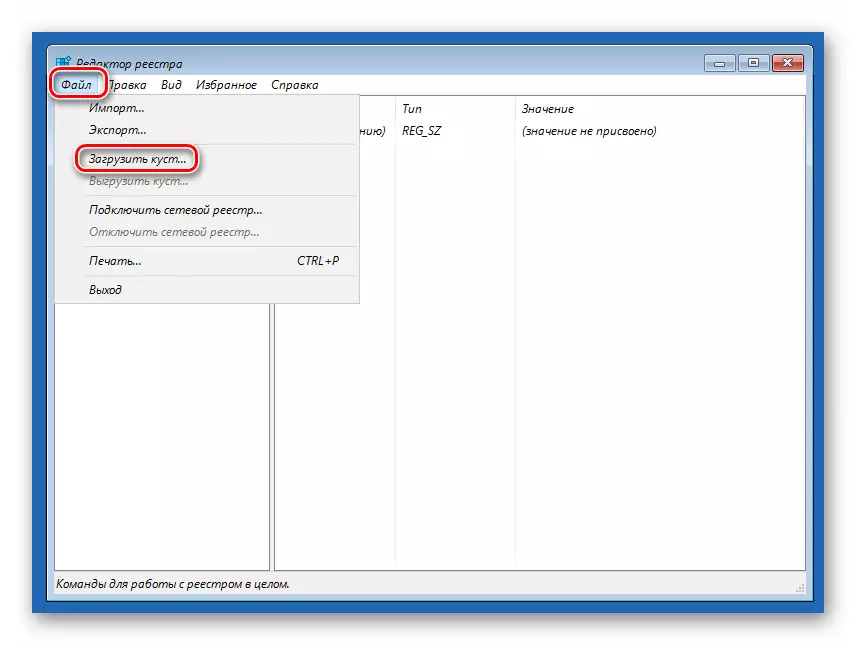
We go to the "File" menu and choose the loading of the bush.
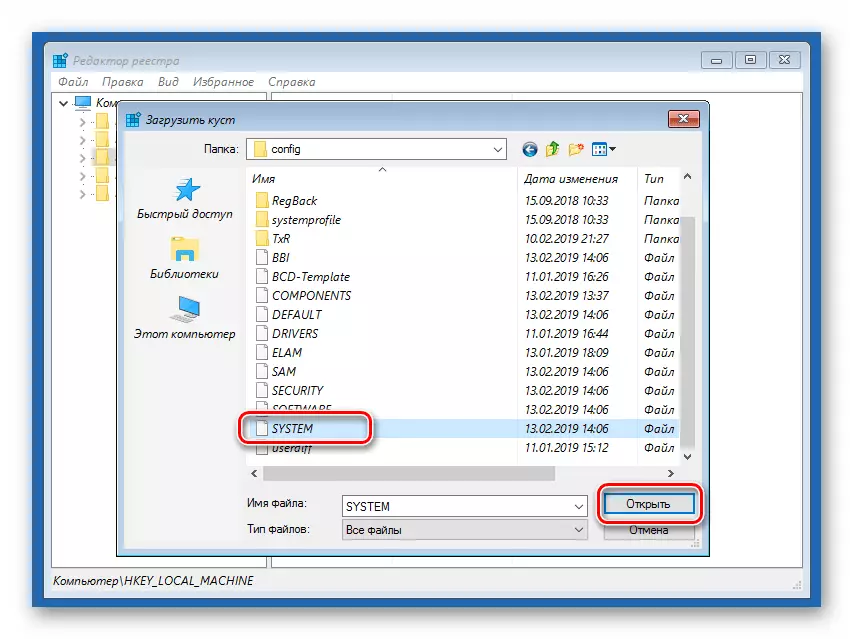
- Using the drop-down list, go along the way
System Disk \ Windows \ System32 \ Config
In the recovery environment, the system is usually assigned DC.

- Select a file with the name "System" and click "Open".
- We give a name in Latin (better so that there are no spaces in it) and click OK.

- We open the selected branch ("HKEY_LOCAL_MACHINE") and in it our created section. Click on the folder with the name "setup".
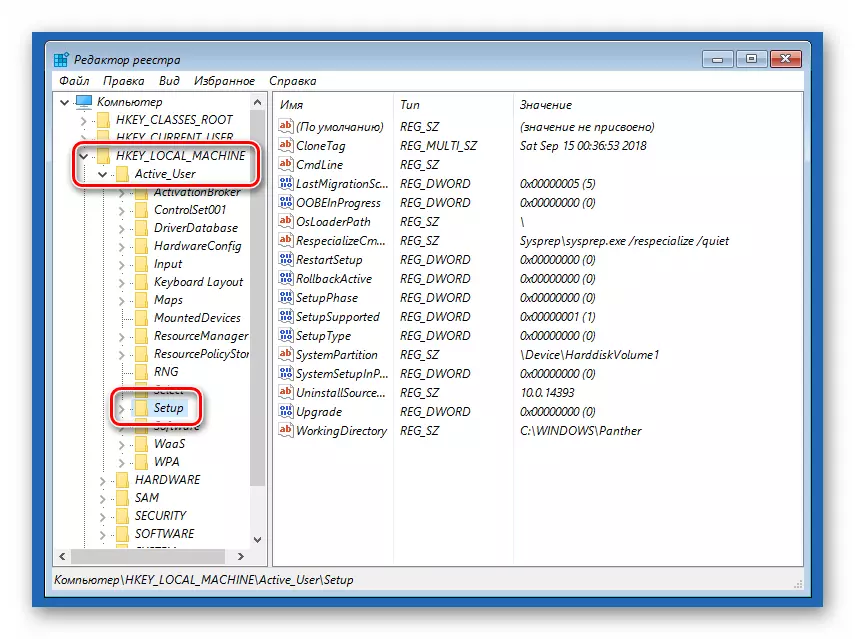
- Twice click parameter
Cmdline
We assign importance to it
cmd.exe.

- In the same way, change the key
Setup Type
The required value "2" without quotes.

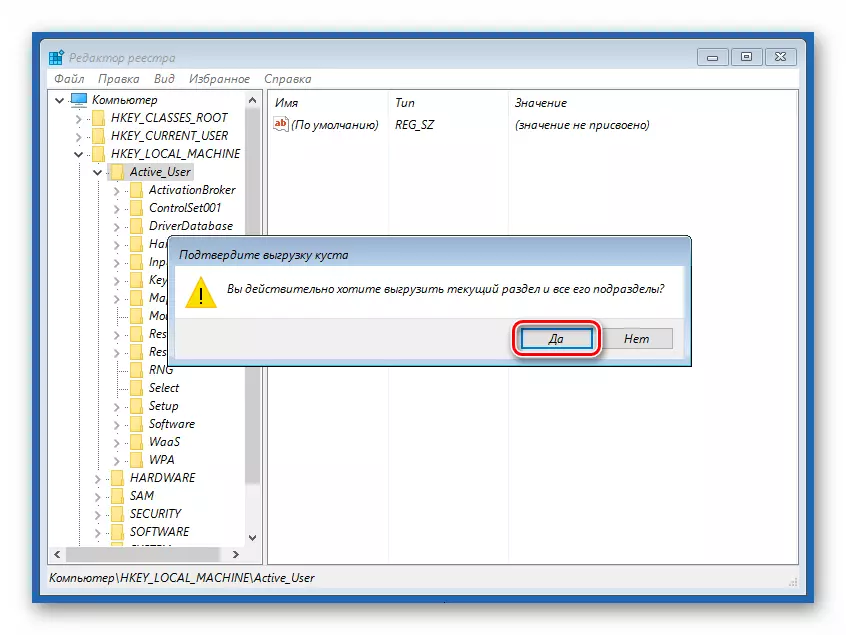
- We allocate our previously created section.

Unload bush.
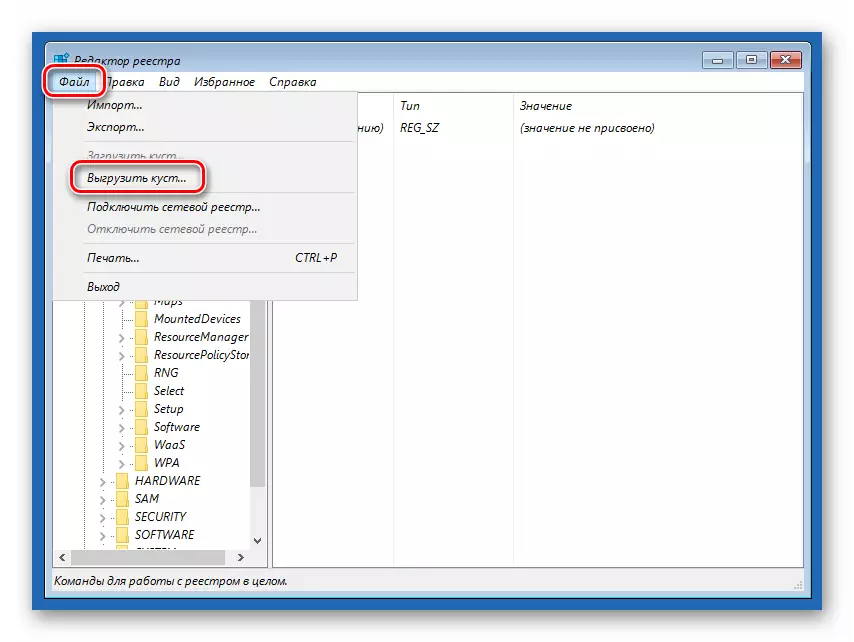
Confirm your intention.
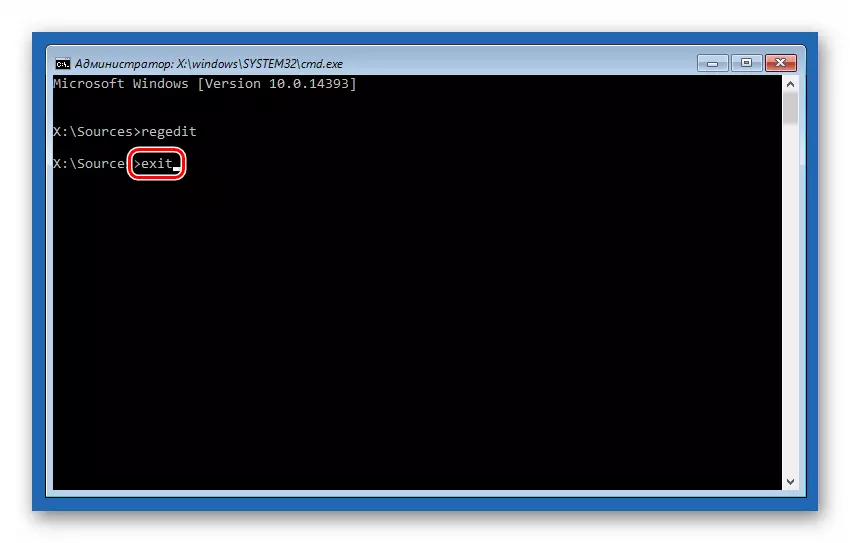
- We close the editor and in the "Command line" perform the team
EXIT
- Turn off the PC indicated on the screenshot button, and then turn it on again. This time we need to boot from the hard disk by performing the settings in the BIOS (see above).

The next time you launch, the "Command Line" started on the download screen will appear on the boot screen. In it, we activate the account, the name of which was remembered, as well as reset its password.

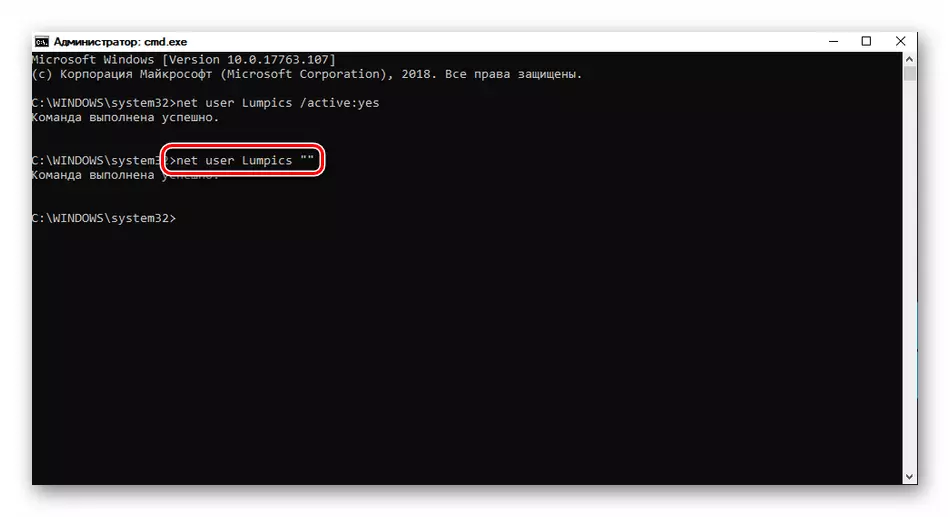
- We write the following command, where "Lumpics" Username in our example.
Net User Lumpics / Active: Yes
Press ENTER. The user is activated.

- Drop the password team
Net User Lumpics ""
At the end, two quotes in a row must go, that is, without a space between them.
After the specified actions are performed, an activated user with administrator rights will appear on the lock screen and, moreover, without a password.
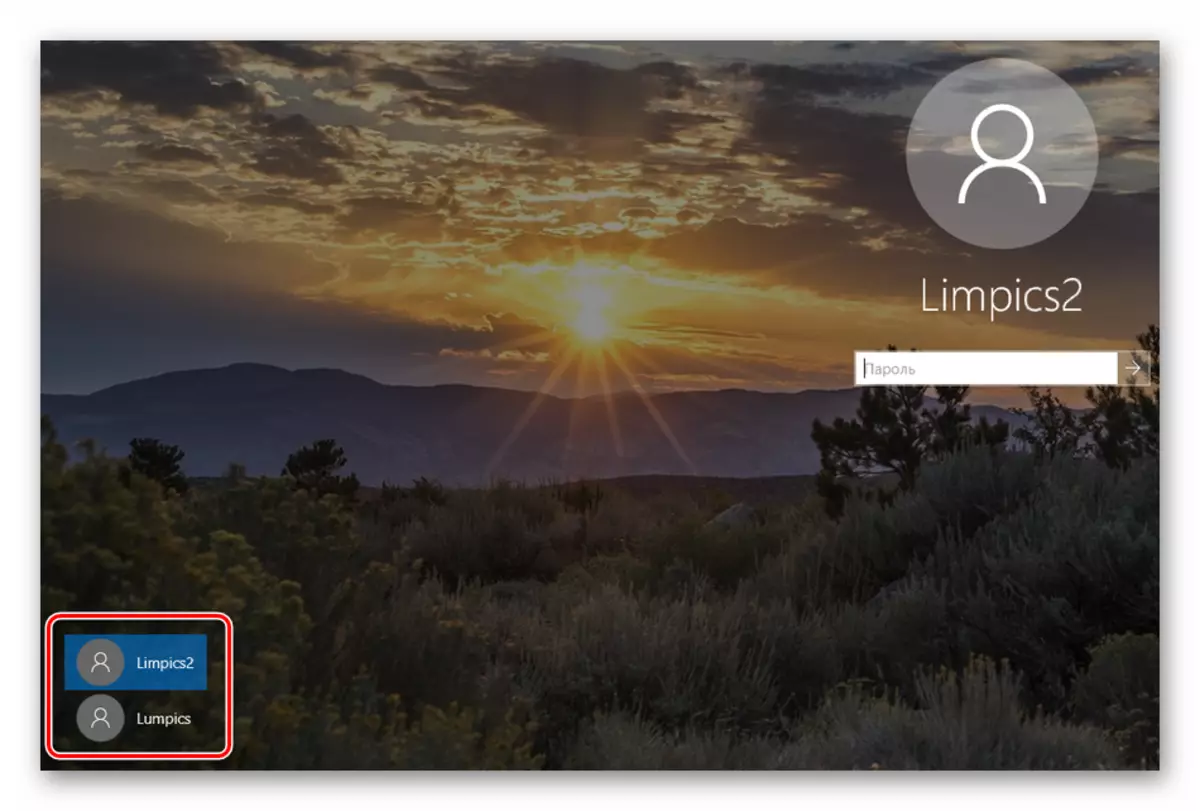
Entering this "account", you can use elevated privileges when changing parameters and access to OS objects.
Method 3: Activation of the Administrator account
This method will be suitable if the problem occurs when you are already in an account with administrator rights. In joining, we mentioned that it was only a "title", but the other user who is the name "administrator" has exceptional privileges. You can activate it as the method as in the previous paragraph, but without rebooting and editing the registry, directly in the running system. Password, if any, is reset the same. All operations are made in the "command line" or in the appropriate section of the parameters.

Read more:
How to run a "command line" in windows 10
Use the Administrator account in Windows
Conclusion
Applying the instructions described in this article and having received the necessary rights, do not forget that some files and folders are not in vain are blocked. This applies to system objects, a change or removal of which may necessarily lead to the inoperability of the PC.