

During the installation of the Ubuntu operating system, only one privileged user has a root right and any computer management capabilities. After the installation is completed, access appears to create an unlimited number of new users, setting each of your rights, home folder, shutdown date and many other parameters. As part of today's article, we will try to tell the most detailed as possible about this process, bringing a description of each present in the commands.
Add a new user to Ubuntu
You can create a new user in one of two ways, and each method has its own specific settings and will be useful in different situations. Let's analyze every embodiment of the task in detail, and you, based on your needs, select the most optimal one.Method 1: Terminal
An indispensable application in any operating system on the Linux kernel is "Terminal". Thanks to this console, many a variety of operations are made, including adding users. It will be involved only one embedded utility, but with different arguments that we will tell below.
- Open the menu and start the "Terminal", or you can hold the Ctrl + Alt + T key combination.
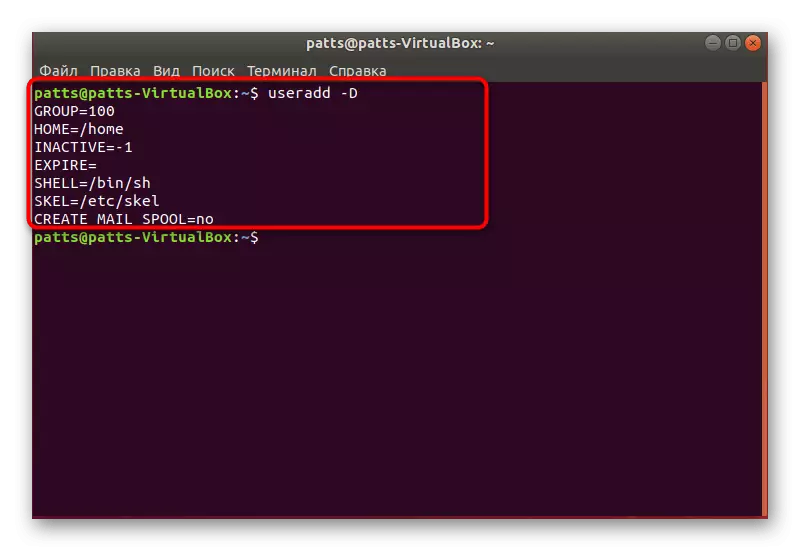
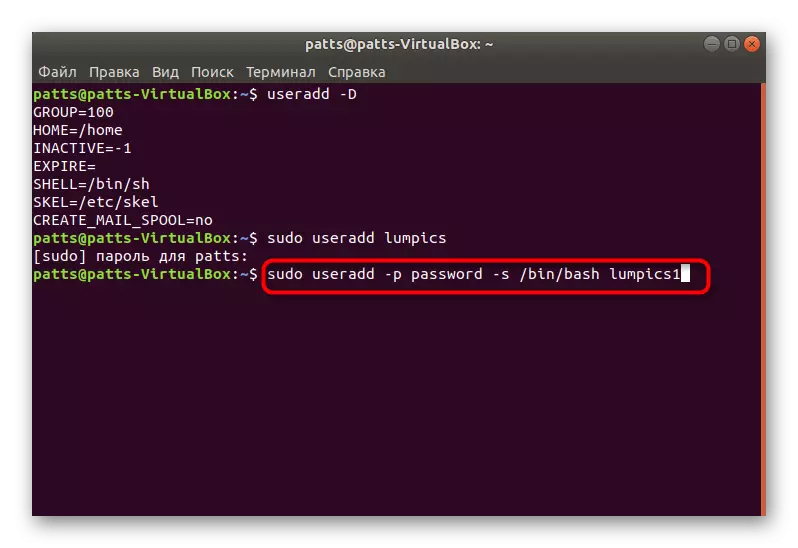
- Push the USERADD -D command to find out the standard parameters that will be applied to a new user. Here you will see a home folder, libraries and privileges.
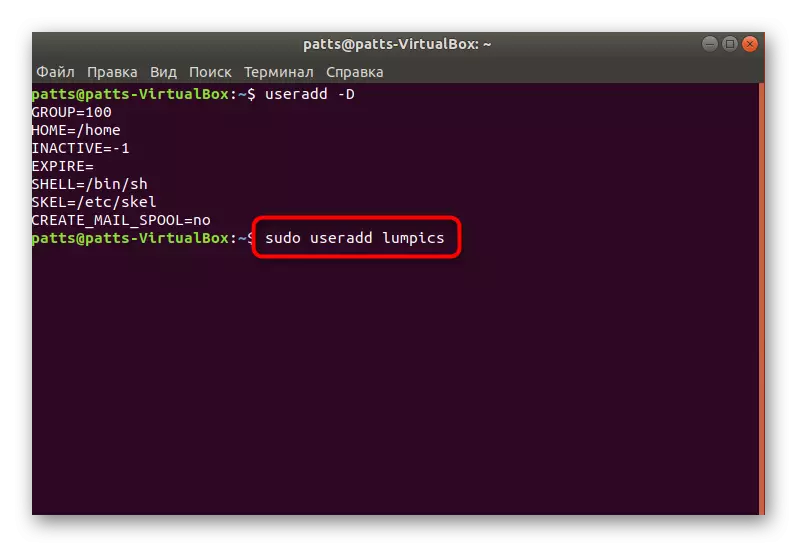
- Create an account with standard settings will help the simple Sudo UseRADD NAME command, where Name is any username entered by Latin characters.
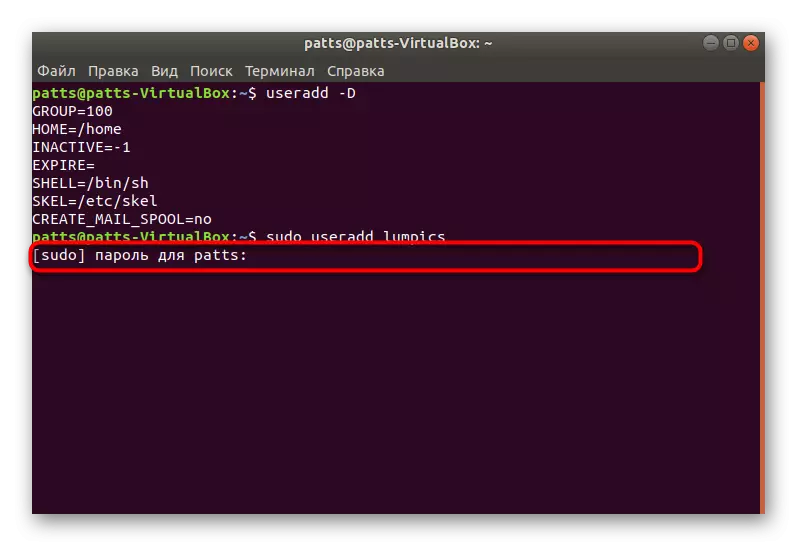
- Such an action will be made only after entering the password to access.
On this, the procedure for creating an account with standard parameters is successfully completed, after the command is activated, a new field will appear. Here you can enter an argument -p, specifying a password, as well as an argument -S, setting the shell used. An example of such a command looks like this: sudo useradd -p password -s / bin / bash user, where Passsword is any convenient password, / bin / bash - the location of the shell, and the user is the name of the new user. This creates a user using certain arguments.
Separately, I would like to pay attention to the argument -g. It allows you to make an account in the appropriate group to work with specific data. These are allocated from the main groups:
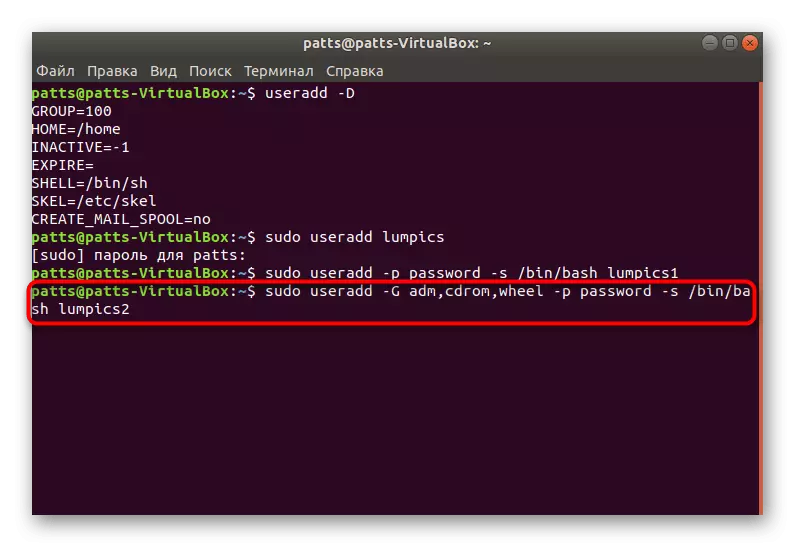
- ADM - permission to read the logs from the folder / var / log;
- CDROM - allowed to use the drive;
- Wheel - Ability to use the Sudo command to provide access to specific tasks;
- Plugdev - permission to mount external drives;
- Video, Audio - access to audio and video users.
In the screenshot above you see, in which format groups are introduced when using the UseRADD command with the -G argument.
Now you are familiar with the procedure for adding new accounts through the console in Ubuntu OS, however, we considered not all arguments, but only a few basic. Other popular teams have the following symbols:
- -b - Using a basic directory to accommodate user files, usually this is a folder / home;
- -c - add comment to the record;
- -E - time through which the created user will be blocked. Fill follows in the format of the GGs-MM-DD;
- -F - the lock of the user immediately after adding.
With the examples of assigning arguments, you have already been familiarized above, everything should be executed as indicated on the screenshots using a space after the introduction of each phrase. It is also worth noting that each account is available for further change through the same console. To do this, use the sudo usermod user command inserting the necessary arguments with values between Usermod and User. It does not apply to the password change, it is replaced through Sudo Passwd 12345 USER, where 12345 is a new password.
Method 2: Menu "Parameters"
Not everyone is convenient to use the "Terminal" and understand all these arguments, teams, besides, it is not always required. Therefore, we decided to show or easily, but less flexible method for adding a new user through a graphical interface.
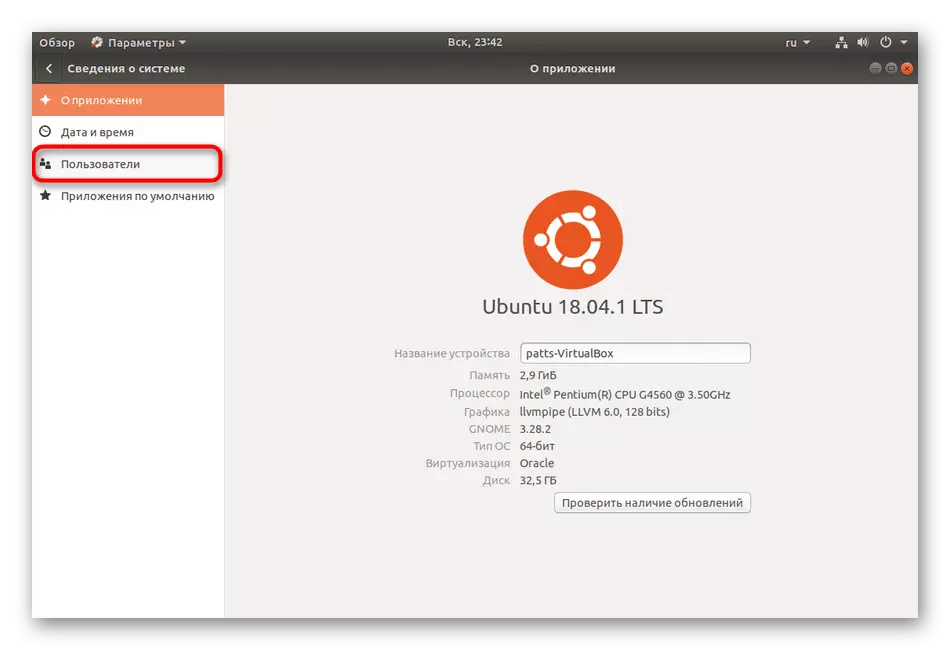
- Open the menu and find "Parameters" through the search.
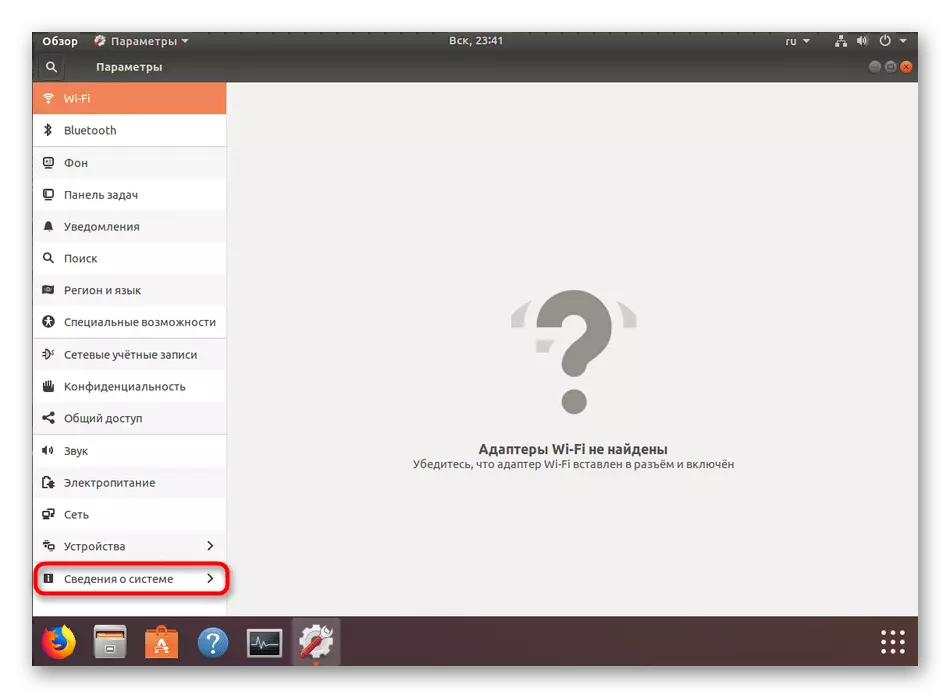
- On the bottom panel, click on "System Information".
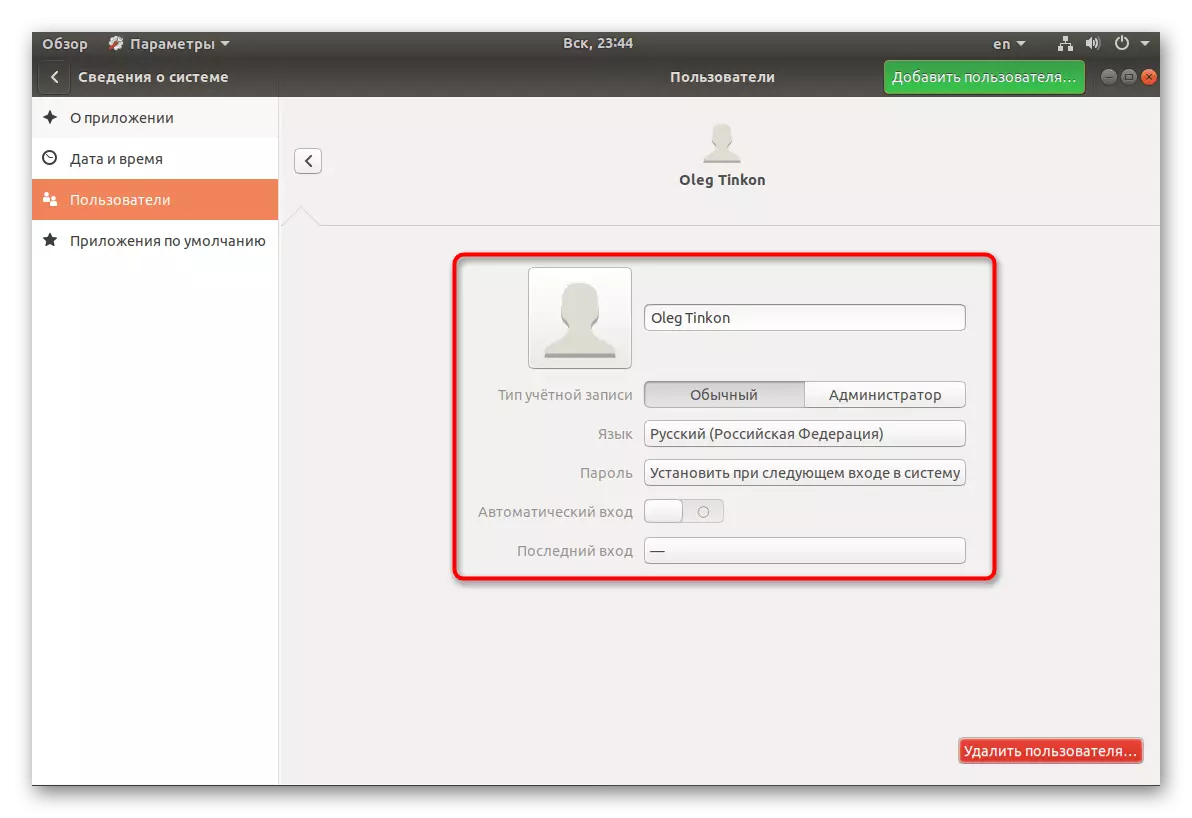
- Go to the category "Users".
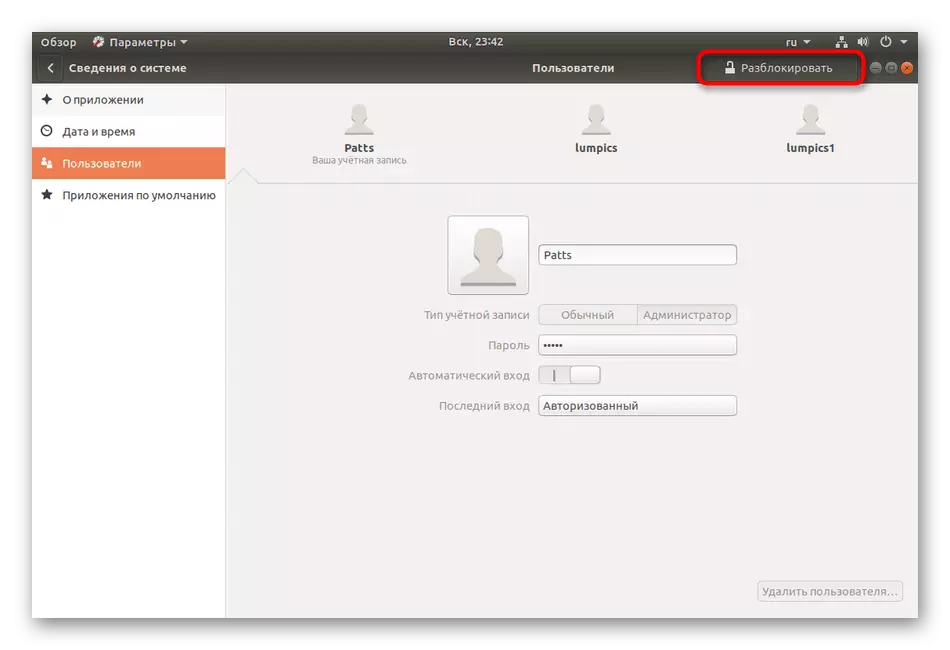
- For further editing you will need unlocking, so click on the appropriate button.
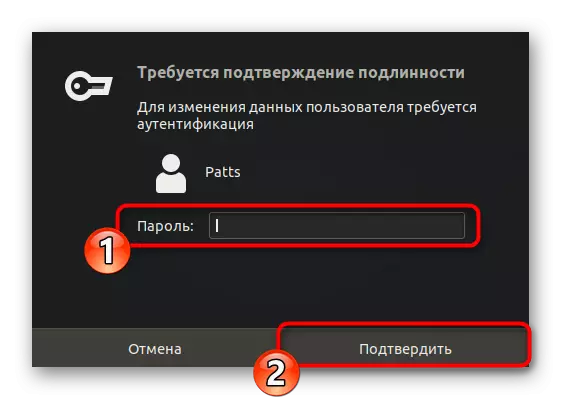
- Specify your password and click on "confirm".
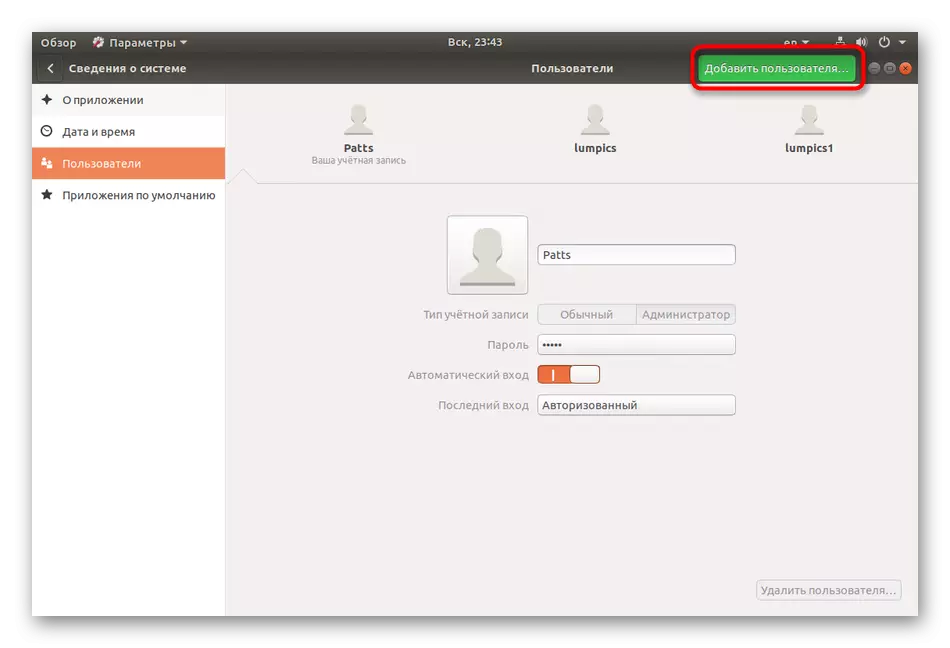
- Now the "Add user" button is now activated.
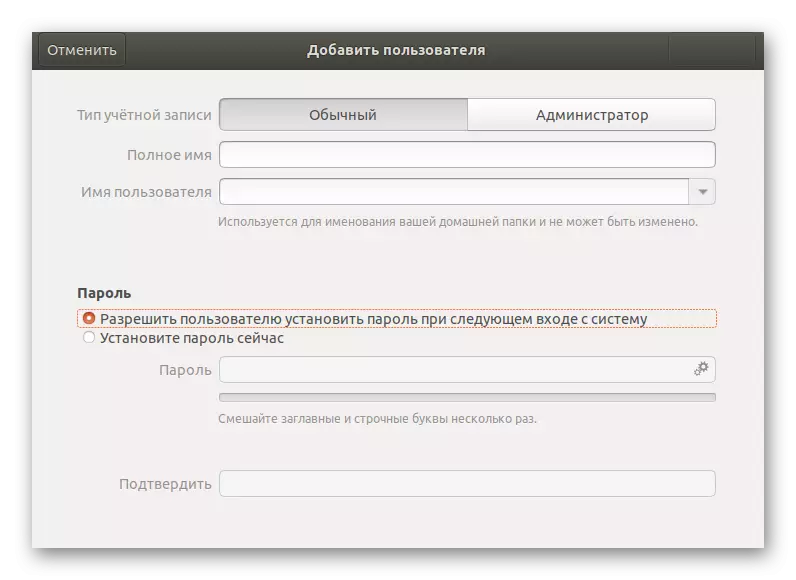
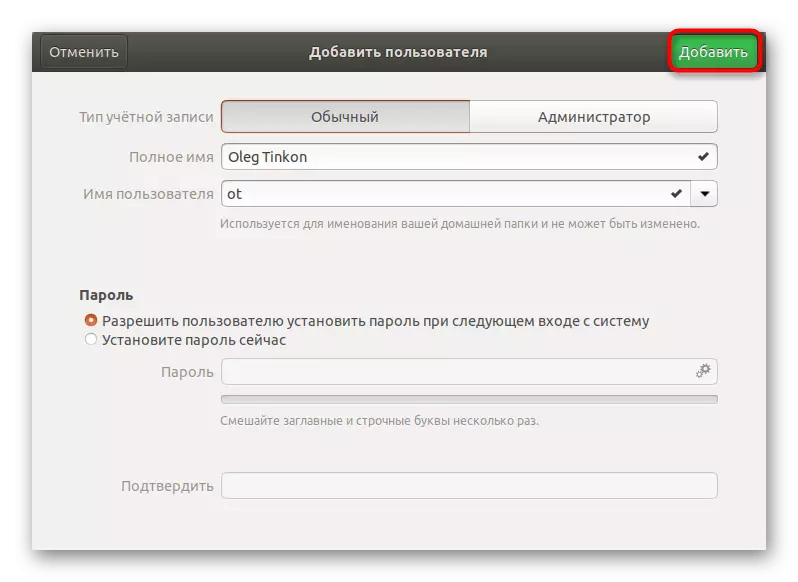
- Prioritically fill in the basic form by specifying the type of recording, the full name, the name of the home folder and password.
- Next will appear "Add", where and you should click the left mouse button.
- Before entering, be sure to check all the information entered. After launching the operating system, the user will be able to enter it under its password if it was installed.
The above two options for working with accounts will help to properly configure groups in the operating system and set their privileges to each user. As for the removal of unnecessary recording, it is performed through the same "Parameters" menu or the Sudo UserDel User command.