

To do this, all devices should be connected to the home network, it does not matter - using a wired or wireless connection. If you go online via Wi-Fi router, such local area network you already have, but additional configuration may be required, detailed instructions can be found here: How to set up a local network and shared folders in Windows.
Creating a DLNA server without any additional software
Instructions are provided for Windows 7, 8 and 8.1, however, the following points: when you try to set up your DLNA server on Windows 7 Home Basic, I received a message that this feature is not available in this version (in this case below I will talk about using the program where it can be done), only from the "Home Premium".
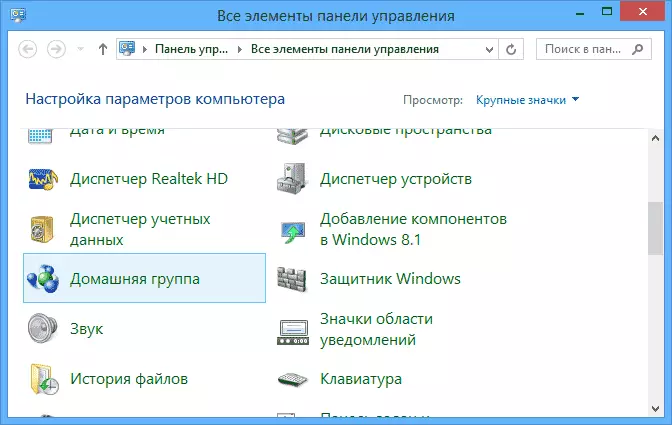
Let's start. Go to Control Panel and open the "Home Group". Another way to quickly get to these settings - right click on the icon in the notification area connection, select "Control Center Network and Sharing Center" in the left menu, choose the bottom of the "home team". If you see any warnings, please refer to the instructions in the link I gave above: perhaps your network is configured incorrectly.
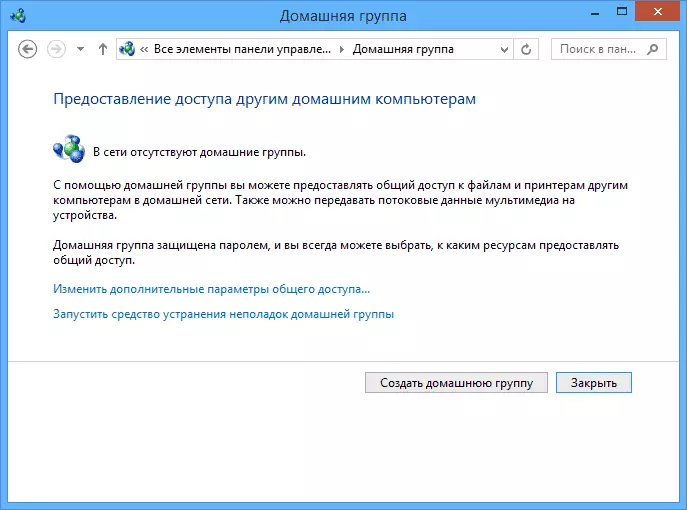
Click "Create a Homegroup", will open a wizard to create home groups, click "Next" and specify which files and devices should allow access and wait for the application settings. After that will generate a password that will be required to connect to a home group (it can be changed later).
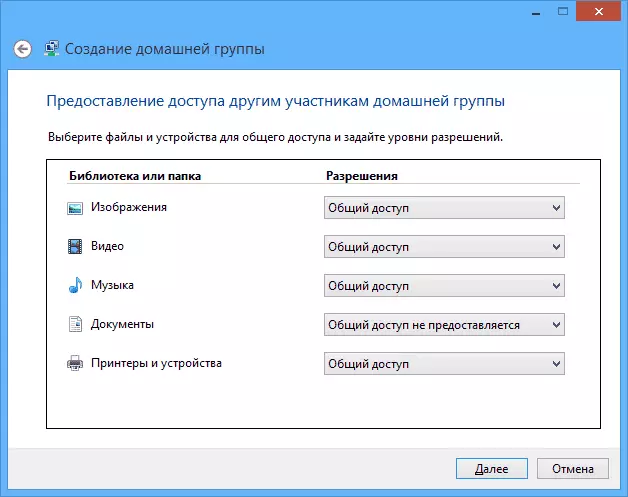
After clicking "Done" in front of you is a window setting group home, where it can be an interesting option "Change Password", if you want to install better remembered, and select "Allow for all devices on the network, such as a TV and video game consoles, play shared content "- that he gave us and the need to create a DLNA server.
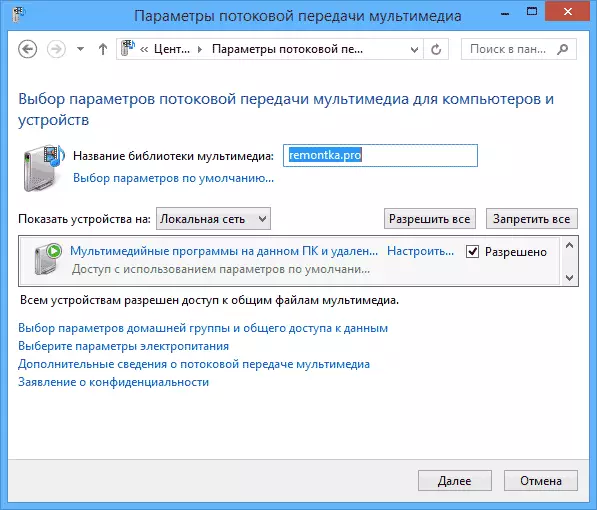
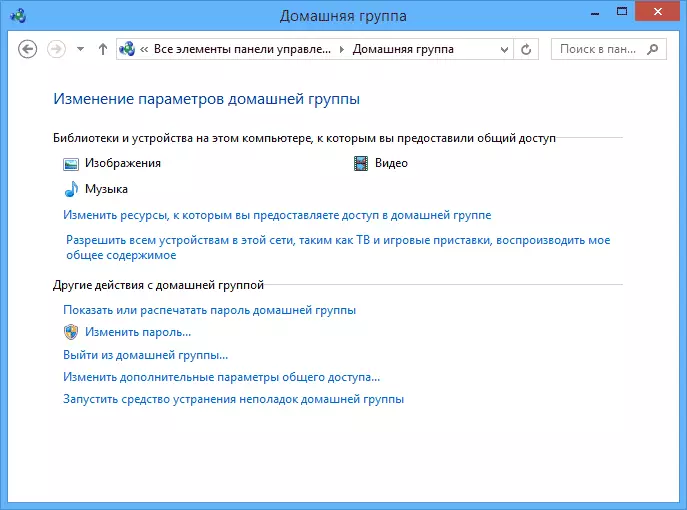
Here you can enter the "Multimedia library name", which will be the name of the DLNA server. Below will be displayed devices connected to the local network and supporting DLNA, you can choose how to provide access to multimedia files on your computer.
In fact, the setting is complete and now, you can access movies, music, photos and documents (stored in the appropriate video folders, "music", etc.) from a wide variety of devices via DLNA: on TVs, media players And game consoles you will find the appropriate items in the menu - Allshare or Smartshare, "Video Library" and others (if you do not know exactly, look into the instructions).
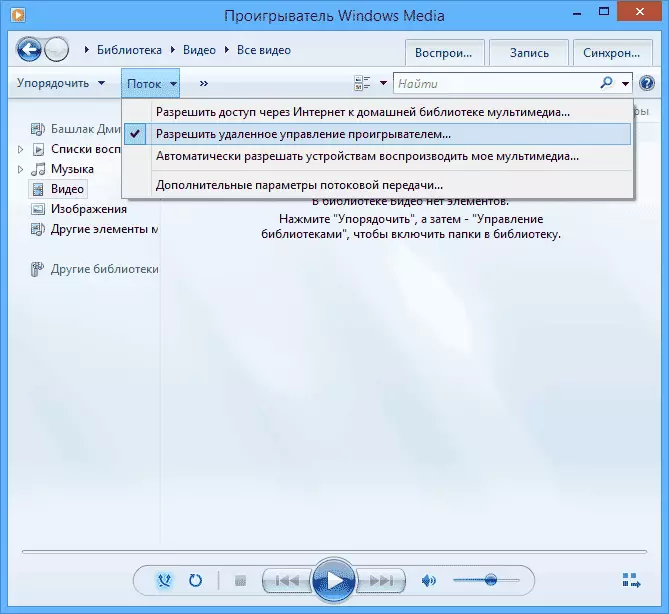
In addition, you can get quick access to the media server settings in Windows from the Windows Media Player's standard Windows player menu, to do this, use the Stream item.
Also, if you plan to watch DLNA videos from a TV in the formats that the TV itself does not support, turn on the "Allow remote player management" item and do not close the player on the computer to broadcast content.
Programs for configuring a DLNA server in Windows
In addition to configuring Windows tools, the server can be configured and using third-party programs that, as a rule, can provide access to media files not only by DLNA, but also by other protocols.
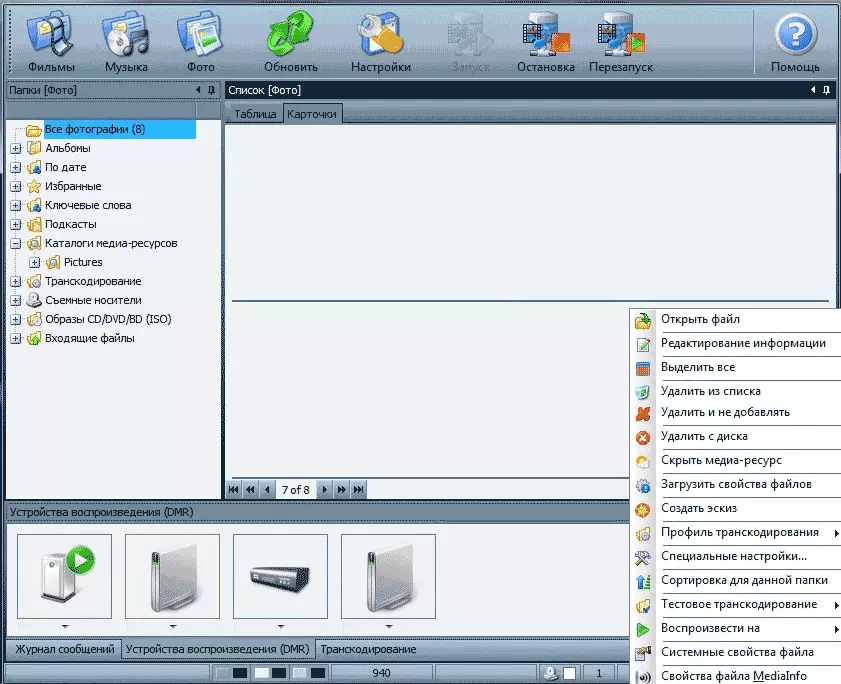
One of the popular and simple free programs for these purposes is a homemade media server, you can download from http://www.homemediaserver.ru/.
In addition, popular machinery manufacturers, such as Samsung and Lg, have their own programs for these purposes on official sites.