

Virtual Network Computing (VNC) is a system to ensure remote access to the computer's desktop. A screen image is transmitted via the network, press the mouse buttons and keys on the keyboard are passed. In the Ubuntu operating system, the said system is installed through the official repository, and then the surface and detailed setting procedure occurs.
Install the VNC server in Ubuntu
Since in the latest Ubuntu versions, the GNOME graphic shell is installed by default, we will install and configure VNC, pushing out from this environment. The whole process for convenience is divided into consecutive steps, so you should not have difficulties with understanding the commissioning of the work of the instrument.Step 1: Installing the required components
As mentioned earlier, we will use the official repository. There is the most recent and stable version of the VNC server. All actions are made through the console, because to start standing from its launch.
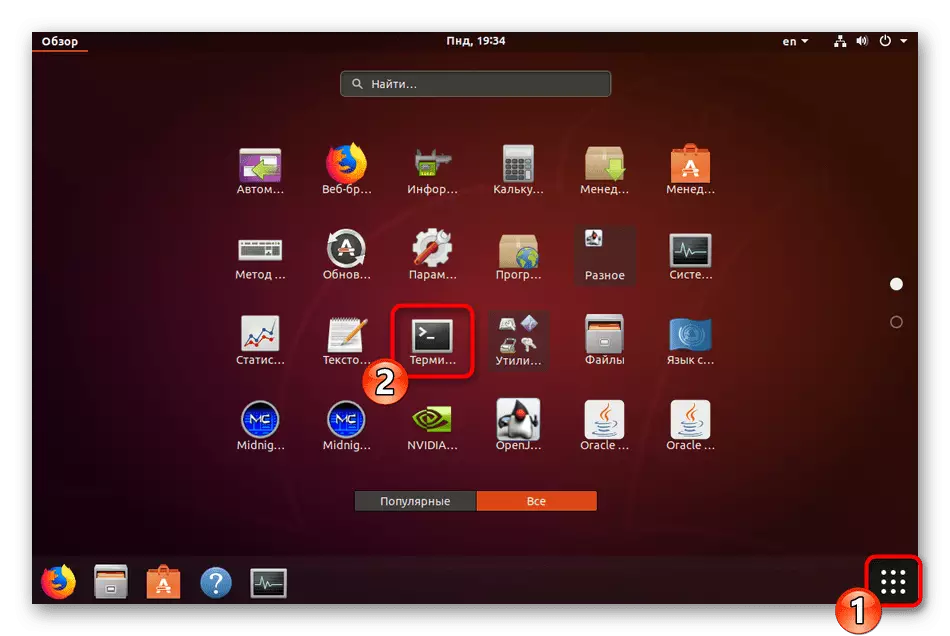
- Go to the menu and open the "Terminal". There is a hot key Ctrl + Alt + T, which allows you to make it faster.
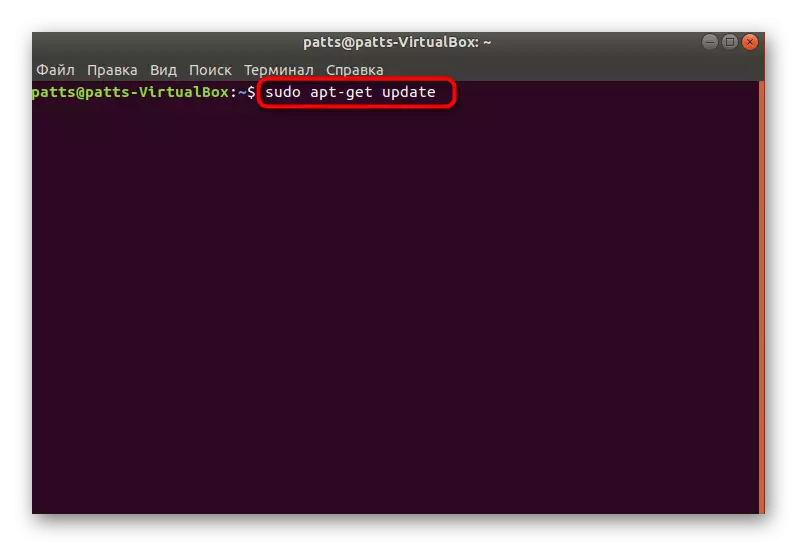
- Install updates for all system libraries via sudo APT-Get Update.
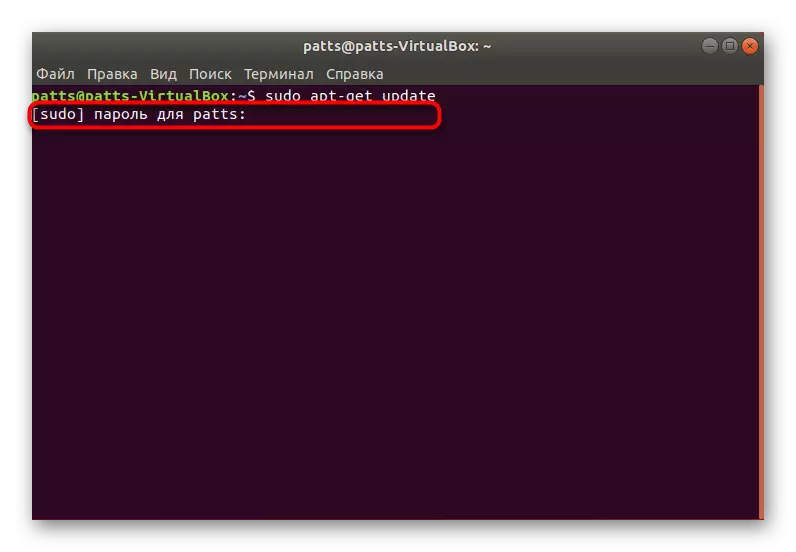
- Enter the password to provide rort access.
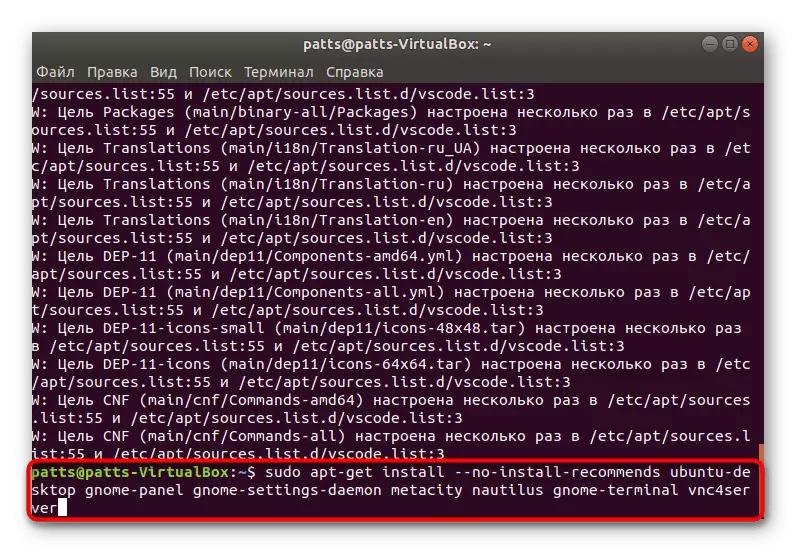
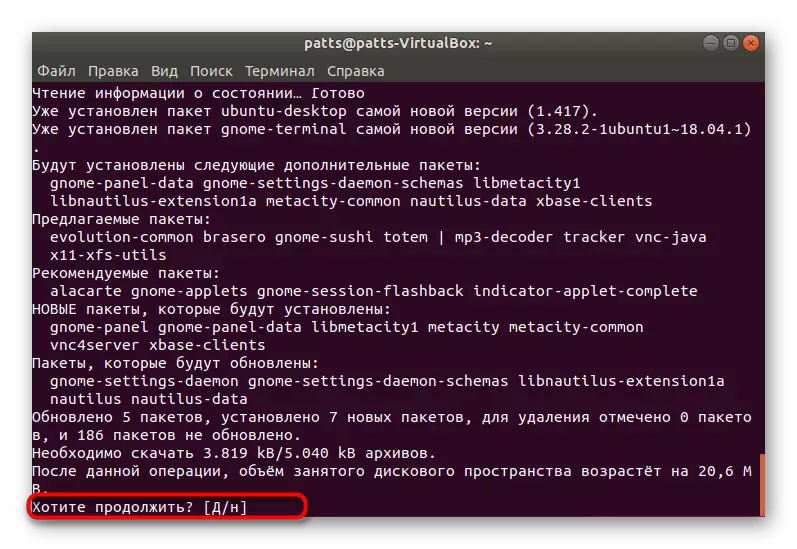
- At the end, you should register the Sudo Apt-Get Install command --No-Install-Recommends Ubuntu-Desktop Gnome-Panel Gnome-Settings-Daemon Metacity Nautilus Gnome-Terminal VNC4Server and click on ENTER.
- Confirm Adding new files to the system.
- Expect the installation and addition to the appearance of a new input row.
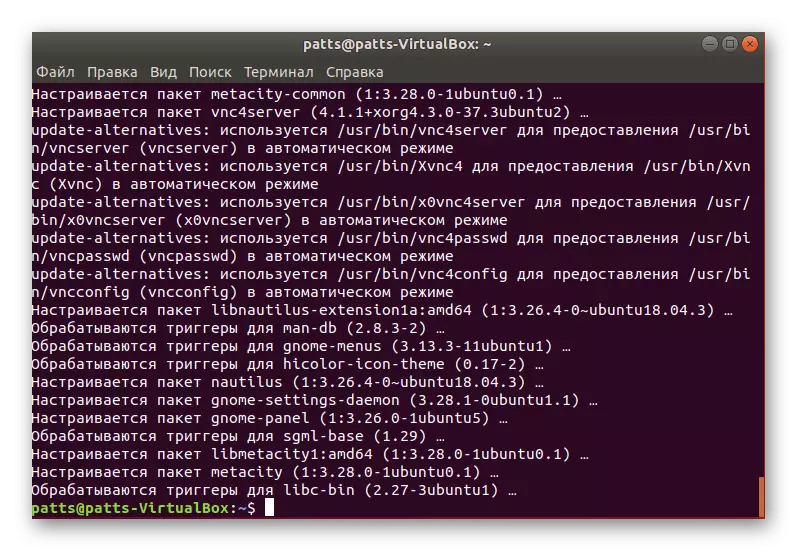
Now the Ubuntu has all the necessary components, it remains only to check their operation and configure before starting the remote desktop.
Step 2: First Run VNC-Server
During the first launch of the tool, the main parameters set up, and then the desktop starts. You should make sure that everything is functioning normally, and this can be done like this:
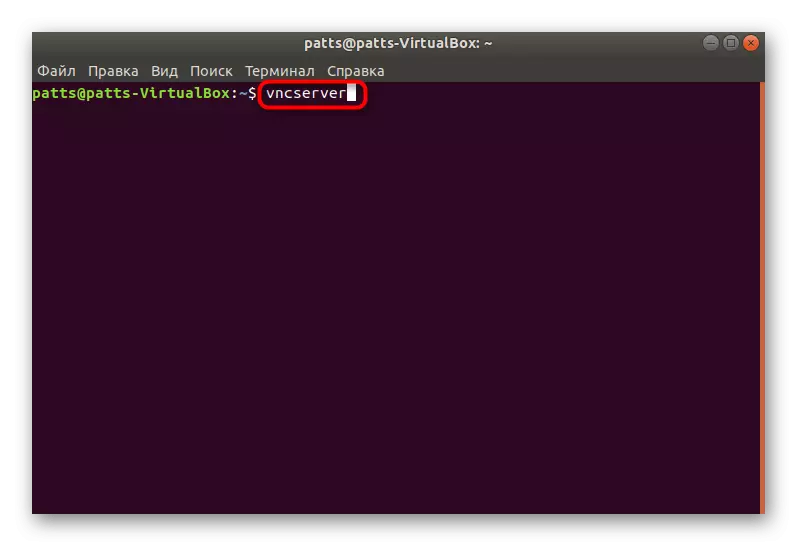
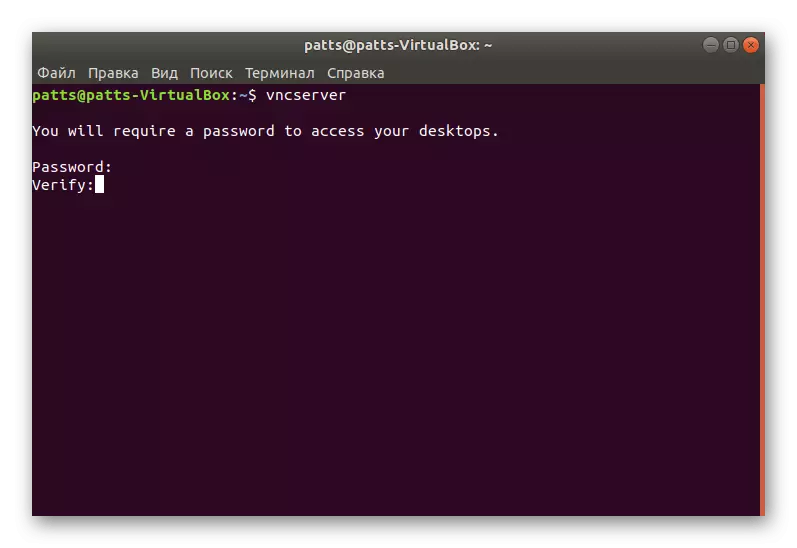
- In the console, write the VNCServer command that is responsible for starting the server.
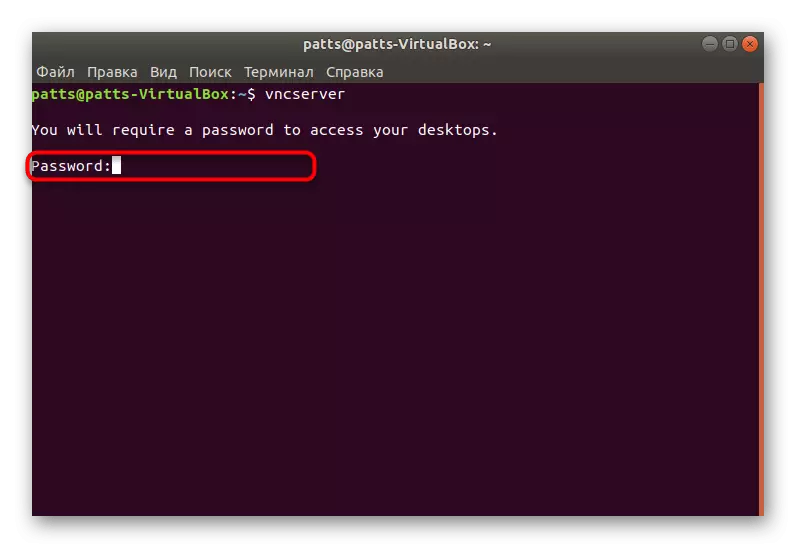
- You will be asked to set a password for your desktops. Here you need to enter any combination of characters, but not less than five. When you set, the characters will not be displayed.
- Confirm the password by entering it again.
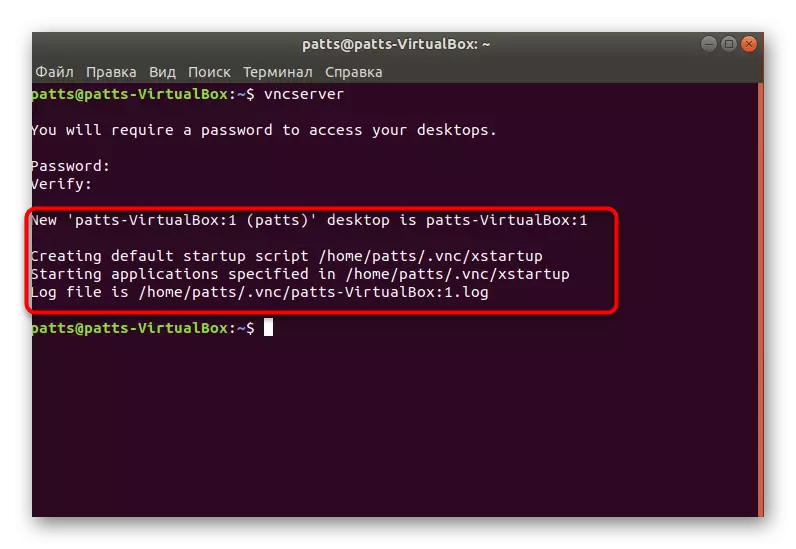
- You will be notified that the starting script has been created and the new virtual desktop began its work.
Step 3: Setting up a VNC server for full functioning
If in the previous step we only made sure the performance of the components installed, now you need to prepare them for remotely connect to the desktop of another computer.
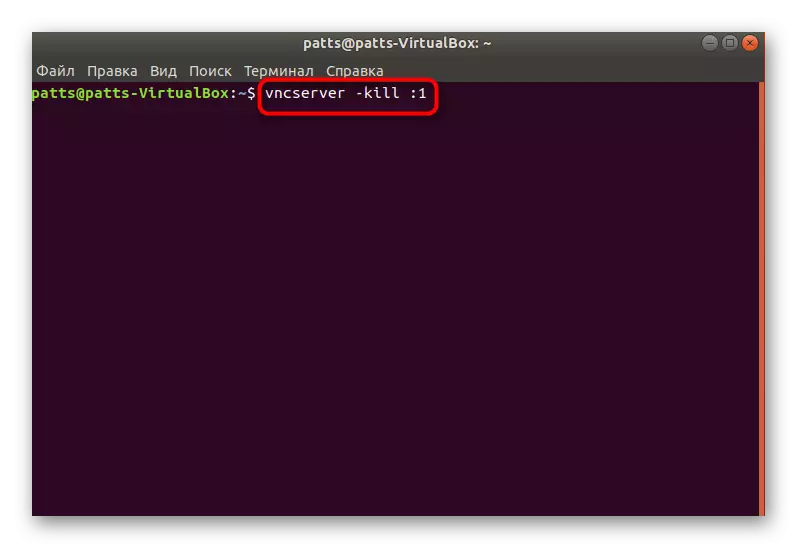
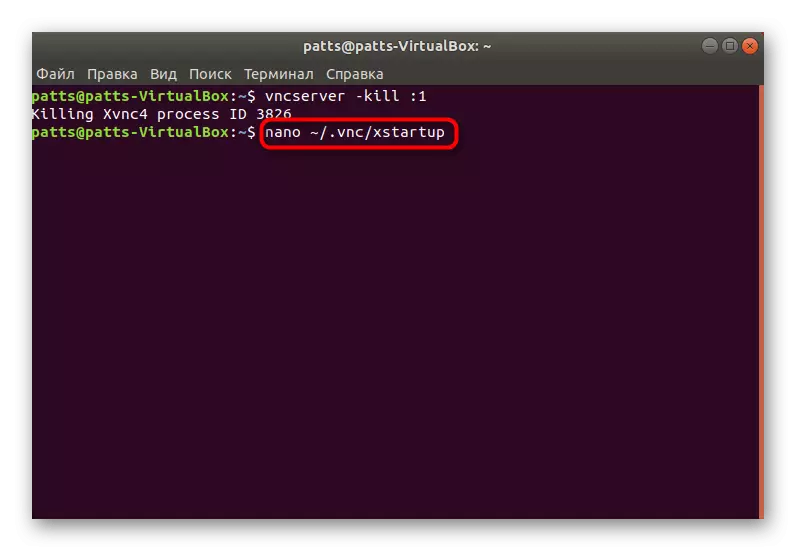
- First, complete the launched desktop command VNCServer -Kill: 1.
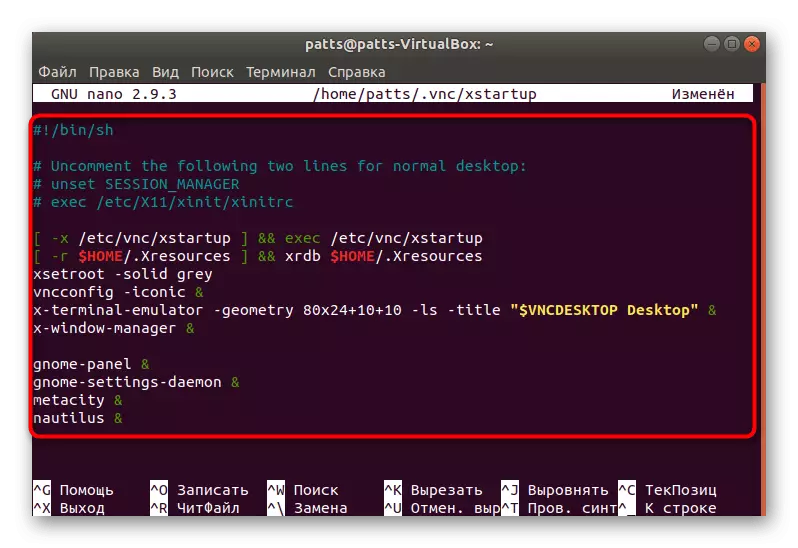
- Next is to start the configuration file through the built-in text editor. To do this, enter Nano ~ / .vnc / xstartup.
- Make sure the file has all the rows listed below.
#! / bin / sh
# UNCOMMENT THE FOLLOWING TWO LINES FOR NORMAL DESKTOP:
# UNSET SESSION_MANAGER
# EXEC / ETC / X11 / Xinit / Xinitrc
[-X / ETC / VNC / XSTARTUP] && Exec / etc / VNC / XSTARTUP
[-R $ home / .xresources] && XRDB $ home / .xresources
xsetroot -solid Grey
vncconfig -iconic &
X-Terminal-Emulator -Geometry 80x24 + 10 + 10 -ls -title "$ VNCDesktop Desktop" &
X-Window-Manager &
GNOME-PANEL &
GNOME-SETTINGS-DAEMON &
Metacity &
Nautilus &
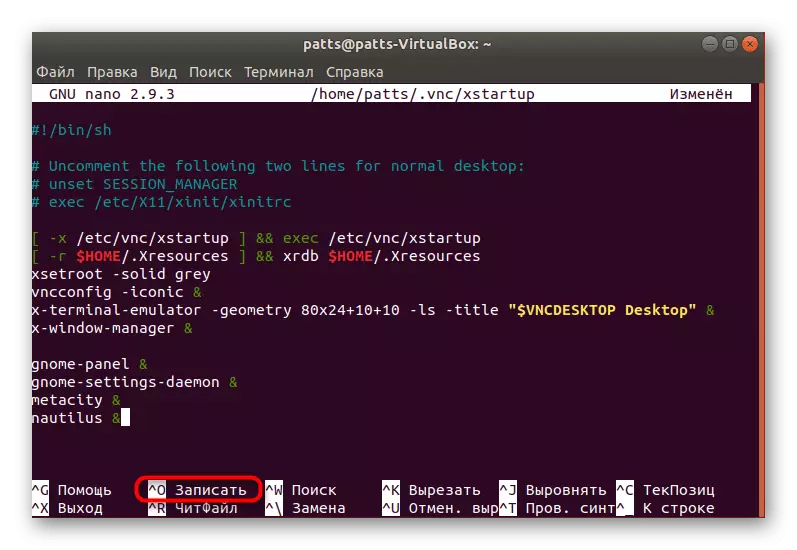
- If you made any changes, save the settings by pressing the Ctrl + O key.
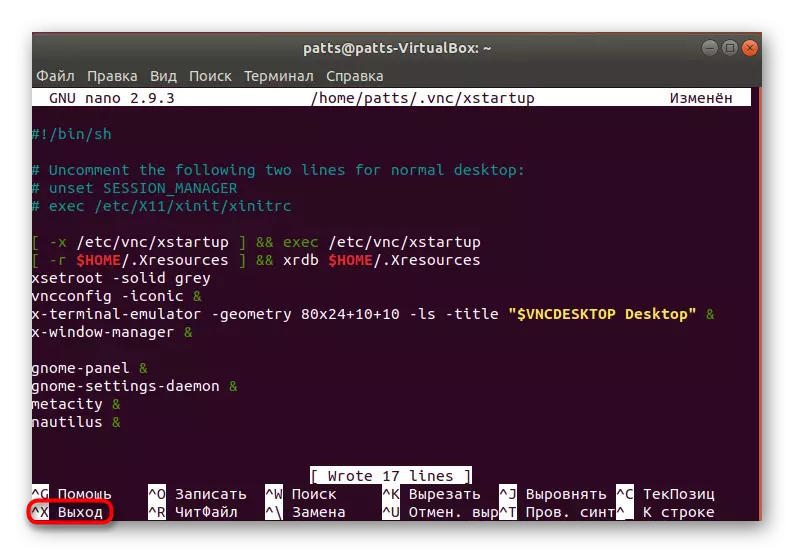
- You can exit the file by pressing Ctrl + X.
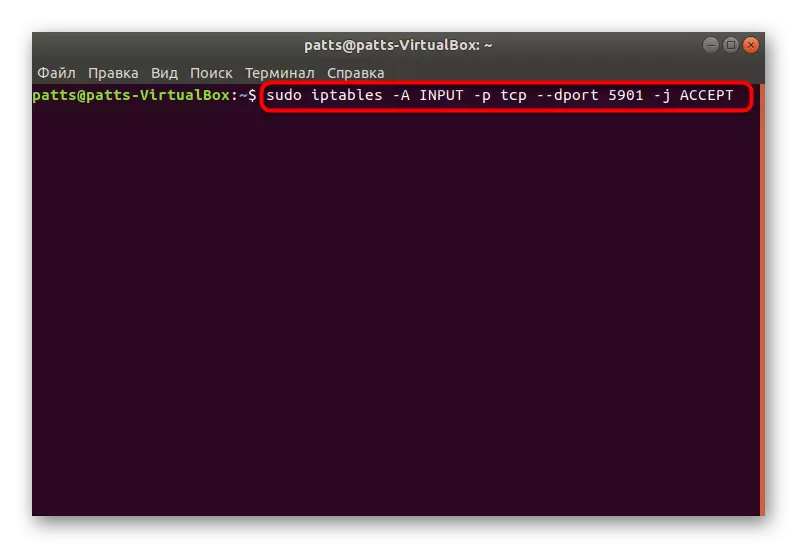
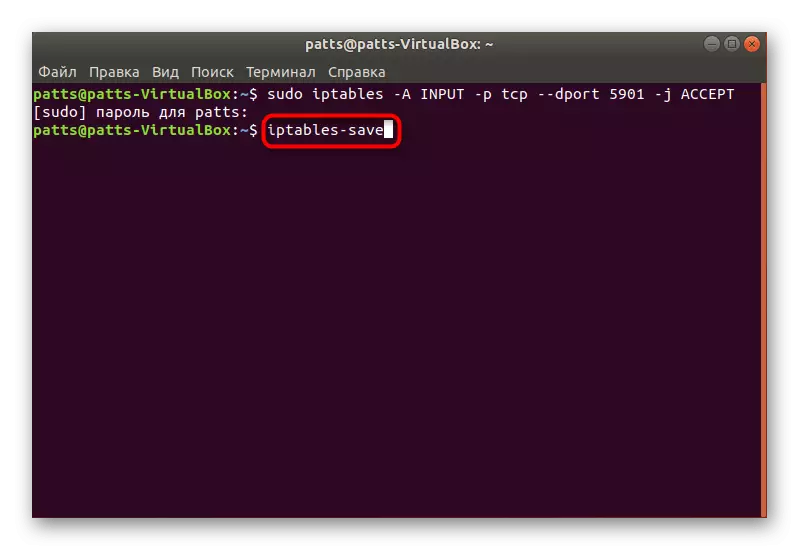
- In addition, you should also arouse ports to provide remote access. It will help to make this task IPTables -A Input -P TCP --DPORT 5901 -J Accept.
- After Introduction, save the settings, Speaking IPTables-Save.
Step 4: Vnc Server Verification
The last step is to check the installed and configured VNC server in action. Use To do this, we will be one of the applications for managing remote desktops. We offer you to get acquainted with its installation and launch.
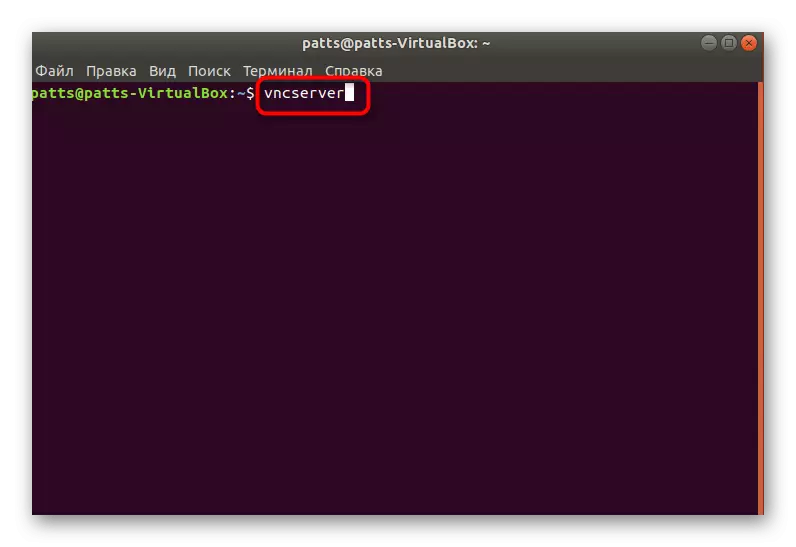
- First, you will need to run the server itself by entering VNCServer.
- Make sure the process passed correctly.
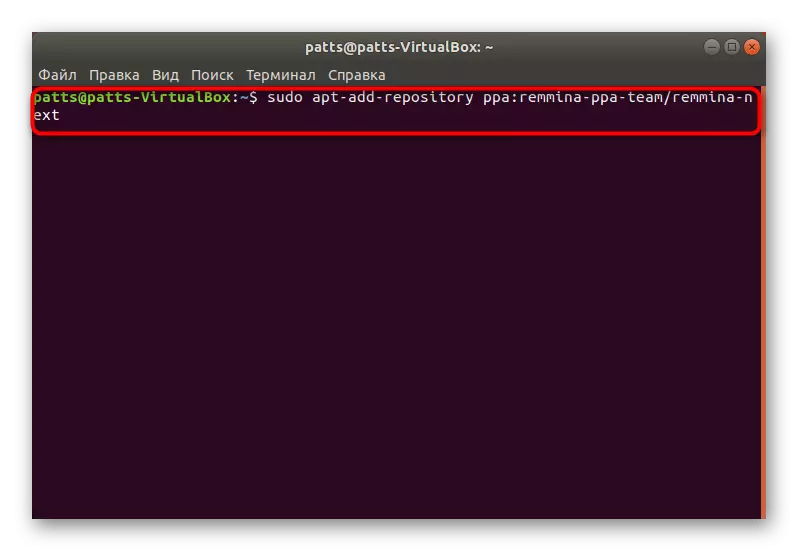
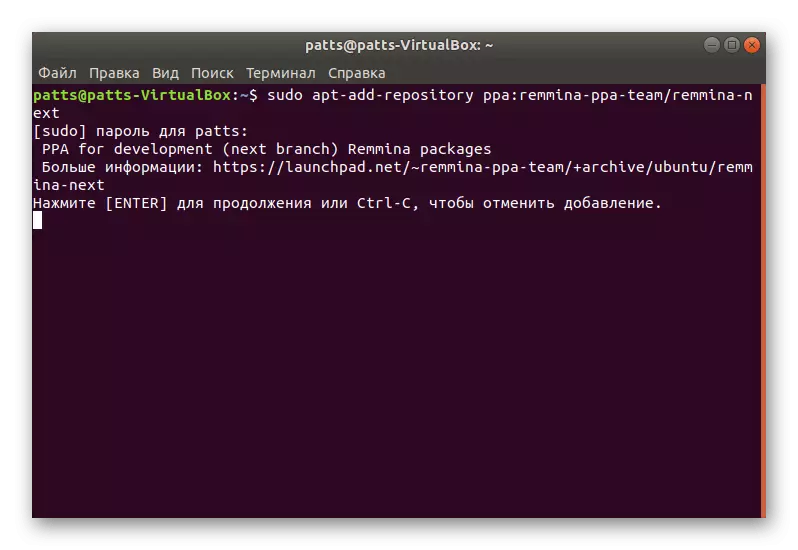
- Start adding the Remmina application from the user repository. To do this, print in the Sudo APT-Add-Repository PPA console: Remmina-PPA-Team / Remmina-Next.
- Click ENTER to add new packages to the system.
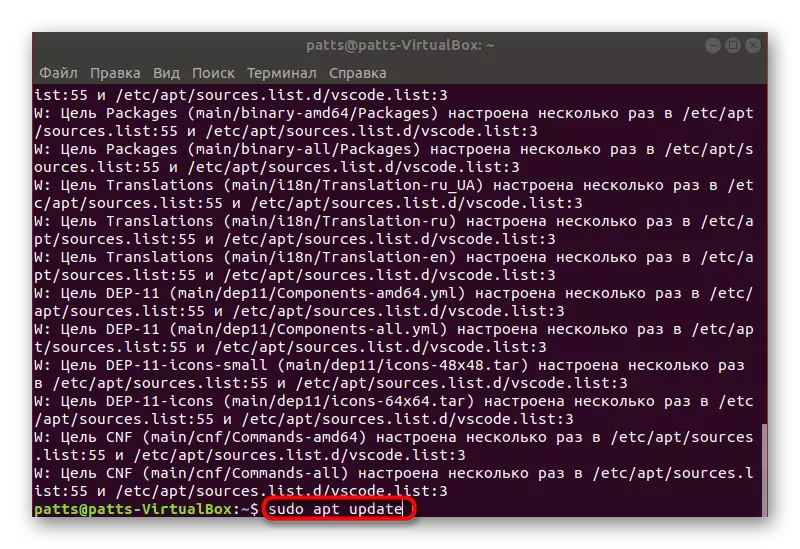
- Upon completion of the installation, you need to update the Sudo APT UPDATE system libraries.
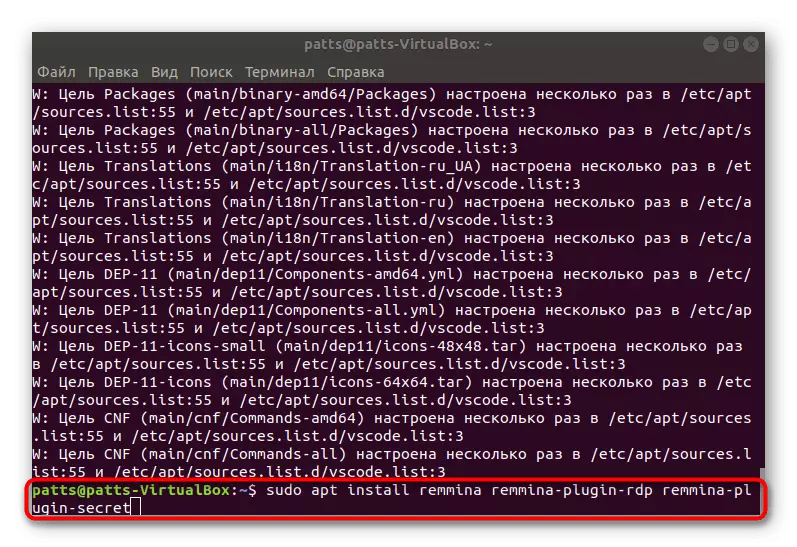
- Now it remains only to assemble the latest version of the program through the Sudo Apt Install Remmina Remmina-Plugin-RDP Remmina-Plugin-SECRET command.
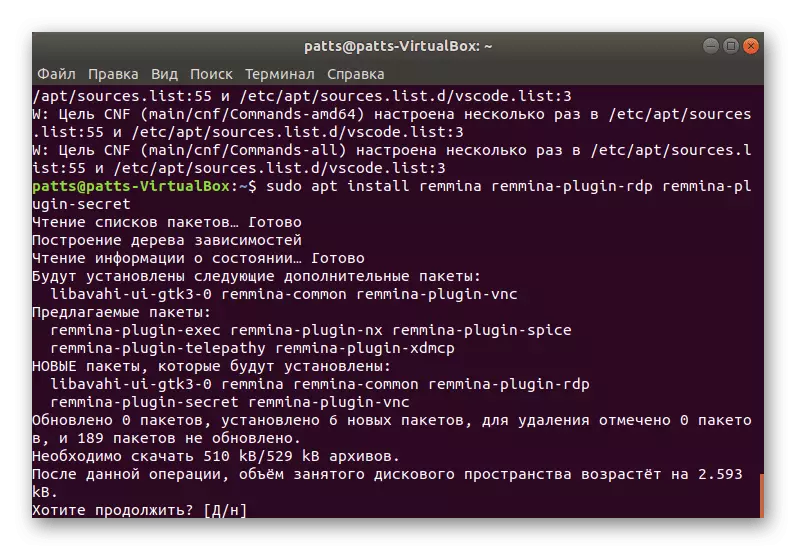
- Confirm the installation operation of new files.
- You can run Remmina through the menu by clicking on the corresponding icon.
- It only remains to choose the VNC technology, to register the desired IP address and connect to the desktop.

Of course, to connect, thus, the user needs to know the external IP address of the second computer. To determine this, there are special online services or additional utilities added to Ubuntu. Detailed information on this topic can be found in official documentation from OS developers.
Now you are familiar with all the basic actions that you need to perform to install and configure the VNC server for the Ubuntu distribution on the GNOME shell.