Network connections in the Ubuntu operating system are controlled via the Tool called NetworkManager. Through the console, it allows not only to view the list of networks, but also to activate connections with certain networks, as well as to configure them in every way using the additional utility. By default, NetworkManager is already present in Ubuntu, however, if removal or failures in the work may require re-installation. Today we will show how to implement it with two different methods.
Install NetworkManager in Ubuntu
Installing NetworkManager, as well as most other utilities, is made through the built-in "terminal" using the relevant commands. We want to demonstrate two methods of installation from the official repository, but different teams, and you will just get acquainted with each of them and choose the most suitable.Method 1: APT-GET Team
The last stable version of the "network manager" is loaded using the standard APT-GET command, which is used to add packages from official storage. You only need to carry out such actions:
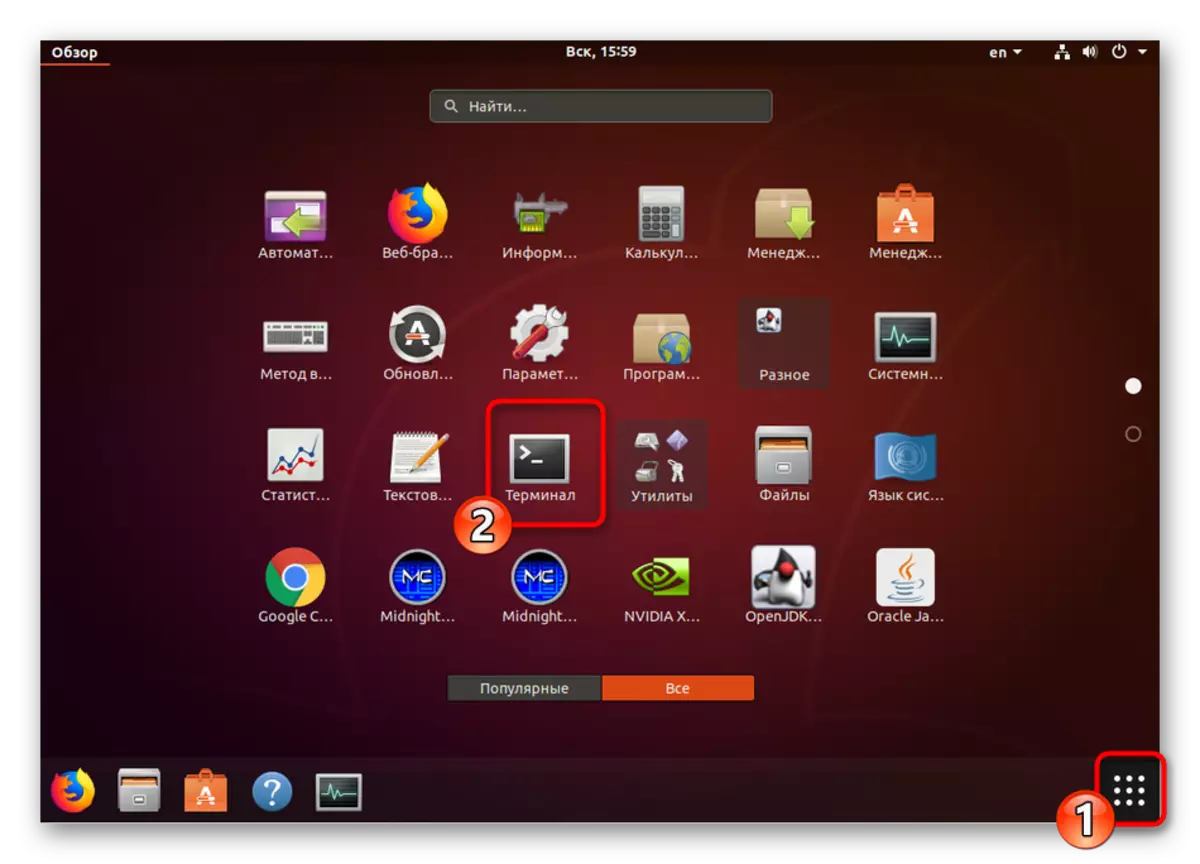
- Open the console by any convenient method - for example, through a menu by selecting the appropriate icon.
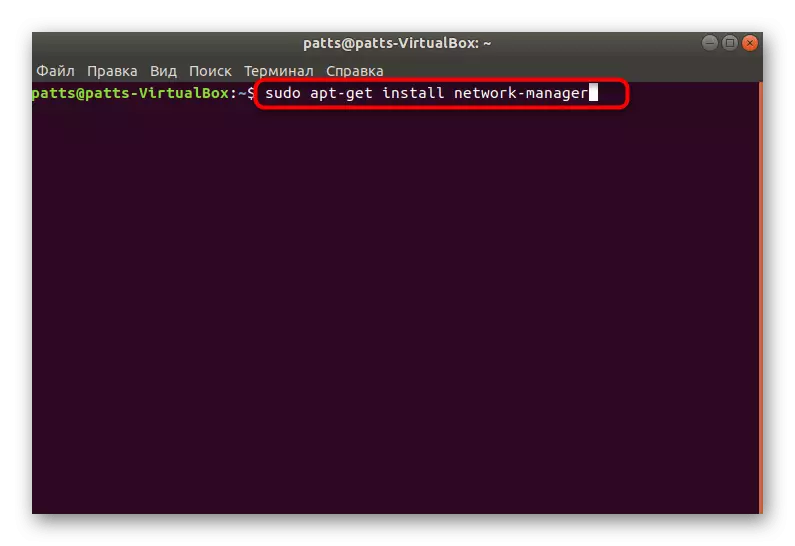
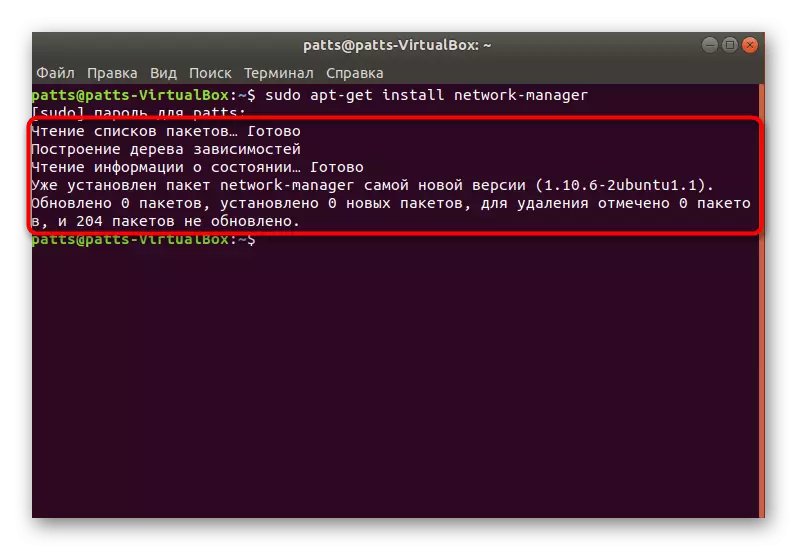
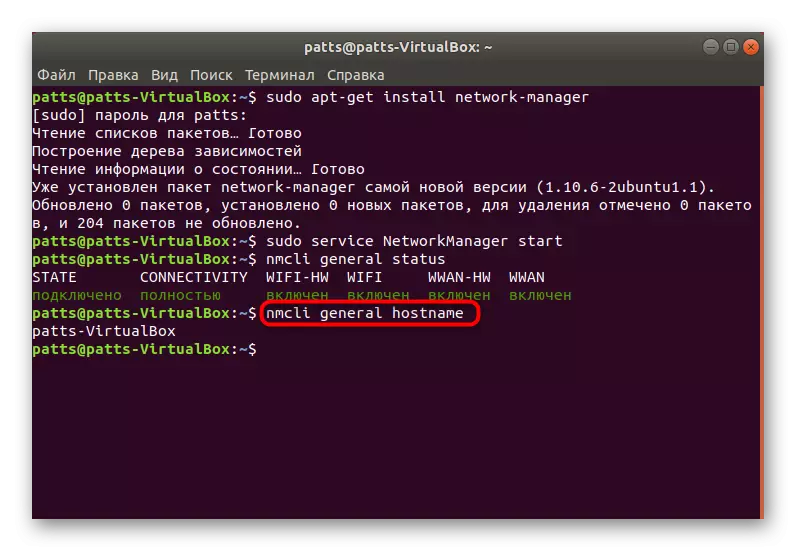
- Write a Sudo APT-Get Install Network-Manager in the input field and press the ENTER key.
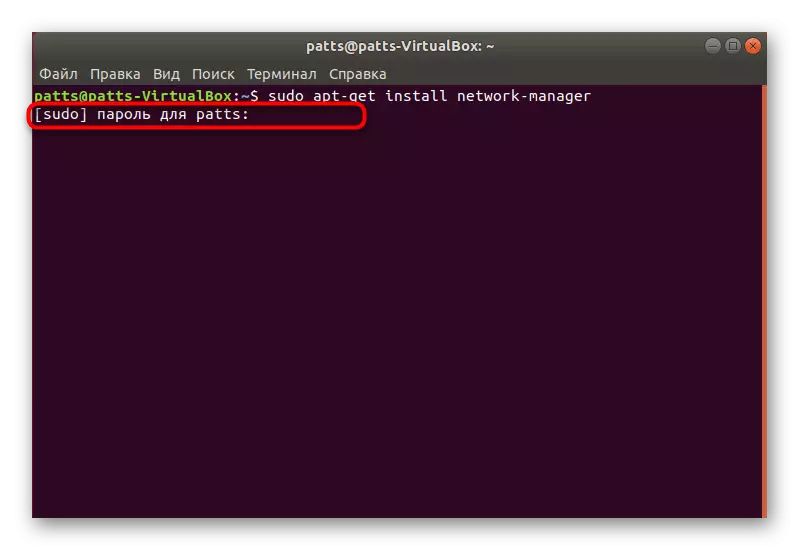
- Specify the password from your superuser account to confirm the installation. The characters entered in the field are not displayed for security purposes.
- New packages will be added to the system if necessary. In the case of the presence of the desired component, you will be notified of this.
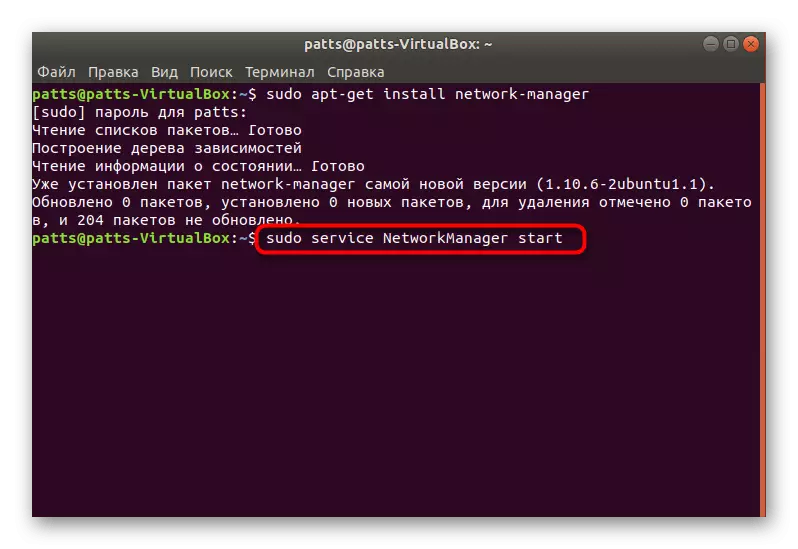
- It will only be left to run the Network Manager using the Sudo Service NetworkManager Start command.
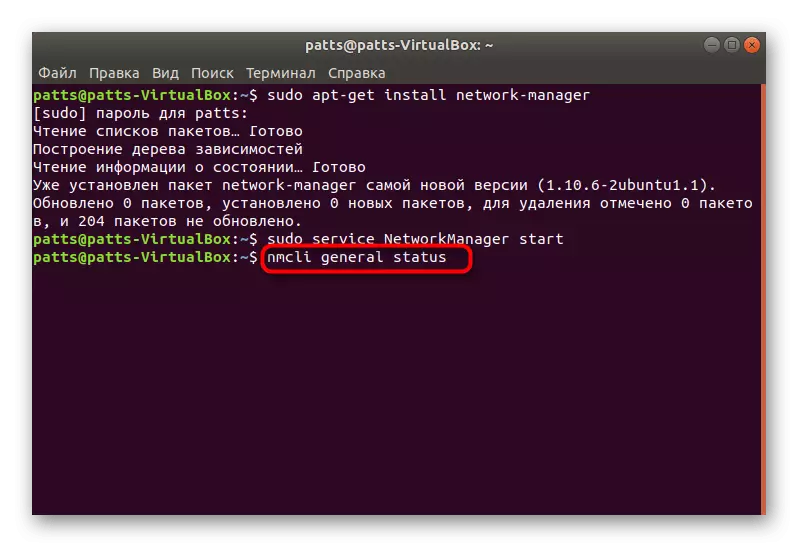
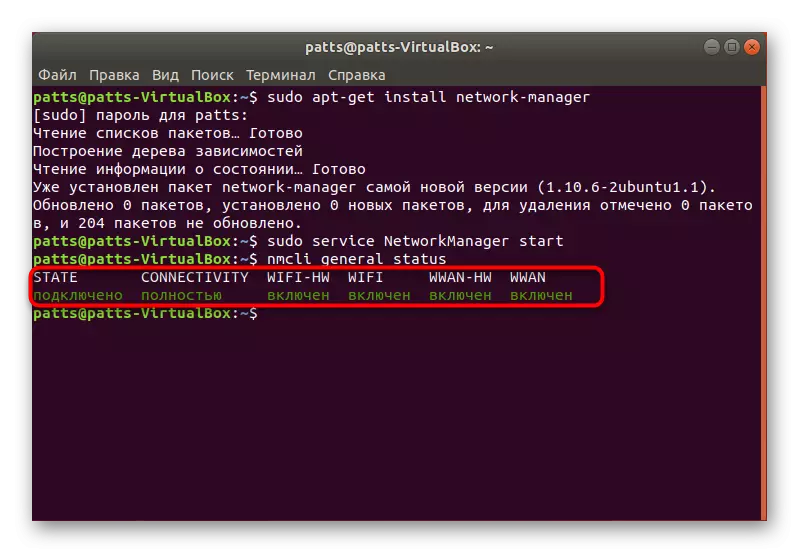
- To test the tool performance, use the NMCLI utility. View status through NmCli General Status.
- In the new line you will see information about connecting and active wireless network.
- You can find out the name of your host by writing NmCli General Hostname.
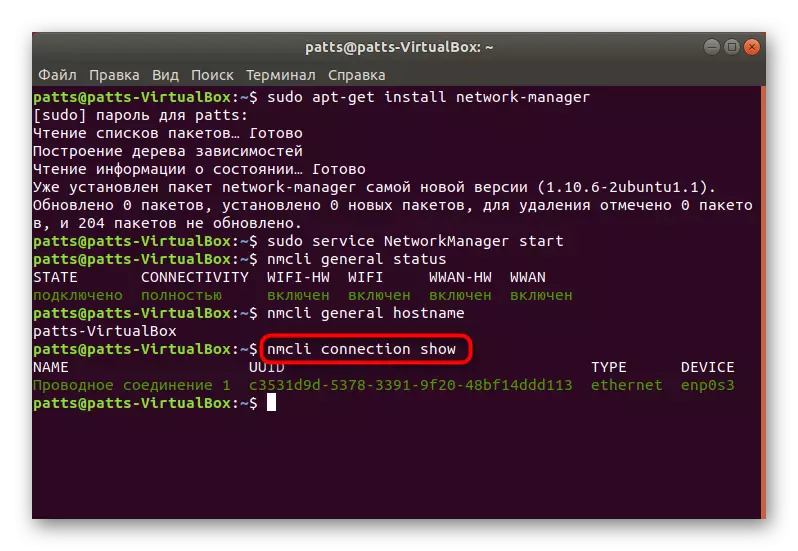
- Available network connections are defined via the NMCLI Connection Show.
As for additional arguments of the NMCLI command, there are several of them. Each of them performs certain actions:
- Device - interaction with network interfaces;
- Connection - control of connections;
- General - Displays information on network protocols;
- Radio - Wi-Fi, Ethernet;
- Networking - network setup.
Now you know how NetworkManager is restored and controlled through an additional utility. However, some users may need another installation method, we will tell about further.
Method 2: Ubuntu Store
Many applications, services and utilities are available for download from the official store Ubuntu. There is also a "Network Manager". To install it there is a separate team.
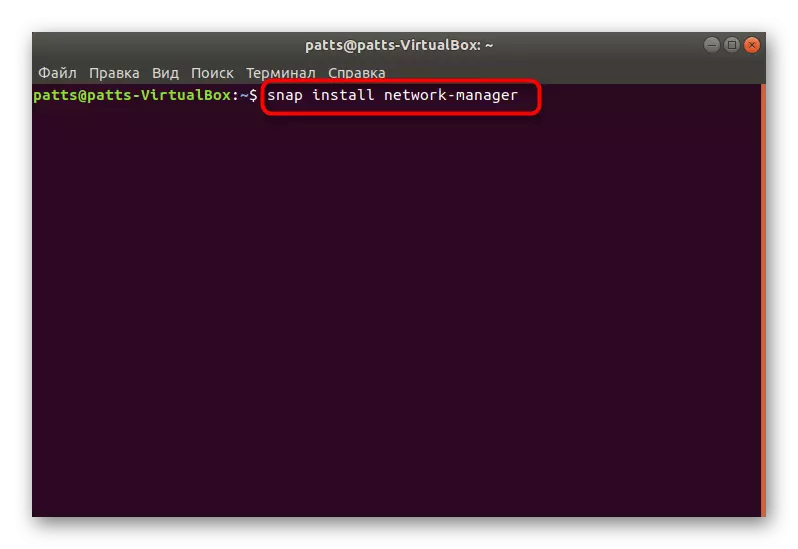
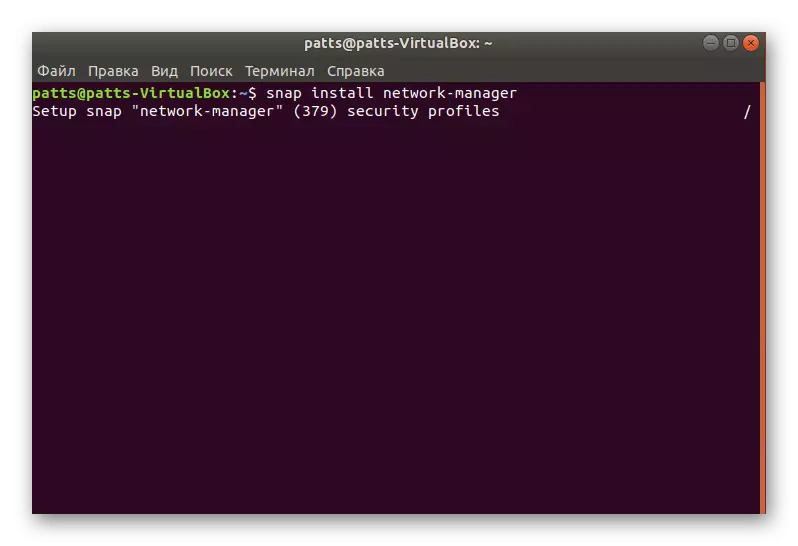
- Run the "Terminal" and insert the SNAP Install Network-Manager command in the field, and then click on ENTER.
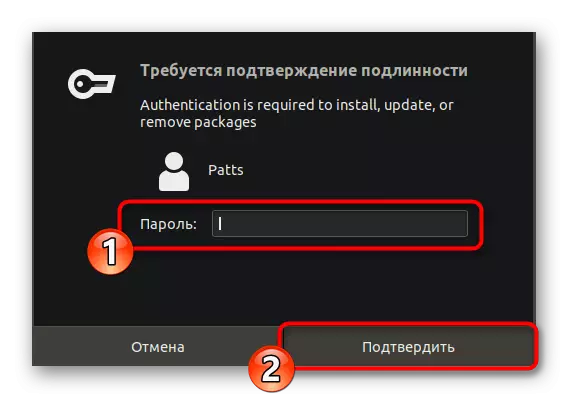
- A new window will appear with a request to confirm the authenticity of the user. Enter the password and click on "Confirm".
- Expect the download to download all components.
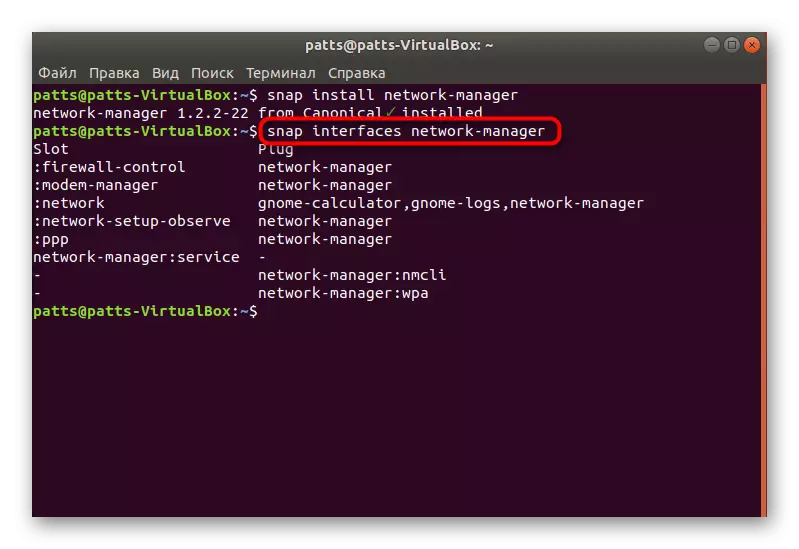
- Check the operation of the tool through the SNAP Interfaces Network-Manager.
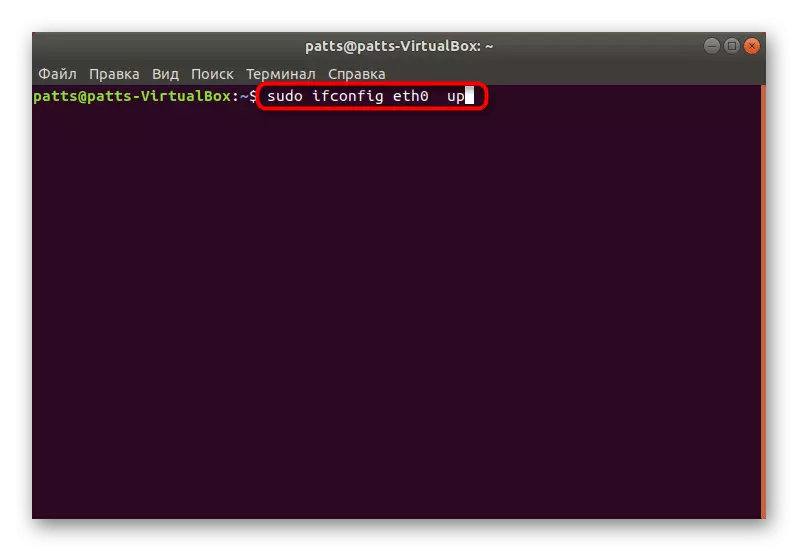
- If the network still does not work, it will need to be raised by entering the sudo ifconfig eth0 Up, where Eth0 is the necessary network.
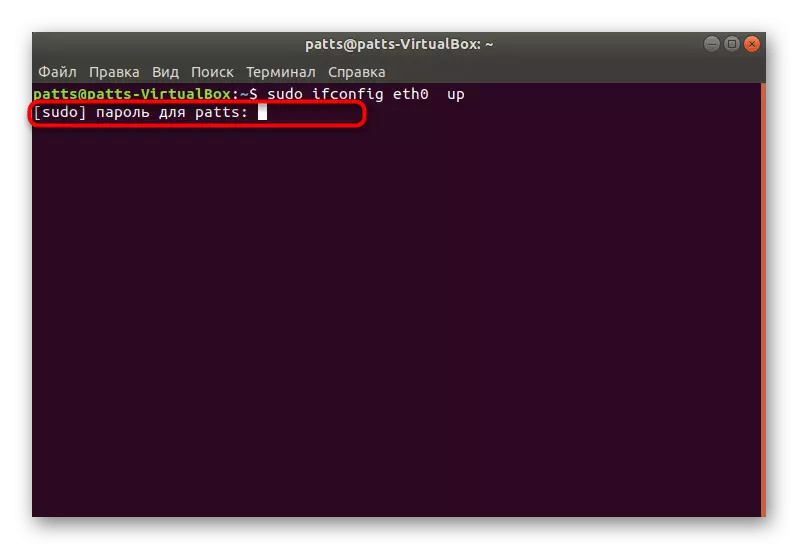
- The connection rise will occur immediately after entering the root-access password.
The above methods will allow you without any difficulties to add NetworkManager application packages to the operating system. We offer exactly two options, since one of them can be inoperable with certain failures in the OS.
