

Firewall installed in the operating system is used to prevent unauthorized traffic between computer networks. Manual or automatically creates special rules for the firewall, which are responsible for access control. In OS, developed on the Linux kernel, CentOS 7 there is a built-in firewall, and it is controlled by firewall. The default FireWalld is involved, and we would like to talk about it today.
Customize Firewall in CentOS 7
As mentioned above, the standard firewall in CentOS 7 is assigned a Firewalld utility. That is why the firewall setting will be considered on the example of this tool. You can set the filtering rules with the same IPTABLES, but it is performed slightly different. We recommend familiarizing yourself with the configuration of the mentioned utility by clicking on the following link, and we will begin the disassembly of Firewalld.If you once will be temporarily or permanently disable the firewall, we advise you to use the instructions presented in the other article by the following link.
Read more: Disable Firewall in CentOS 7
View default rules and affordable zones
Even regular firewall has its own definite rules and accessible zones. Before starting politician editing, we advise you to familiarize yourself with the current configuration. This is done using simple commands:
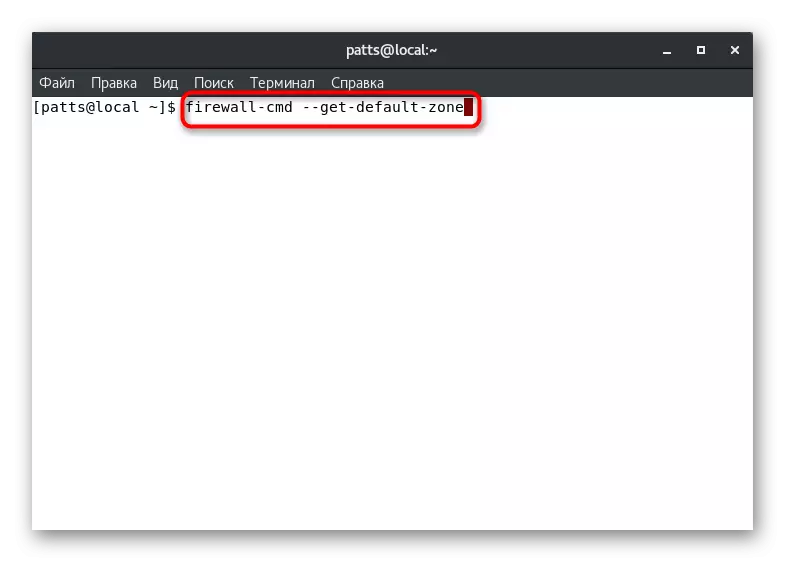
- The default zone will determine the Firewall-CMD --GET-Default-Zone command.
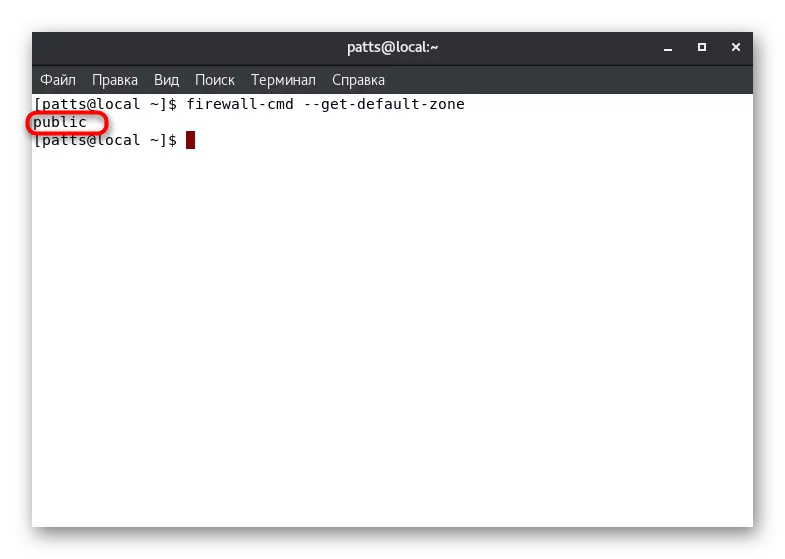
- After its activation, you will see a new string where the desired parameter will be displayed. For example, the "Public" zone is considered in the screenshot below.
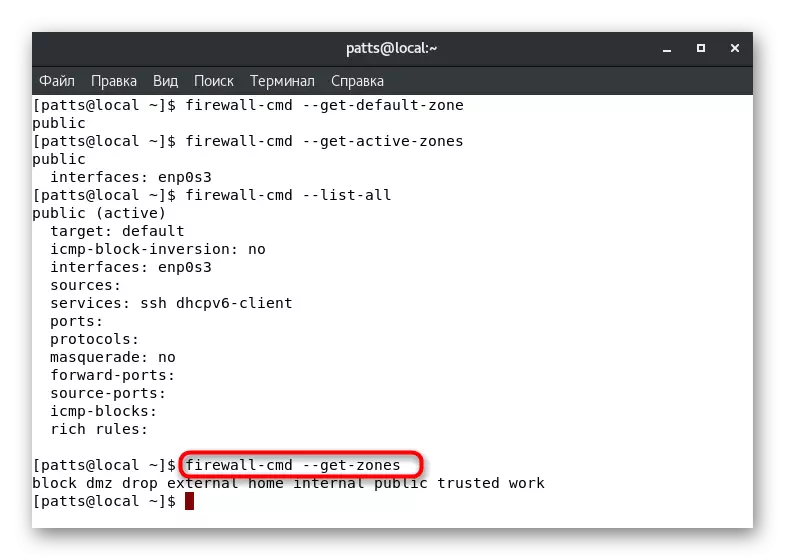
- However, several zones can be active immediately, besides, they are tied to a separate interface. Find out this information via Firewall-CMD --GET-Active-Zones.
- The Firewall-CMD --List-All command will display the rules set for the default zone. Pay attention to the screenshot below. You see that the active zone "Public" is assigned the "Default" rule - the default function, the ENP0S3 interface and two services added.
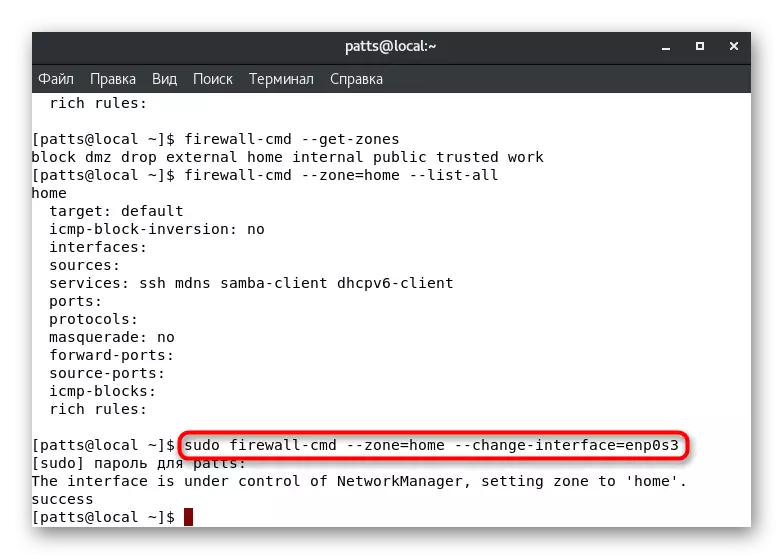
- If you have a need to learn all the available firewall zones, enter Firewall-CMD --GET-ZONES.
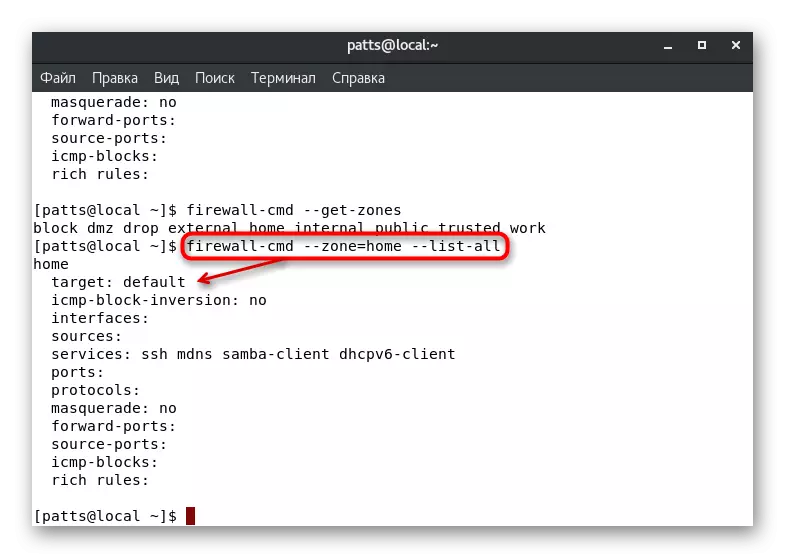
- The parameters of the specific zone are defined via Firewall-CMD --Zone = Name --List-all, where Name is the name of the zone.


After determining the required parameters, you can move to their change and addition. Let's analyze several of the most popular configurations in detail.
Setting up interface zones
As you know from the information above, your default zone is defined for each interface. It will be in it until the settings change the user or programmatically. It is possible to manually transfer the interface to the zone per session, and it is carried out by activating the Sudo Firewall-CMD --Zone = HOME command --change-interface = eth0. The result "Success" suggests that the transfer was successful. Recall that such settings are reset immediately after rebooting the firewall.
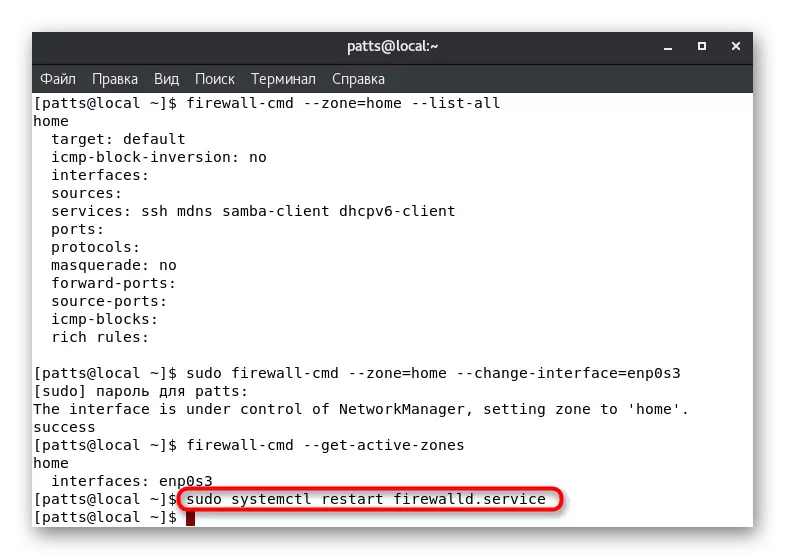
With such a change in the parameters, it should be borne in mind that the operation of the services can be reset. Some of them do not support functioning in certain zones, let's say, SSH although accessible in "Home", but in user or special service will work out. Make sure that the interface was successfully tied to the new branch, by entering Firewall-CMD --Get-Active-Zones.

If you want to reset the previously made settings, simply run the Restart of the Firewall: Sudo Systemctl Restart Firewalld.Service.
Sometimes it is not always convenient to change the interface zone in just one session. In this case, you will need to edit the configuration file so that all settings are enameled on a permanent basis. To do this, we advise you to use the Nano text editor, which is installed from the official storage of Sudo Yum Install Nano. Next remains such actions:
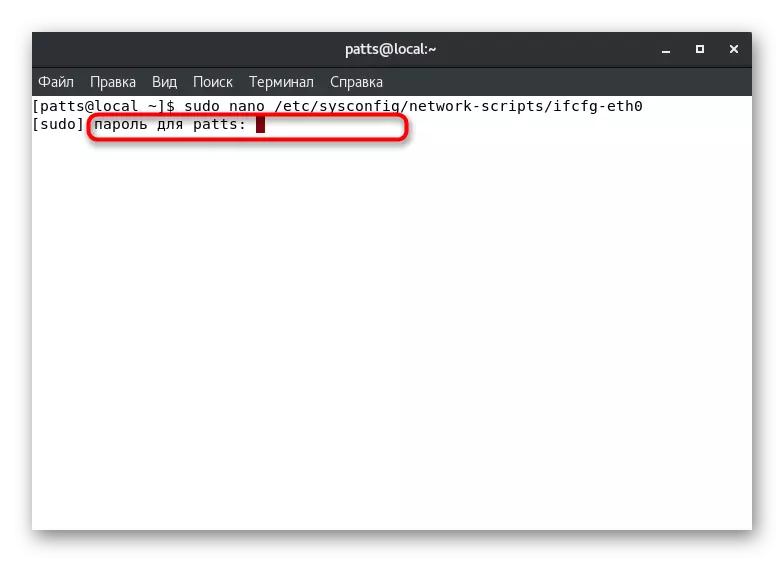
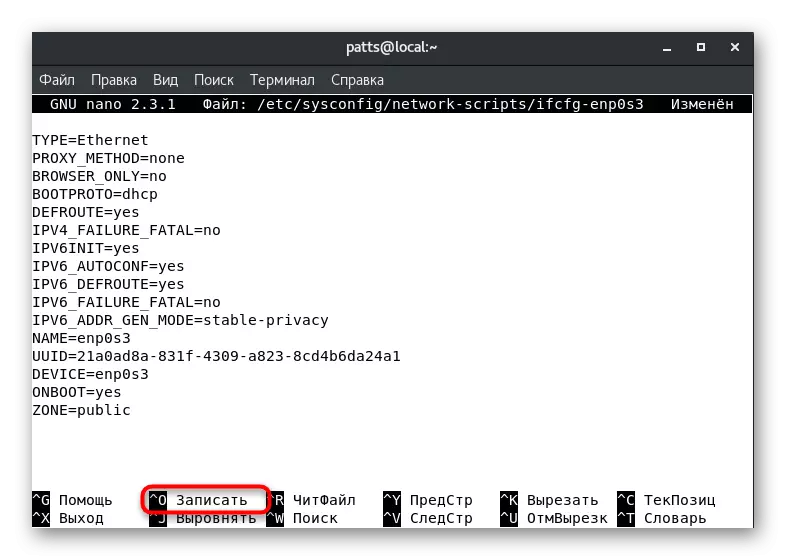
- Open the configuration file via the editor by entering Sudo Nano / etc / sysconfig / network-scripts / ifcfg-eth0, where ETH0 is the name of the required interface.
- Confirm your account authentication to perform further actions.
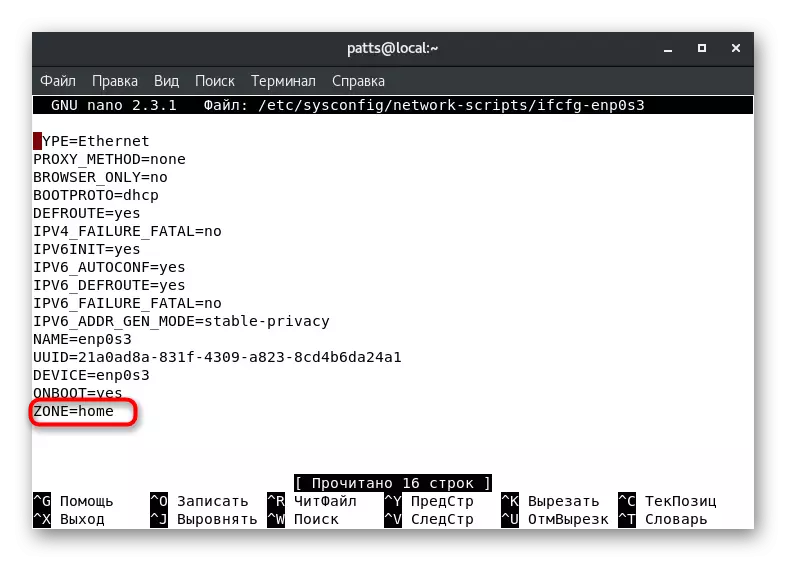
- Layout the "Zone" parameter and change its value to the desired, for example, public or home.
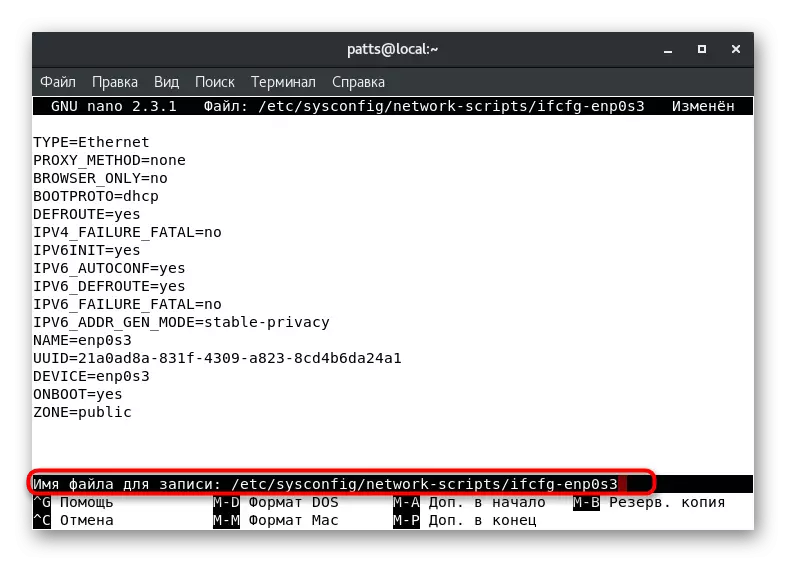
- Hold the Ctrl + O keys to save the changes.
- Do not change the file name, but simply click on ENTER.
- Exit the text editor through Ctrl + X.

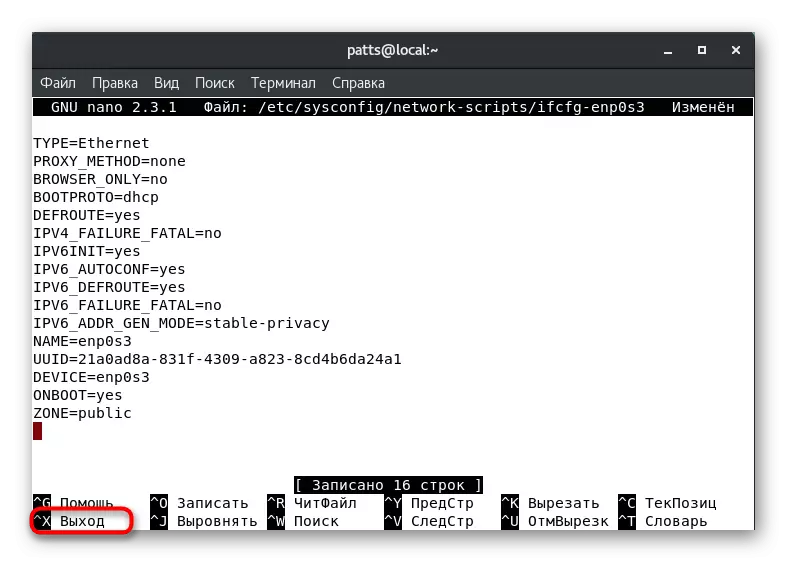
Now the interface zone will be the one that you specified it, until the next editing of the configuration file. For updated parameters, run Sudo SystemCTL Restart Network.Service and Sudo SystemCTL Restart Firewalld.Service.
Setting the default zone
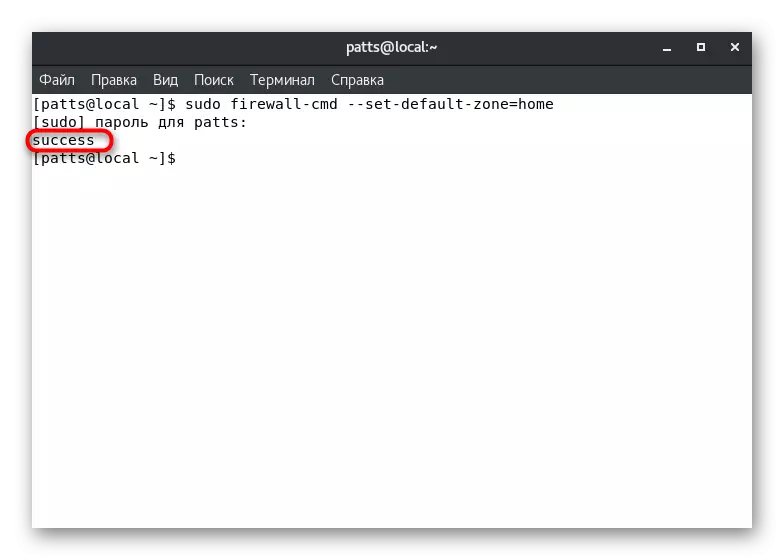
Above, we have already demonstrated a team that allows you to learn the default zone. It can also be changed by setting the parameter to your choice. To do this, in the console, it is enough to register sudo firewall-cmd --set-default-zone = name, where Name is the name of the required zone.
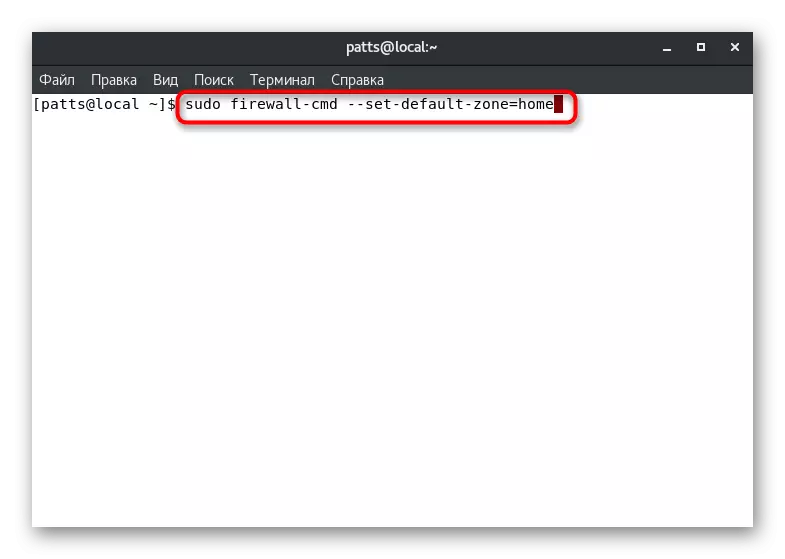
The success of the command will be evidenced by the inscription "SUCCESS" in a separate line. After that, all current interfaces will be born to the specified zone, if the other is not specified in the configuration files.
Creating rules for programs and utilities
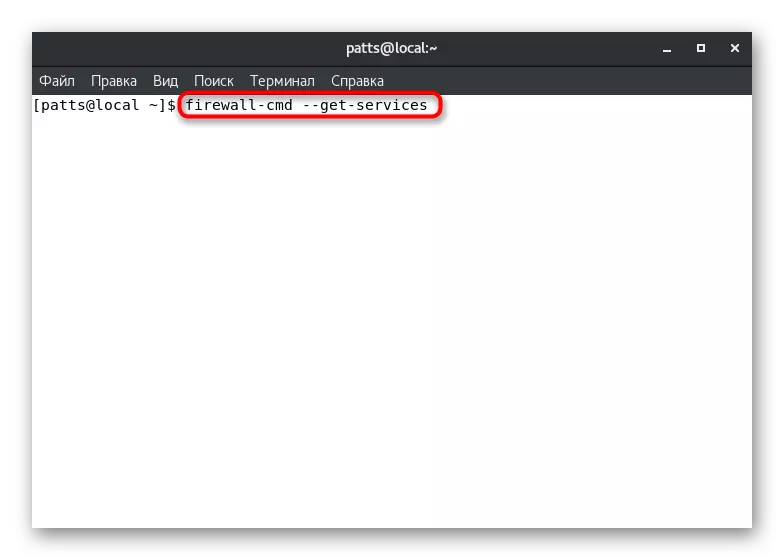
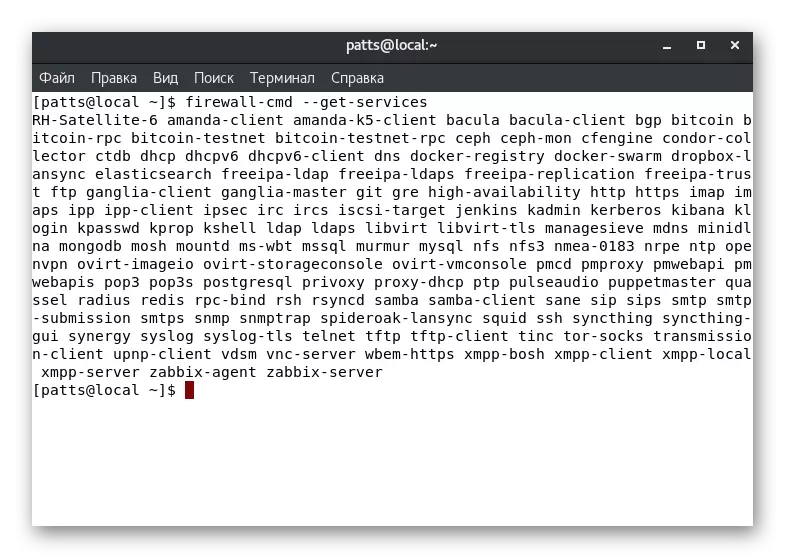
At the very beginning of the article, we talked about the action of each zone. Defining services, utilities and programs in such branches will allow to apply individual parameters for each of them for each user requests. To begin with, we advise you to familiarize yourself with the full list of services available at the moment: Firewall-CMD --GET-SERVICES.
The result will be displayed directly into the console. Each server is divided by a space, and you can easily find the tool you are interested in. If the required service is missing, it should be additionally installed. On the installation rules, read in the official software documentation.
The above command demonstrates only the names of the services. Detailed information for each of them is obtained through the individual file on the path / USR / LIB / FireWalld / Services. Such documents have an XML format, the path, for example, to SSH looks like this: /usr/lib/firewalld/services/ssh.xml, and the document has the following contents:
Ssh.
SECURE SHELL (SSH) IS A PROTOCOL FOR LOGGING INTO AND EXECUTING COMMANDS ON REMOTE MACHINES. IT Provides Secure Encrypted Communications. If You Plan On Accessing Your Machine Remotenet Via Ssh Over A Firewalled Interface, Enable This Option. You need the OpenSSh-Server Package Installed for This Option to Be Useful.
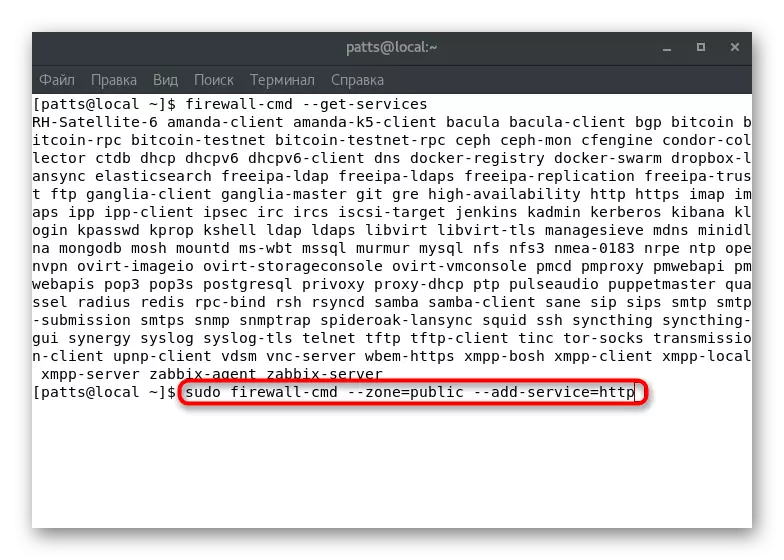
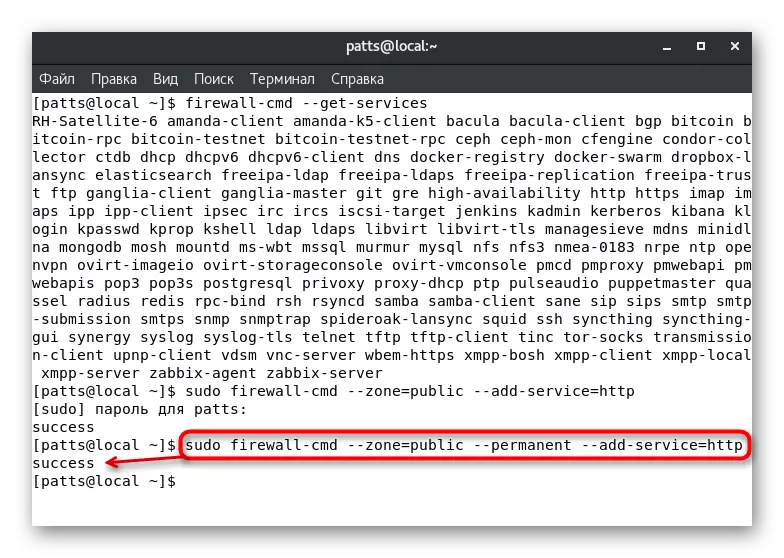
Service support is activated in a specific zone manually. In the Terminal, you should set the Sudo Firewall-CMD --Zone = Public --DD-service = HTTP command, where --Zone = Public is an activation zone, and --DD-service = HTTP - service name. Note that such a change will only be valid within one session.
Permanent addition is carried out via sudo Firewall-CMD --Zone = Public --permanent --DD-service = HTTP, and the result "Success" indicates the successful completion of the operation.
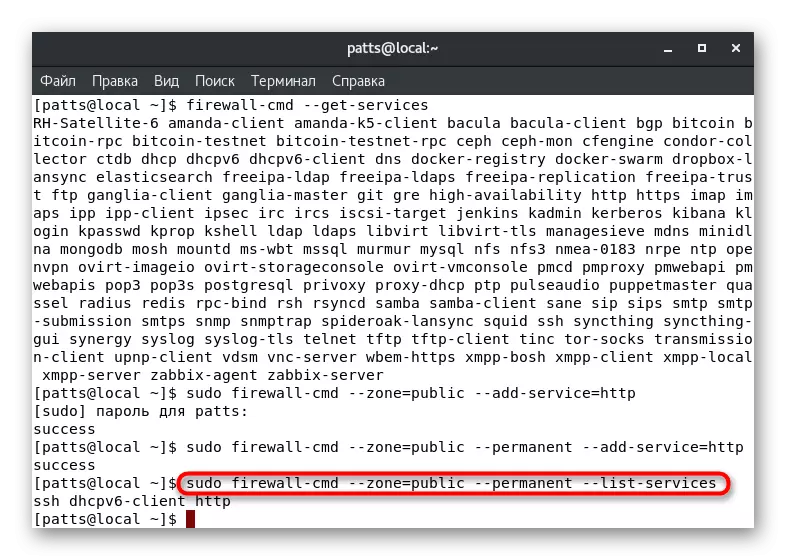
You can view a complete list of permanent rules for a specific zone by displaying a list in a separate line of the console: Sudo Firewall-Cmd --Zone = Public --permanent --List-Services.
Decision problem with lack of access to the service
Standard Firewall Rules are indicated by the most popular and secure services as permitted, but some standard or third-party applications it blocks. In this case, the user manually needs to change the settings to solve the problem with access. You can do this in two different methods.
Portes port
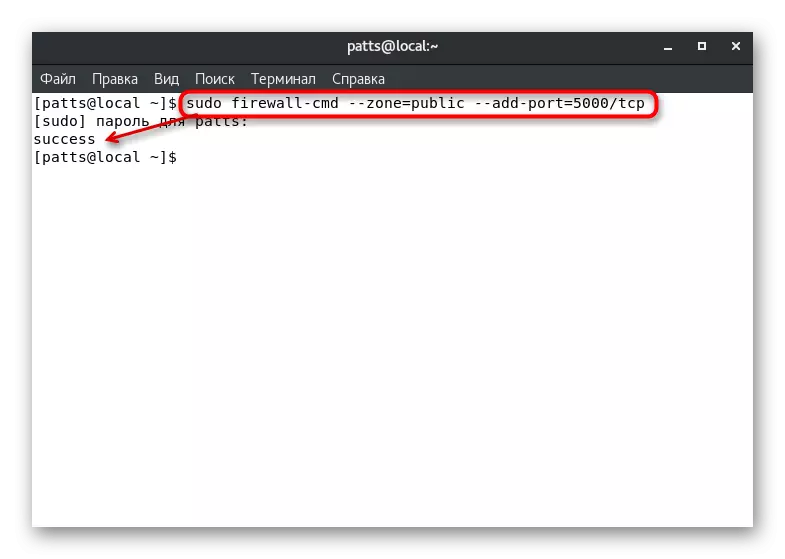
As you know, all network services use a specific port. It is easily detected by a firewall, and blocks can be performed. To avoid such actions from the firewall, you need to open the desired port of the Sudo Firewall-CMD --Zone = Public - PORTD-port = 0000 / TCP, where --Zone = Public is a port area, --DD-port = 0000 / TCP - port number and protocol. The Firewall-CMD --List-Ports option will display a list of open ports.
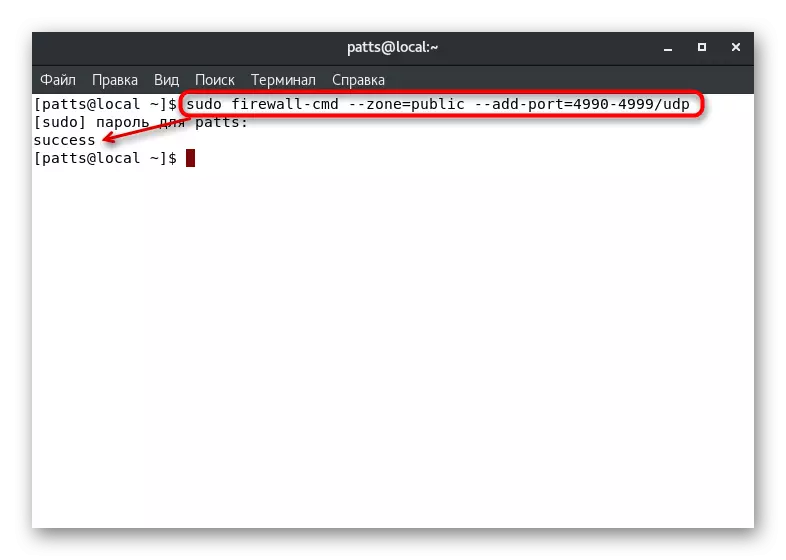
If you need to open ports included in the range, use the Sudo Firewall-CMD string --zone = Public --DD-port = 0000-9999 / UDP, where --add-port = 0000-9999 / UDP - port range and their protocol.
The above commands only allow you to test the use of similar parameters. If it has passed successfully, you should add the same ports to constant settings, and this is done by entering sudo Firewall-CMD --Zone = Public --permanent --ADD-port = 0000 / TCP or Sudo Firewall-CMD --Zone = Public --permanent --Add-port = 0000-9999 / UDP. The list of open permanent ports is viewed as follows: sudo Firewall-CMD --Zone = Public --permanent --List-Ports.
Definition of service
As you can see, adding ports does not cause any difficulties, but the procedure is complicated when applications use a large amount. To track all used ports becomes difficult, in view of which the service determination will be more correct option:
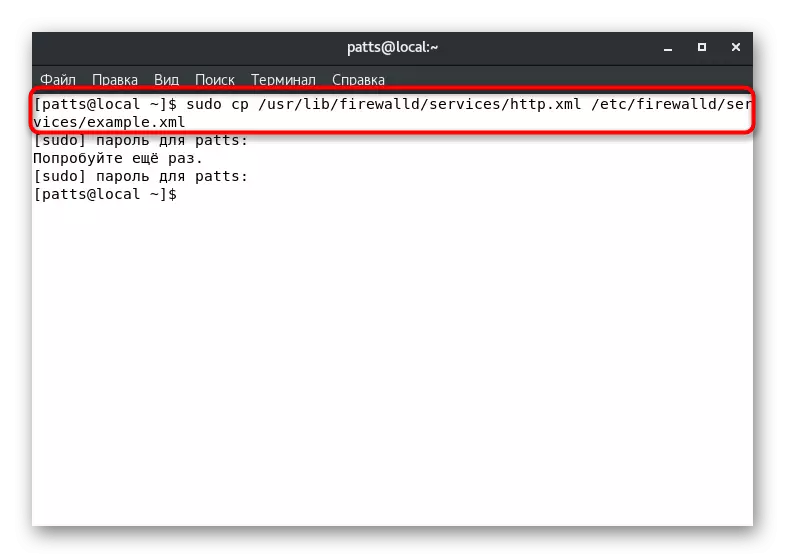
- Copy the configuration file by writing sudo cp /usr/lib/firewalld/services/service.xml /etc/firewalld/services/example.xml, where service.xml is the name of the service file, and the example.xml is the name of its copies.
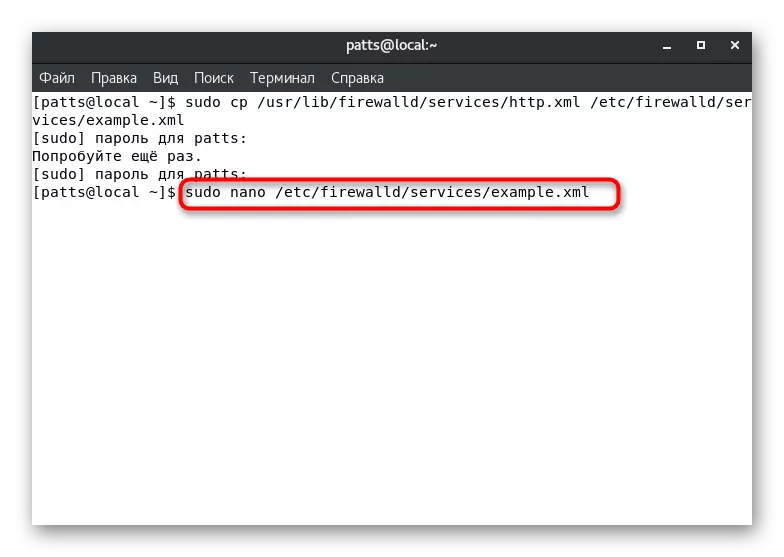
- Open a copy to change via any text editor, for example, sudo nano /etc/firewalld/services/example.xml.
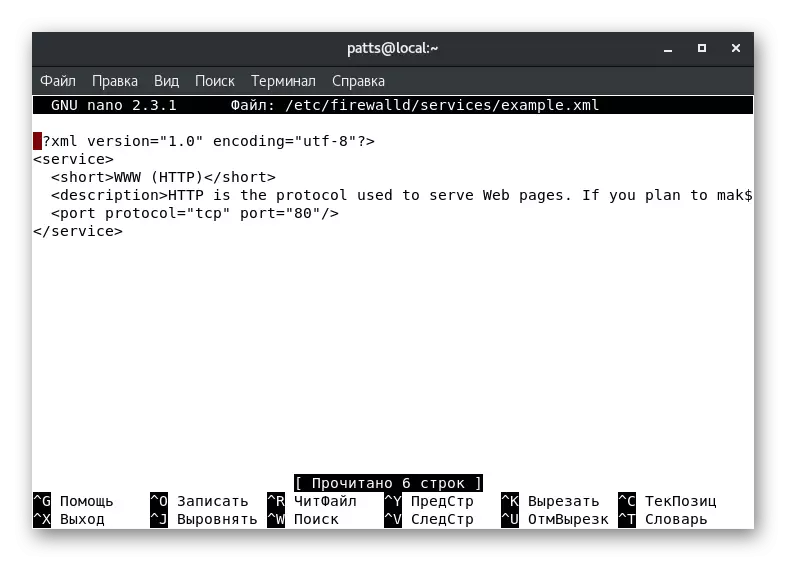
- For example, we have created a copy of the HTTP service. In the document, you basically see various metadata, for example, a short name and description. It affects the server to work only the change of the port number and protocol. Above the string "" should be added to open the port. TCP - Used Protocol, A 0000 - port number.
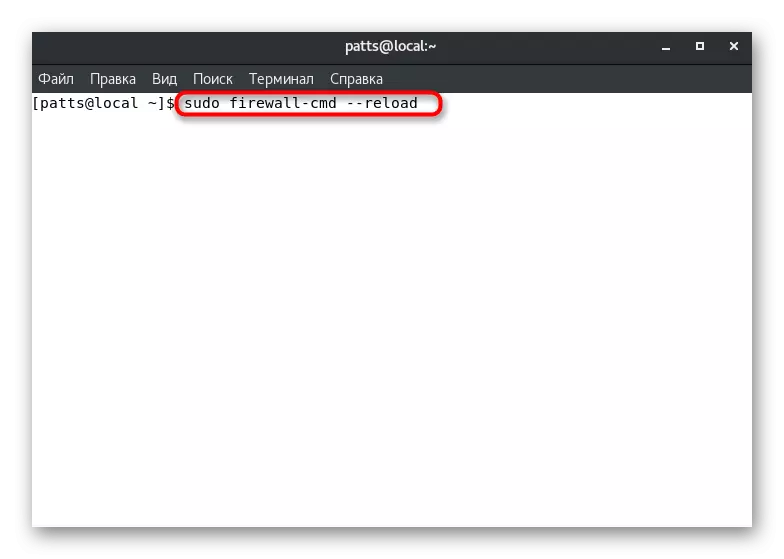
- Save all changes (Ctrl + O), close the file (Ctrl + x), and then restart the firewall to apply the parameters through the sudo firewall-cmd --reload. After that, the service will appear in the list of available, which can be viewed via Firewall-CMD --GET-Services.
You only have to choose the most appropriate solution to the service problem with access to the service and execute the instructions provided. As you can see, all actions are performed quite easily, and there should be no difficulties.
Creating custom zones
You already know that in initially a large number of diverse zones with defined rules has been created in Firewalld. However, situations occur when the system administrator needs to create a user zone, such as "PublicWeb" for the installed web server or "PrivatedNS" - for the DNS server. On these two examples, we will analyze the addition of the branches:
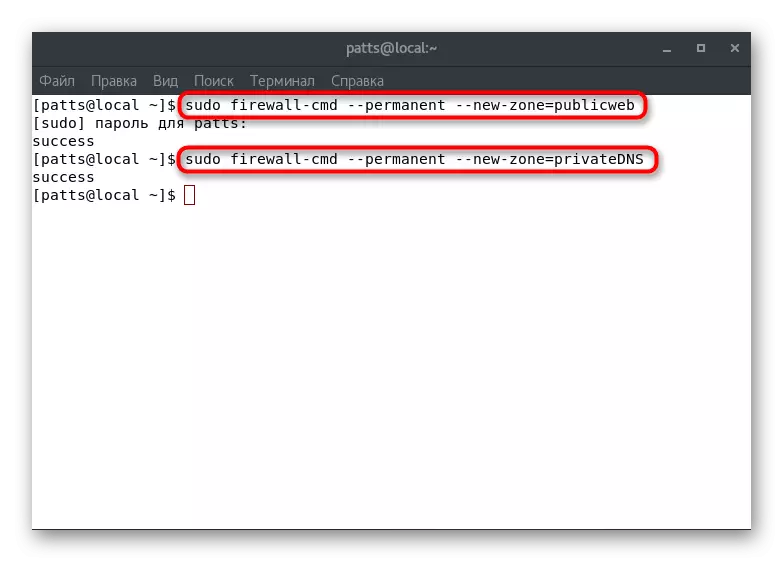
- Create two new permanent zones by Sudo Firewall-Cmd --permanent --New-Zone = PublicWeb and Sudo Firewall-CMD --Permanent --New-Zone = PrivatedNS.
- They will be available after rebooting the Sudo Firewall-CMD --reLoad tool. To display permanent zones, enter the Sudo Firewall-Cmd --permanent --get-Zones.
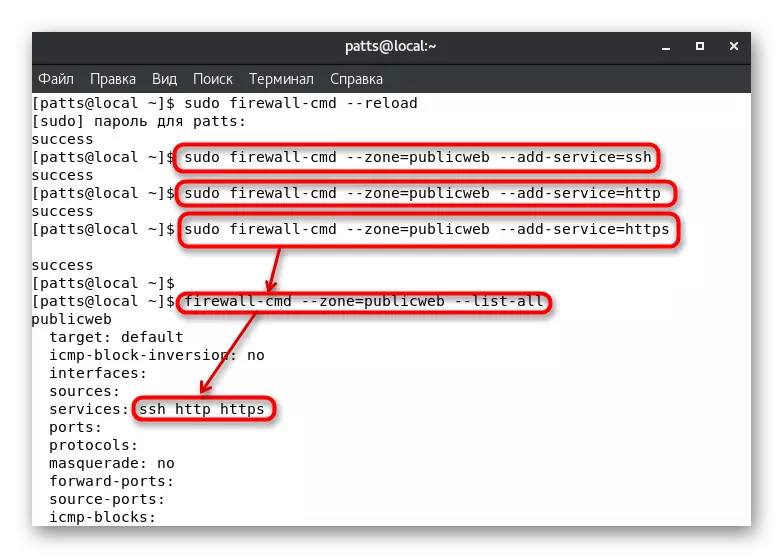
- Assign them the necessary services, such as "SSH", "HTTP" and "HTTPS". These are done by the Sudo Firewall-Cmd --Zone = PublicWeb --ADD-Service = SSH, sudo firewall-cmd --zone = PublicWeb --Do-Service = PublicWeb --Do Firewall-Cmd - PublicWeb - PublicWeb --Add- Service = HTTPS, where --Zone = PublicWeb is the name of the zone to add. You can view the activity of services by pending Firewall-Cmd --Zone = PublicWeb --List-all.

From this article, you learned how to create custom zones and add services to them. We have already told them as default and assigning interfaces above, you can only specify the correct names. Do not forget to restart the firewall after making any permanent change.
As you can see, FireWalld firewall is a fairly volumetric tool that allows you to make the most flexible configuration of the firewall. It remains only to make sure that the utility launches with the system and the specified rules immediately begin their work. Make it with the Sudo SystemCTL Enable Firewalld command.