

SSH (Secure Shell) is a protocol to create an encrypted connection between the client and the server. Thanks to this technology, remote computer management can be performed. The interaction with the utility occurs in the terminal, and in the operating system CentOS 7 it is added by default. Therefore, today we would like to consider in detail the standard setup procedure, which will be useful to everyone who is going to work with SSH.
Customize SSH in CentOS 7
The configuration process is individual for each system administrator, but still there are several items useful for all users. Within the framework of this article, we will talk not only about the server component, but also about the client, as well as indicate, on which of the devices a certain action is performed.Installing Components and Starting Server
We have already said that the default SSH is added to the CENTOS 7 system library list, but sometimes for some reason the necessary components are missing on the computer. In this case, they will need to add, and then activate the server operation.
- Open the "Terminal" and register there by the Sudo Yum -y Install OpenSSh-Server Openssh-Clients command.
- Confirm the authenticity of the superuser account by entering the password. Note that the characters are not entered in this way are not displayed in the string.
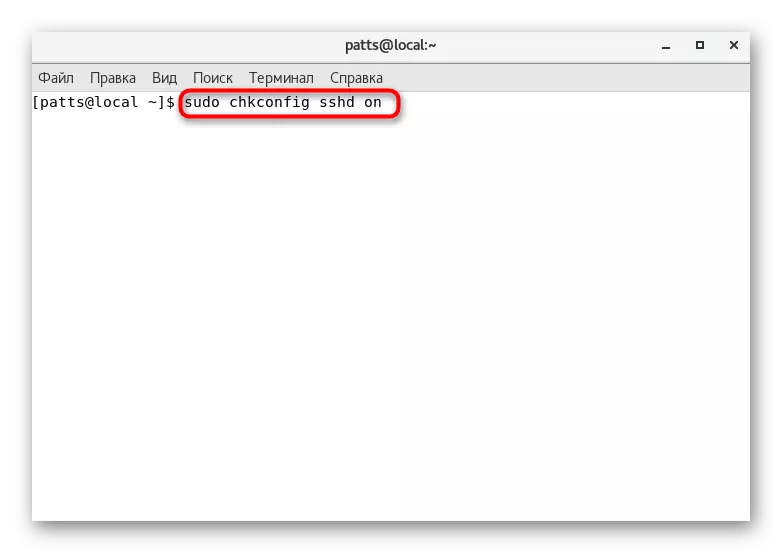
- Run the configuration check by the Sudo Chkconfig SSHD ON command.
- Then run the SSH service itself by specifying Service SSHD Start.
- It only remains to check that the default port is open. To do this, use the Netstat -Tulpn string | Grep: 22.


After the successful work of the indicated instructions, you can safely move on to the beginning of the configuration. We want to draw your attention to what to read the notifications shown on the screen during the activation of commands. They may indicate the occurrence of certain errors. Timely correction of all malfunctions will help avoid further problems.
Editing configuration file
Of course, the configuration file is edited only at the discretion of the system administrator. However, we want to show how to run it in a text editor and what items should be emphasized in the first place.
- We recommend using the Nano editor, to establish which the Sudo Yum Install Nano team will help. Upon completion of the installation, launch the configuration file through Sudo Nano / etc / ssh / sshd_config.
- You will be familiar with all available parameters. Some of them are commented, that is, before the parameter there is a sign #. Accordingly, removing this symbol, you revolve the parameter, and it will be valid. You can change the standard port by changing the value of the "port" string to any other. In addition, it is recommended to establish a second protocol using "Protocol 2". Then the security level will increase.
- These and other parameters vary only by the preference of the administrator. Detailed information about each of them can be found in the official SSH documentation. Upon completion of editing, save the changes by pressing the Ctrl + O. Hot key.
- Ctrl + X combination will help to exit the editor.
- Restart the service through the Sudo Service SSHD RESTART so that the changes have entered into force.
- You can then check the SSH status to make sure that it is working through the Service SSHD Status.


Editing a configuration file varies many parameters, but the main process is to add and configure the keys - is made using special commands, which we want to talk further.
Creating a pair of RSA keys
The RSA cryptographic algorithm (Abbreviation from Rivest, Shamir and Adleman surnames) is used by the SSH service to create a pair of keys. Such an action to allow the maximum to secure the client and server part during compounds. We will have to use both chains to create a pair of keys.
- To start, go to the client computer and enter the SSH-KEYGEN in the console.
- After activation, a new string will appear where it will be prompted to specify the path to save the key. If you want to leave the default location, do not enter anything, but simply press the ENTER key.
- The following creates a password phrase. It will ensure security from unauthorized login. After creating the password it will be necessary to repeat.
- This generation procedure completed. On the screen you will see the key itself and a random image assigned to him.


If the above manual is successful, an open and private key will appear, which will be used to authenticate with the server. However, for this, the key must be sent to the server and disable the input by password.
Copy open key to server
As mentioned above, copying the key is necessary for further dirling authentication. You can make such an action in one of three ways, each of which will be the most optimal in certain situations. Let's look at all of them in order.
SSH-Copy-ID utility
Copying the open key through the SSH-Copy-ID utility is the easiest method. However, it is suitable only when this most tool is present on the computer. You need to prescribe only one SSH-Copy-ID username @ Remote_Host, where the username @ remote_host is the username and host host host.

If the connection is performed for the first time, on the screen you will see a message of this character:
The Authenticity of Host '111.111.11.111 (111.111.11.111)' CAN't be esstablished.
ECDSA KEY FINGERPRINT IS FD: FD: D4: F9: 77: FE: 73: 84: E1: 55: 00: AD: D6: 6D: 22: FE.
Are you Sure You Want to Continue Connecting (YES / NO)?
It denotes that the server is not in the list of reliable sources and the question will be asked whether it is worth further connection. Select Yes Option.

It remains only to enter the password from the server account, and on this copy procedure through the mentioned utility will be successfully completed.

Copy open key on SSH
In the absence of the SSH-Copy-ID utility, we recommend using the standard SSH tool capabilities if, of course, you have access to the server account. Unloading the keys is made by usual connection, namely:
- The CAT command will allow you to read and immediately add the key to the file on the server computer. To do this, simply enter Cat ~ / .ssh / id_rsa.pub | SSH Username @ Remote_Host "mkdir -p ~ / .ssh && cat >> ~ / .ssh / authorized_keys", where Username @ Remote_Host is the name of the account and the host of the remote computer. Note that the option >> add key to the end of the file, and does not overwrite it completely. Therefore, the keys introduced earlier will also be saved.
- To connect, enter the password phrase.
- Do not forget to restart the server through the Sudo Service SSHD RESTART to update the key lists.


Manual open key copying
Sometimes there are situations when it is impossible to use the SSH-Copy-ID utility, and there is also no access by password. Then the copy is carried out manually.
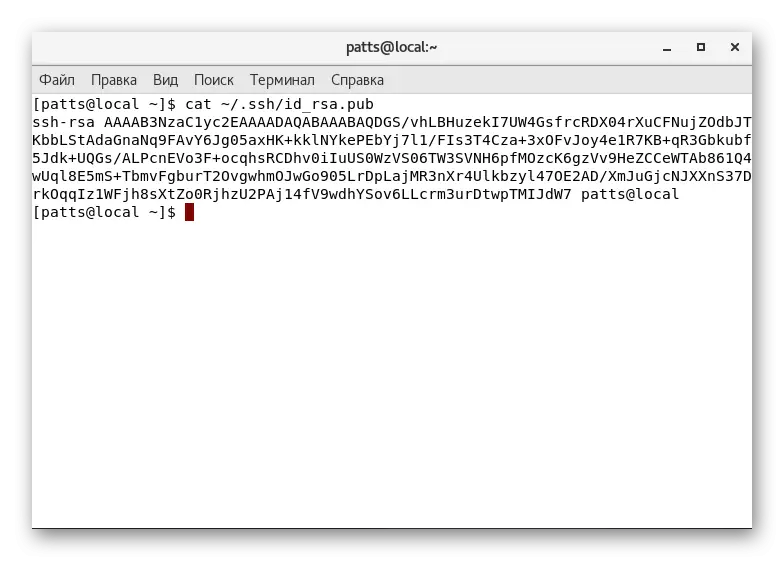
- First, find out this key through the already familiar CAT command by entering the CAT ~ / .ssh / id_rsa.pub console.
- Copy its contents into a separate file.
- Connect any convenient method to a remote computer and create a MKDIR -P ~ / .ssh directory. The team will not do anything if the directory already exists.
- It remains only to make data to the "Authorized_keys" file. The echo public_key_string command >> ~ / .ssh / authorized_keys will add a key to a file or will create a file first if it is missing. Instead of "public_key_string" you need to insert the previously obtained string with the key.


This is successfully completed on this key copying procedure. Thanks to this, authentication to the server is now available by entering SSH Username @ Remote_Host. However, you can connect through the password, which reduces the safety of such a network.
Disable password authentication
Disable the ability to enter the password, bypassing the key, makes such a remote connection less protected. Therefore, it is recommended to deactivate this feature to prevent unauthorized authentication from intruders.
- On the remote server, run the SSH configuration file through Sudo Nano / etc / ssh / sshd_config.
- Lay the PasswordAuthentication parameter and change the value to NO.
- Save the changes and complete the work in a text editor.
- The new parameter will take effect only after restarting the Sudo SystemCTL Restart SSHD.SHD.Service service.


This is an article in which you were familiar with the basic configuration moments of the SSH protocol, coming to an end. We strongly recommend to study the contents of the issuance after the activation of the commands, since there is sometimes describing errors. Their solution is looking for in the official instrument documentation or the CentOS distribution.