
Making the screenshots, entirely or separate item, may be needed for different reasons. It is worth noting that in MacOS screenshots are made somewhat different than in Winds, and today we want to tell you about the analogues of the Print Screen function for the "apple" OS.
Making screenshots in Makos
The first thing for the grief of users who switched to this OS from Windows are: the usual pressing of PrintScreen is not possible, since on the standard keyboard of Apple devices, such a key is simply absent. However, the ability to make screenshots is, just for them should use other key combinations.Method 1: Standard MacOS Mojave
In the modern version of the "apple" operating system, you can call an advanced tool for removing the screen shots.
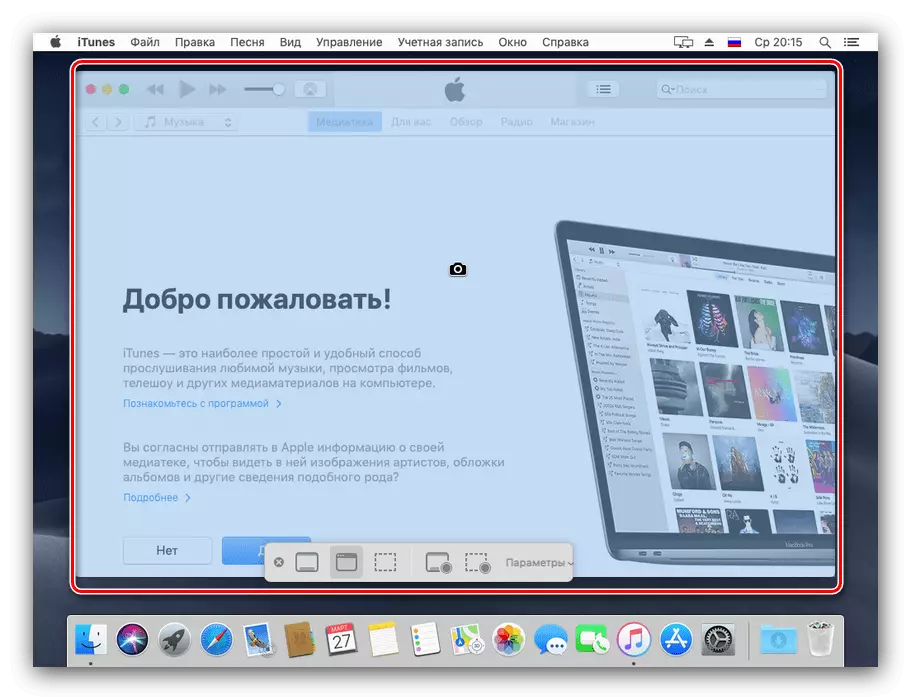
- Refer to the device keyboard - press the SHIFT + COMMAND + 5 keyboard key, and the dedicated area with Tulbar appears below.
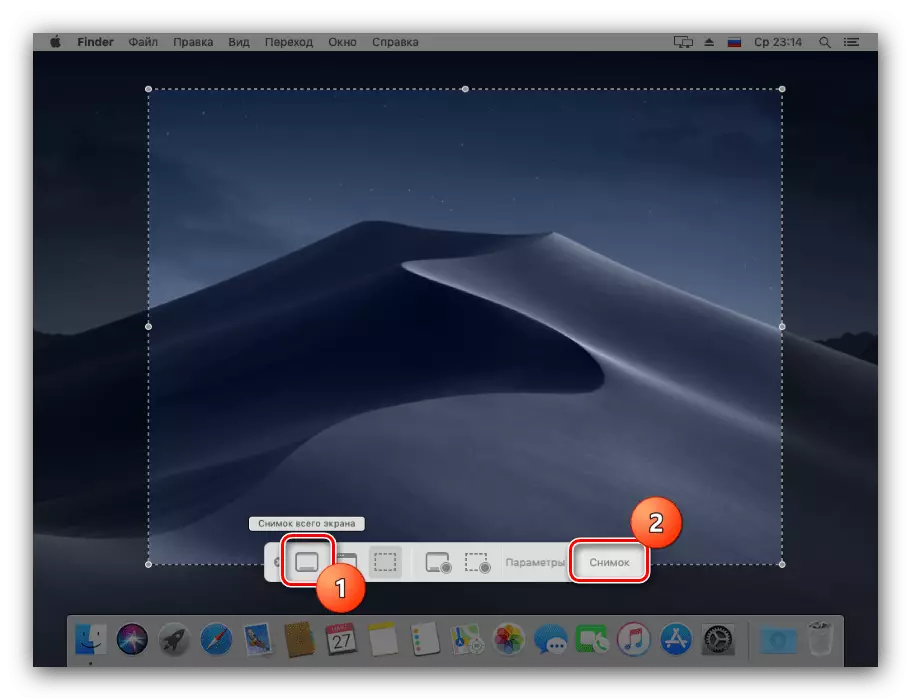
- For a snapshot of the entire screen, use the left left button on the utility panel, then the extreme right, "snapshot".
- The next button allows you to take a picture of a separate window.
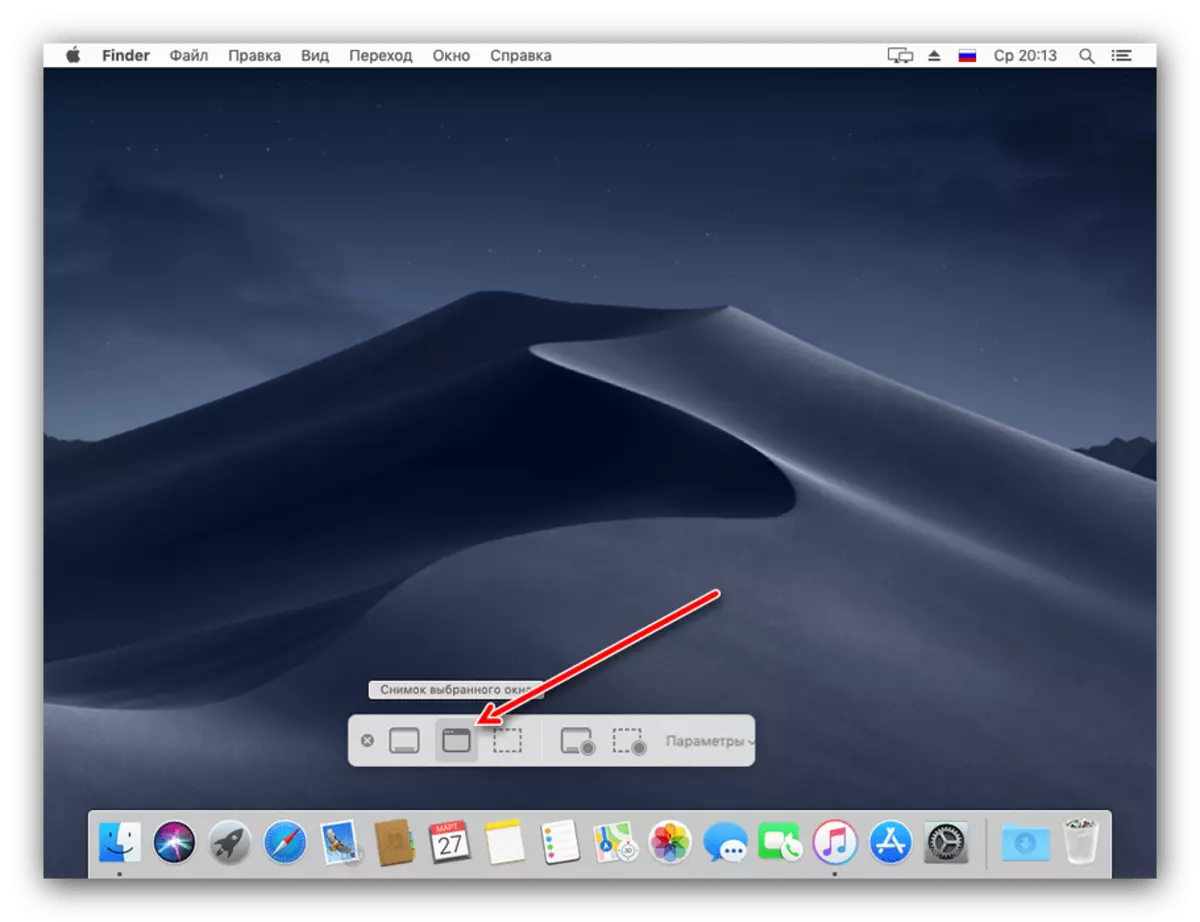
Pressing it will lead to the cursor icon to change to the stylized image of the camera. To remove the snapshot, the cursor should be brought to the desired window and click on the mouse.
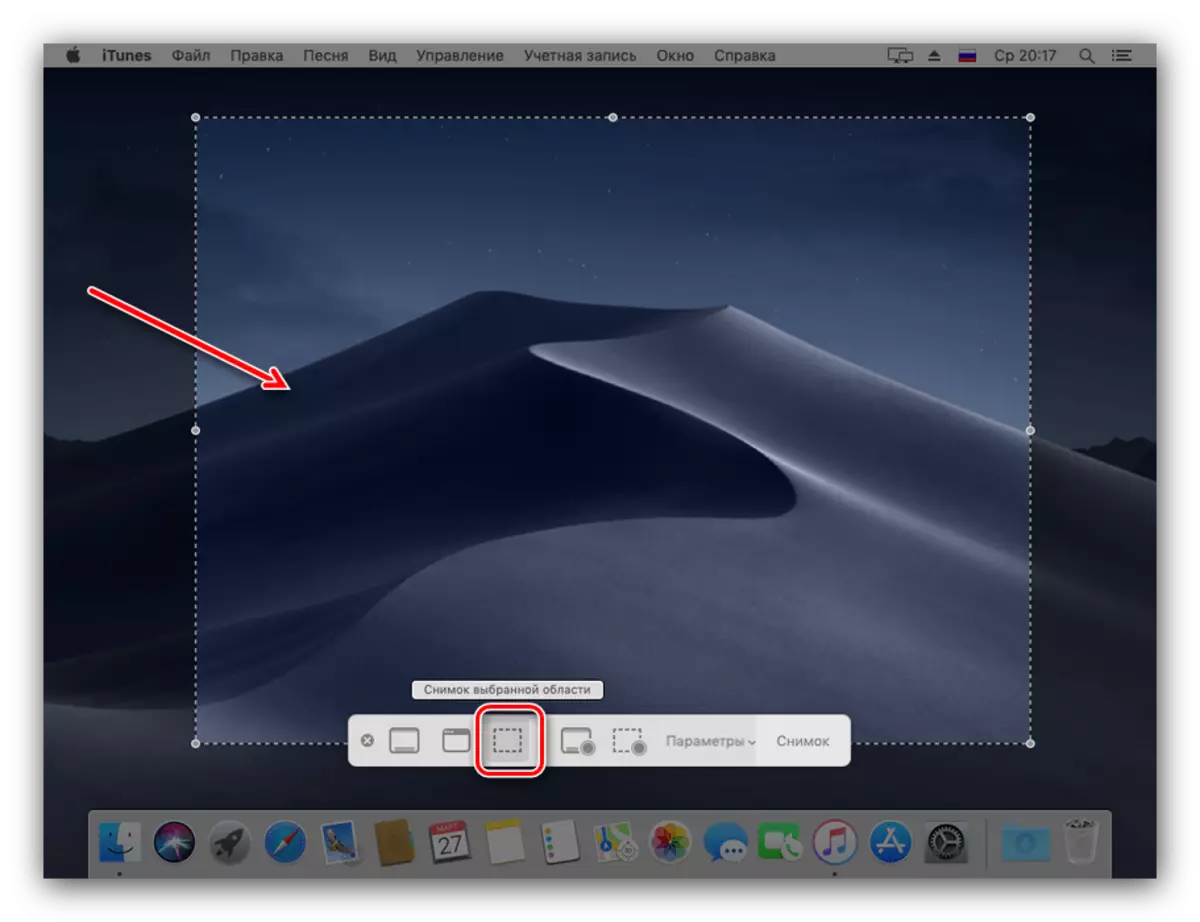
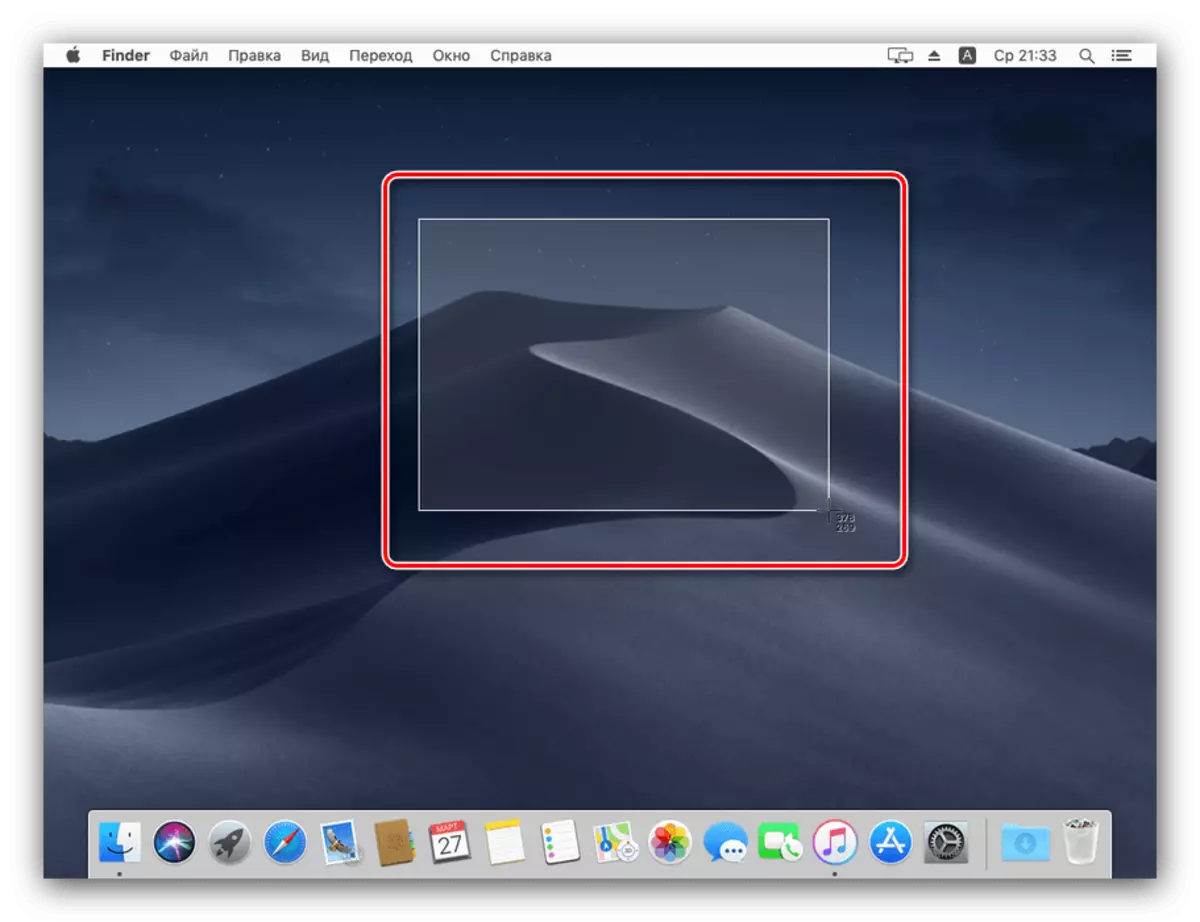
- An option "Photo of the selected area" functions similarly to the scissors tool from Windows: highlight the screen fragment and click on the mouse in order to save it.
- The two last buttons allow you to make a video of all desktop or its separate fragment, respectively.
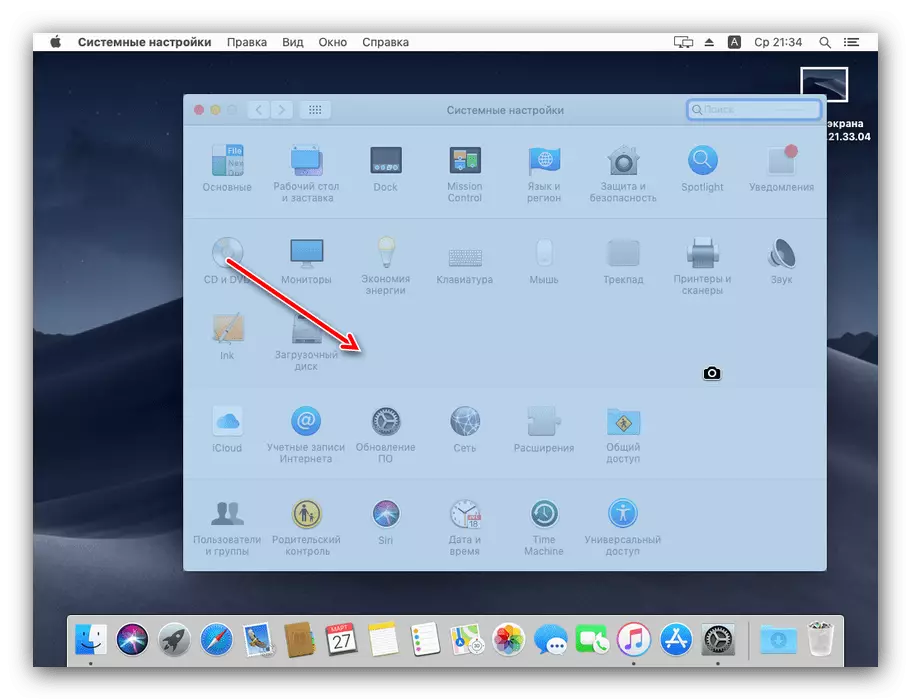
- By default, the screenshots are saved in PNG format on the MACOS desktop, where the shooting time is specified as the name.
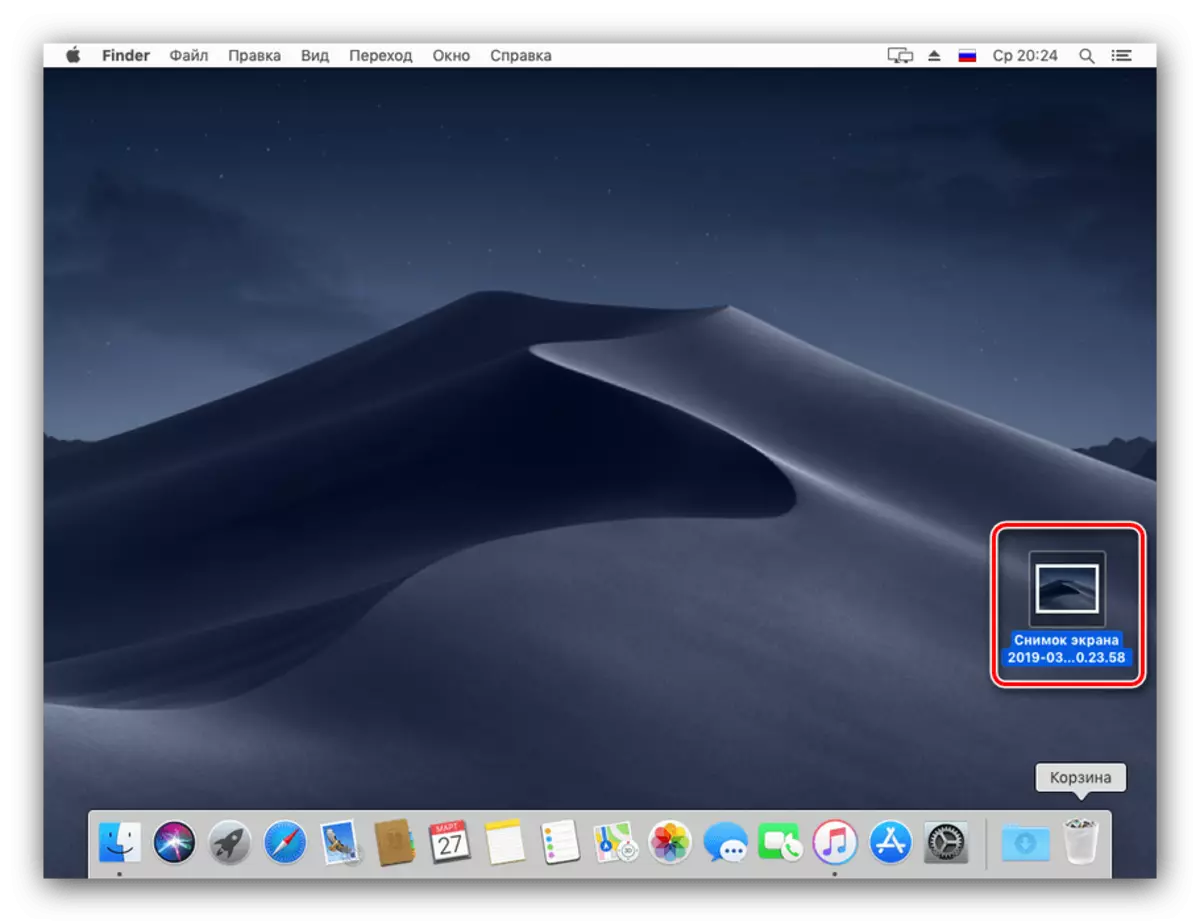
You can work with them in the same way as with any other images.


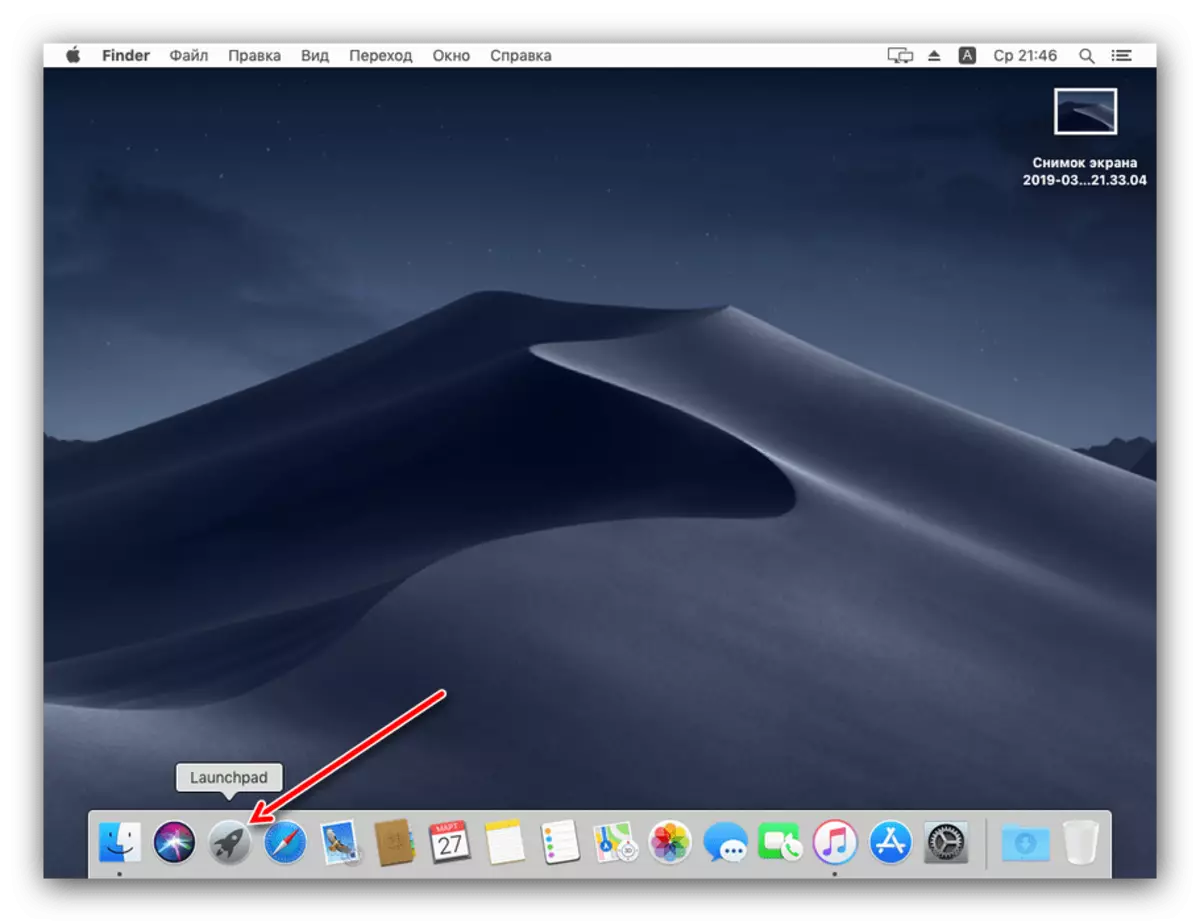
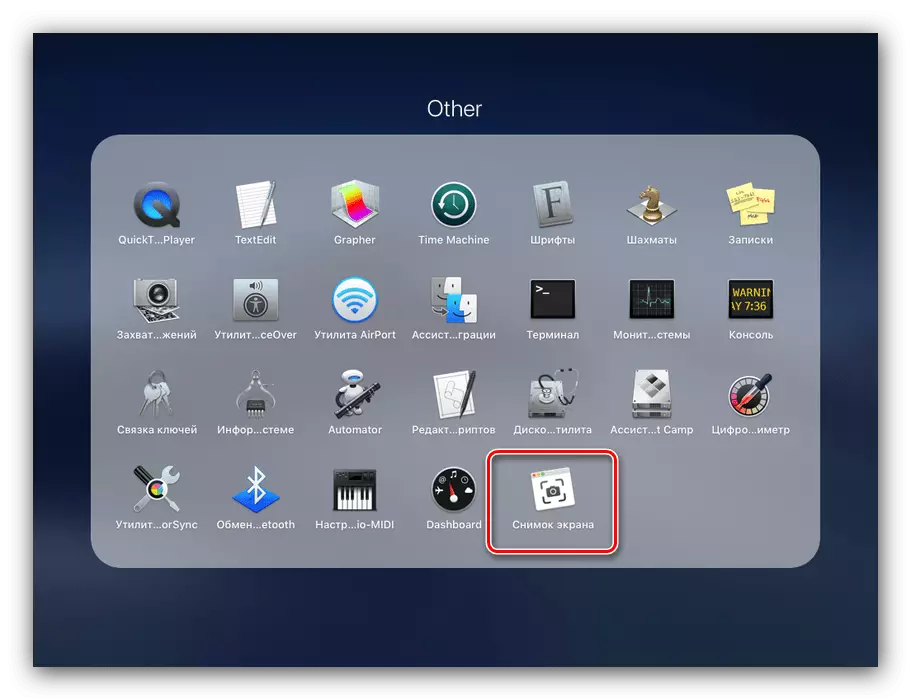
Also, if required, this tool can be opened through "Launchpad": click on the corresponding icon in the dock.
Find the folder called "Other" (also may be called "Utilites" or "Utilities") and go to it.
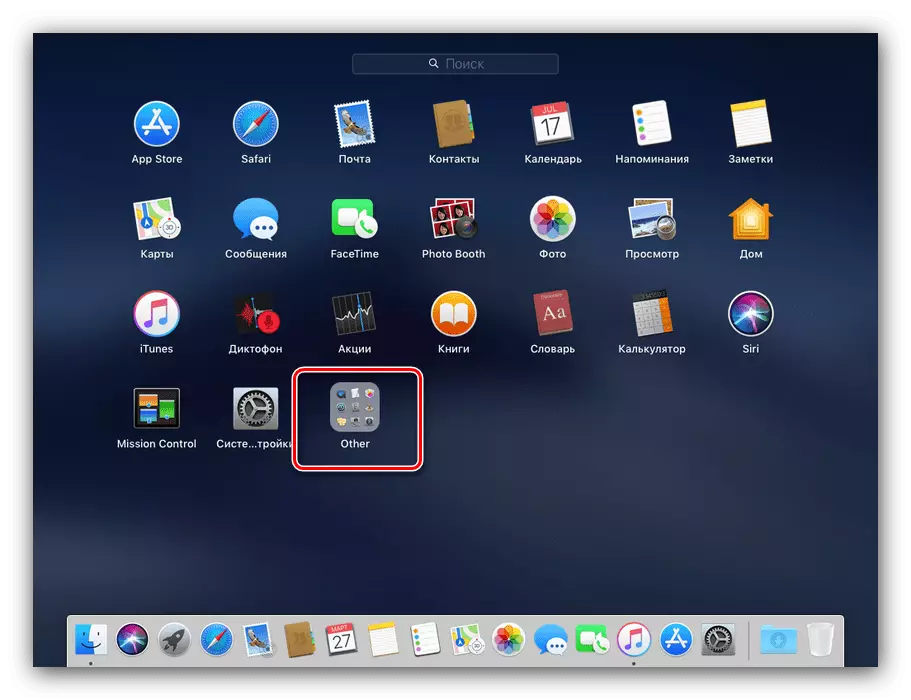
The application is called "Screen Snapshot", click on it to call.
Method 2: Universal Keyboard Combination
In addition to removal of screenshots, a snapshot of key combinations is available in MacOS Mojave and older versions.
- The combination of SHIFT + COMMAND + 3 makes the screenshot of the entire screen.
- The SHIFT + Command + 4 option allows you to take a picture of the area: when the cursor is changed to the cross, clamp the left mouse button and select the desired area, the screenshot will be made automatically.
If after pressing the mentioned combination, use the space, you can take a picture of a separate window. Pressing the OPTION + combination space will remove the shadow from the image.

As you can see, screenshots in MacOS is easy, and sometimes more convenient than in Windows or other OS.