

All computer operating systems provide the user with the ability to control the space of the main drive and connected media. I did not exception and Makos, in which there is already a long time there is a tool called "Disk Utility". Let's deal with the features and capabilities of this application.
Application options
First of all, we show how to access the specified program.
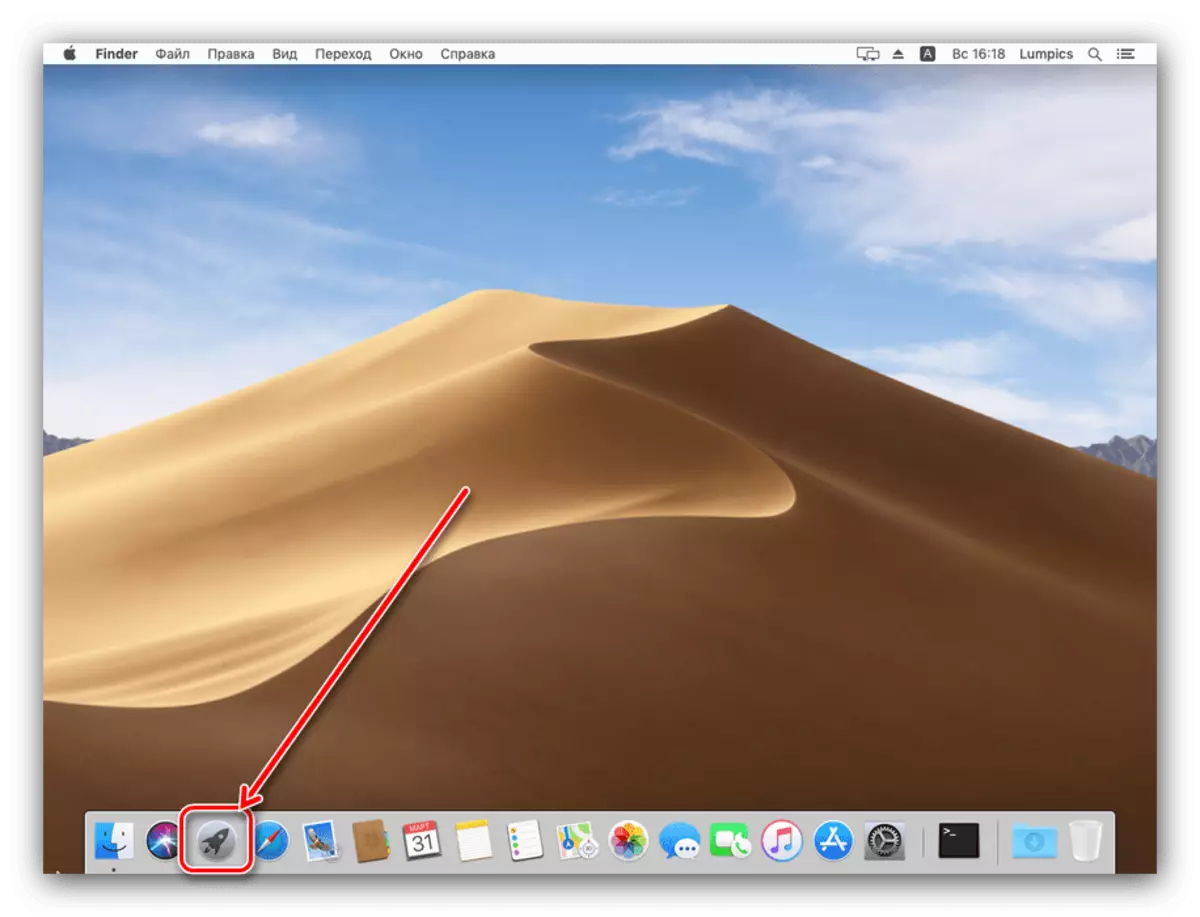
- Find in the dock panel Launchpad icon and click on it.
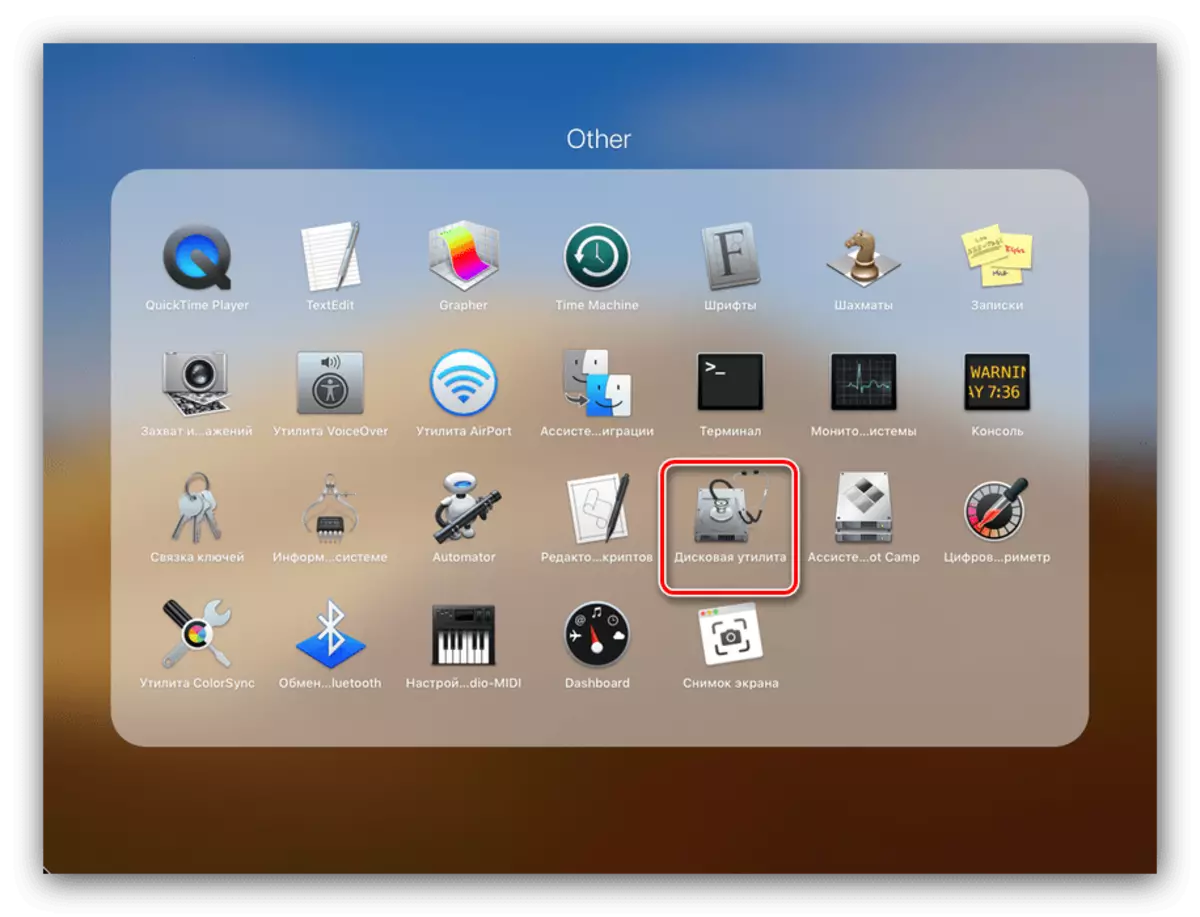
- Then, in the Luner menu, select the "Other" directory (also may be called "Utilities" or "Utilites").
- Click the icon named "Disc utility".
- The application will be started.


After the launch of the "disk utility" you can proceed to the review of its functionality.
Basic manipulations with media
The product under consideration provides the capabilities of basic management of recognized information media, such as viewing properties, formatting, partitioning, and so on.
- The "First Aid" button causes an automated hard disk error tool, flash drive or SSD: just select the desired drive in the menu on the left, click on the specified button and confirm the consent to troubleshoot errors.
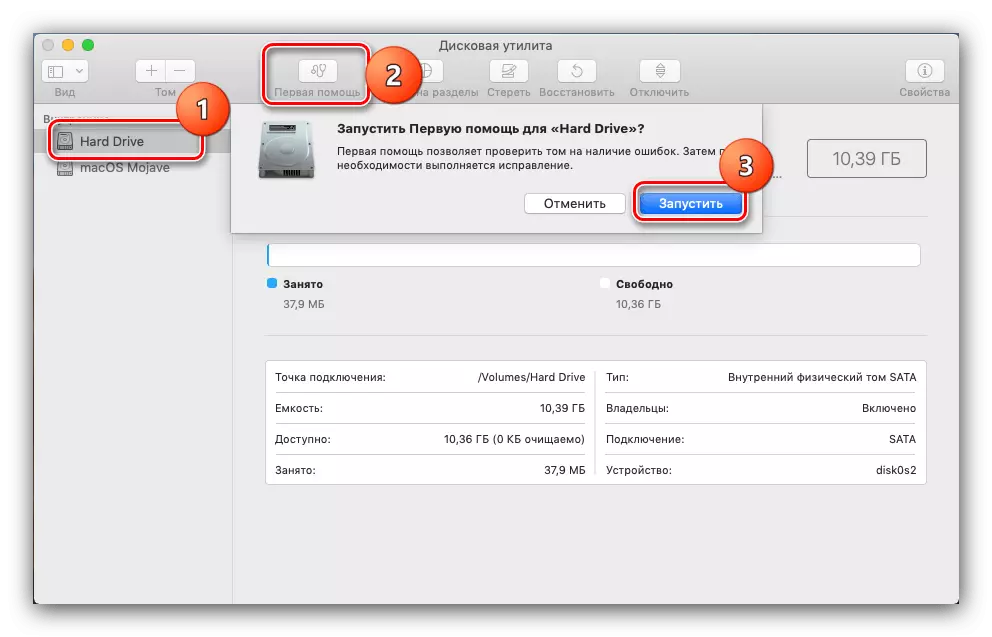
Please note that this remedy sometimes works inefficiently, so you should not pinch high hopes on it.
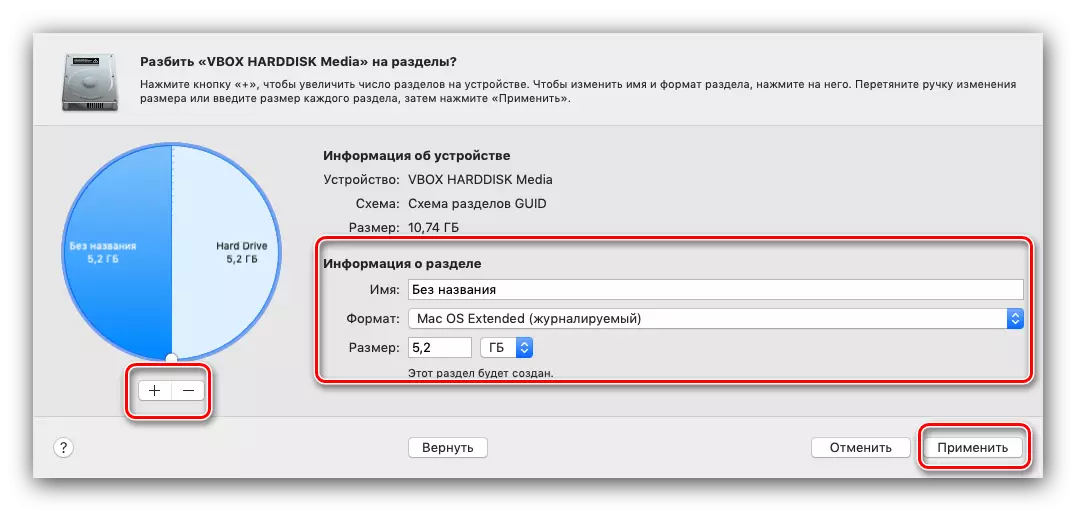
- The name of the "Split to sections" function speaks for itself - it offers the user to break the hard disk into two or more volumes.
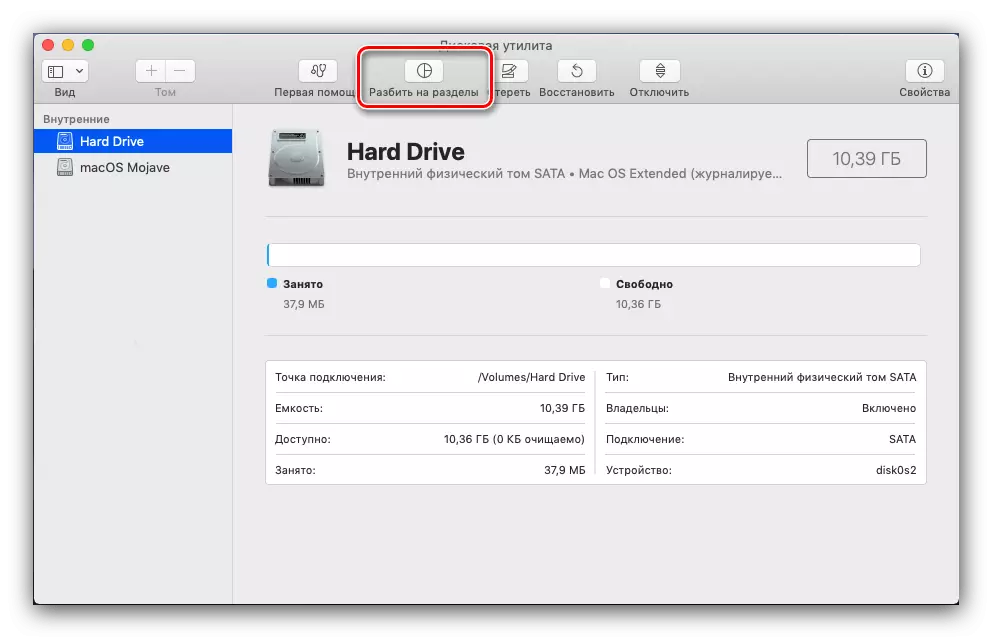
Pressing this button will cause an additional window in which you can configure sections: quantity, name, format and volume. The last parameter can be manually set and use the automated tool - for this simply press the "+" "-" button below the disk diagram.
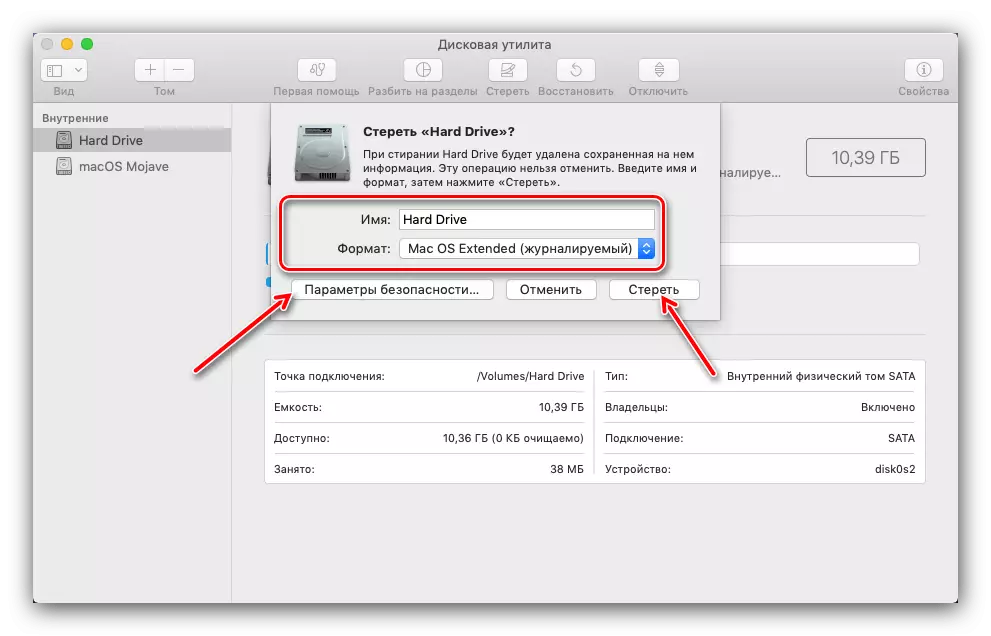
- The "Erase" option also does not require any special explanation - it starts formatting the selected drive.
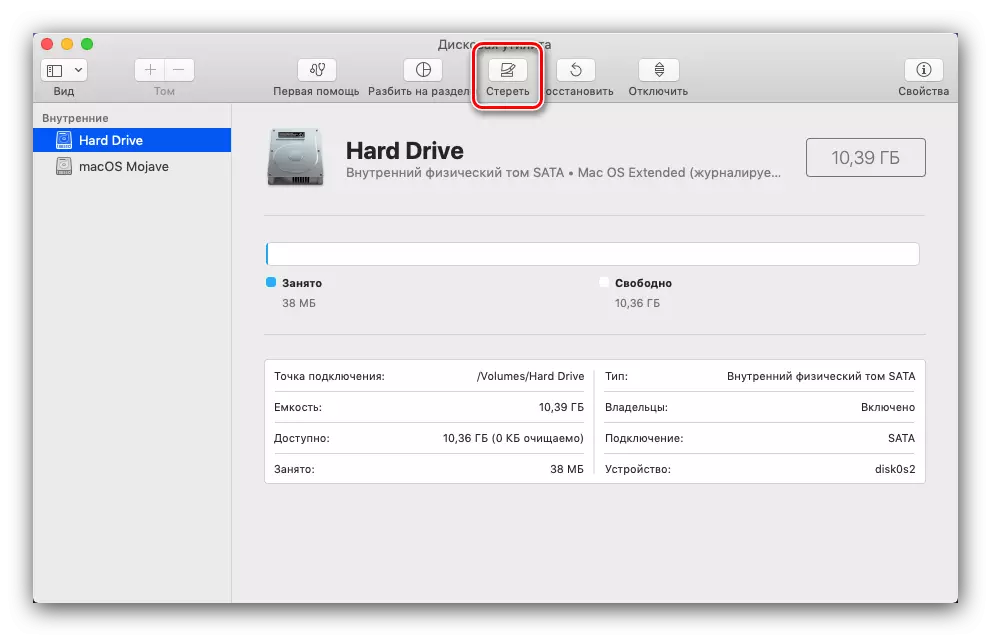
Before starting the procedure, you can set a new name of the media or partition, select the format (except Apple formats, also compatible FAT and EXFAT variants are available), as well as the parameters of the deletion of information on the disk (the "Security Settings" button).
- The Restore button causes a data cloning tool from another partition or disk image. To use this tool simply: Select the desired drive or image (pressing the appropriate button will call the Finder dialog box and click Restore.
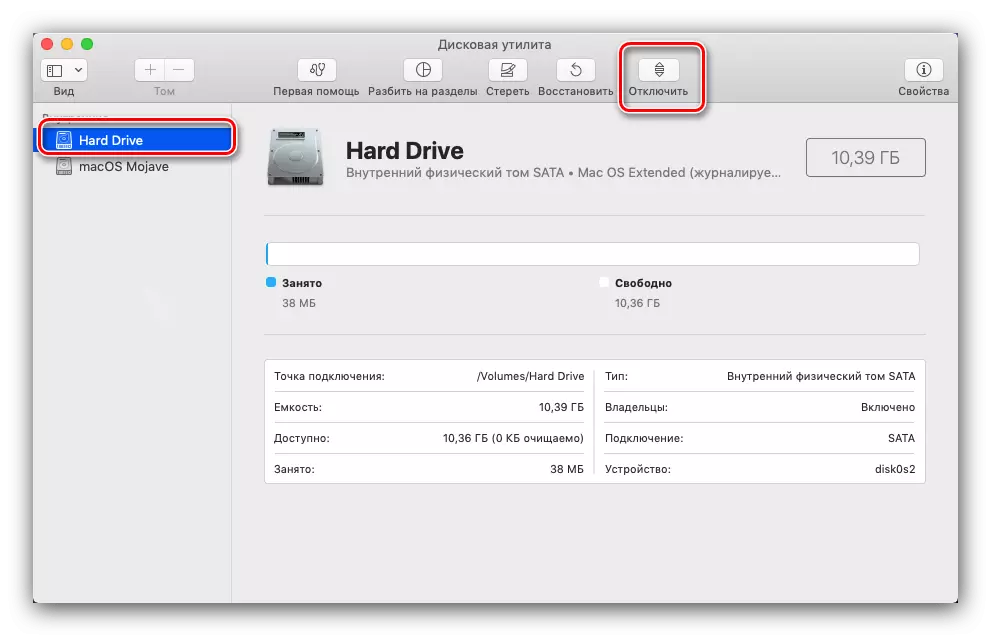
- Tool "Disable" programmatically disconnects the selected disk from the system.
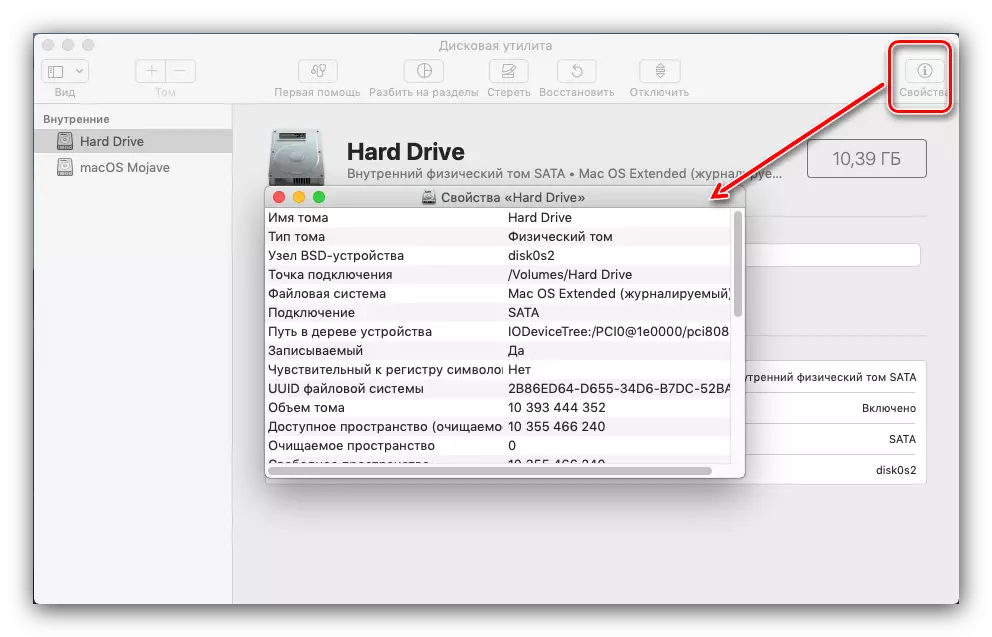
- Finally, the "Properties" button allows you to view detailed information about the selected drive: the name, file system, the SMART state and so on.

An overview of the basic functional on this is completed, and we move to the advanced disk utility capabilities.
Extended utility functions
Options available in the "disk utility" are not limited to the simple features given in the section above. Through this application, you can also create and adjust images of disk space, as well as RAID arrays.
Working with disk space images
For beginners in MacOS, explain: under the term "image" in the OS from Apple implies something other than in Windows. The way on the makints is a kind of archive in the DMG format, which in the system looks like a connected device. Creating such an image occurs according to this algorithm:
- In the Disk Utility Toolbar, select File - "New Image". Next, you can select the data source. "Empty Image" involves creating a storage in a file system in which the files will be added later.
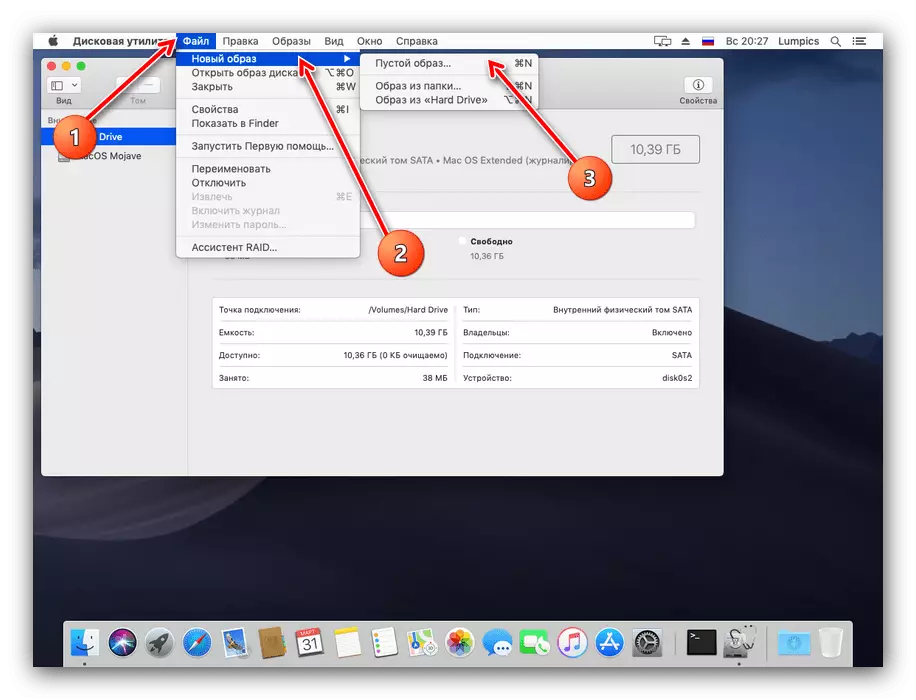
The "Image Folder" function assumes the choice of a directory in Finder, on the basis of which an archive will be created. "The image of * drive name *" allows you to create a copy of the disk entirely.
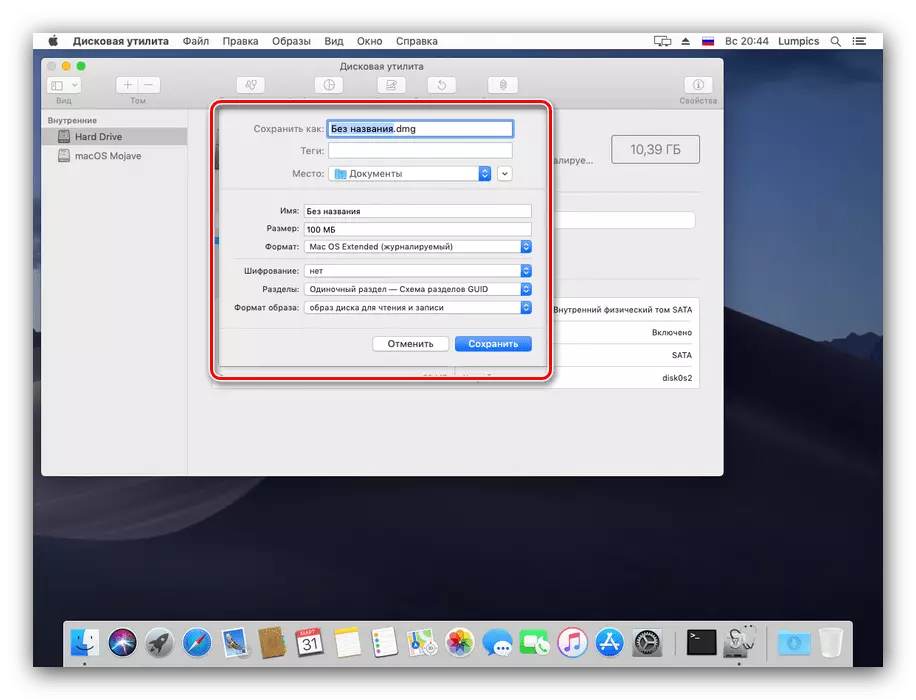
- Further actions depend on the selected source. When creating an empty image, you can select the name, format, location, size (can even be divided into sections) and encryption.
In the image version, only the name, tags, format and encryption parameters are available from the folder.
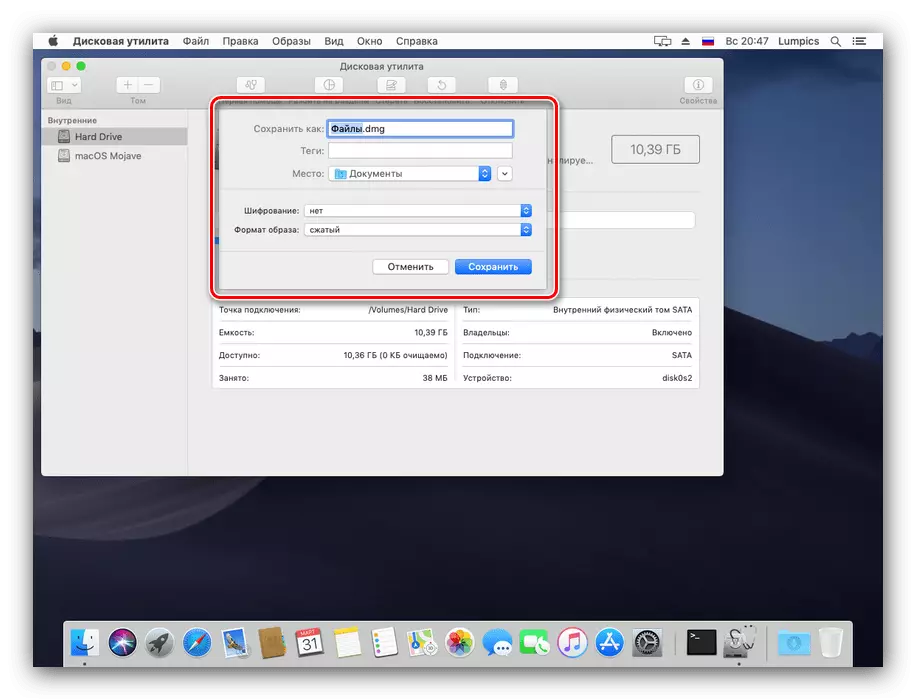
For the media image, you can configure only the name and format, as well as set encryption.
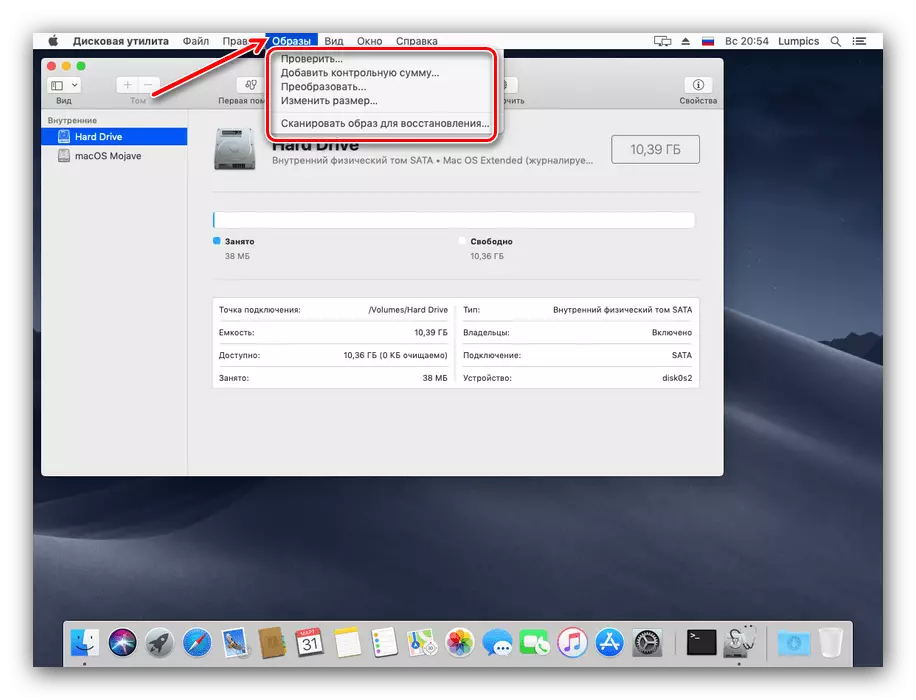
- Images management is available through the item item in the "Disc Utility" menu. There are options for checking the integrity of data, add checks, convert to another type or format, resize (not for all formats) and scanning a recovery image.
Creating a RAID array
Through the "disk utility", you can create RAID arrays for the best way to keep the data. It looks like this:
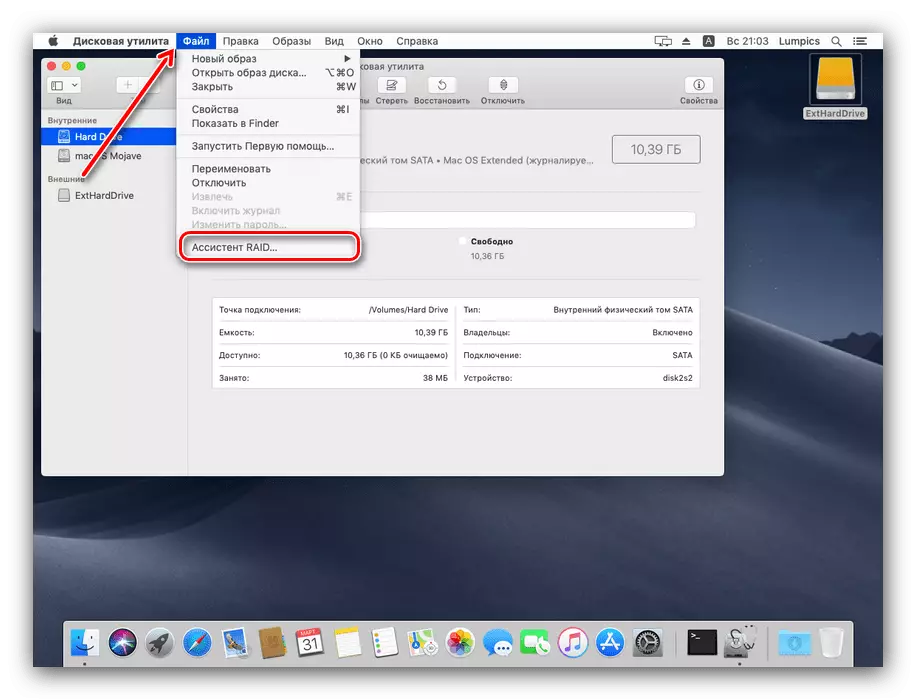
- Use the file "File" - "RAID Assistant".
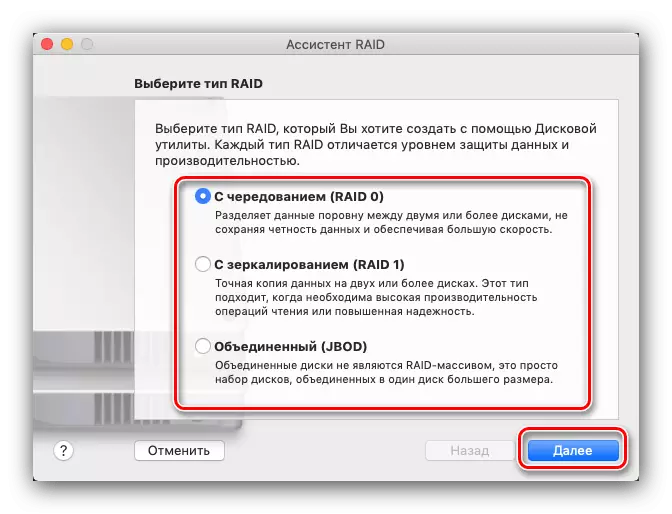
- The means to create the specified array will start. First of all, you need to select the appropriate type - check the mark opposite the desired and press "Next".
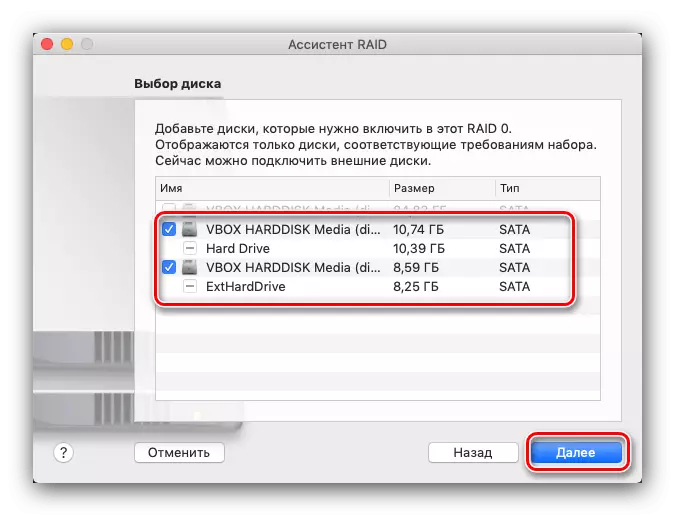
- At this stage, you need to choose the drives that you want to combine in RAID. Please note that the boot drive (to which the system is installed) cannot be add to an array.
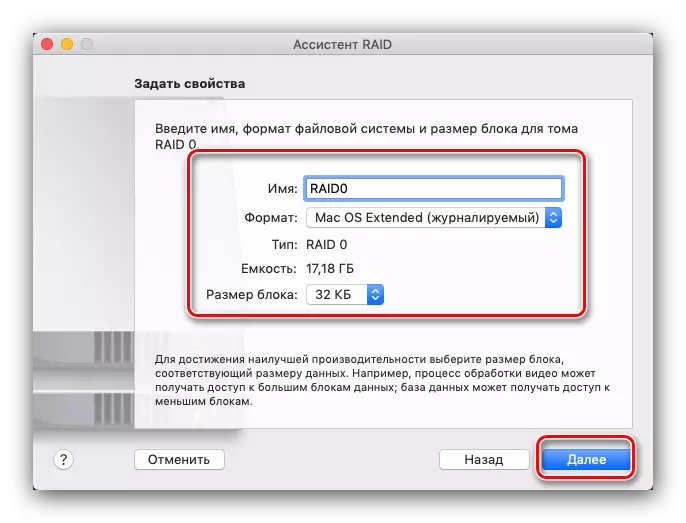
- Here to configure the properties of the array. You can specify the name, format and size of the block.
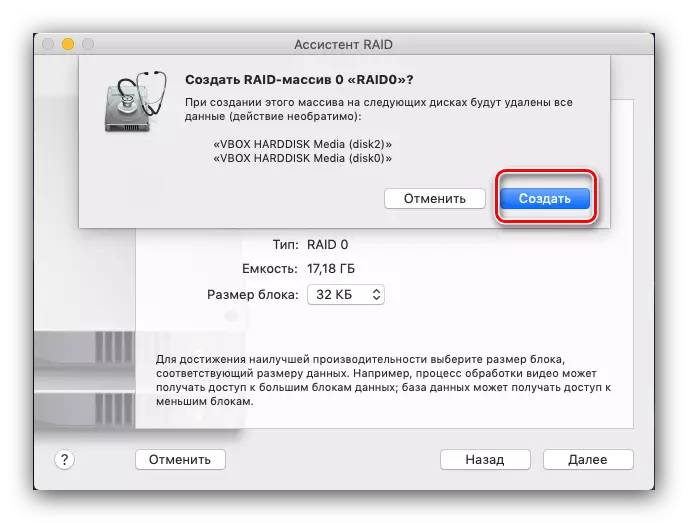
- Before creating an array system will warn you that the selected drives will be formatted. Check if there are backup copies of data stored on them, then press "Create".
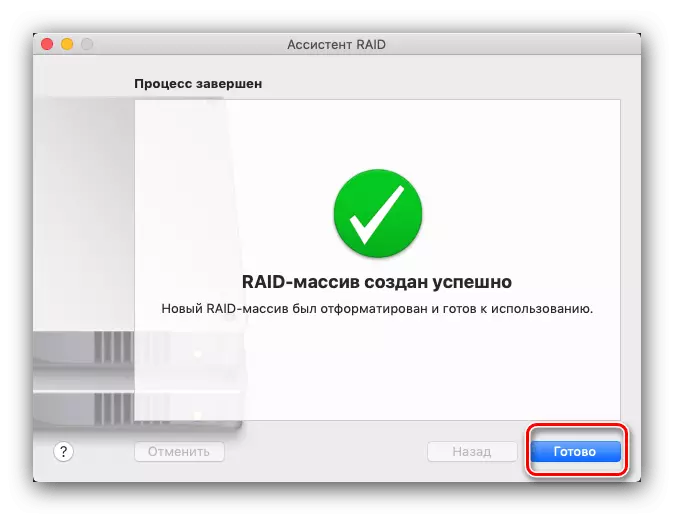
- Wait until the end of the procedure, then click Finish.
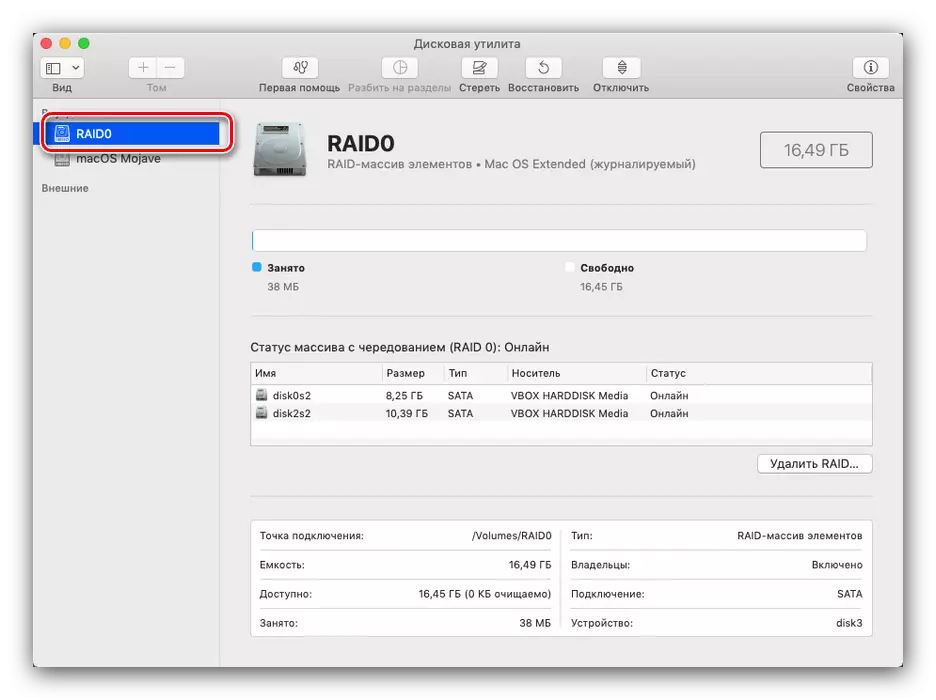
Now in the "disk utility" will have a new item with a freshly created RAID.
- If the need for the presence of RAID disappeared, you can delete it by pressing the button below the list of connected disks.
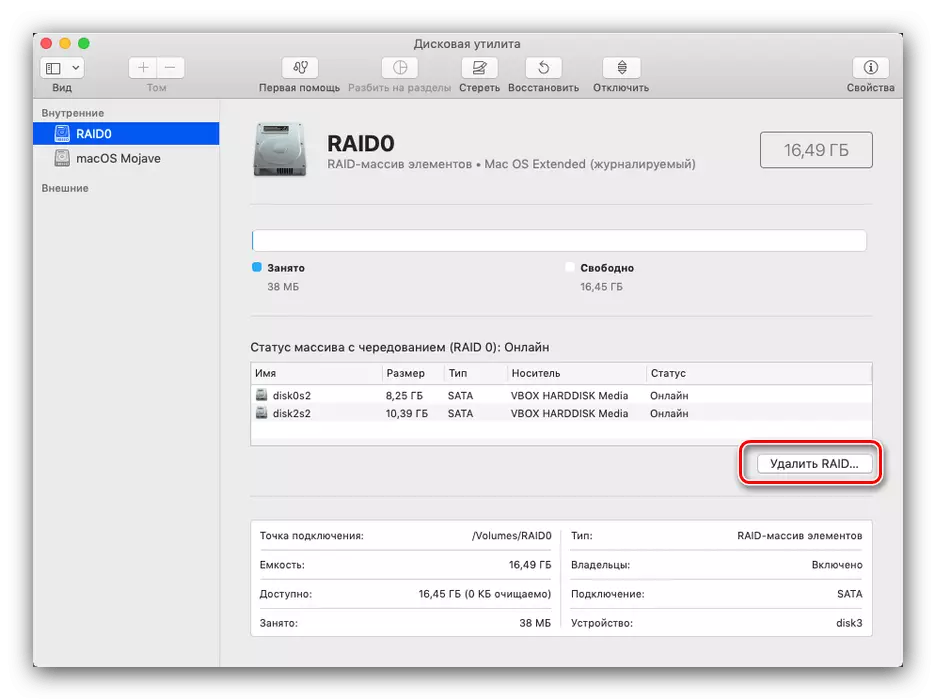
At the same time, the discs will be formatted, so have it in mind.
Conclusion
As you can see, the "disk utility" in MacOS is a powerful tool for controlling drives with useful additional features that will be suitable for all user categories.