
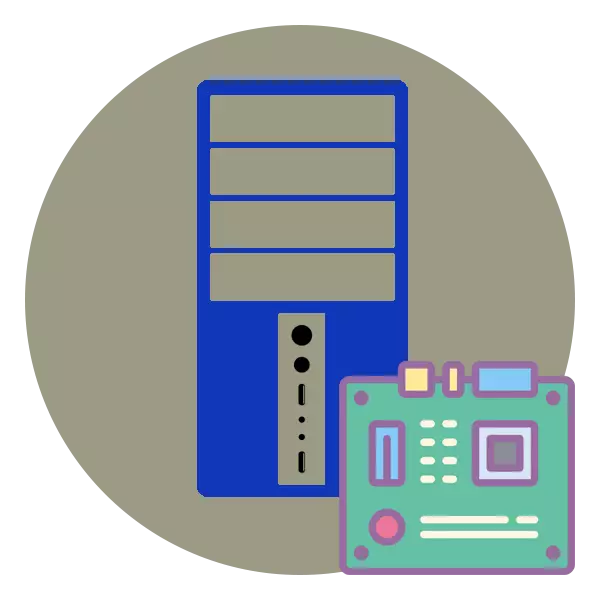
The motherboard is one of the most important elements of the computer connecting all other components into a single system. It is usually installed in the housing in the first place, and then other components are connected to it and connect the wires. This material will be devoted to a detailed analysis of the method of fastening the system board in a block with a detailed description of each step and visual illustrations.
When you were convinced that the board sits tightly in its place and accurately endure the load of the rest of the components, you can move to the next installation step, which is also mandatory and is responsible for the performance of the entire computer.
Step 3: Connecting the front panel of the case
Usually additional audio outputs are placed on the front panel of the case, several USB connectors and power button. Sometimes there are also additional elements, for example, highlighting, which is already dependent on the model itself. All these components need not only in additional nutrition, but must also be connected to the system board for successful pulse transmission. Expanded Guide to perform this task you will find in another article by clicking on the link below.
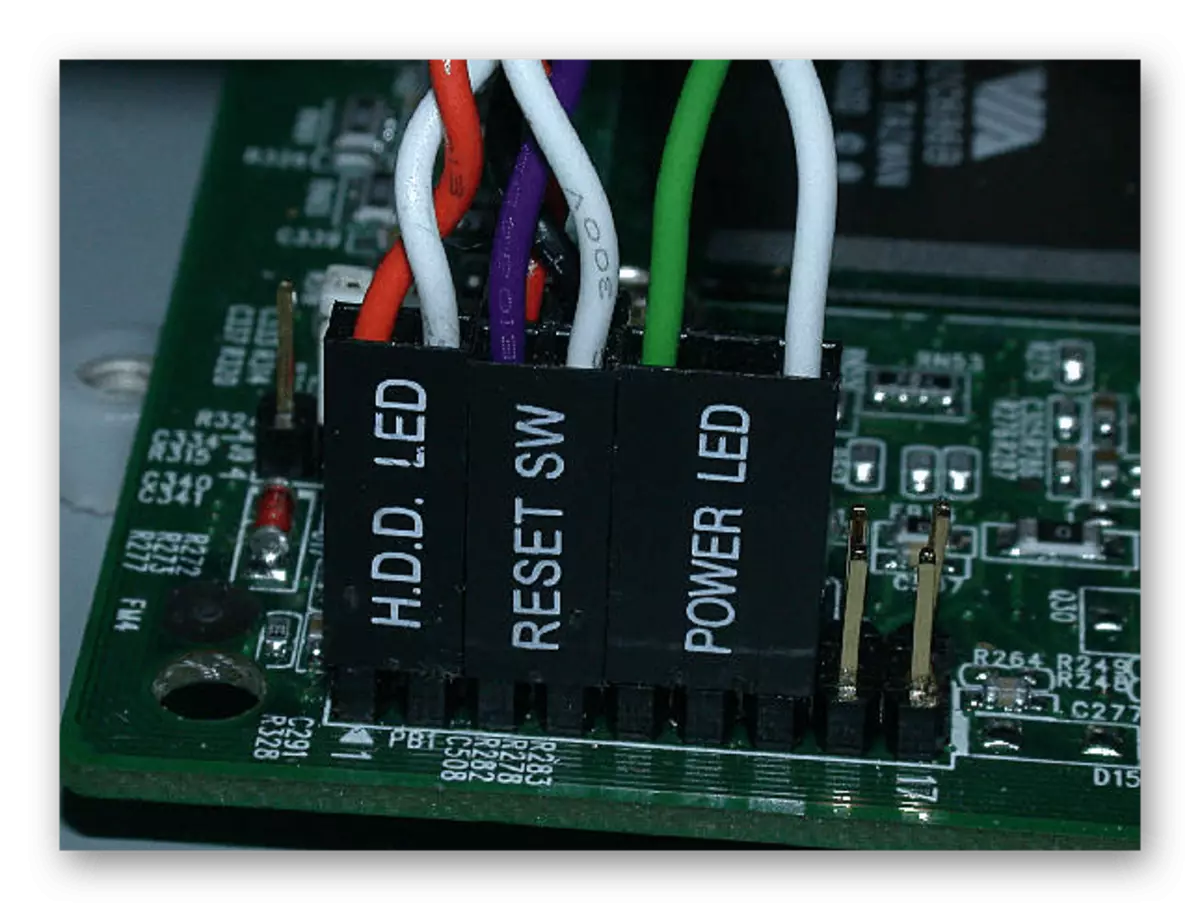
Read more: Connecting the front panel to the motherboard
Step 4: Installing the rest of the components
Now the motherboard is fully ready for installing other computer components on it. This includes - processor, video card, RAM, hard disk and DVD drive. All this is alternately installed in the appropriate connectors and is prepared for connecting additional power. Necessary instructions on this topic can be found in our other materials further.See also: Connect to the processor / RAM / RAM / Video Card / Hard Disk
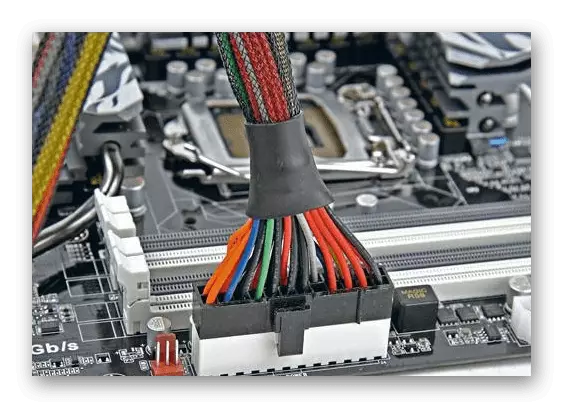
Step 5: Connecting the Power Supply
Without food, not only the motherboard will not work, but also all other components of the PC. Almost always the power supply is installed last, so that the mounting of other parts does not interfere with the wires, besides, it is just more convenient. Installing BP in the location selected for it in the case, the wires are in most cases output through the holes on the rear panel, forming a competent cable management. Only after connecting all wires, the computer will be ready for launch.
See also:
Connect the power supply to the motherboard
Connecting the power supply to the computer
Connect the video card to the power unit
On this, our guide comes to an end. As you can see, the entire assembly procedure begins precisely from the minting of the motherboard. At the end of the whole process, you can close the side cover and implement the first PC launch, after connecting the monitor and the other necessary periphery.
READ ALSO: Motherboard connectors