

For users who do not want or simply do not need to develop all the subtleties of the Excel tabular processor, the developers from Microsoft have the ability to create tables in Word. Previously, we already wrote about solving a number of tasks from this area, and today we will raise another, simple, but this is no less relevant topic - adding columns.
Add a column to a table in the Word
The need for expansion, or rather, the additions created in Microsoft Word may arise for various reasons, but in the context of our today's theme they are not particularly important. More importantly, exactly how it can be done and which of the available options is the most simple and easy to implement. In order to understand this, it is necessary to consider each of them in detail than we do further.Method 2: Mini panel and context menu
There is a somewhat simpler way to add a new column to a table in Microsoft Word document, besides, it is always available, in whatever the program of the program you are not.
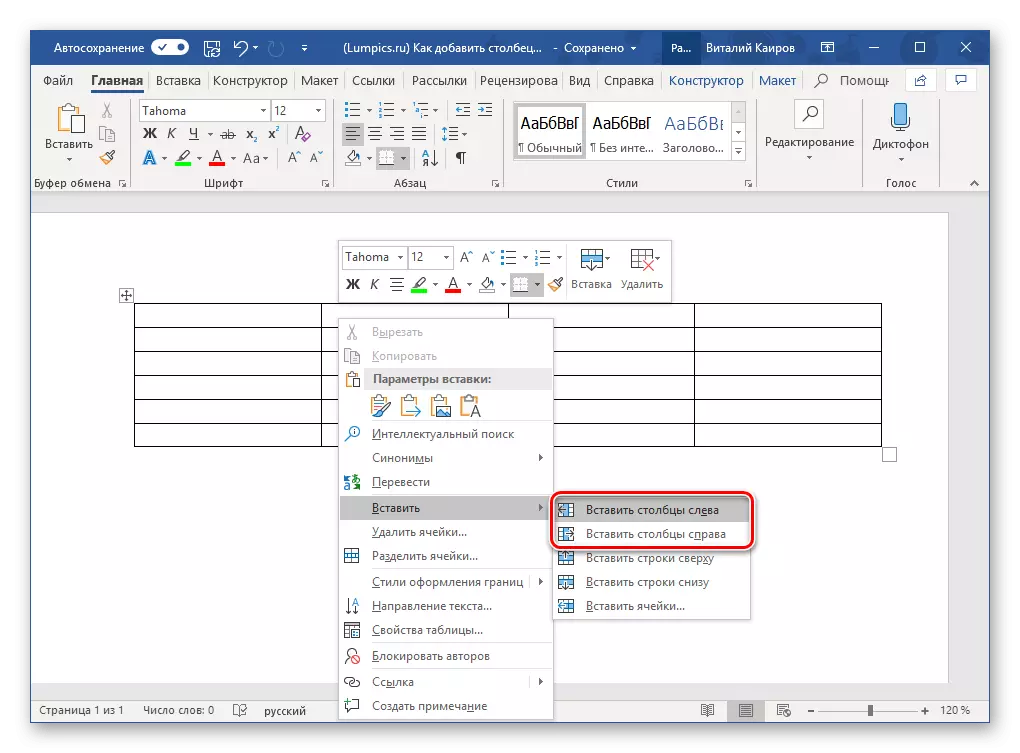
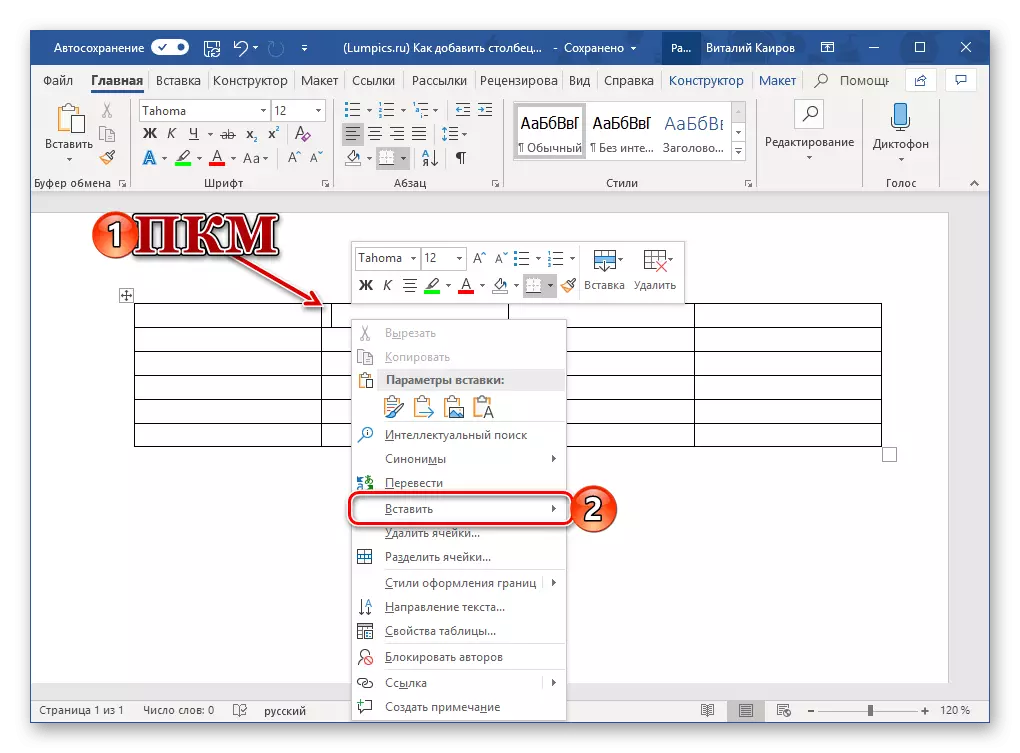
- Right-click (PCM), click in that cell next to which you want to add a column. This action will cause the context menu in which the cursor pointer should be hinged to "Paste".
- Next, from the list of available options, select Suitable, depending on where you want to add a column:
- "Paste the left";
- "Insert right."
- An empty column will appear in the table from the other side that you yourself indicated, but this is not the only quick option for adding it.
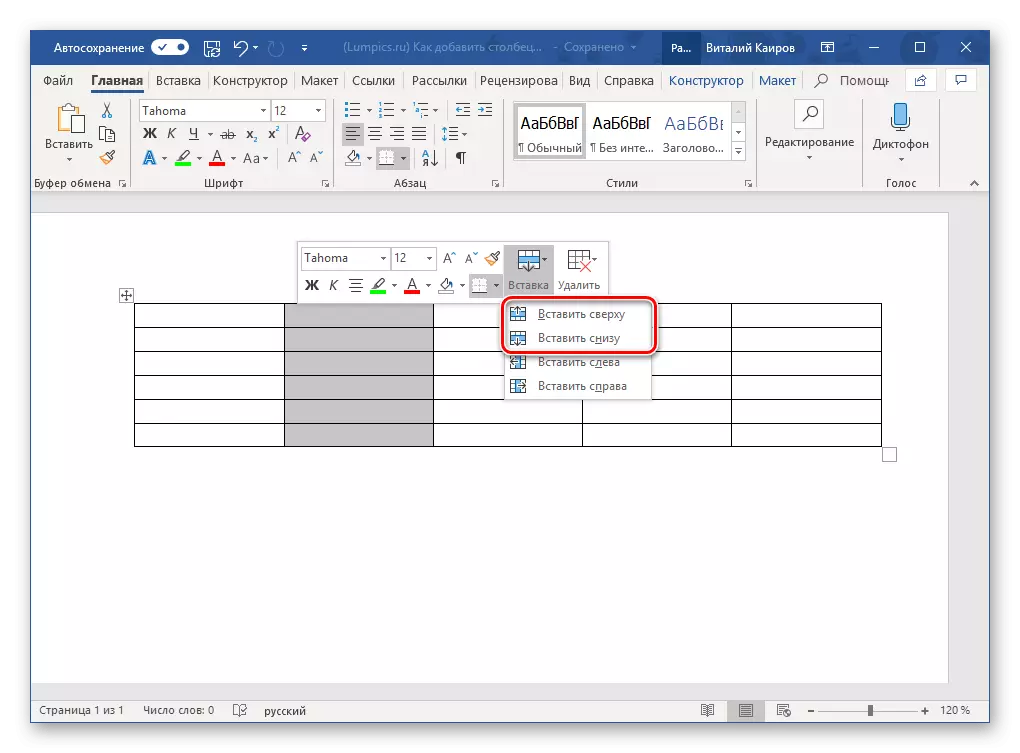
Pressing the PCM in the table cell causes not only the context menu, but also a mini-panel with a set of basic controls.
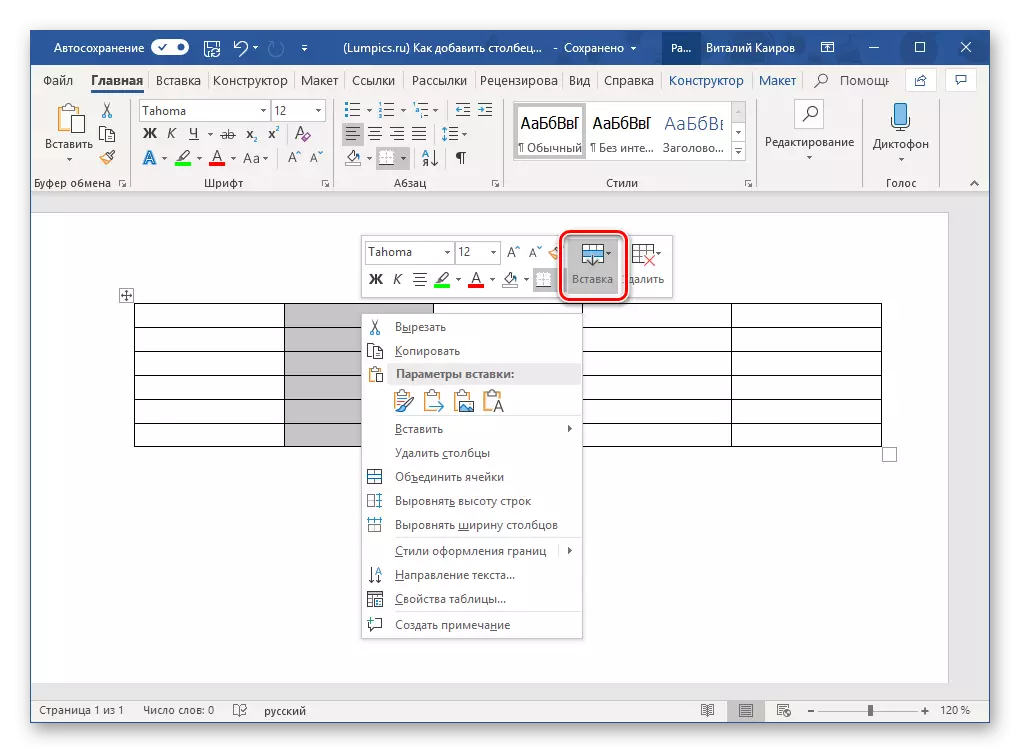
It has a "insert" button, and pressing the LKM on it causes a similar menu with the available options for adding columns and rows.
How two, almost identical options for the same way to use, solve only you.
Method 3: Insert Elements
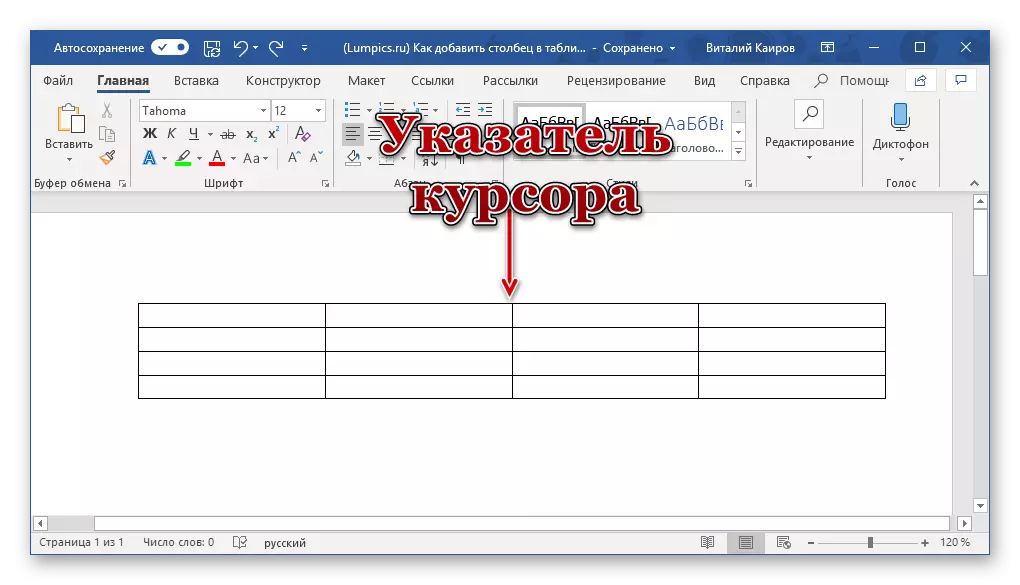
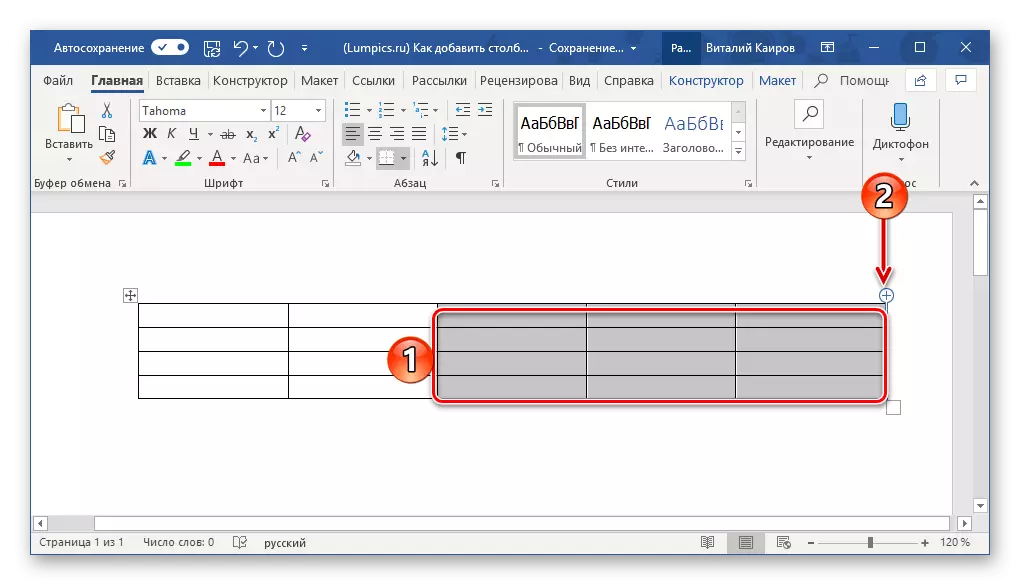
If you bring the cursor pointer to that point of the table, where its external border (frame) intersects with the boundary of the column, you will see what got the name "insertion element" - a small plus sign, causing a circle. To add an empty column, it is enough to click on it by the LKM
Note: On devices with a touch screen, subject to the absence of a mouse and / or touchpad, this feature will not work.
- Move the cursor pointer to the place where the upper border of the table and the border separating the two columns, between which you need to add a new one.
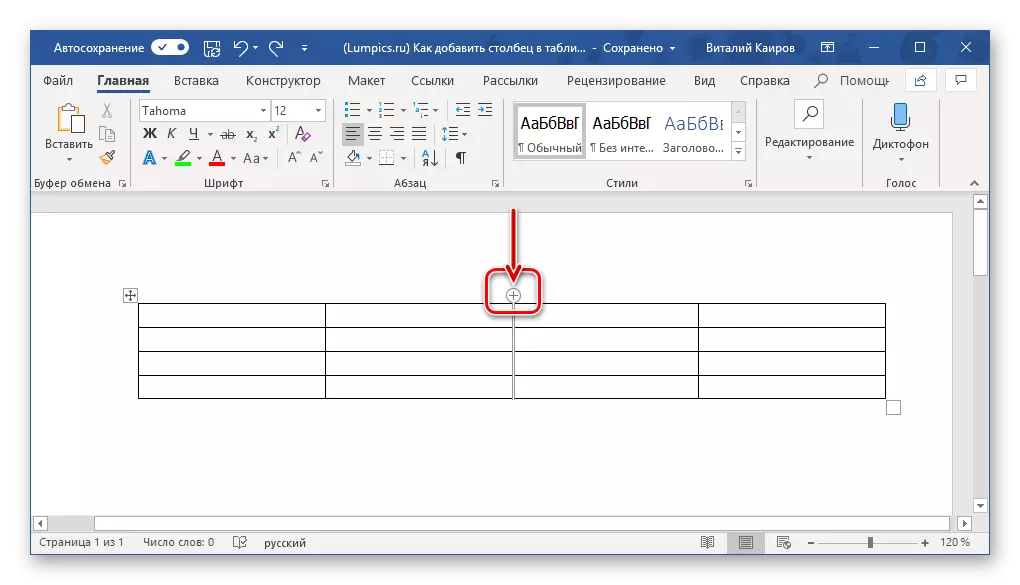
- You will see a small circle with the "+" sign in (shown in the screenshot below). Press the LKM on it to insert a new column in the table.
- If there is such a need, in the same way add the required number of columns.
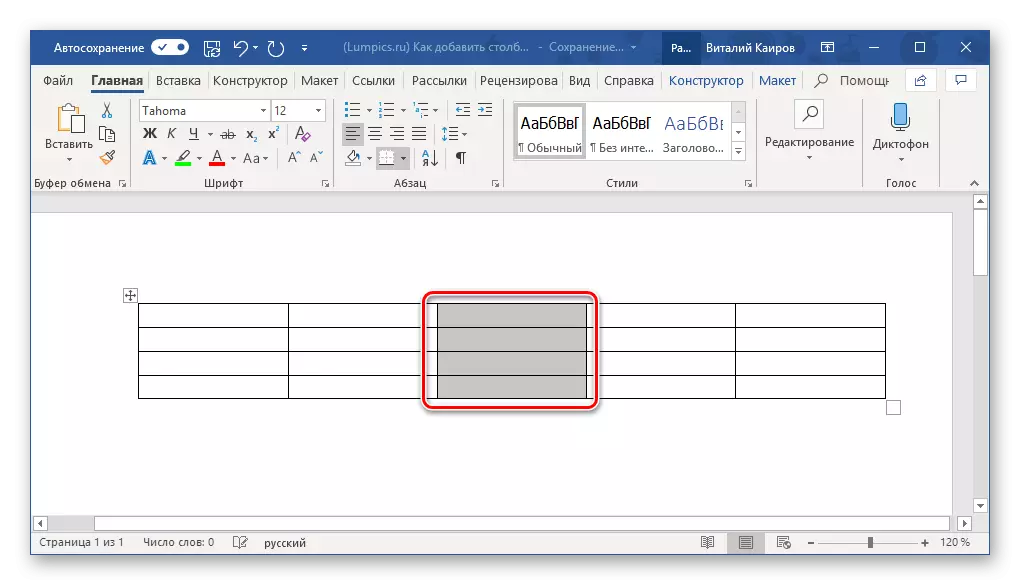
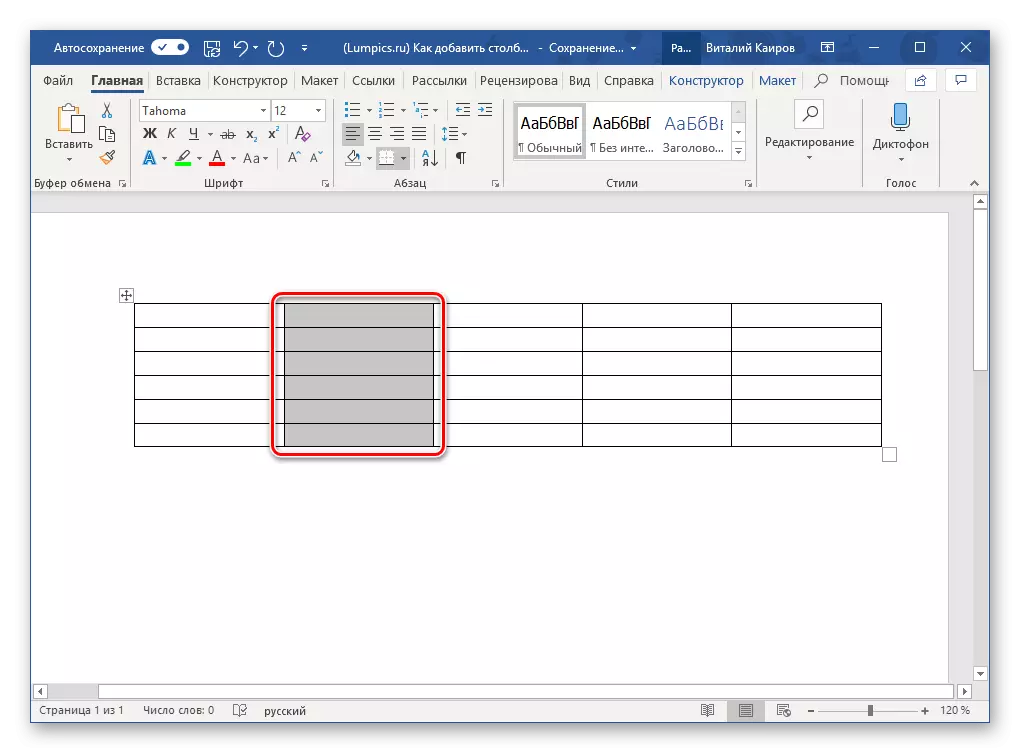
Advice: To insert multiple columns at the same time, before displaying the control, select the required number of columns. For example, to add three columns, first highlight three columns in the table, and then click on the insert control item.
This is probably the easiest and most convenient way to solve our today's task. Obviously, with it, you can insert not only columns into the table, but also lines. In more detail about this and not only written in a separate article on our website.
Conclusion
All the ways to add a column to the table in Microsoft Word are extremely simple and intuitively understandable in their implementation, so just choose the most suitable for yourself.