
The functioning of the Viber application for Windows is possible exclusively by synchronization with the "main" messenger client installed on a mobile device. Data exchange between the application on the smartphone and its clone on the computer is automated and does not require user intervention, but the process may fail. To resolve errors and provide synchronization forcibly, use the instructions offered in the next article.
In general, activation of data exchange between the messenger applications on the Android-smartphone or iPhone and computer is carried out at the time of authorization in Vaibera from Wedund. If this stage was passed by the user, or it states the lack of information from the Viber's mobile client in its desktop version, the synchronization procedure must be initiated again.
How to synchronize Viber on a PC with an application on Android
To restart the process of copying data from Viber for Android to the "Mirror" application, you can go one of two ways.

Method 1: Android-client of the Messenger
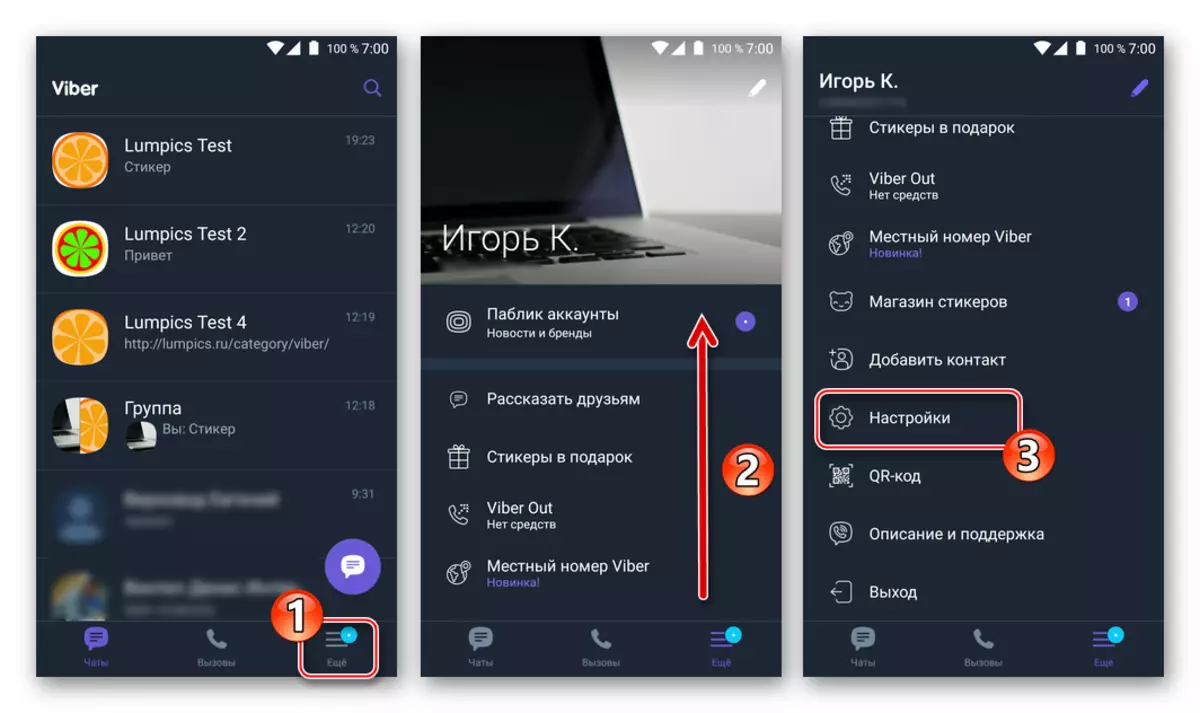
- Run the Viber on the Android device and go to the "More Applications" section. Scroll through the list of options and open the "Settings".
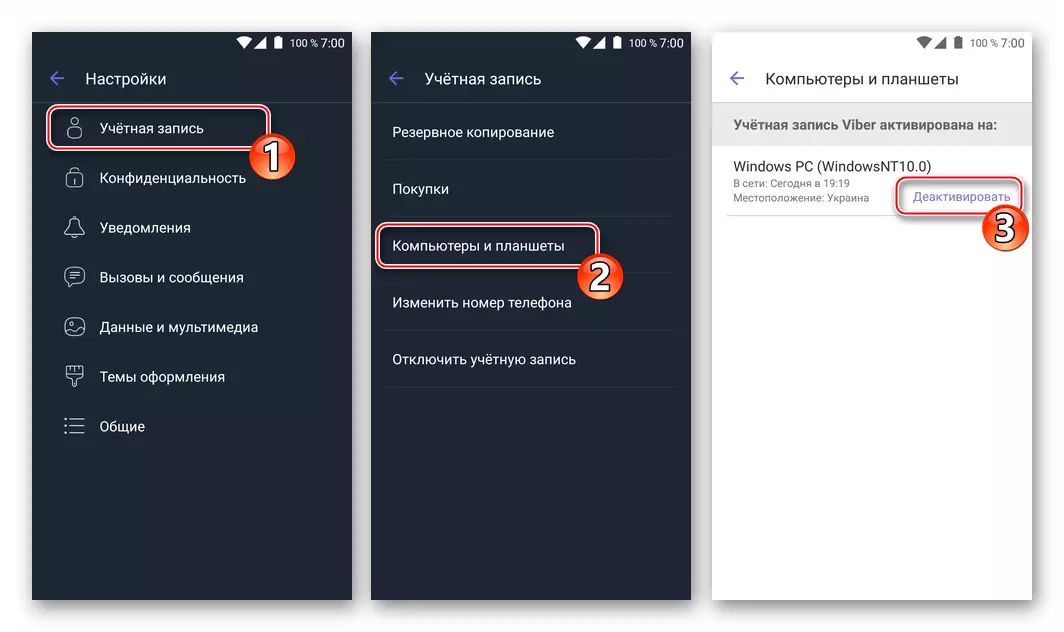
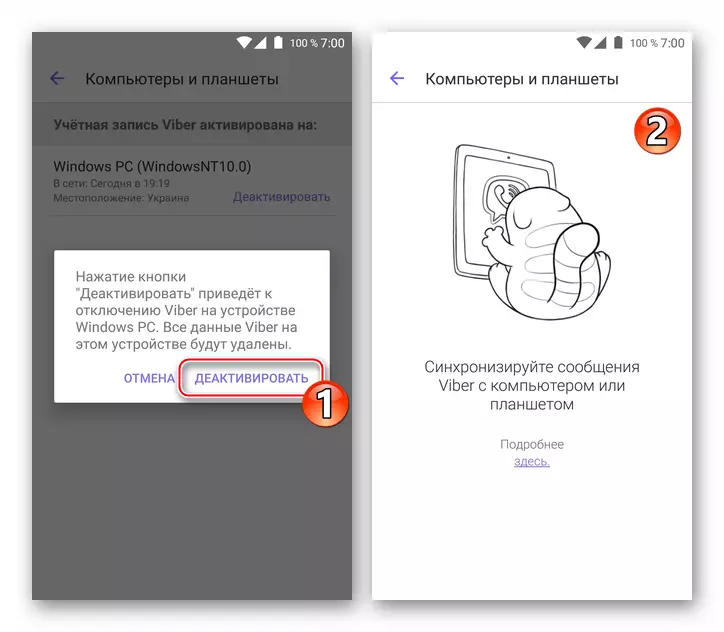
- Tap "Account", then go to Computers and Tablets. In the area containing the inscription "Windows PC", tap "Deactivate".
- Confirm the request received by clicking on "deactivate" and then go to the Messenger on the computer.
- Click "Continue" in the window-notification window of the need to start the registration wizard, demonstrated by the Weber's desktop application.
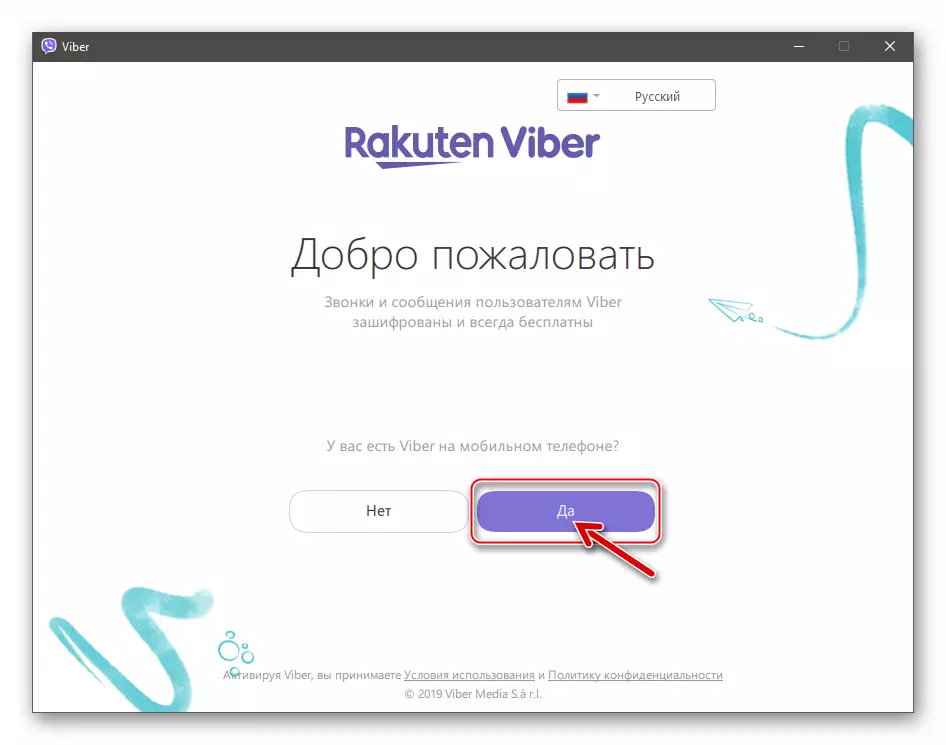
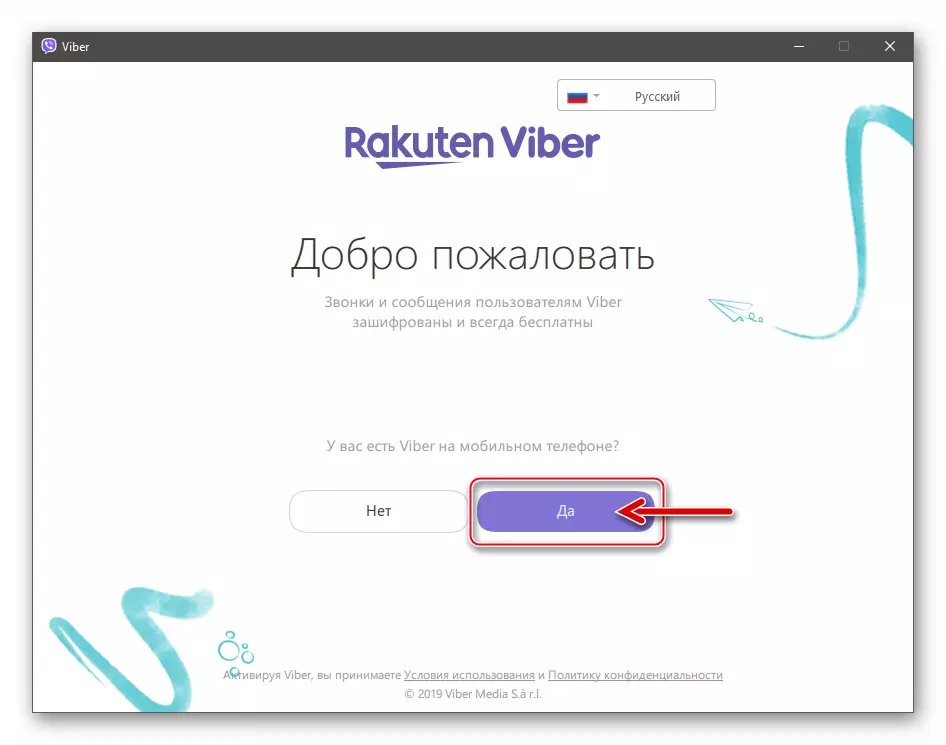
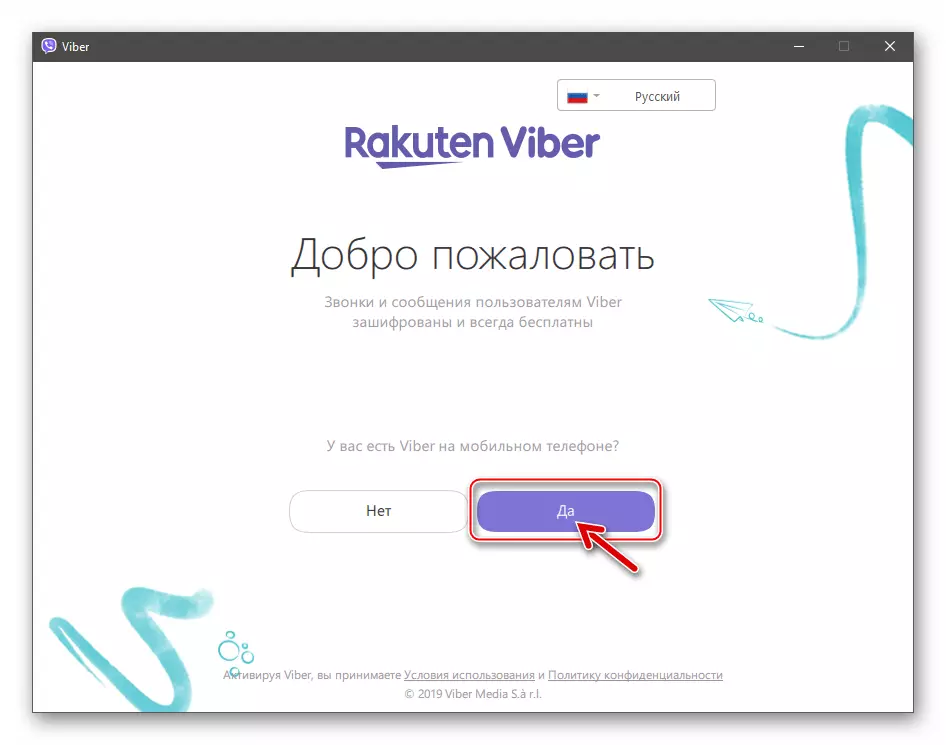
- After restarting the program, the Window "Welcome" window will appear, click here "Yes."
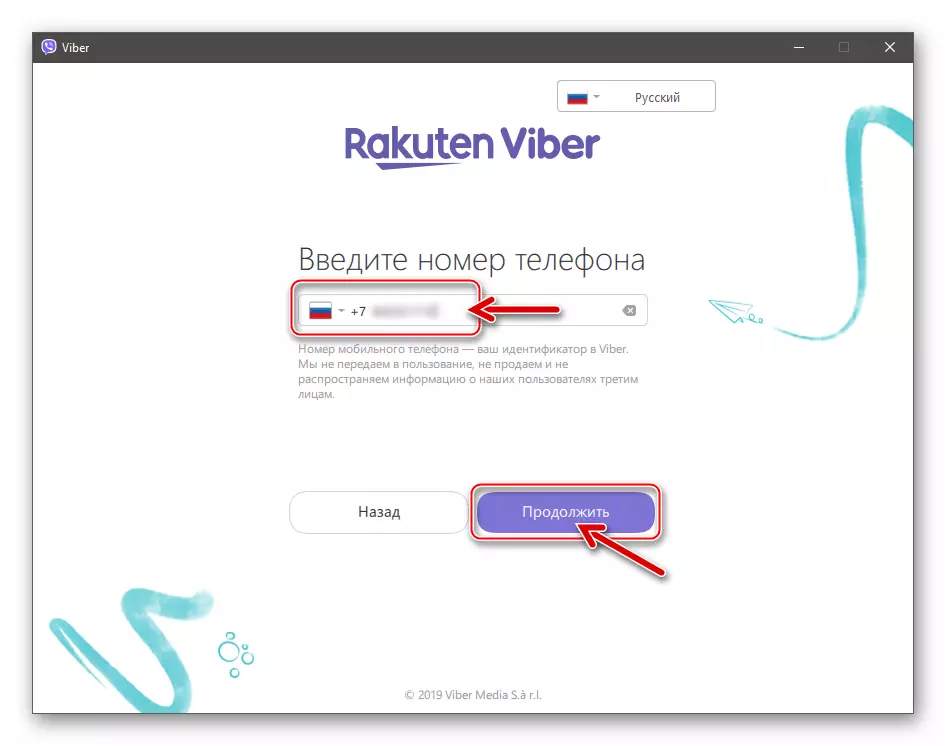
- Making sure that the phone number entered in the application corresponds to your account in the messenger, click "Continue".
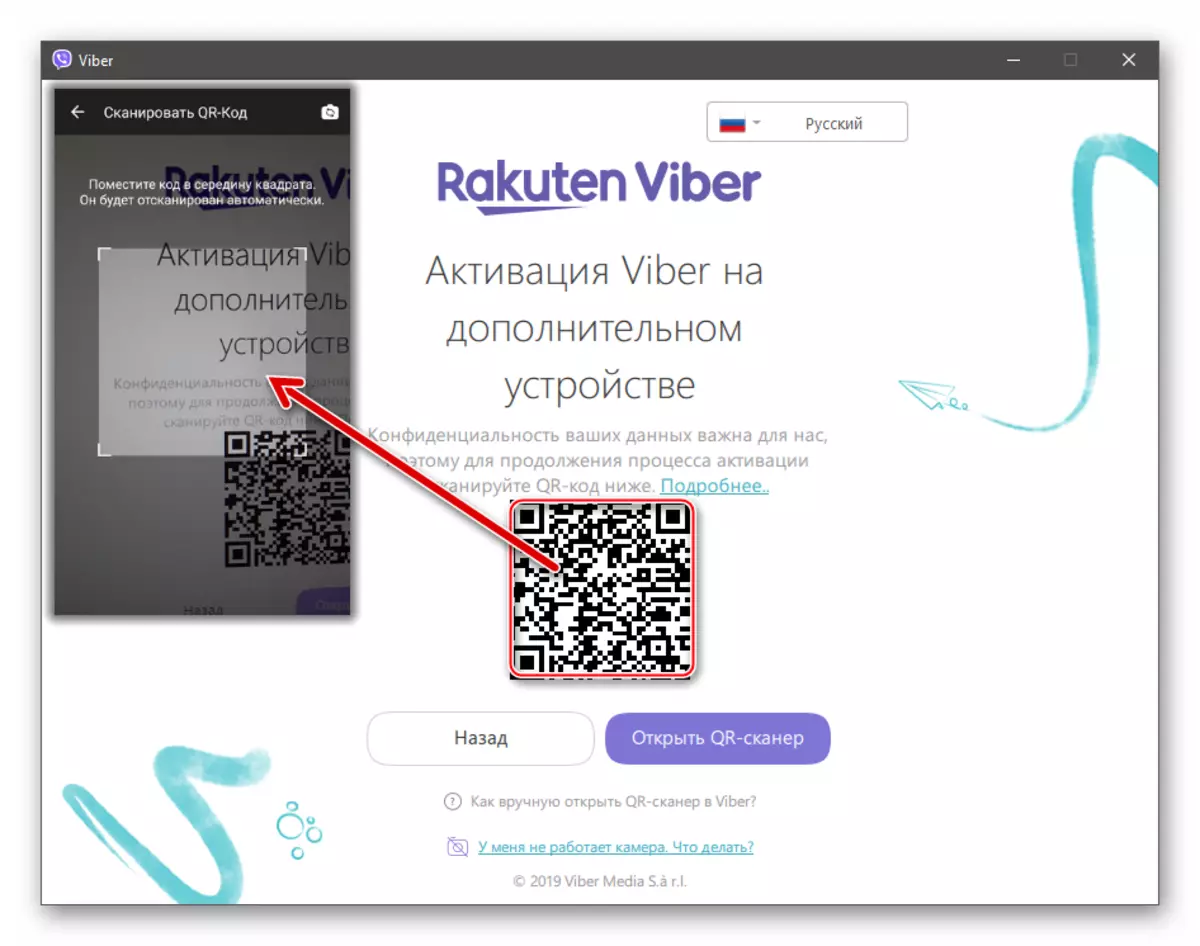
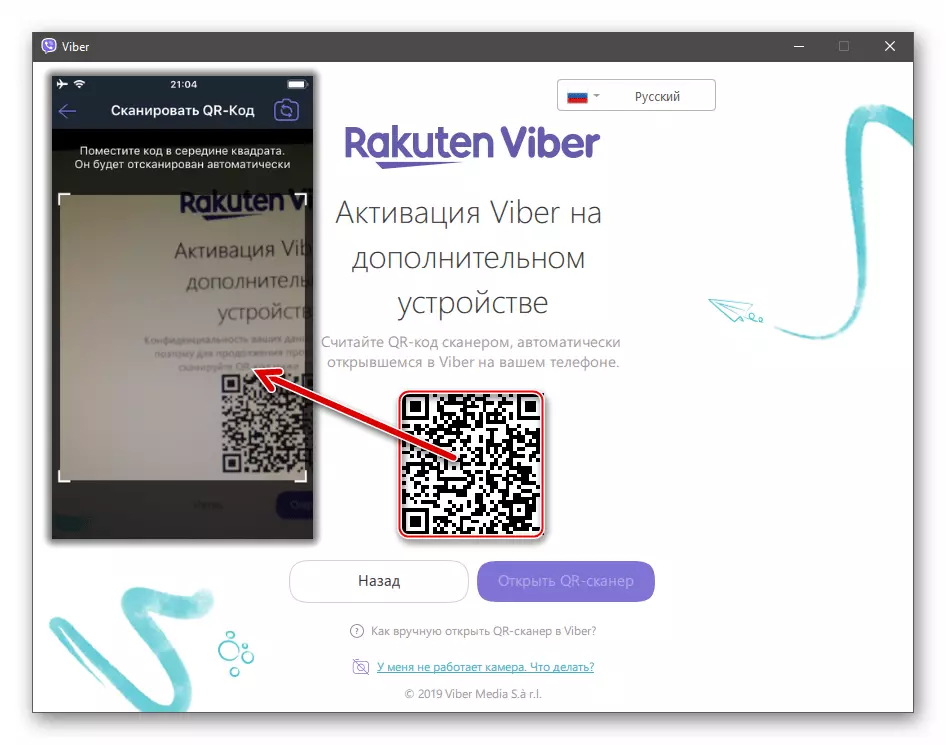
- Using a smartphone, scan the QR code displayed on the PC screen - the camera for this manipulation will open on the mobile device automatically.
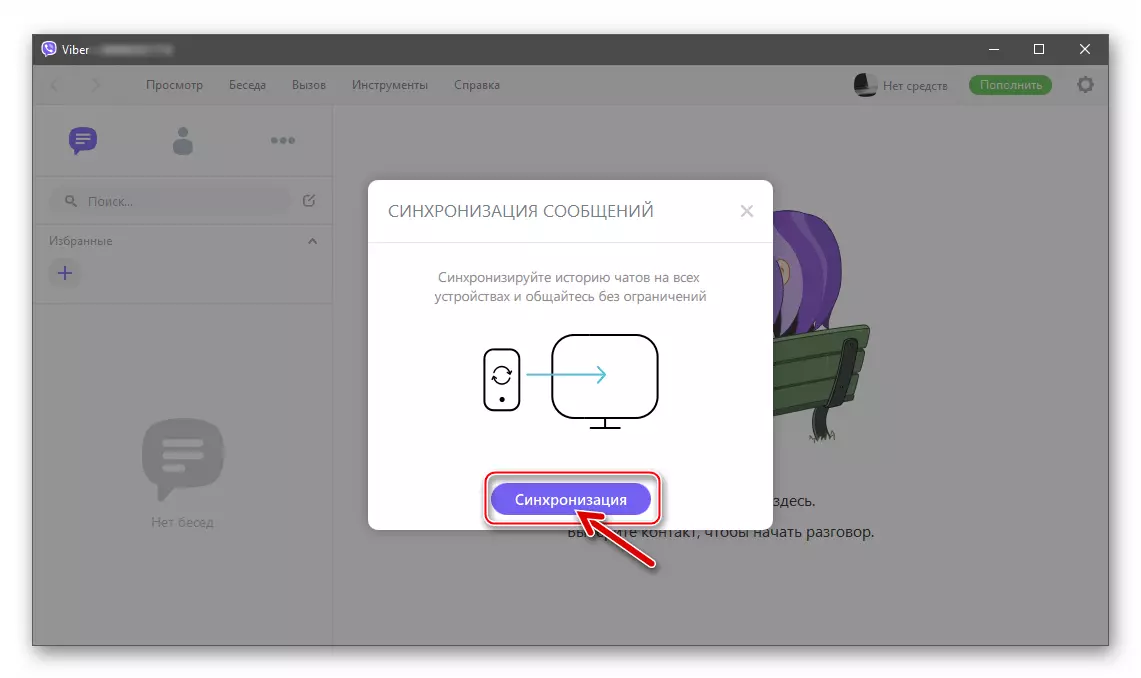
- Click "Synchronization" in the Vaiber window for windows.
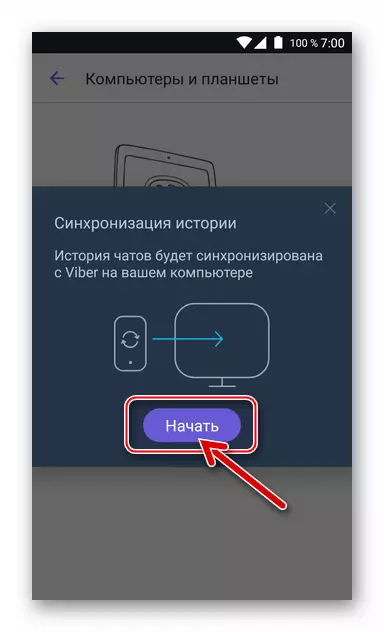
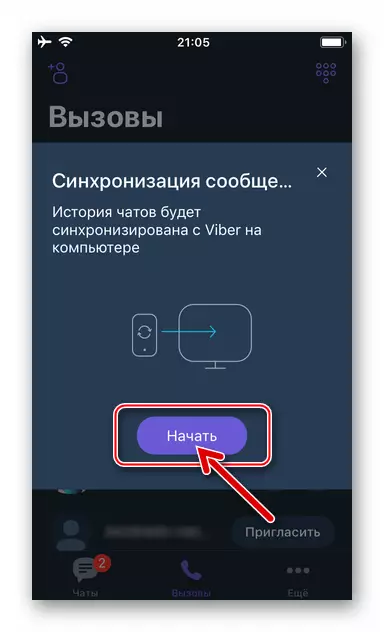
- Next, tap "Start" in the History Synchronization window, displayed on the smartphone screen.
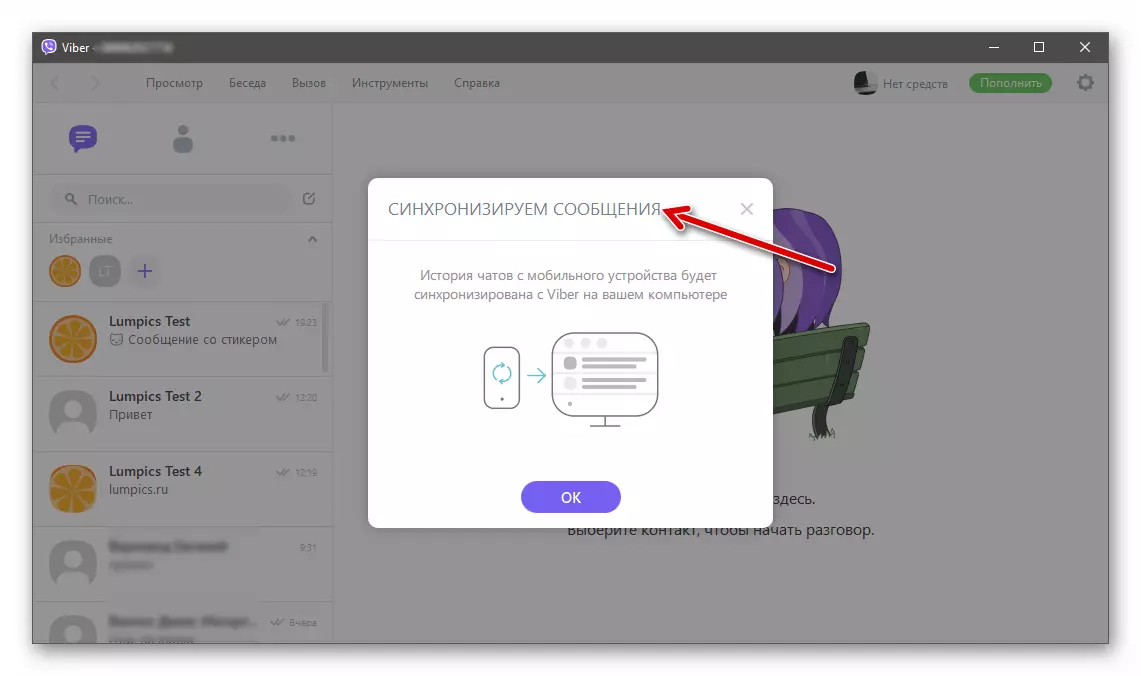
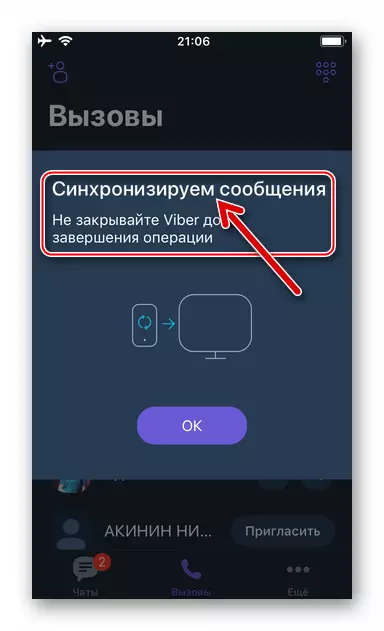
- Expect the completion of the procedure - while the windows telling about the flow of the data exchange process will disappear from the screens of the phone and desktop.
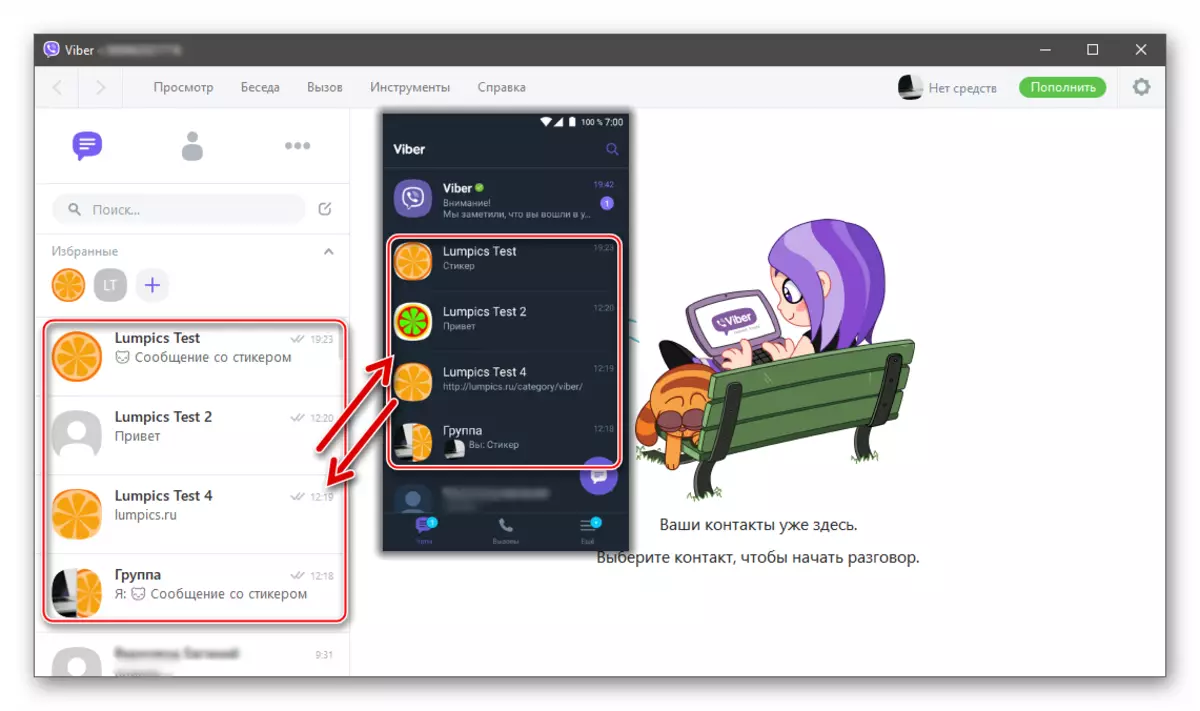
- After a mobile client and desktop application Viber will take its normal form, the synchronization procedure is considered completed.

Method 2: Customer of Messenger for PC
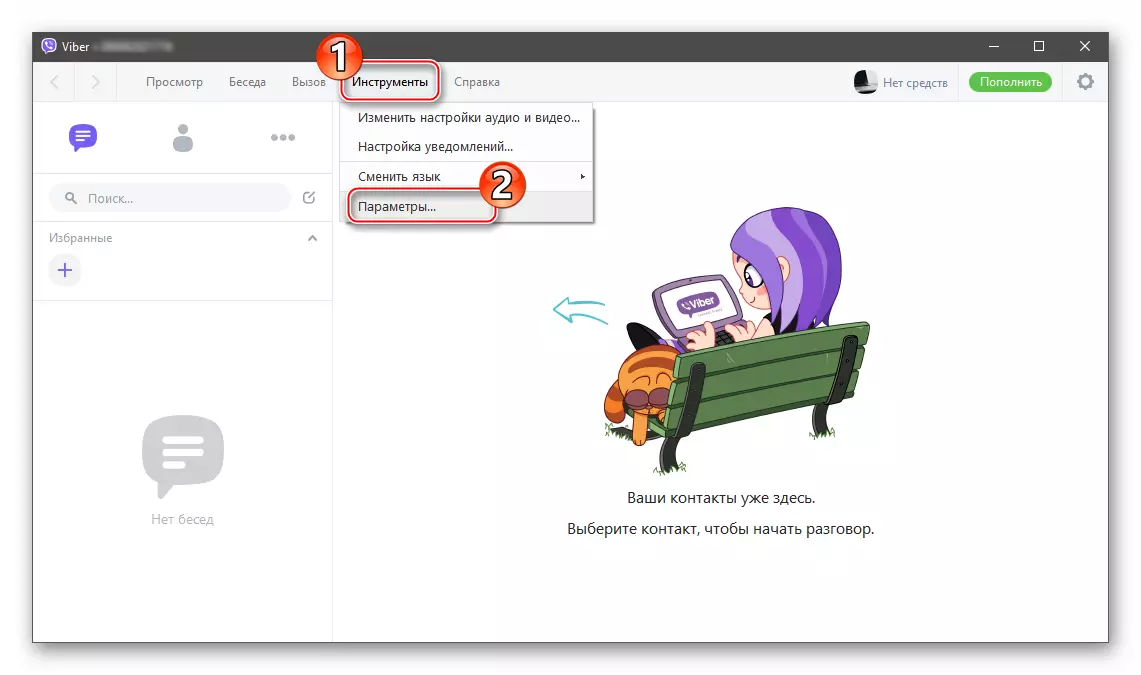
- In the Viber application on a computer or laptop, call the "Tools" menu and open the "Parameters" from it.
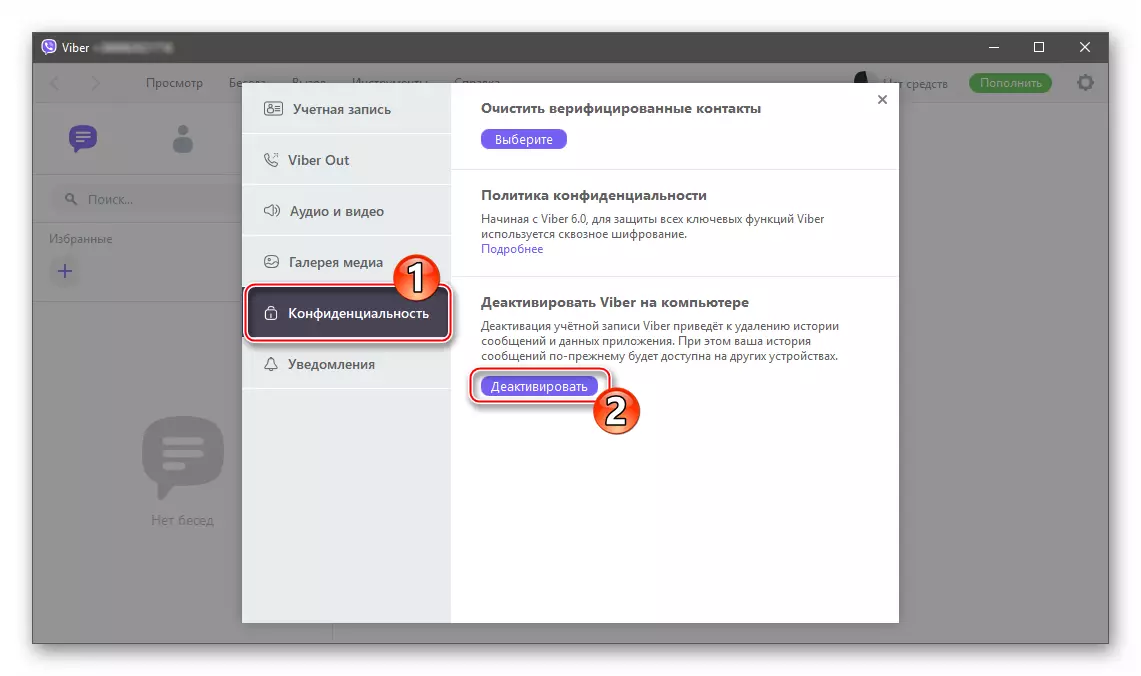
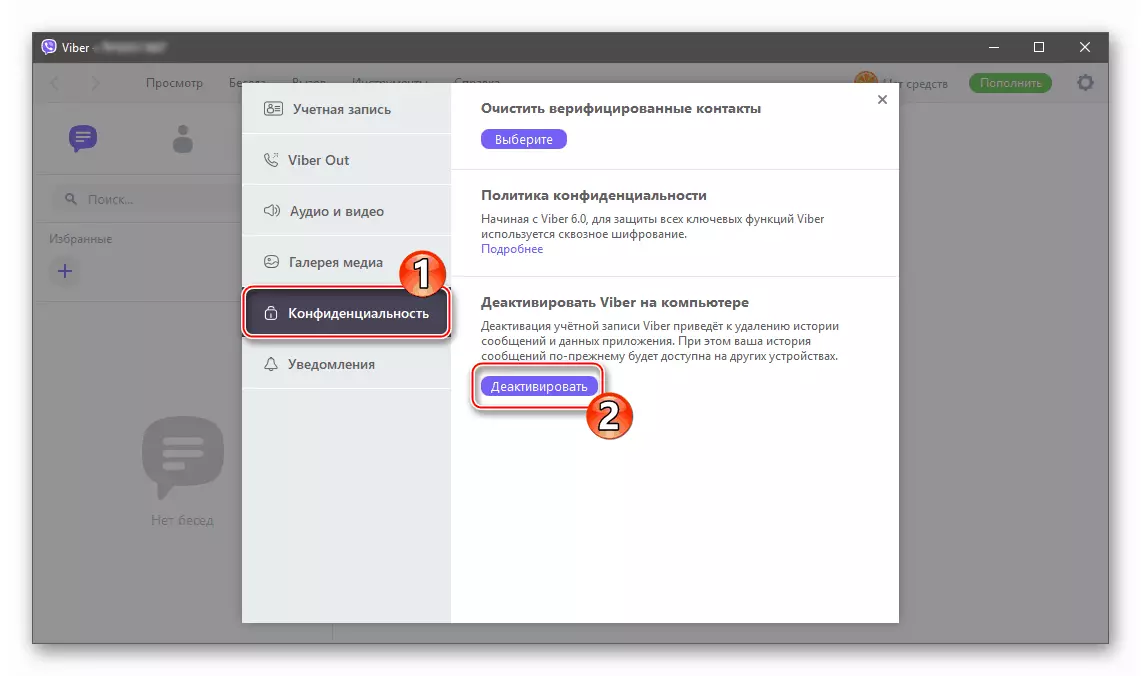
- Click on "Privacy", and then click the Deactivate button.
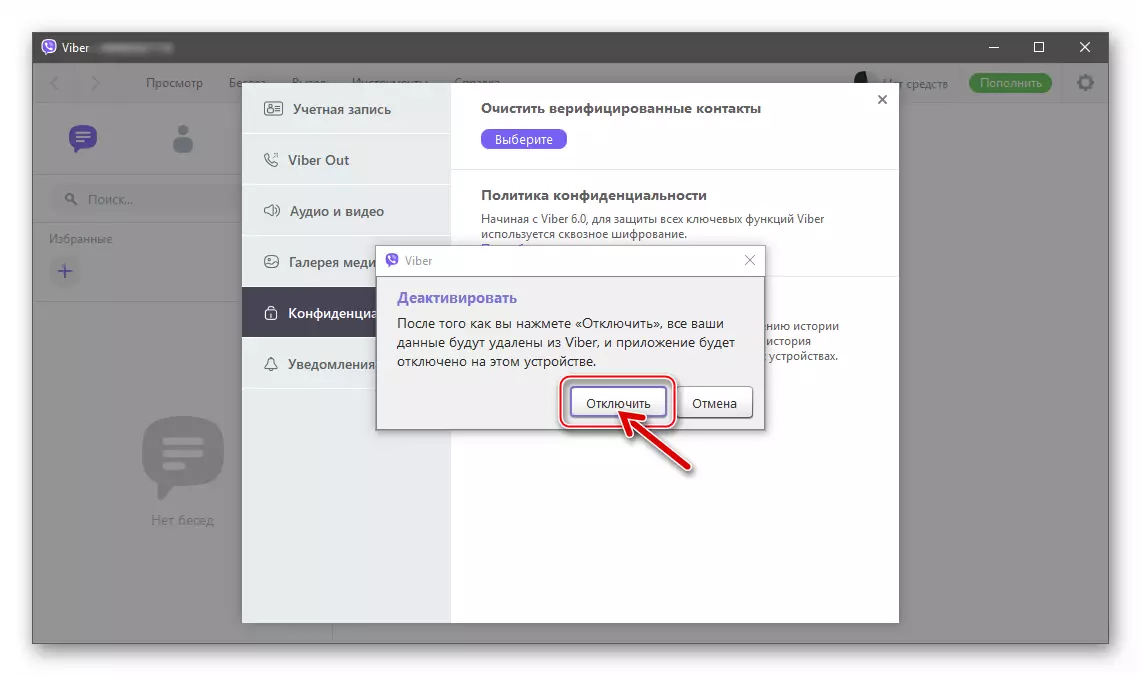
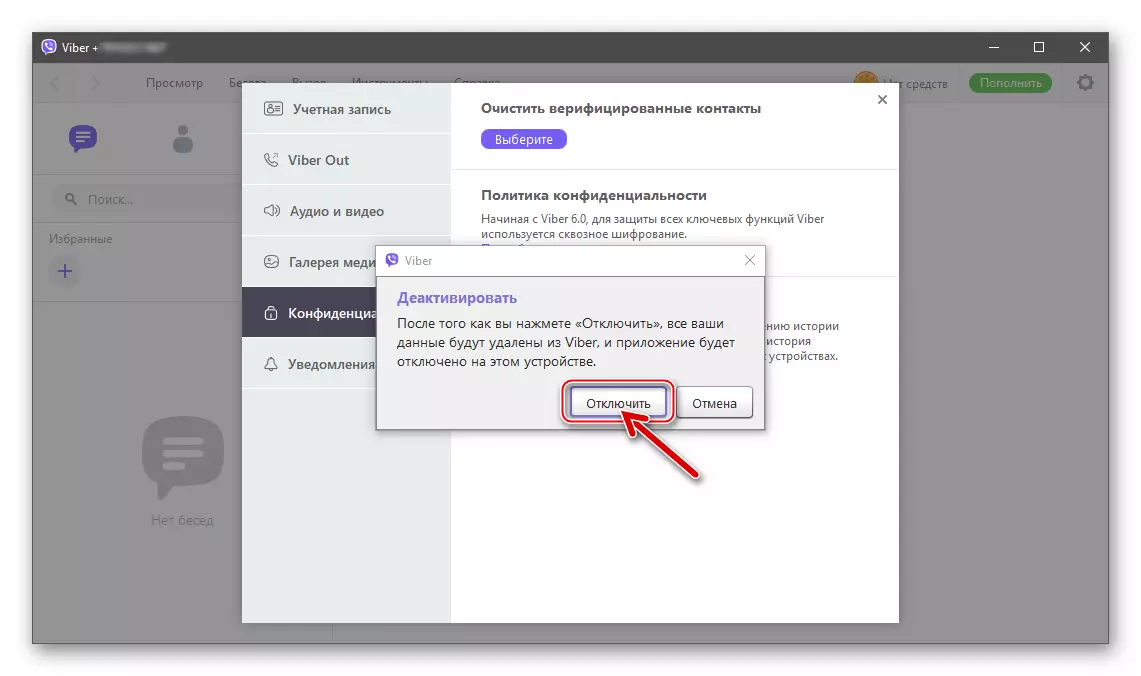
- Confirm the output request received from the Messenger account on your computer, clicking "Disable".
- Next, the Viber client for the PC will automatically restart, after which you need to execute items 5-11 of the previous instruction from this article.
How to synchronize Viber on a PC with an iPhone application
To initiate a restart process of copying data from Viber for iPhone to the client on a computer in the same way as in the case of the Android described above, you can use the mobile application or the Messenger option for Windows.

Method 1: IOS-client of the Messenger
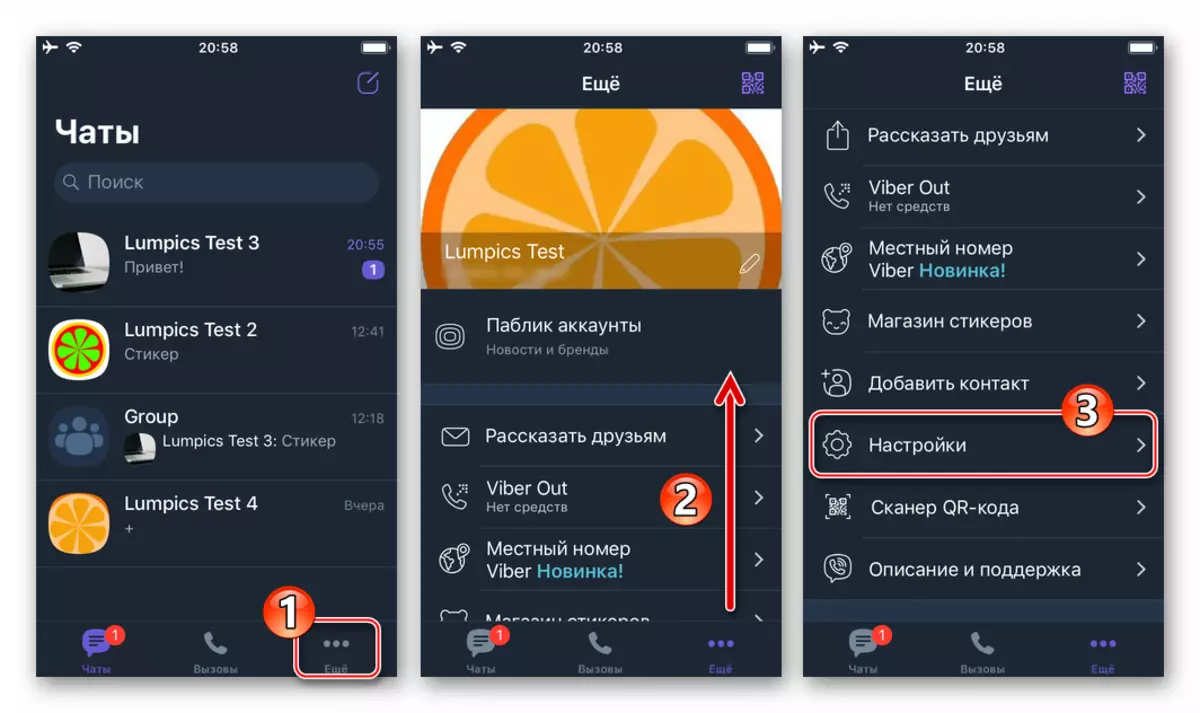
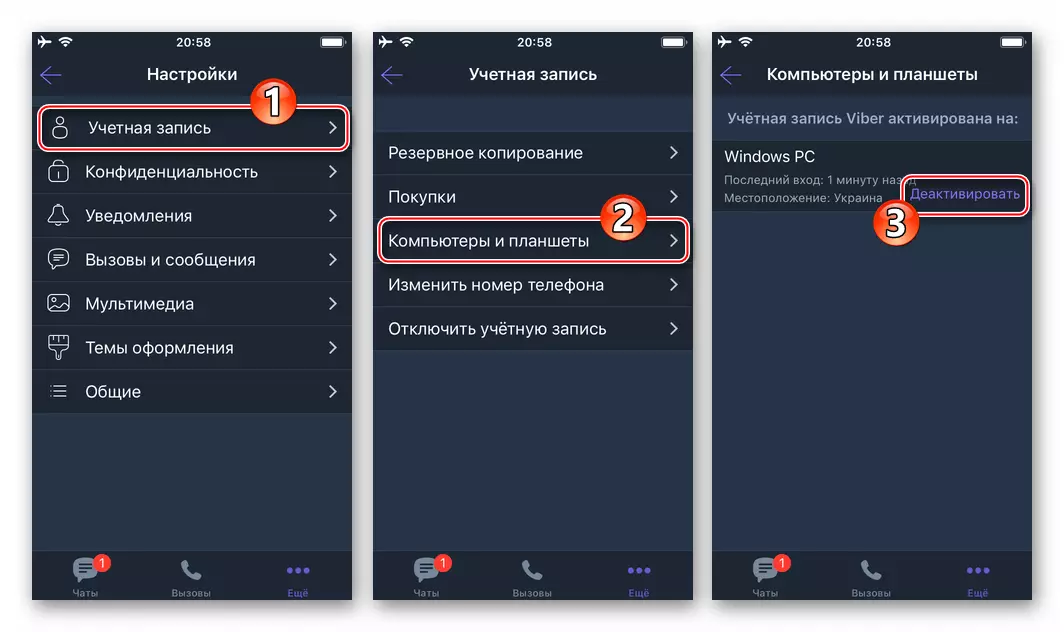
- Run the messenger on the iPhone, and then go to "Settings" from the "More" application applications.
- Touch "Account", and then log in to the "Computers and Tablets" section. Tap "Deactivate" in the area containing the name "Windows PC".
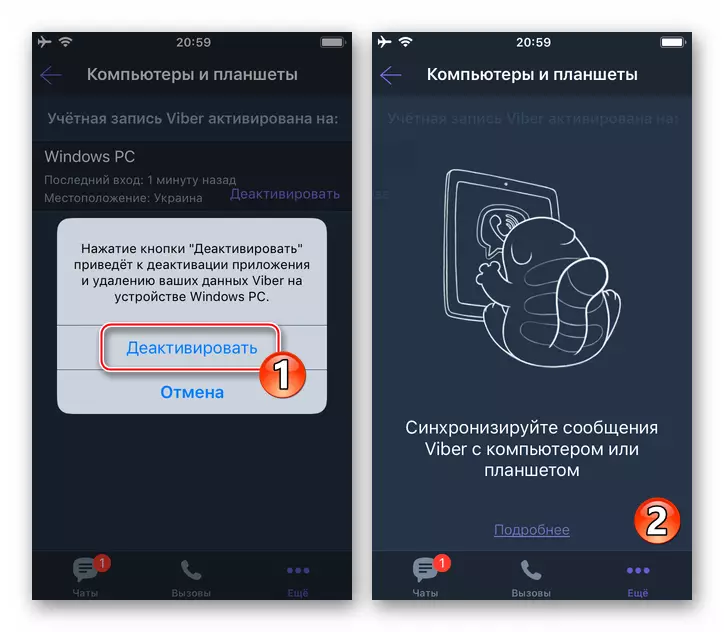
- Confirm the system's request by clicking "deactivate" in the window on the iPhone screen, after which go to the Messenger application on the computer.
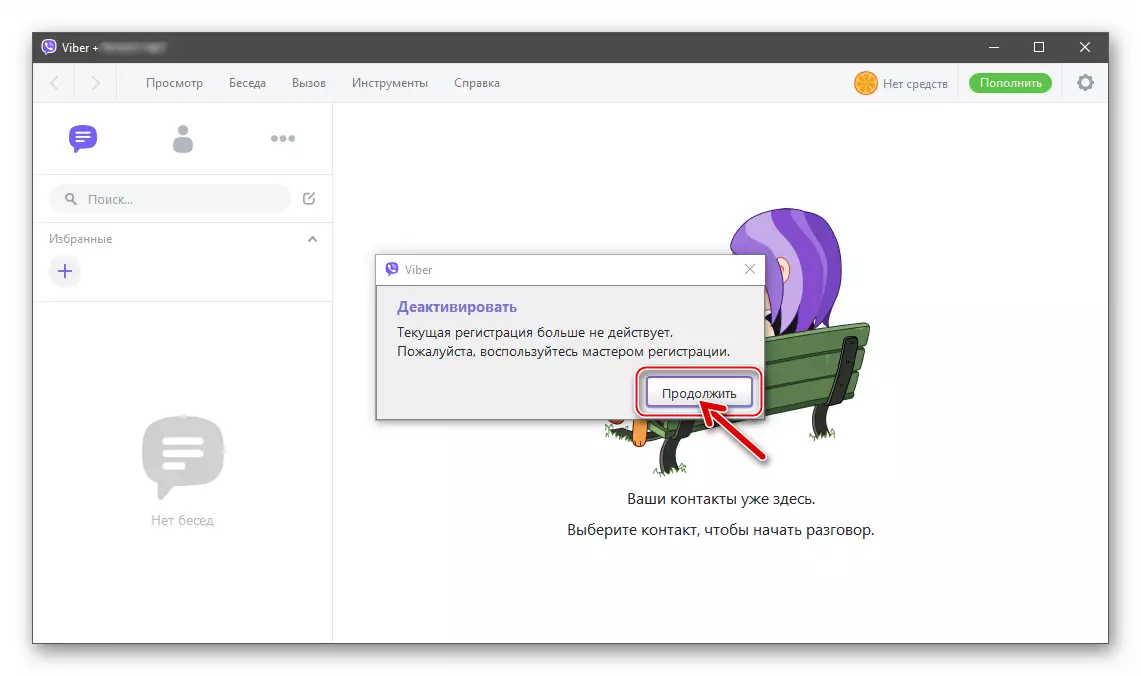
- Click "Continue" in the Wiber Window Client window, telling about the need to restart the registration wizard in the messenger.
- Click "Yes" in the welcoming window of the Messenger for Windows.
- Make sure the phone number is correct, which is your account in Viber, click "Continue".
- Using a camera that automatically running on the iPhone, scan the QR code shown on the PC / laptop screen.
- Click "Synchronization" in the Viber for Windows.
- Tap "Start" in the "Synchronization of Messages" window, displayed on the iPhone.
- Expect the completion of the data copying procedure without closing the mobile and desktop clients of the messenger.
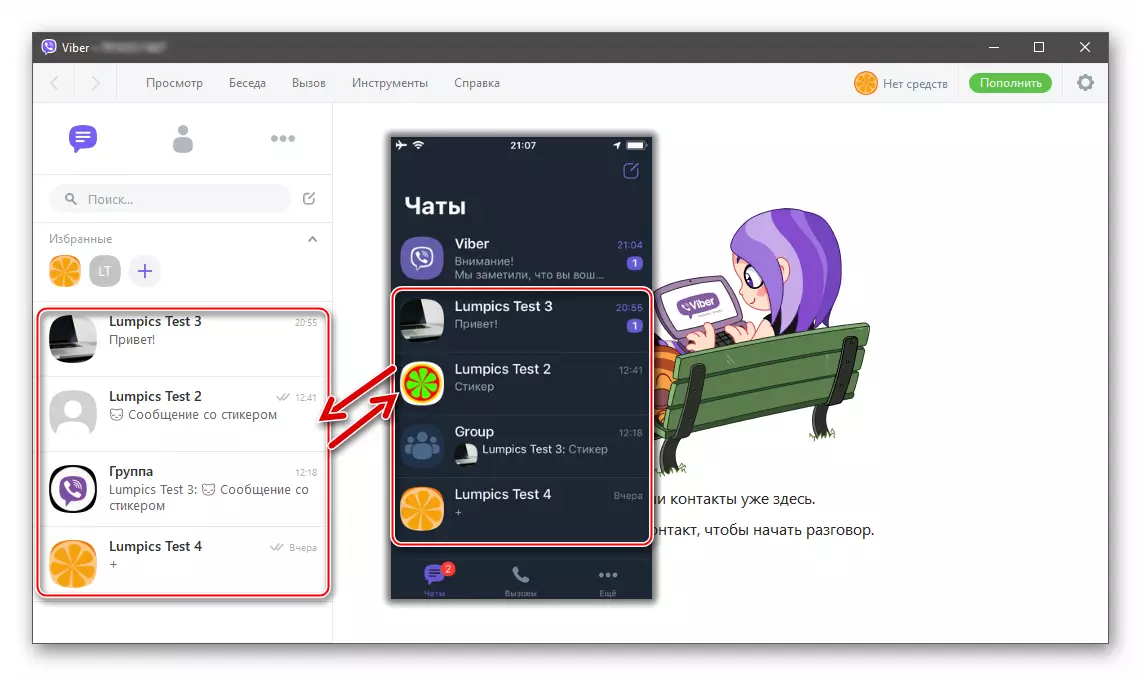
- At the end of the copy process, you can make sure that the operation is effective - all chats from the messenger on the iPhone are synchronized and are displayed now in the Viber window for PC.

Method 2: Customer of Messenger for PC
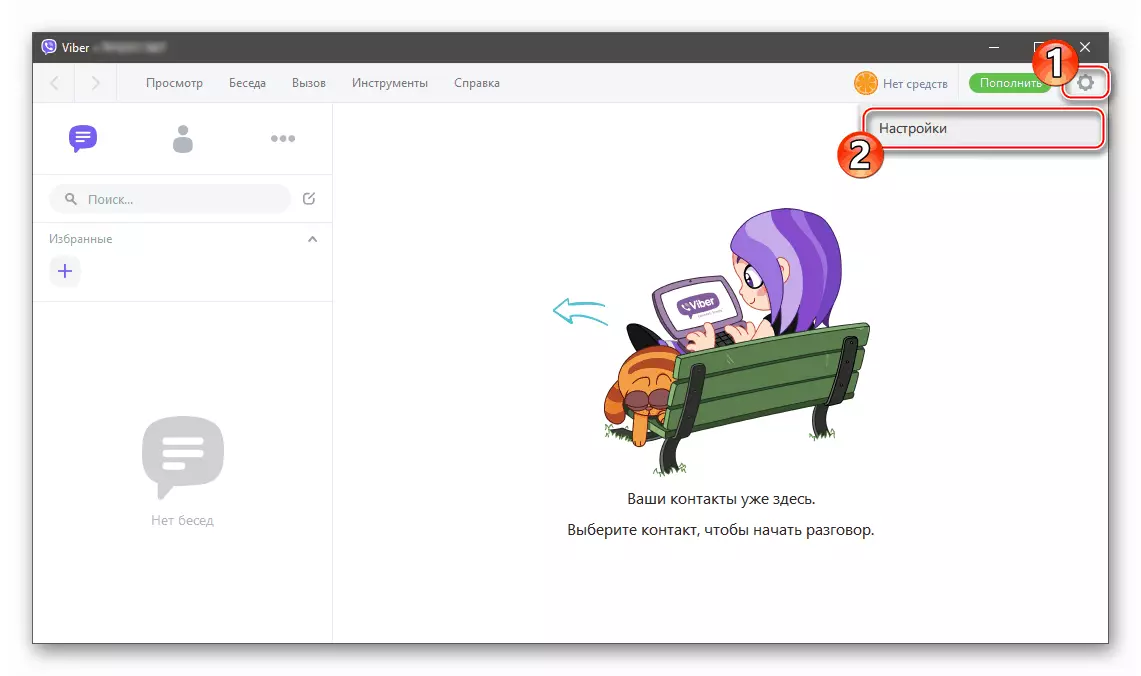
- Open the Vaiber in the Windows environment and click on the gear in the upper right corner of the application window. Next click "Settings".
- Go to the "Privacy" section and click "Deactivate".
- Click "Disable" in response to a system request for an outcomes from the Messenger account on a PC.
- After the automatic restart of the desktop wiber, follow the previous instructions of the previous instruction from this material, that is, log in to the Windows version of the messenger re-and allow it to synchronize with the client on the iPhone.
On this, our article comes up to its completion. As you can see, restart the process of synchronizing information between the computer version of the Viber messenger and its variant for the mobile OS is completely simple.