
In almost every active user, printing equipment sooner or later has a need to check your product for print quality. However, few people know that it is not at all necessary to pick up various documents and independently test them, because the developers are embedded in their devices the function of test printing, which will be discussed further. We want to show two available methods of performing this operation and the third alternative version of the device's performance.
Check the printer for print quality
Test printing implies a launch of a special document in which areas with various images, patterns and symbols are contained. The display quality of each area and will show the state of the device, and will also help determine possible malfunctions or problems with specific cartridges. We suggest familiarizing yourself with all possible options, and only then go to the selection of the most suitable.Method 1: Key combination on the printer
Sometimes there is no possibility to connect the machine to the computer and start printing from there. Especially for such cases, the developer proposes to use a key combination to send a test document to print, which is already saved in advance in the permanent memory of the printer. On each device, this is done differently, which you need to read in the instructions. Let's take for an example HP P2015.
- Connect the power of the device and leave the printer turned off. Load the A4 sheet into the paper receiver.
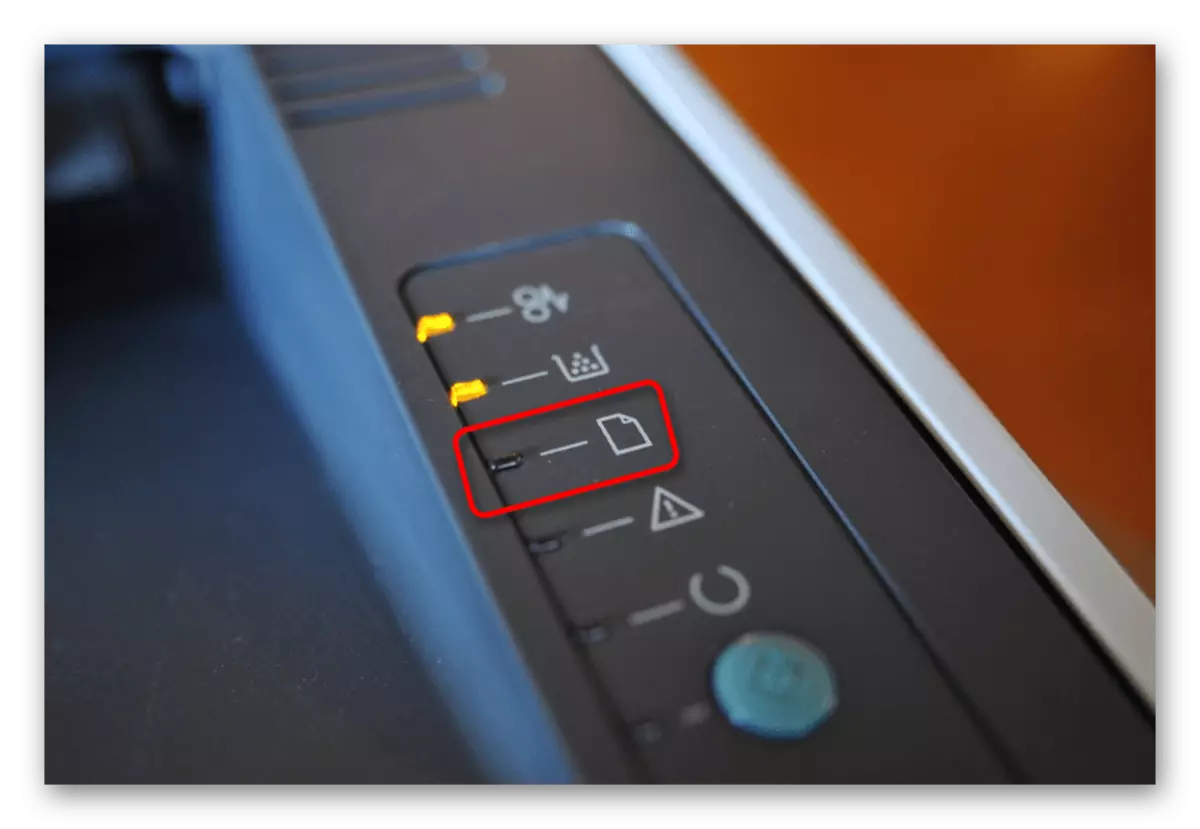
- If it is turned on, press the power button and expect a complete shutdown. Hold the paper button, then press the power button to turn on the device. Release both buttons only after complete inclusion.
- Expect the print page to be completed. At the output you will get about this result as you can see in the image below.
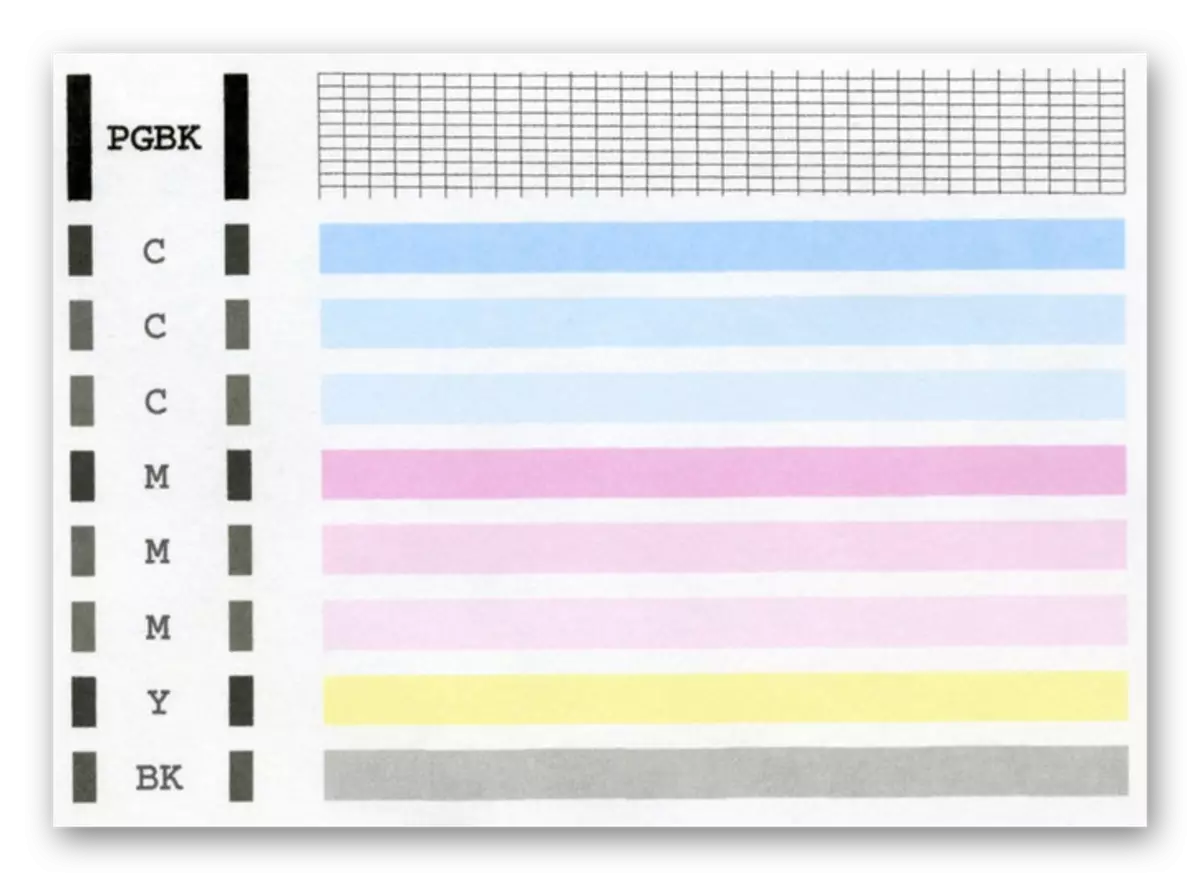
Above, we have already said that each model has a combination of buttons different, so before clicking, you must read the manual-running manner. Relieve yourself from the result obtained to find problems printing or verifying the correctness of the device.
Method 2: Built-in Windows
The Windows operating system has special sections where the control of all connected peripherals is performed, including printers. Depending on the version of the OS version, the selection of the menu to start printing the test page will be different.
Option 1: Menu "Parameters"
In Windows 10, a new menu called "Parameters" was added, where many a variety of settings and tools were made. It has a separate menu by interaction with printers and scanners.
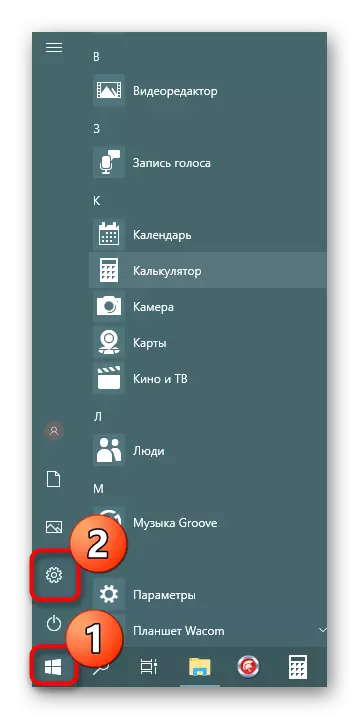
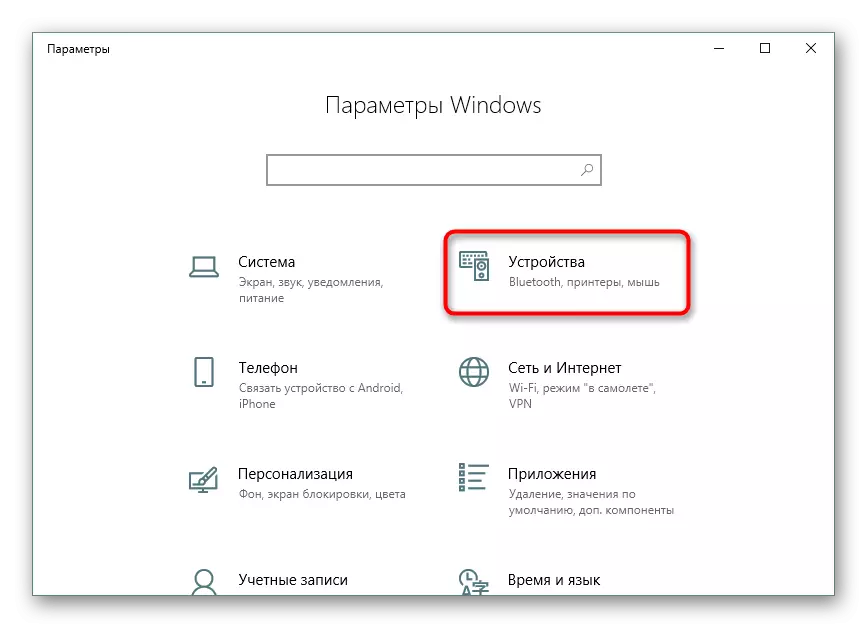
- Go to "Parameters" through the "Start" by clicking on the gear icon.
- Next, select the "Devices" section by clicking on it with LKM.
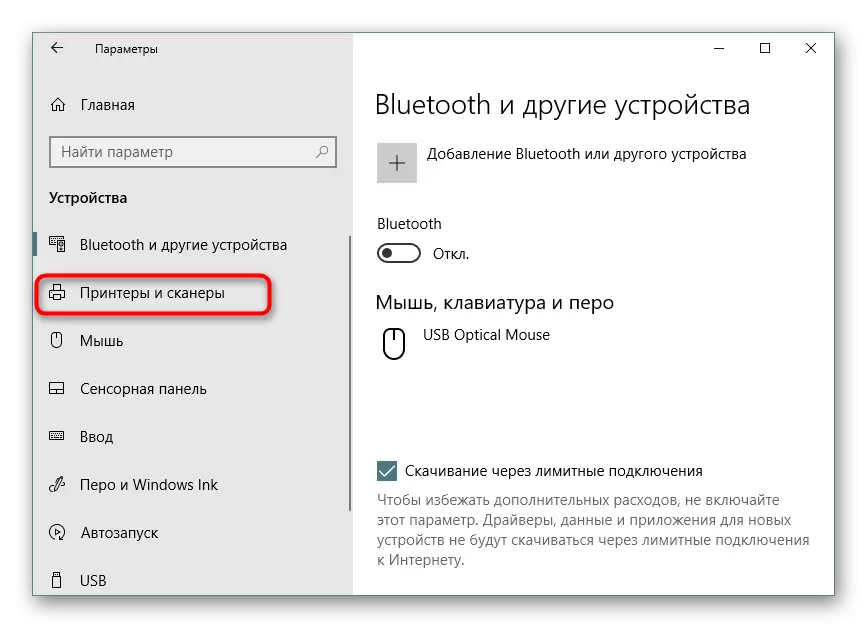
- Move through the left panel to the category "Printers and Scanners".
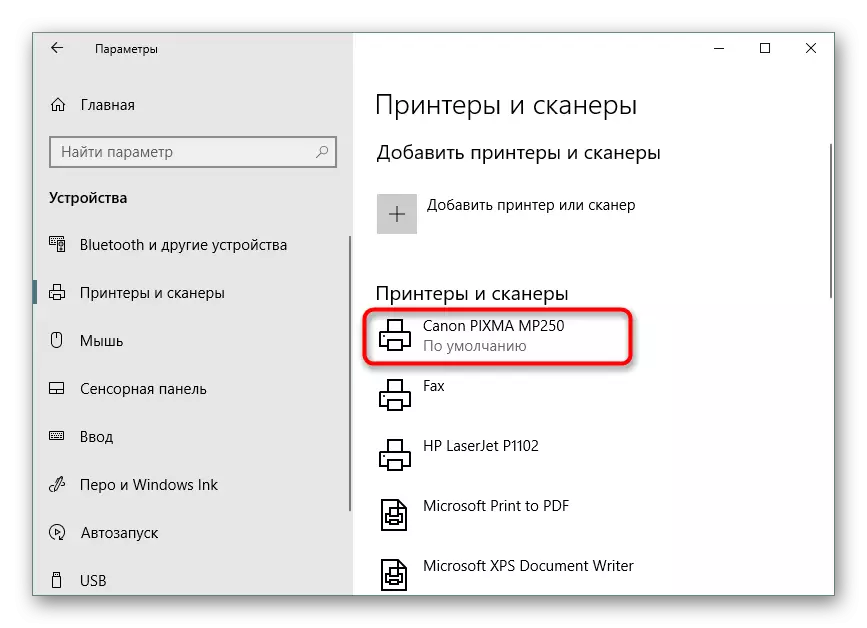
- Here is a single click LKM, click on the printer used.
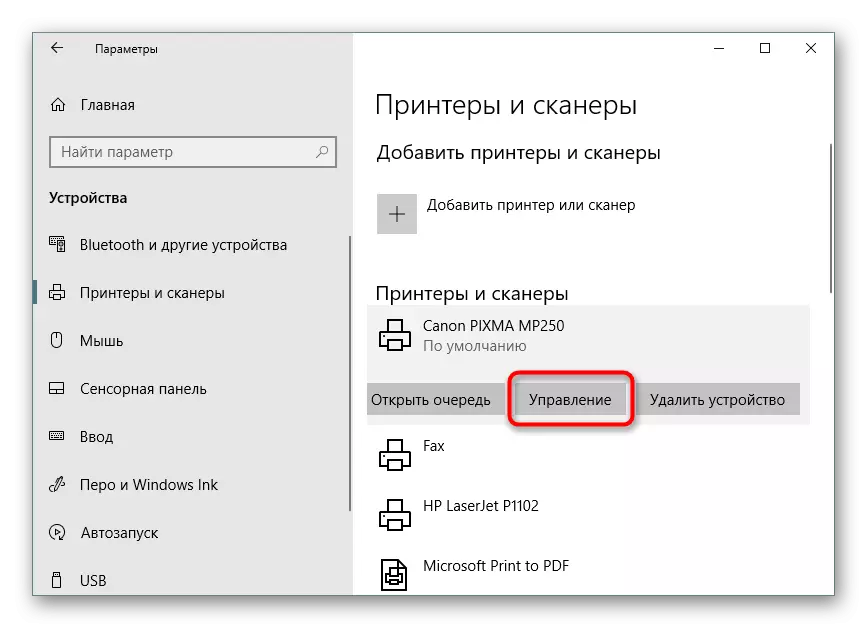
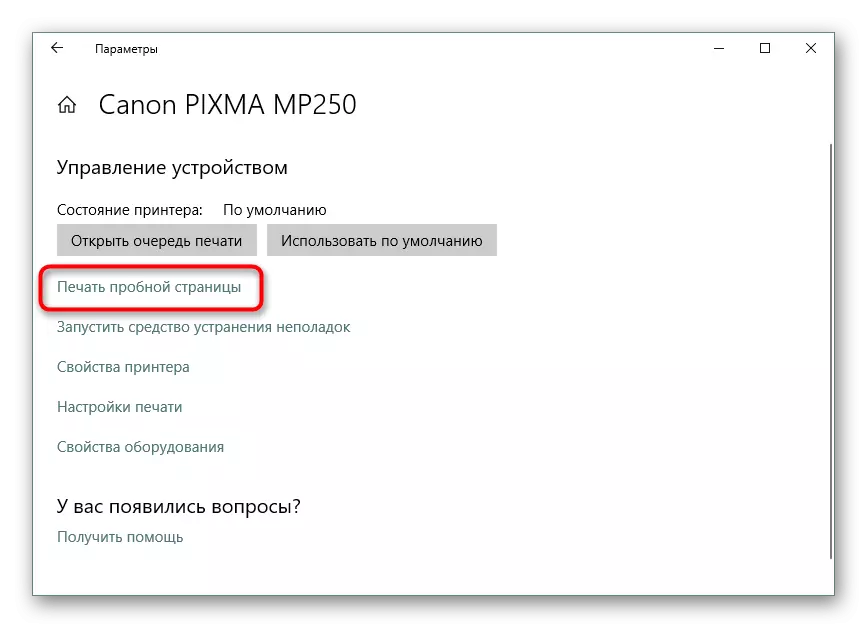
- Go to the "Management" menu.
- Run the test page printed.
However, not all users have moved to the latest version of OS from Microsoft and now use popular Windows 7 for a number of reasons. Owners of this platform will have to resort to another leadership.
Option 2: "Devices and Printers" menu
In Windows 7, the peripheral equipment control is carried out through a separate "Devices and Printers" menu. There, the user offers many diverse tools, among them the necessary you.
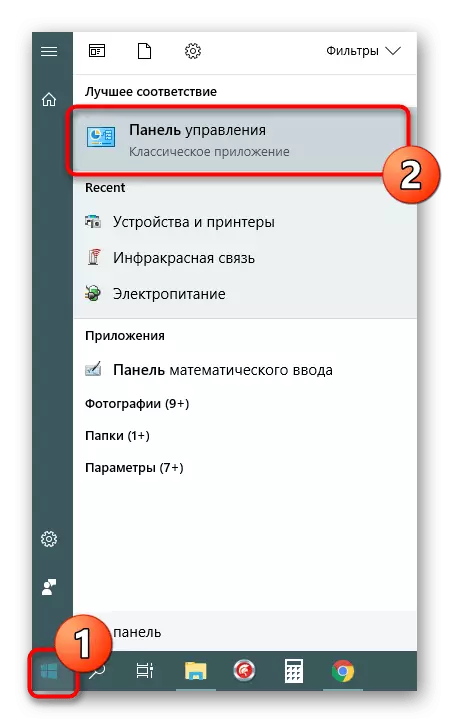
- Open "Start" and go to "Control Panel".
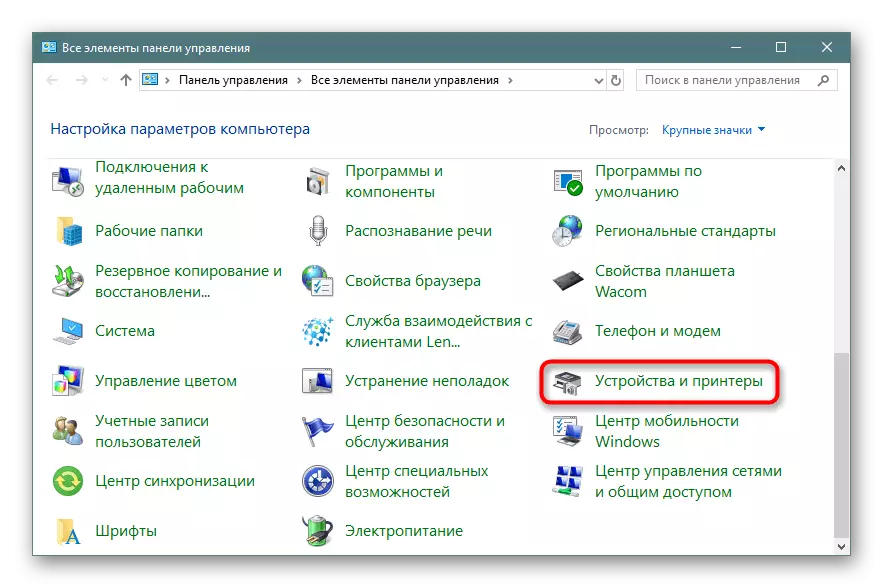
- Select the category "Devices and Printers" there.
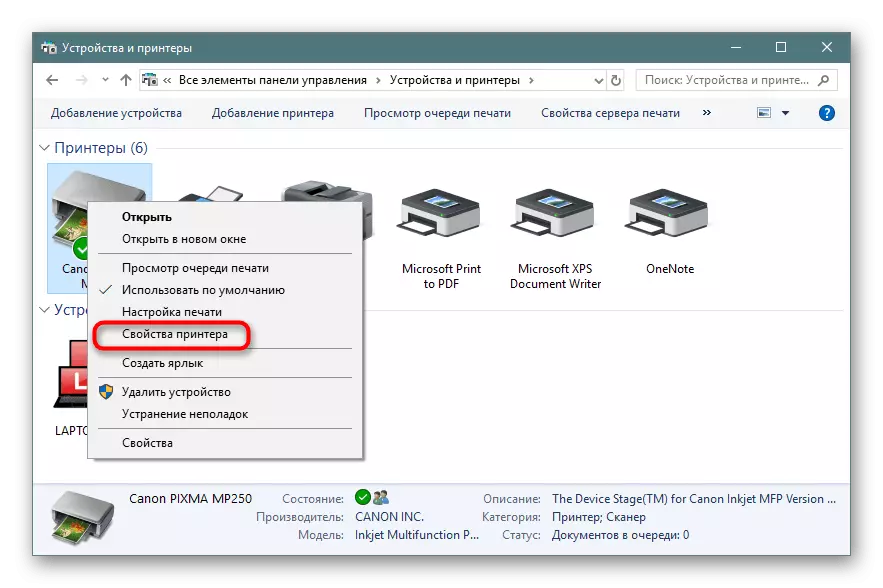
- Click the PCM on the apparatus used and find the Printer Properties item.
- In the General tab, you will find the "Test Print" button, which will start the test page.
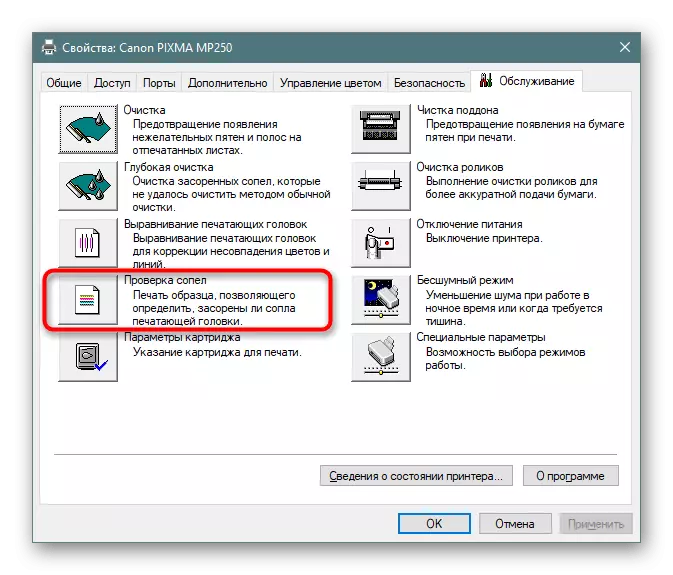
- In addition to the "Service", there is a button "Check nozzles", which allows you to get a more detailed report on the printhead snaps.
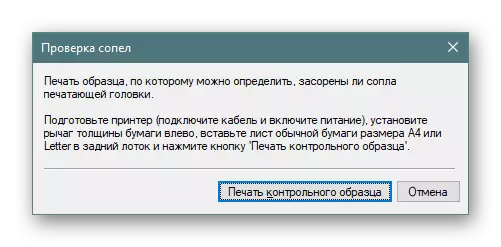
- Check out the notification and run the seal of the control sample.
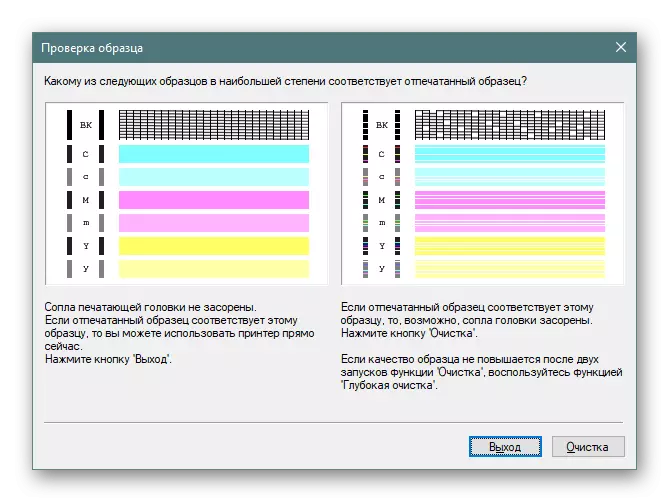
- A description of the samples will appear on the screen, which you need to read when familiarize yourself with the result.

Method 3: Printing found test page
On the Internet, there are many custom images that are suitable for test printing. They are made approximately by the same principle as the official sheets of developers. This option is considered optimal if the above methods are not suitable. Then it will be necessary to independently find such a picture through the search engine and print it before turning on the printer. Detailed instructions on this topic can be found in other articles on the following links.
Read more:
How to print a document from a computer on the printer
How to print a page from the Internet on the printer
Today you have been familiar with the three available ways to verify the print quality of the printer, which will help to identify possible problems with cartridges or print heads. It remains only to choose the appropriate and execute the instructions.
See also:
Solving problems with print quality printer after refueling
Why printer prints stripes