
Now almost in each house there are several computers connected to one Internet network, not to mention different offices where related devices can be countless. In addition, many wish to use printed equipment, but it is completely inconvenient to connect it to different PCs. In this case, the built-in function of the Windows 10 operating system comes to the rescue, which allows the printer to be shared and run print from any local apparatus.
Connect the network printer in Windows 10
To fulfill the task, you need to follow only two main conditions - the printer must be connected to one of the computers and be in the working condition (without problems print pages), as well as the entire PCs must be in one local network. After you were convinced of the implementation of these items, you can proceed to the preparatory work and direct connection of network equipment.Read more:
How to connect a printer to a computer
Creating a local network via a Wi-Fi Router
Creating a home network on Windows 10
Preparatory actions
It will be primarily necessary to make a few simple actions so that in the future it did not have to be distracted. We allocated all items that should be considered:
- Learn the name or IP address of the PC, where the desired printer is connected. This information will be required when it is added through the system tools. Read more about this in a separate article according to the following link.
- Provide sharing within the local network to ensure the normal interaction of the equipment, all files and folders.
- If you have problems displaying a network printer, use a separate manual, going to another material on the link below.
- Find out the exact name of the printer, for this you will need to find it on your computer and remember or copy the name seen.
Read more:
We recognize the name of the computer on the network
How to find out the IP address of your computer
How to find out an IP address of someone else's computer
Read more: Setting sharing in the Windows 10 operating system
Read more: What to do if Windows 10 does not see a network printer
Read more: Search for a printer on a computer
Only after executing all these items, you can proceed to add a network printing device. We allocated all available methods for the implementation of this operation, but first of all would be to stop at the recommended one.
Method 1: "Parameters" menu
The "Parameters" menu appeared in Windows 10 and is designed to completely replace the "control panel" in the future. Now, through it, it is already possible to simply produce various actions with peripheral equipment, including printers. The network apparatus is connected through this menu literally in several clicks:
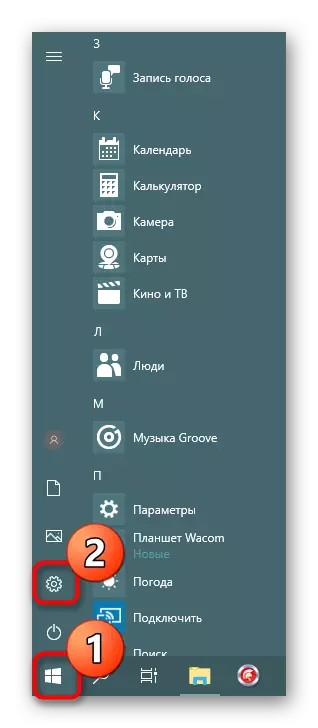
- Open the Start menu and go to "Parameters".
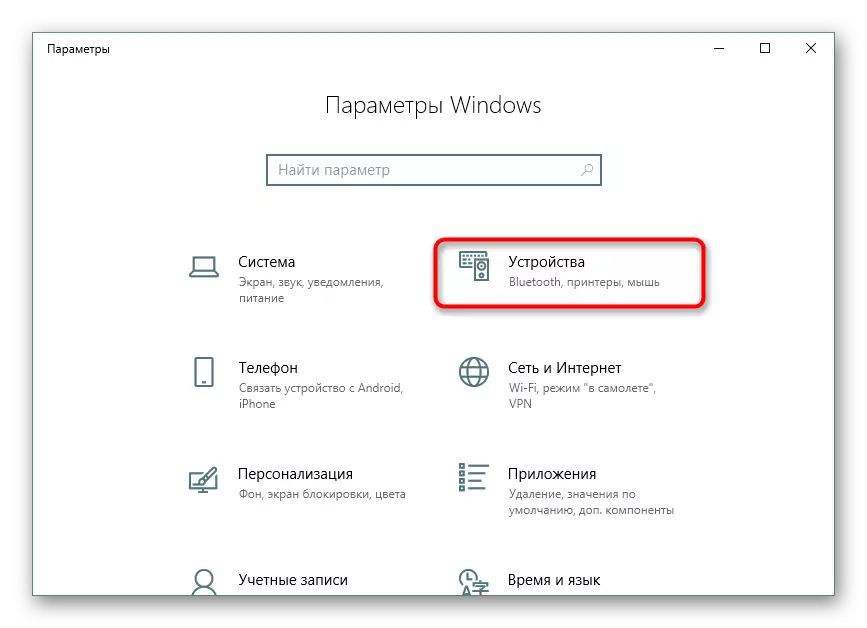
- Select the "Devices" section.
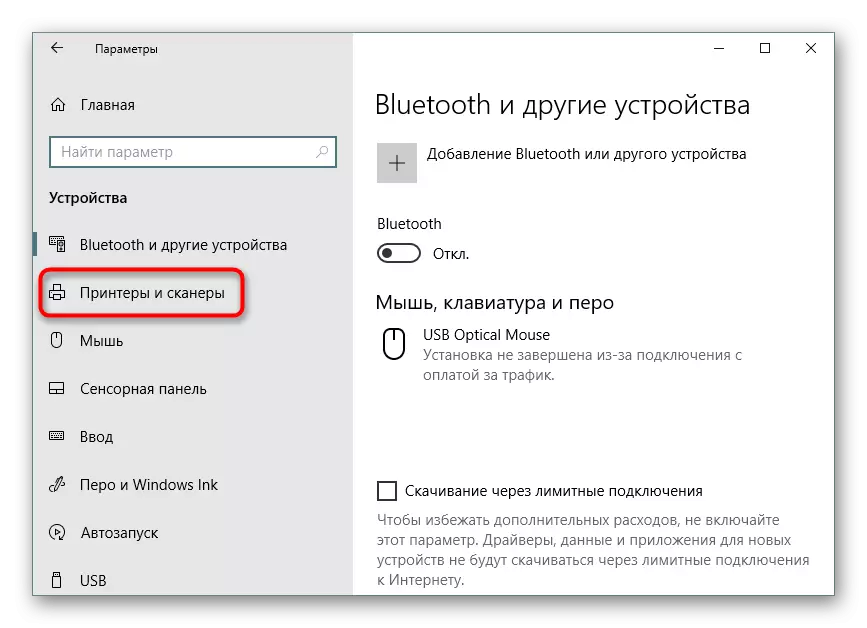
- Through the sidebar, open the category "Printers and Scanners".
- Here click on "Add Printer or Scanner".
- Click on the inscription "The required printer is missing in the list" when it appears.
- Mark the menu item "Select a common printer by name". Fill in the address in the format \\ name or IP address of the computer \ Full printer name and click on "Next".
- You can also click on the "Overview", after which the conductor will open, where the list of available common printers will appear in the Network section.
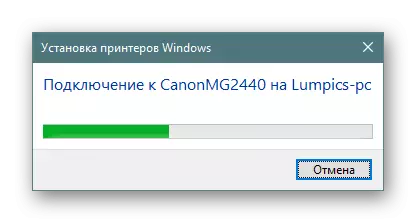
- Expect to complete the connection of the selected device. When notifications are notified of the need to install the drivers, confirm it, all other actions will be automatically executed.
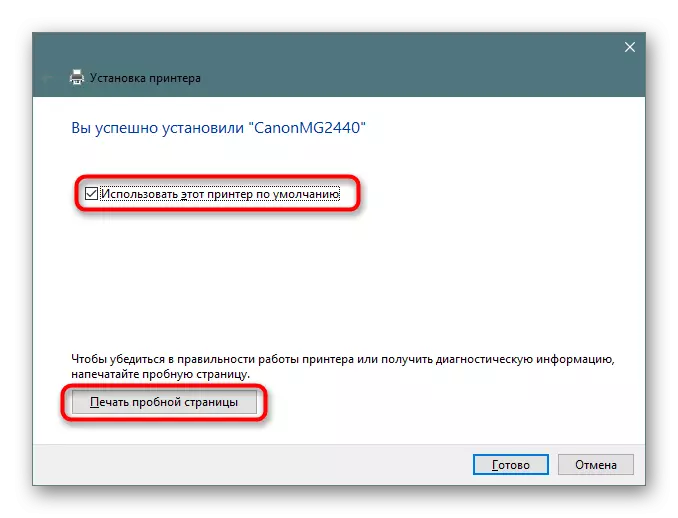
- At the end of the installation, a new window will open with the recommendation of the default printer and suggest a test page to test the performance.


After the work of this instruction, the printer without problems will print over the network and will be displayed when choosing a printing equipment. Do not forget to first turn it on the main device and check the availability of paper in the tray so as not to receive errors when sending.
Method 2: Classic application "PowerShell"
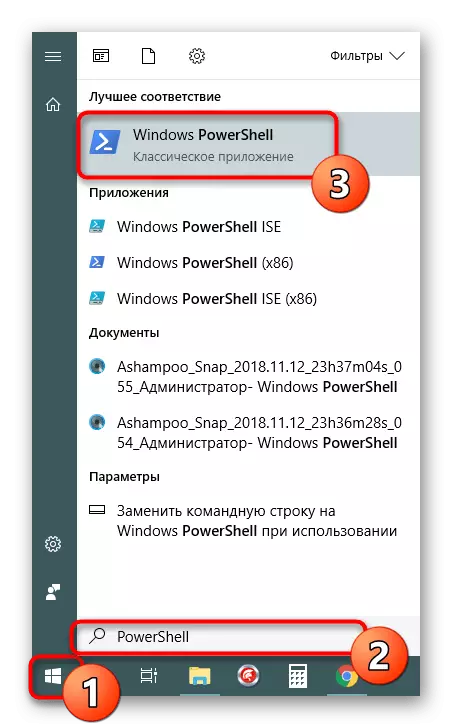
This method is to use the extended alternative to the "Command line" - the classic application "Windows PowerShell". Connecting network printing equipment is thus implemented by entering special commands, however, it will be necessary to start the console itself. You can do this through the Start menu by entering the corresponding name in the search.
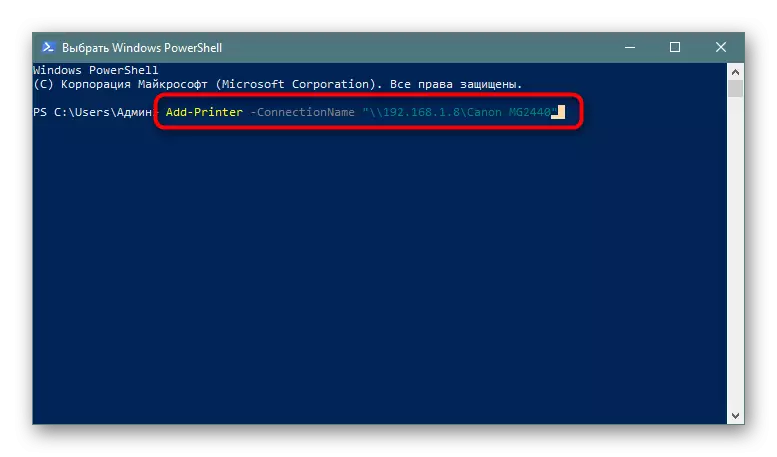
In the console, you will need to enter an add-printer -ConnectionName "\\computer_name \ Full_Printer_name" to add a printer by the name of the main PC. After specifying the command, click the Enter key to activate it.

If you are interested in connecting the device through an IP address of the PC, the team will gain a slightly different type: ADD-PRINTER -CONNEECTIONNAME "\\ 192.168.1.8 \ Full_Printer", where 192.168.1.8 is the desired local IP address.
Method 3: "Control Panel"
As already mentioned earlier, the "control panel" gradually loses its position, because the new menu "Parameters" is much more convenient and functional. However, there were still those users who need to perform the task under consideration today is through this classical application, and this is done like this:
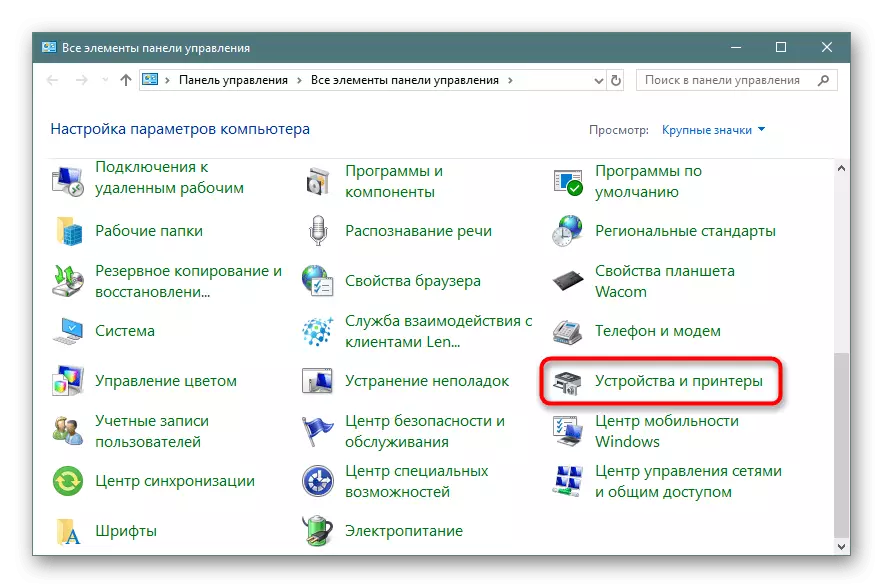
- Run the control panel in any convenient way and go to the "Devices and Printers" section.
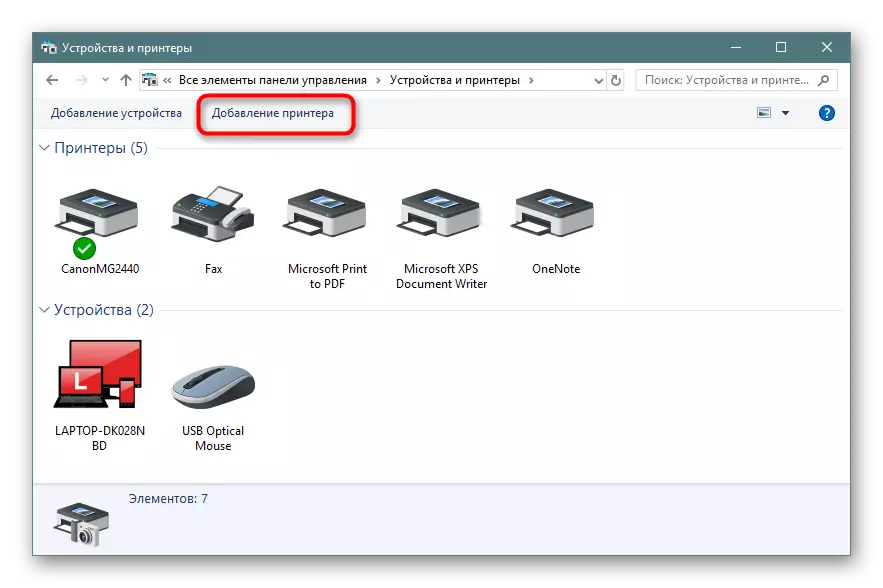
- On the top panel, click on the "Adding Printer".
- Click on the "The required printer is not in the list" link.
- All other actions are made with accuracy as shown in the method 1.


You have been familiar with three different options for connecting a shared printer in the Windows operating system 10. Usually everything goes successfully, but sometimes you are faced with problems. The most frequent - disabled printing service or error "Local Print Subsystem is not performed". You can get acquainted with the solution of these difficulties in a separate article further.
READ ALSO: Solving the problem "Local Print Subsystem is not executed" in Windows 10