
As you know, the Windows operating system functionality allows you to establish the operation of the network printer, where computers can send requests to the device using a local network. However, the device is connected - only the first step towards the completion of the entire configuration. Additionally, it will be necessary to set some more settings to ensure unmistakable interaction with the network apparatus.
Configure network printer
It is about configuring the connected printer that we want to talk within this article by dividing the entire procedure for steps. Just one of them is mandatory, but understanding of all existing settings will allow you to perform the most flexible settings at any time. Before starting familiarization with the manual presented, we strongly recommend that the connection was made in all the rules. All the necessary information on this topic can be found in our other article as follows the following link.
On this, the configuration procedure of the server part is successfully completed, you can proceed to working with clients.
Client computers
On all client devices, you will need to perform the same action, namely, activate network detection and provide sharing files and folders. It is done literally in several clicks.
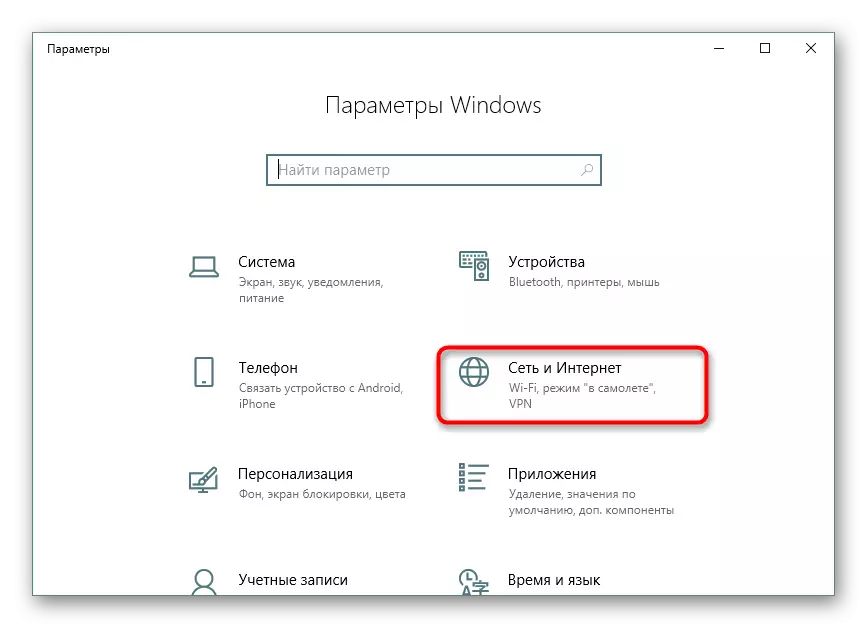
- Open the "Parameters" menu and go to "Network and Internet".
- In the "Status" section, find the "Shared Access" button.
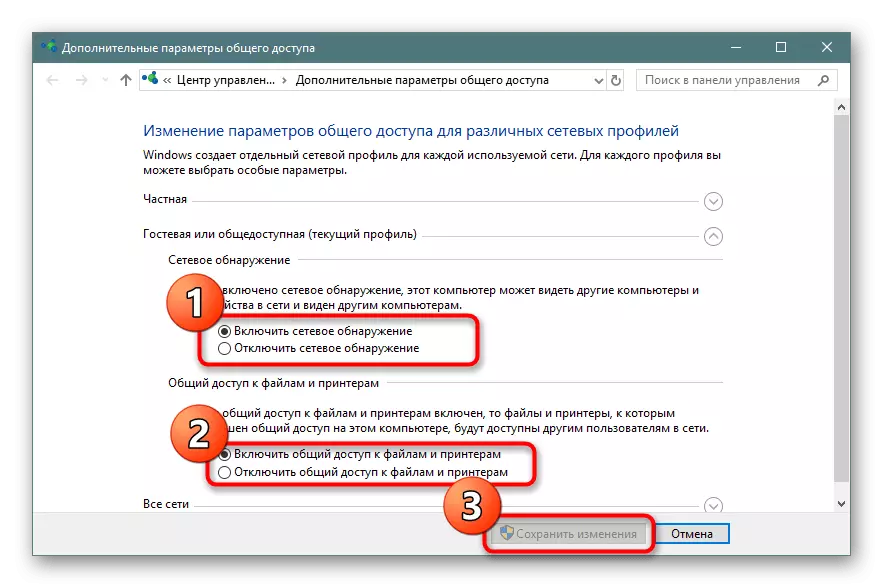
- Enable all items in the desired group and save the change.

Step 2: Security
Now that detection and work on the local network are successfully established, you should worry about security. It is necessary to make that each group of users have their privileges, for example, to limit the ability to read permissions or changes in printer parameters. All this is done through a special menu.
- While in the printer's control window in the "Parameters" menu, click on the Printer Properties button.
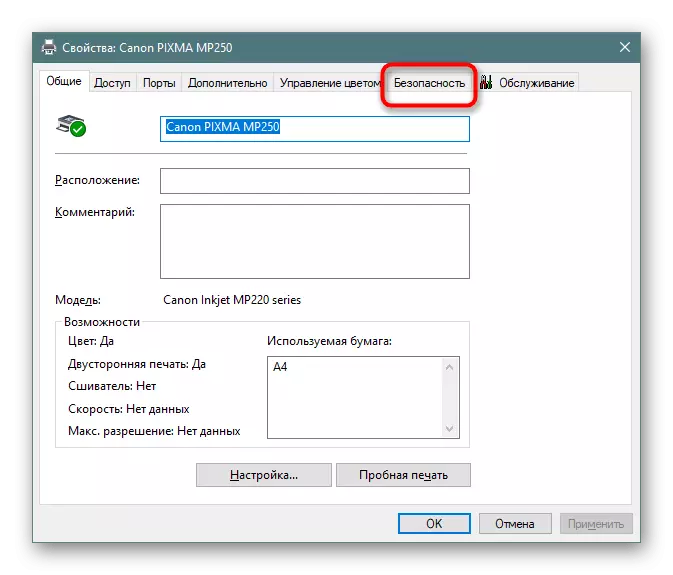
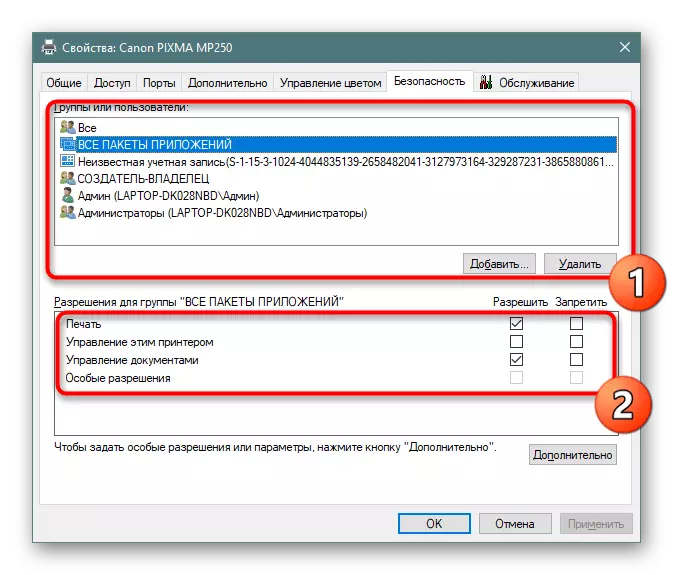
- Here, move into the "Security" tab.
- Now you can choose a user or a group of users to configure the access level for each of them. It is enough to simply mark the necessary items and apply the changes.
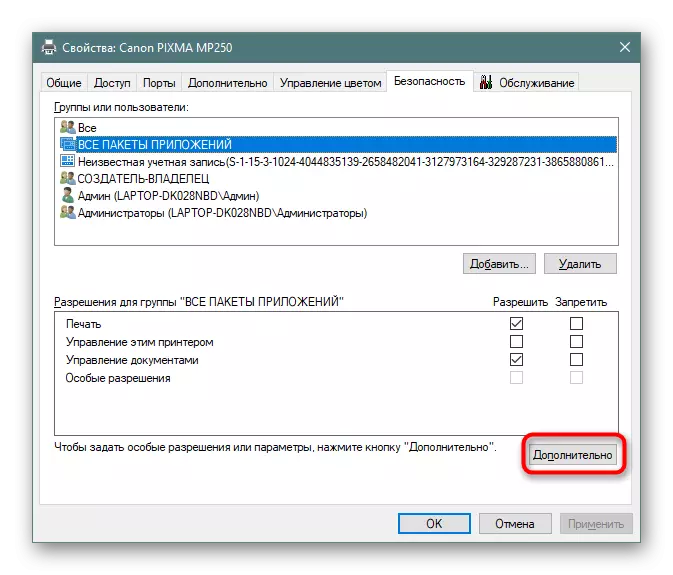
- If you are interested in advanced security settings, click on the "Advanced" button.
- After opening a new window, select the desired string and go to the changes.
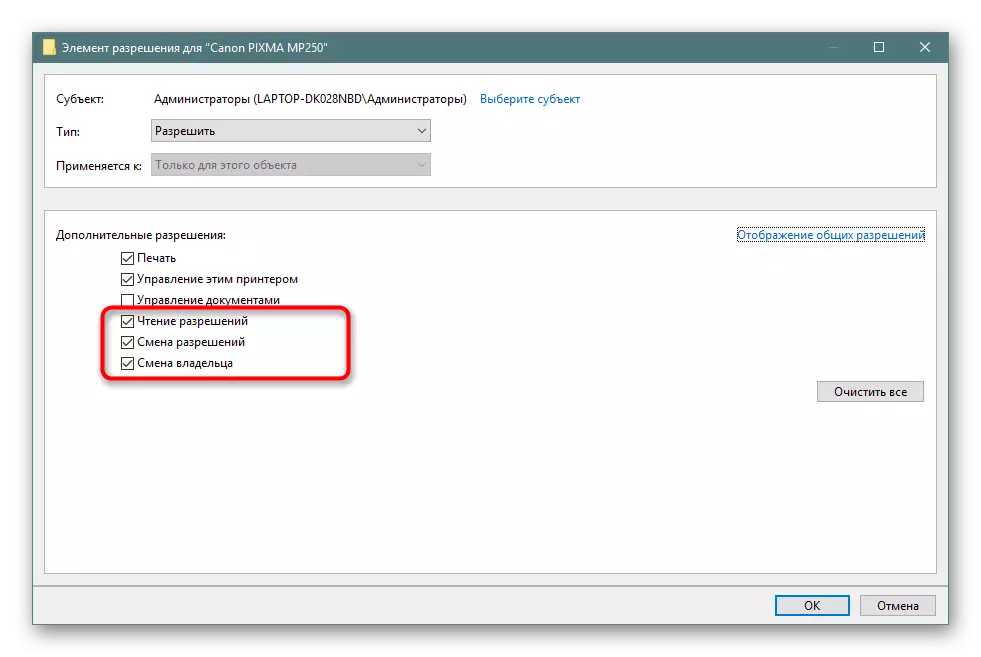
- Click on the appropriate inscription to display the settings.
- Now you can mark permission or ban on reading, change permissions and changing the owner of the device.
- If the user or group is missing in the list, it will be necessary to add them manually by filling out the appropriate form. Trust the execution of this procedure to the system administrator so that it grouped all accounts correctly.


When performing the above actions, it is required to take into account that the activation of one of the items will only act per group or profile, respectively, it will be necessary to allocate and configure all accounts separately.
Step 3: Print Settings
Upon completion of the two previous steps, you can move directly to print, but I would like to stop at the setting of this operation. The printer driver allows you to specify advanced options, for example, to set the device mode or set the task queue rules. All this is done in one tab.
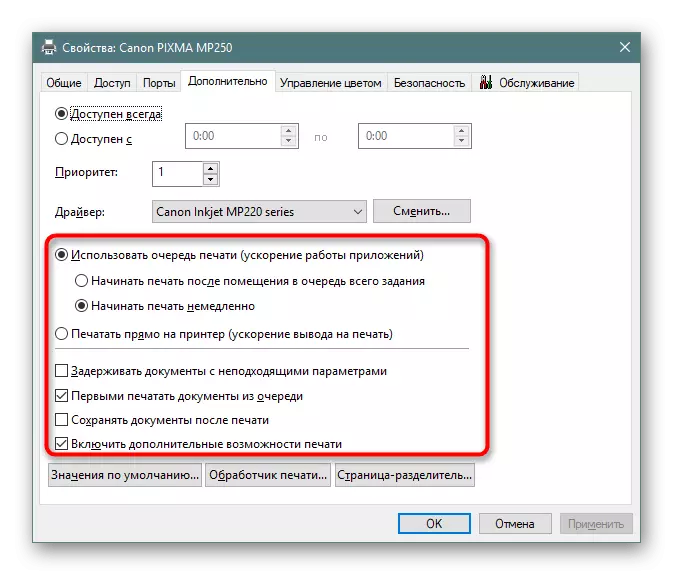
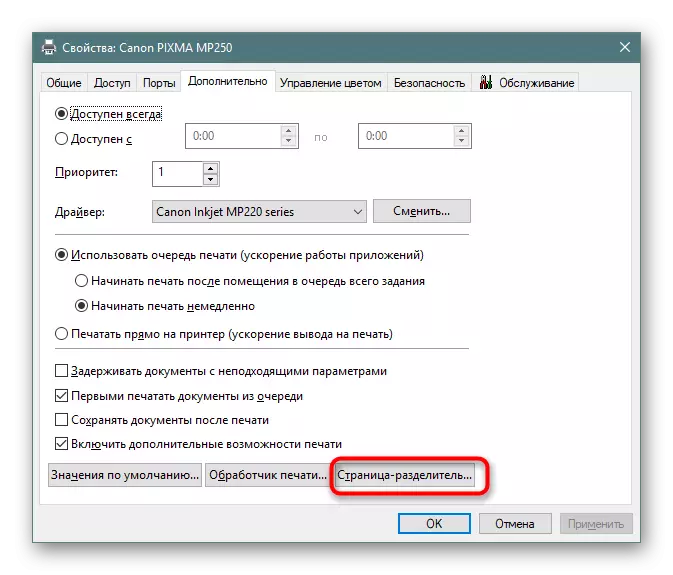
- Open the Printer Properties menu and go to "Advanced". Here at the top you see the parameters of access to the printer. Noting the marker item and setting the necessary hours, you can adjust the mode of operation of the equipment for client computers.
- In the same tab, the queue parameters are below. By default, the queue is used, however, it can be done so that the documents sent immediately went to the printer. Take a look at other functions, their number and name changes in accordance with the device used.
- Click the "Separator" button to set the parameters of the distinction sheet. Activation of such a function will help to figure out where one task ends and the other stamp begins.

On this we will finish the analysis of the settings of the network printer. As you can see, everything is done simply enough, and a large number of different features will allow you to create a system administrator as a flexible configuration.