

In tables with a large number of columns, it's quite inconvenient to navigate the document, because if it goes out the border of the screen plane, in order to see the names of the lines in which the data is entered, you will have to constantly scroll the page left, and then return to the right again. These operations will learn an additional amount of time. Therefore, in order for the user to save his time and strength, the Microsoft Excel program provides the ability to fix columns. After performing this procedure, the left part of the table in which the names of the lines are always in sight. Let's figure out how to fix columns in the Excel application.
Fastening the column in the Special Table
When working with a "wide" table, you may need to fix both one and several columns (area) at once. This is done literally in several clicks, and the immediate execution algorithm in each of the two cases differs literally on one point.Option 1: One column
In order to secure the extreme left column, you can not even allocate it before the program itself will understand, for which element it is necessary to accept the change you specified.
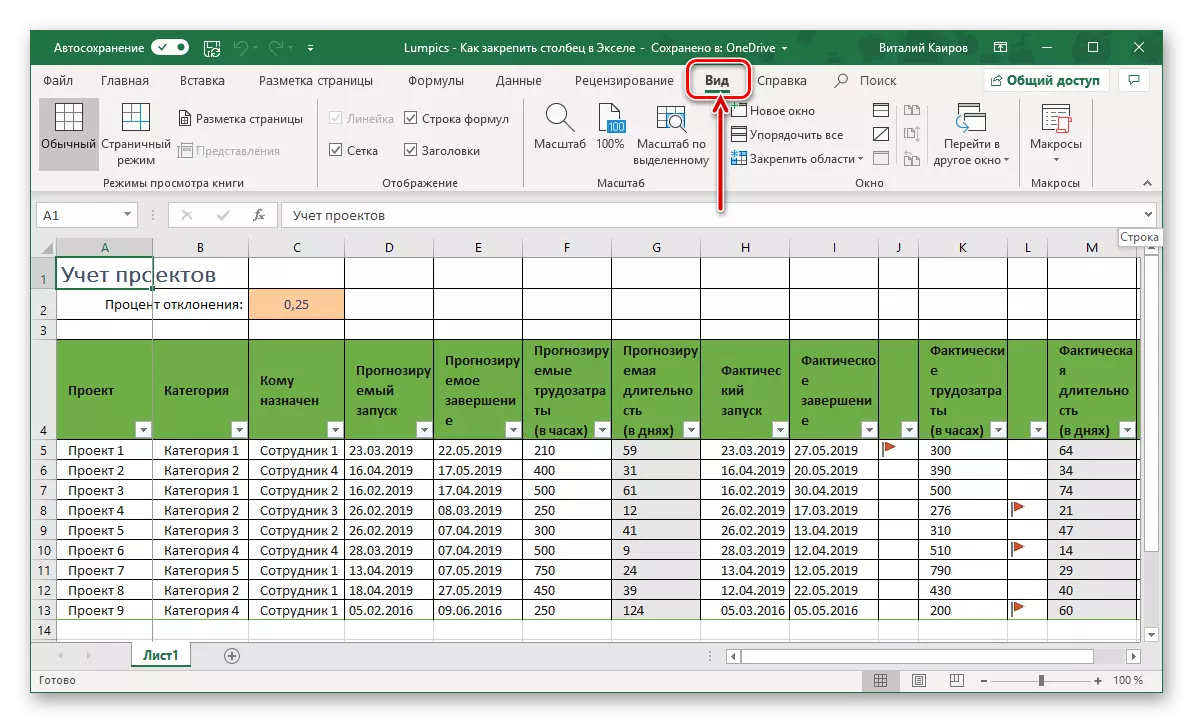
- Go to the View tab.
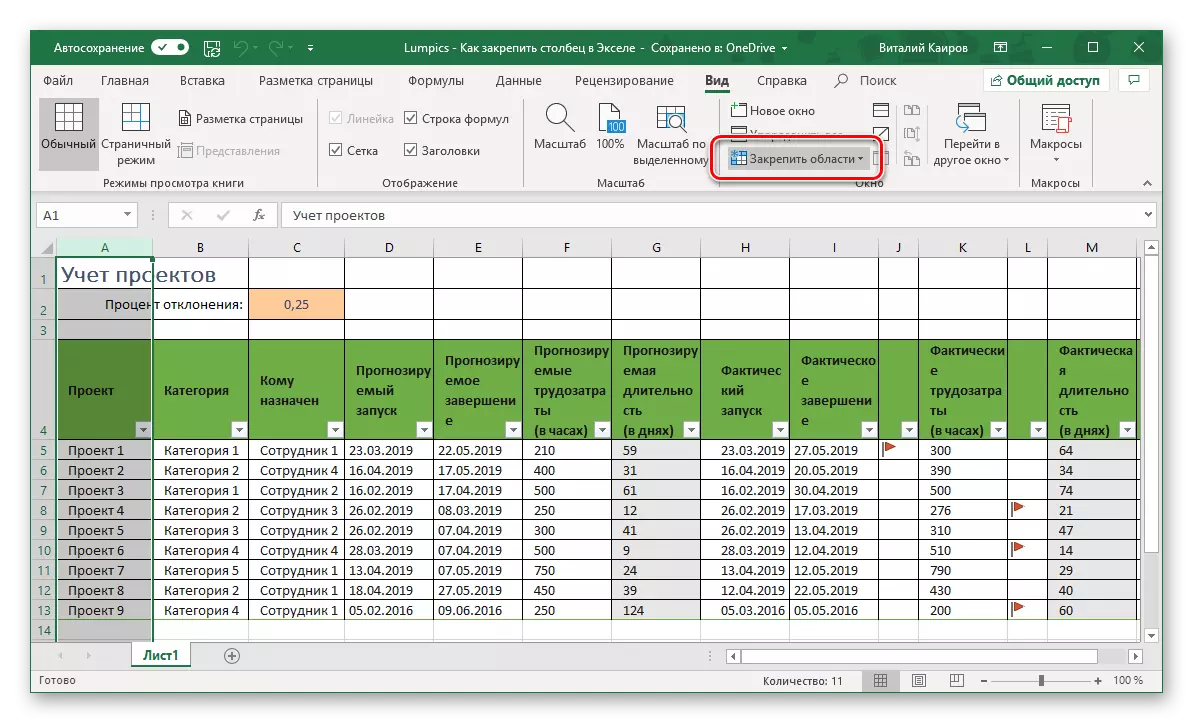
- Expand the Menu Point Menu.
- Select the last option in the list of available options - "Secure the first column".
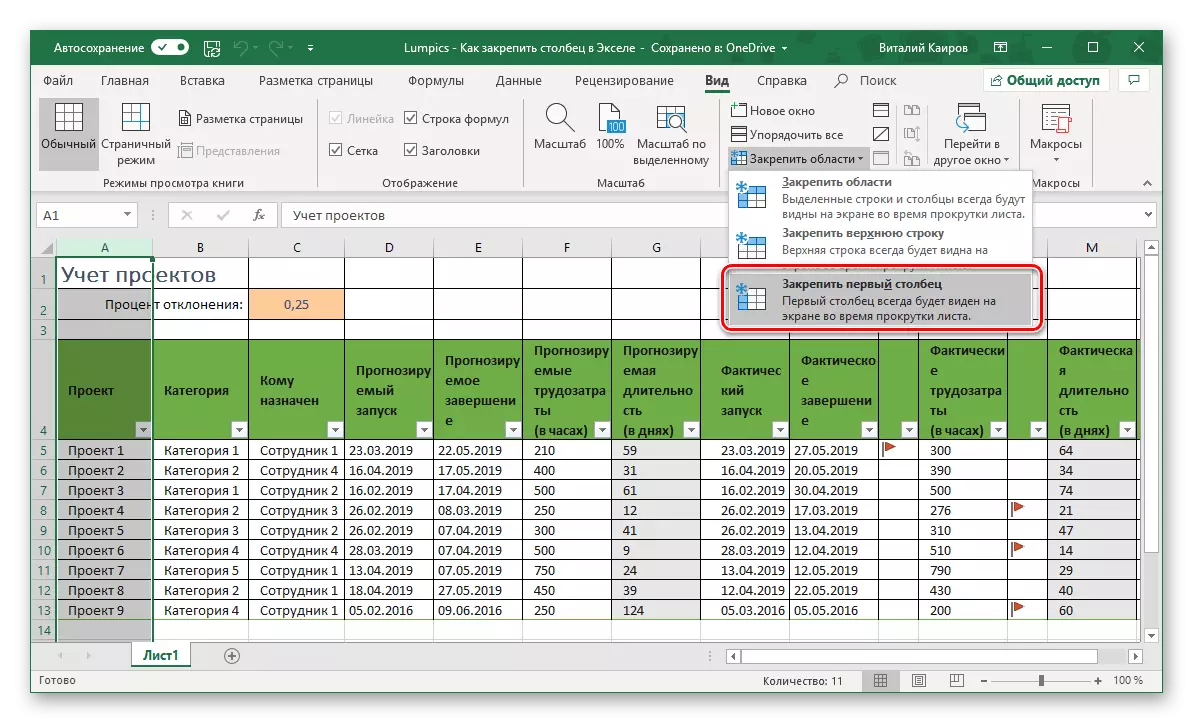
From this point on, with the horizontal scrolling of the table, its first (left) column will always remain at a fixed place.
Option 2: Several columns (area)
It also happens that it is necessary to fix more than one column, that is, the area is such. In this case, you must consider only one important nuance - do not highlight the range of columns.
- Highlight the column next to the area you plan to secure. That is, if required to secure the range A-C. Allocate it is necessary D..
- Go to the View tab.
- Click on the "Secure Area" menu and select a similar point in it.
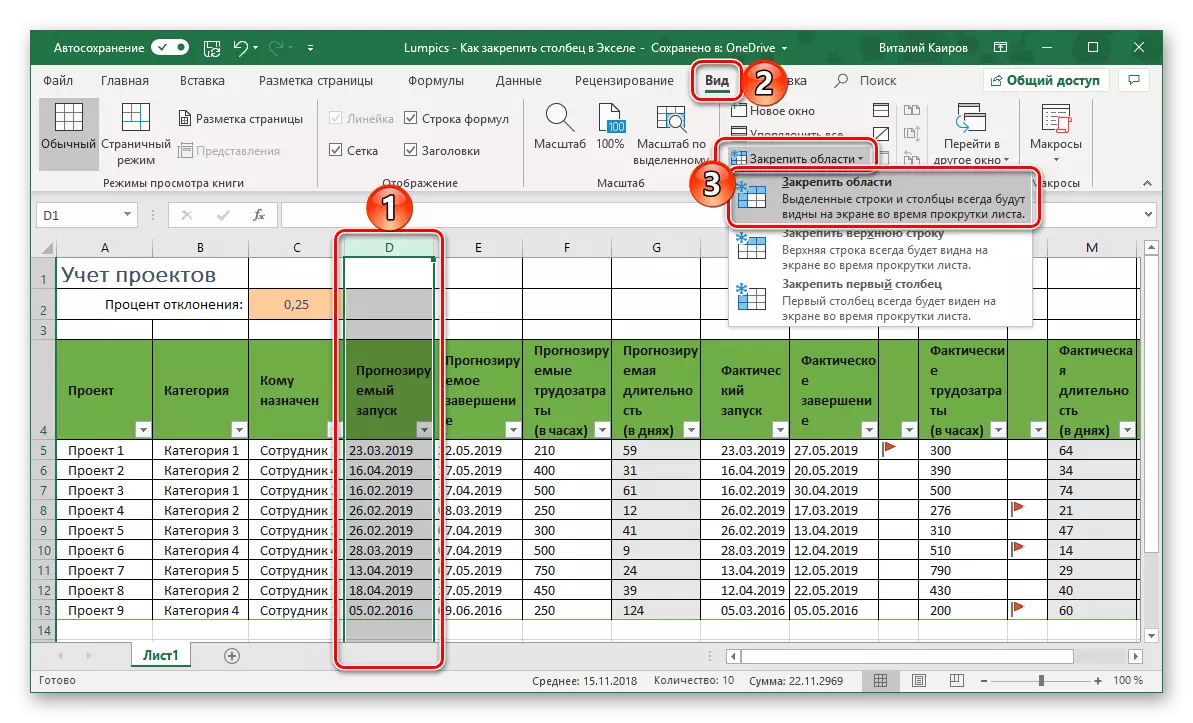
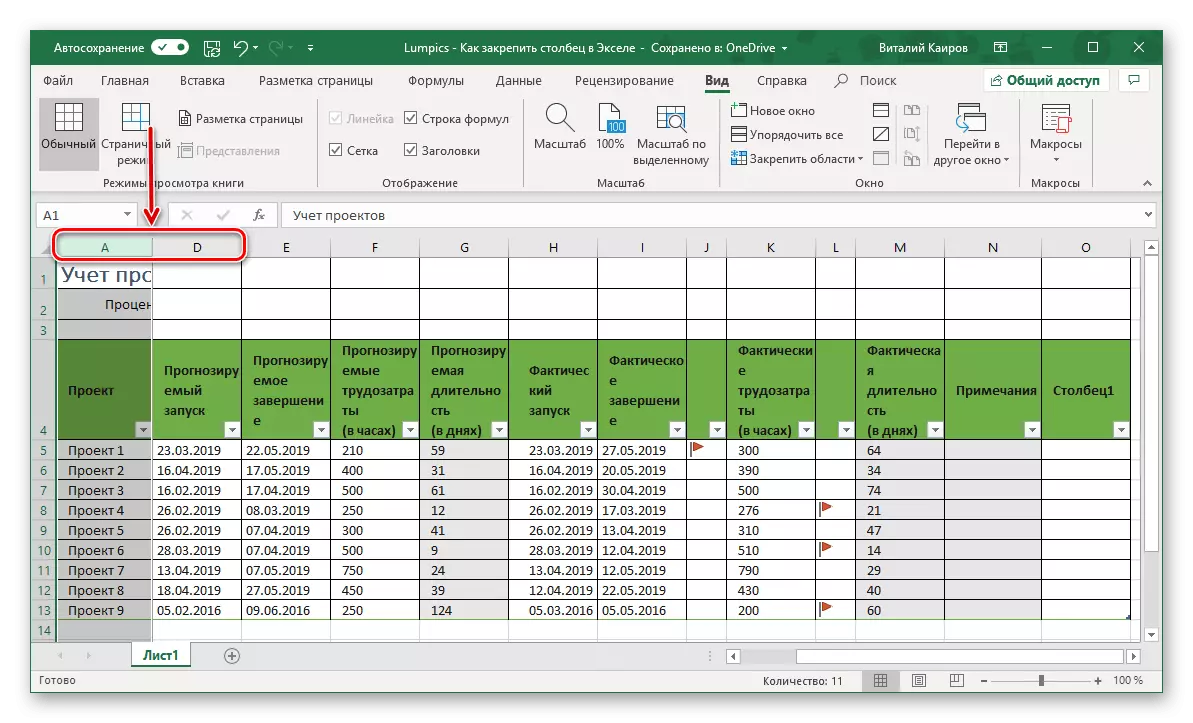
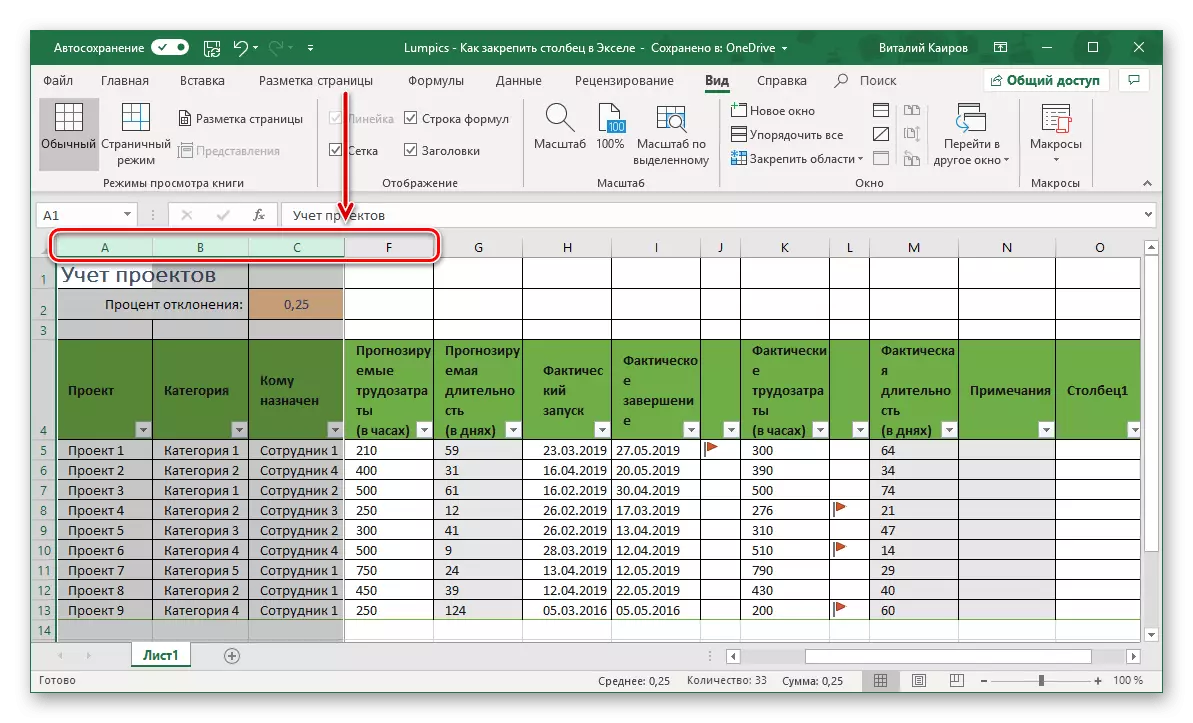
Now the number of columns you need is fixed and when scrolling the table, they will remain in their place - on the left.
See also: How to fasten the area in Microsoft Excel
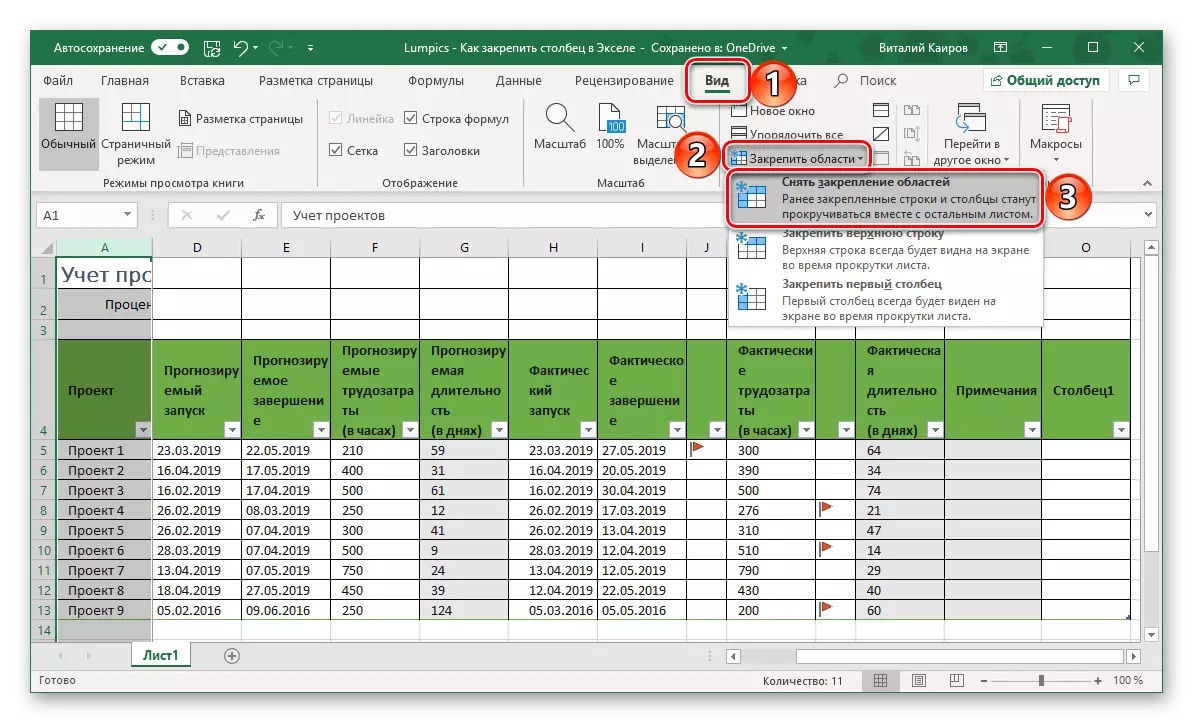
Disposal of the recorded area
If the need to fasten the column or columns disappeared, in all the same tab "View" of the Excel program, open the "Secure Area" buttons menu and select the option to "Remove Consolidate Region". It will work both for one element and for the range.
Conclusion
As you can see, in the Microsoft Excel table processor, you can easily fix only one, the extreme left column or the range of such (area). Out them, if such a need appears, you can also literally in three clicks.