
In this lesson on Adobe Photoshop, we will learn to make out our (and not only) images and photos with various frames.
Creating a framework in Photoshop
There are several options for the framework that can be created using the program. Next, we consider the basic tools that can be used to solve this task.Option 1: Simple strip frame
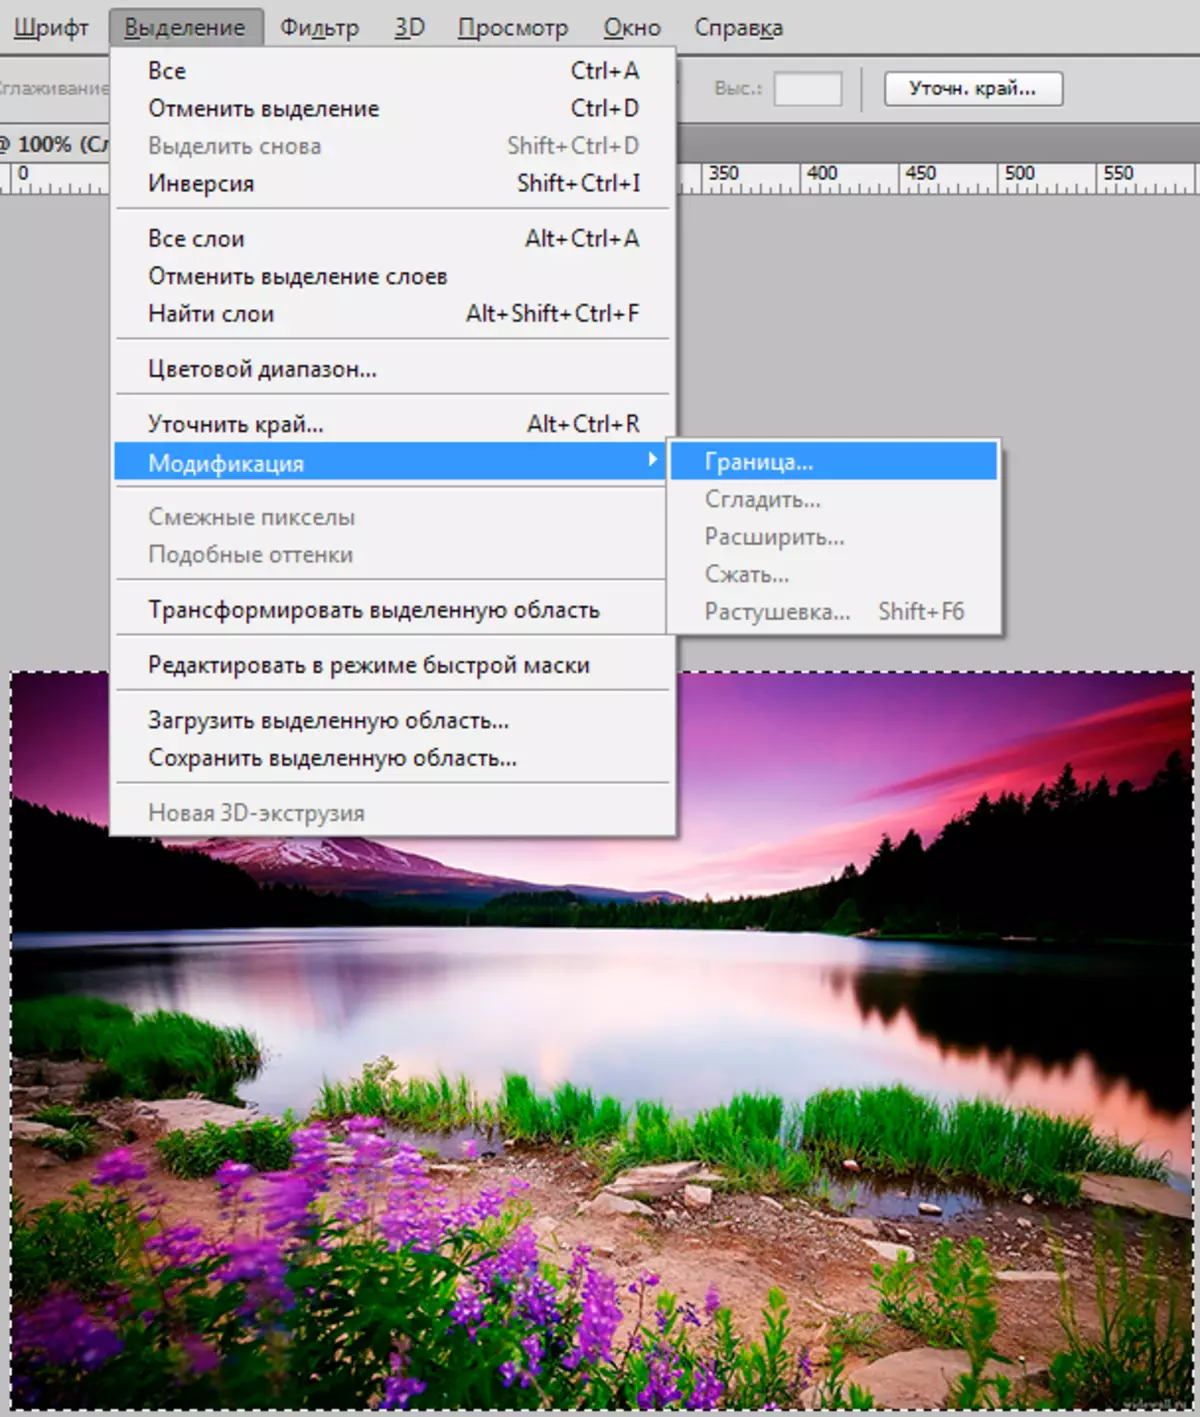
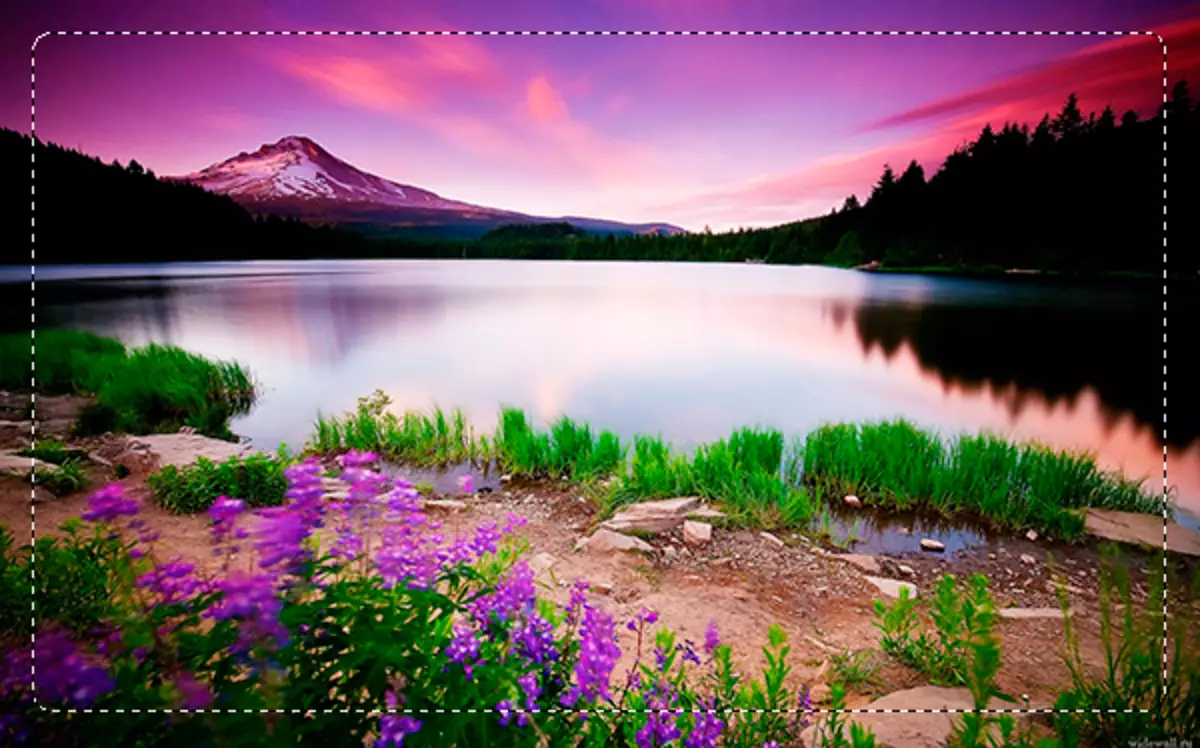
- Open a photo in Photoshop and allocate the entire image of the combination Ctrl + A. . Then go to the menu "Allocation" And choose paragraph "Modification - Border".
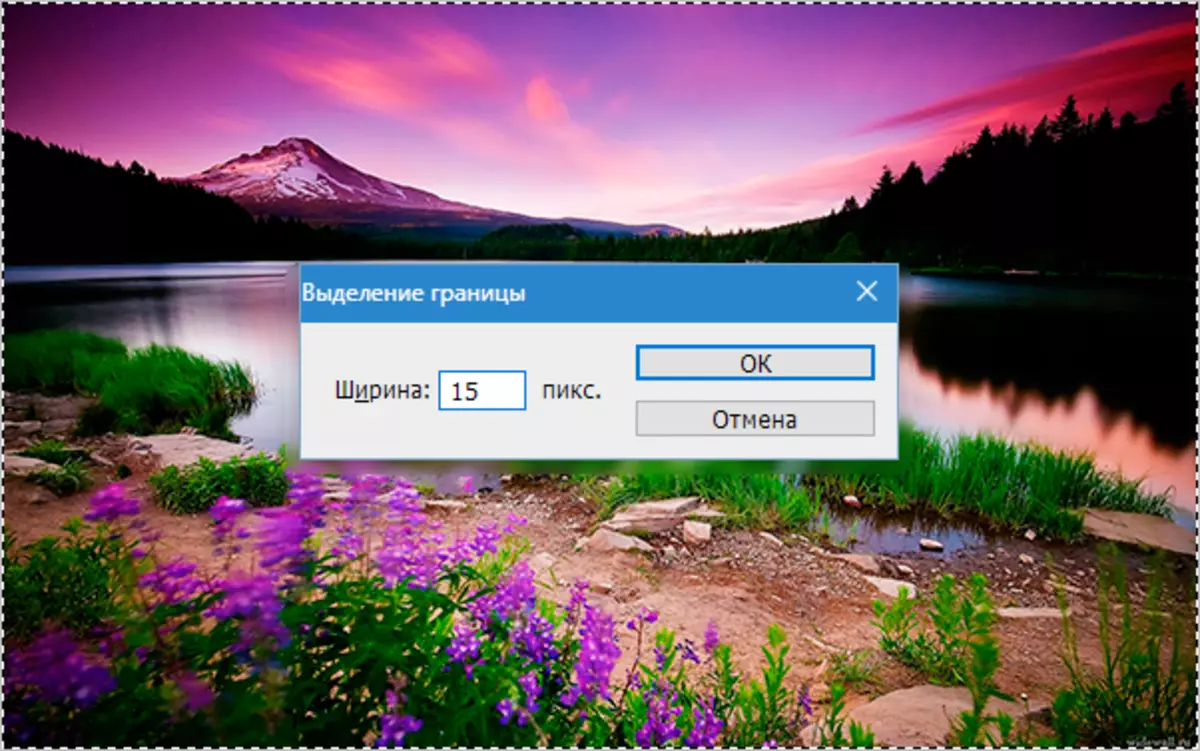
- We specify the required size for the frame.
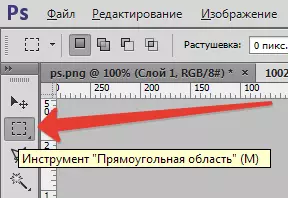
- Choose tool "Rectangular region".
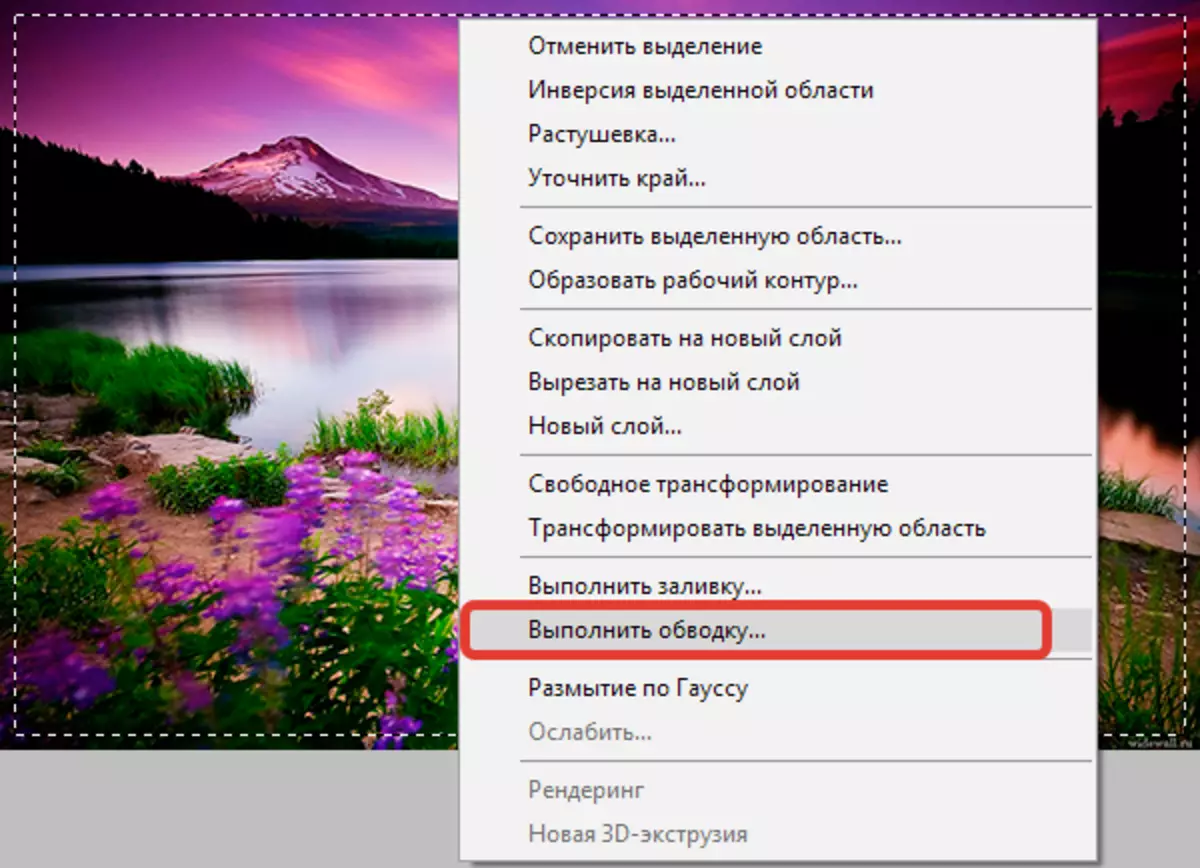
- Right-click on the selection and select "Run".
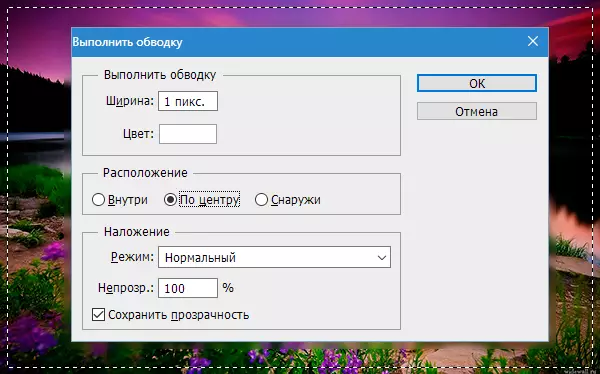
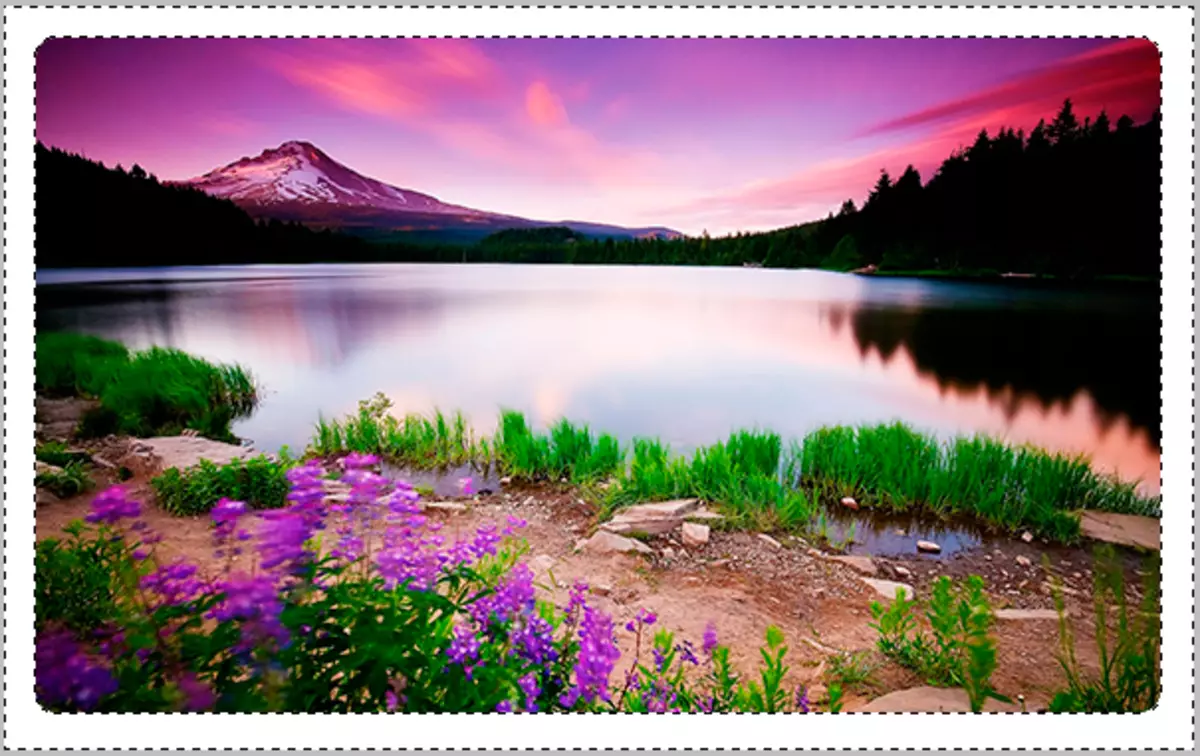
- Set up parameters.
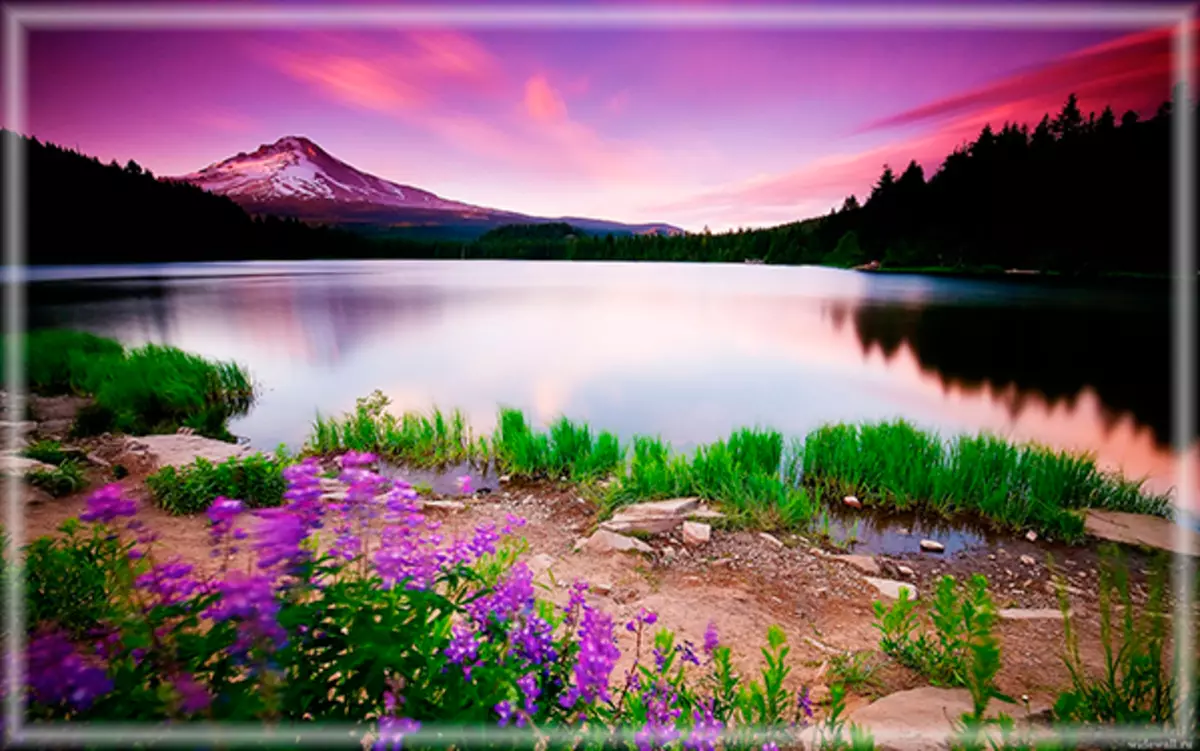
- Remove the selection (Ctrl + D) . Final result:
Option 2: Rounded corners
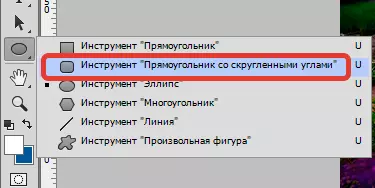
- For rounding angles of photography, choose the tool "Rectangle with rounded corners".
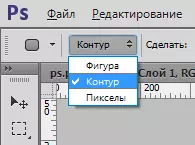
- On the top panel I will celebrate item "Circuit".
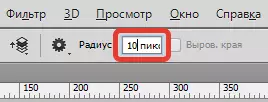
- We set the radius of rounding corners for the rectangle.
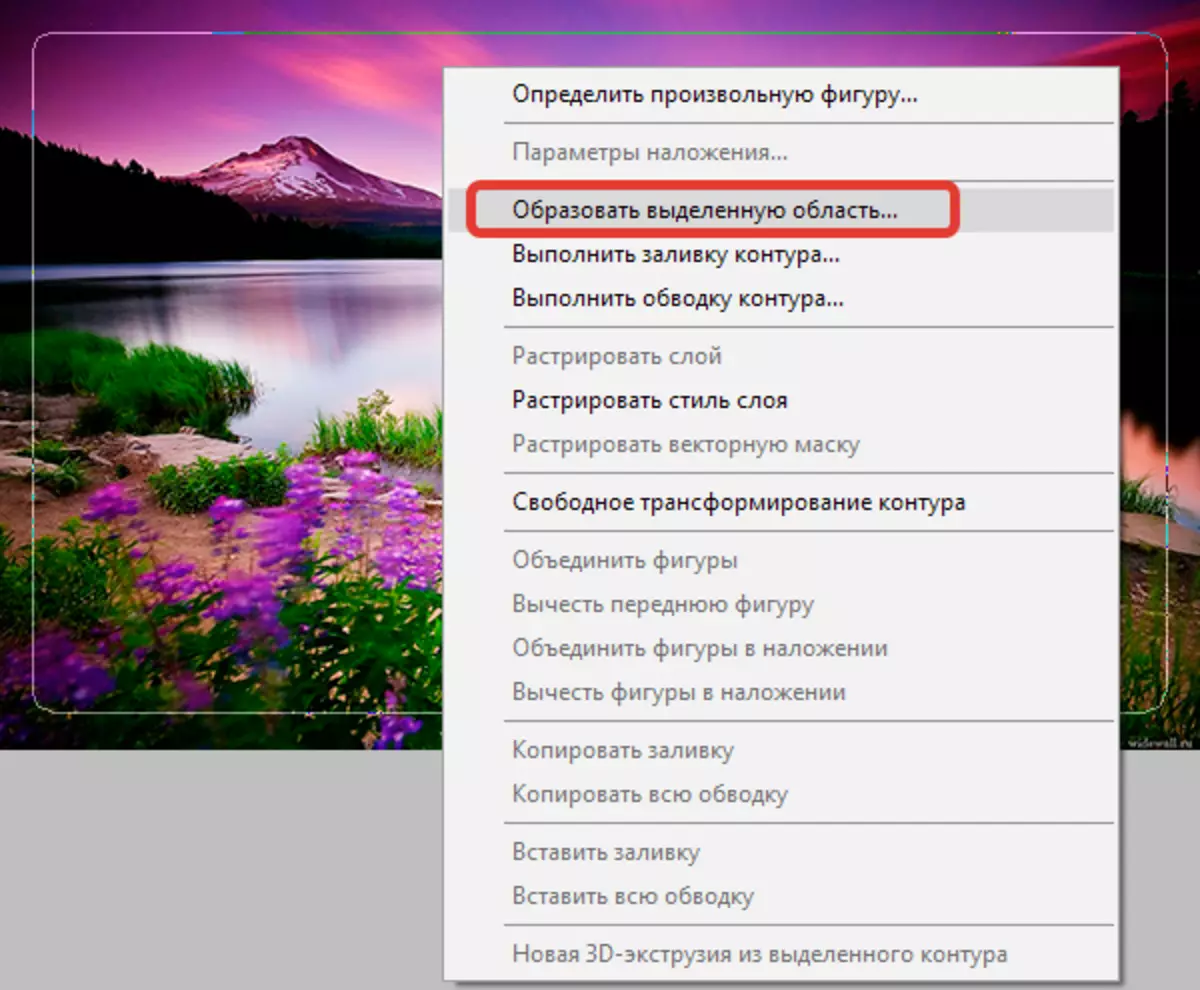
- We draw the contour, press PKM and transform it into the selection.
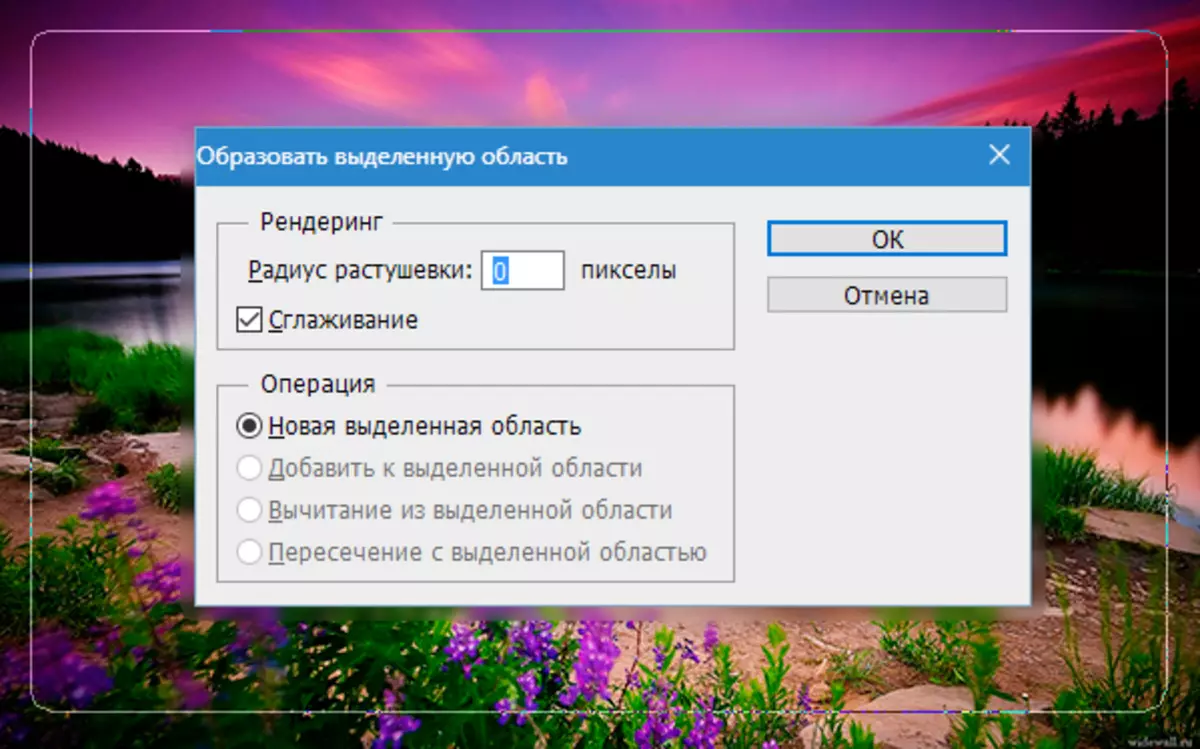
- The value for the decisive indicate "0".
Result:
- Invert the area combination Ctrl + SHIFT + I , Create a new layer and fill the allocation by any color, at your discretion.
Option 3: Frame with ribbon edges
- We repeat the action to create a border for the first frame. Then turn on the quick mask mode ( Key Q.).
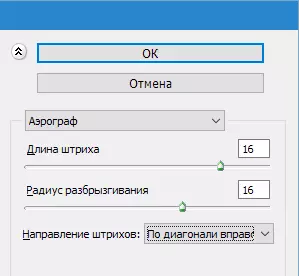
- Next, go to the menu "Filter - touches - airbrush".
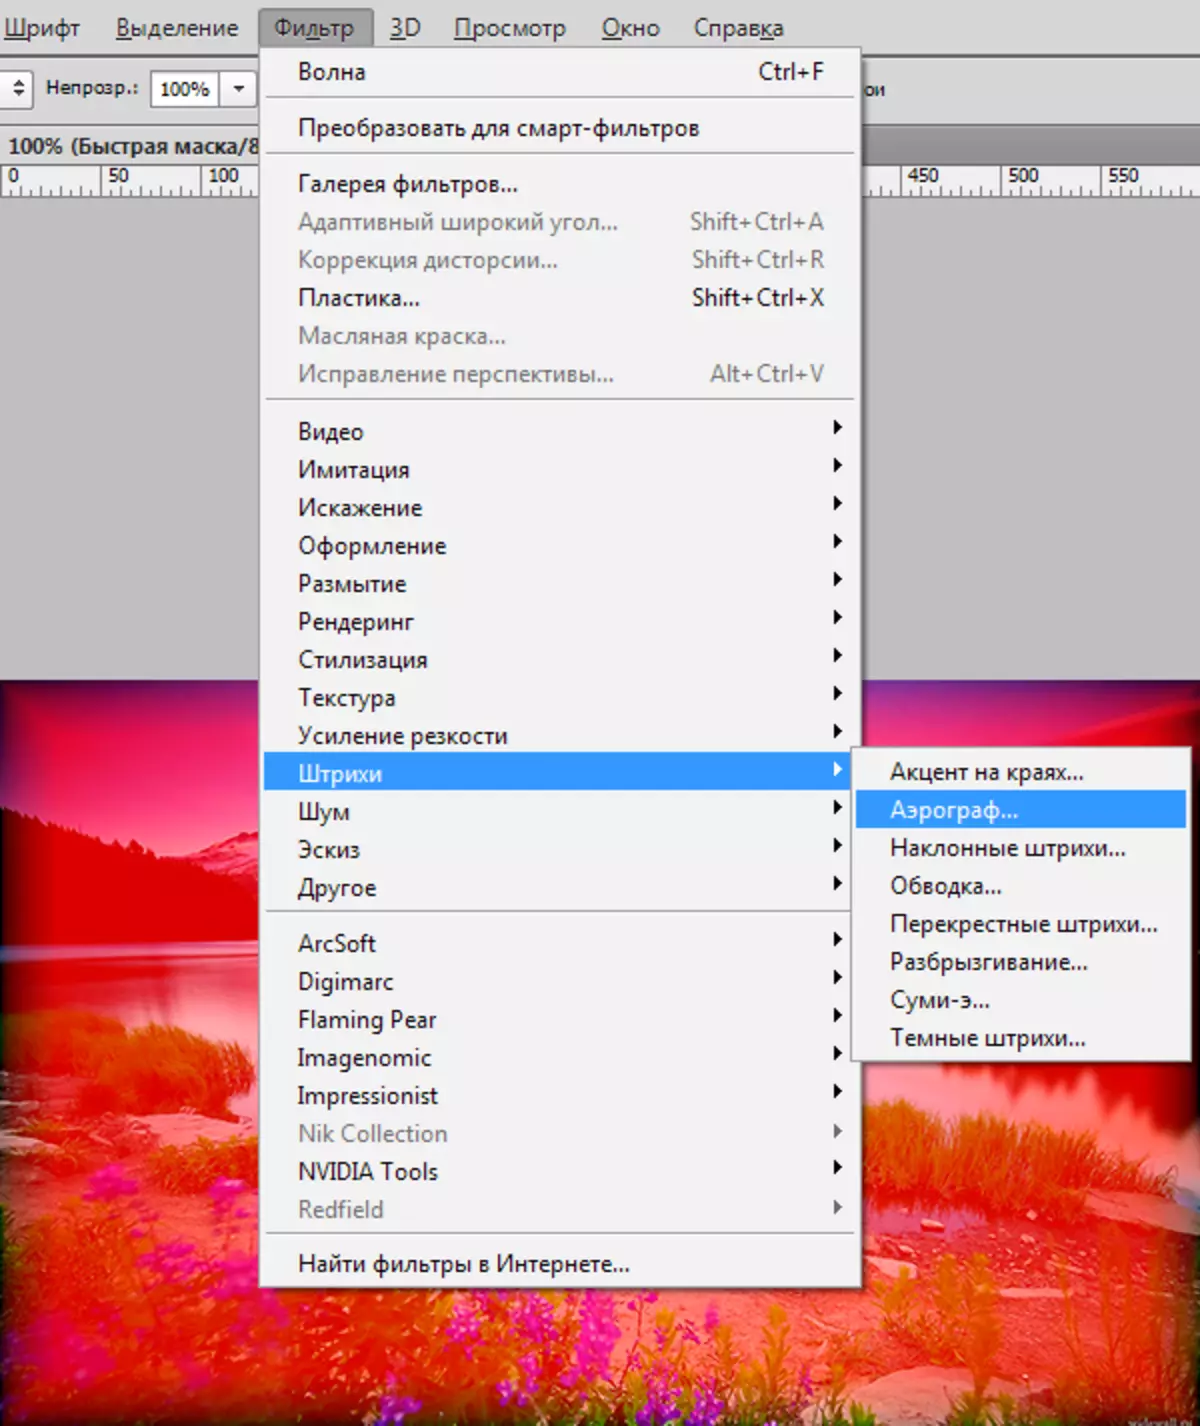
- Customize the filter at your discretion.
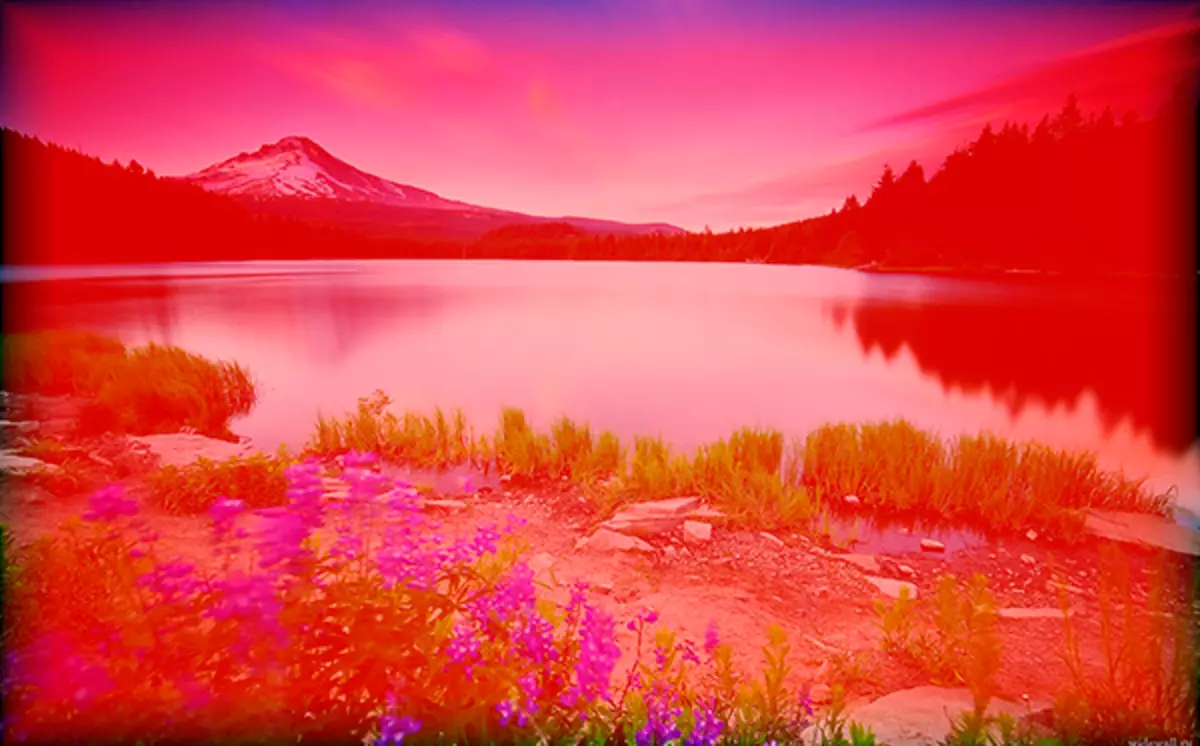
It turns out the following:
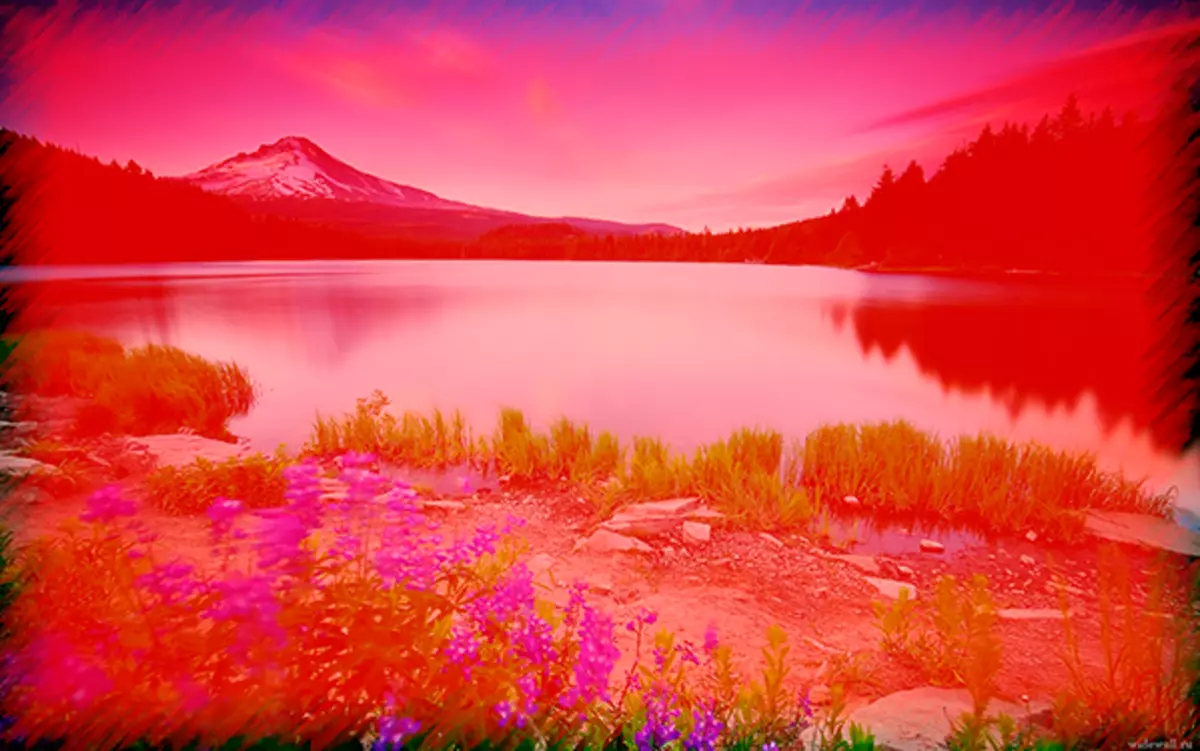
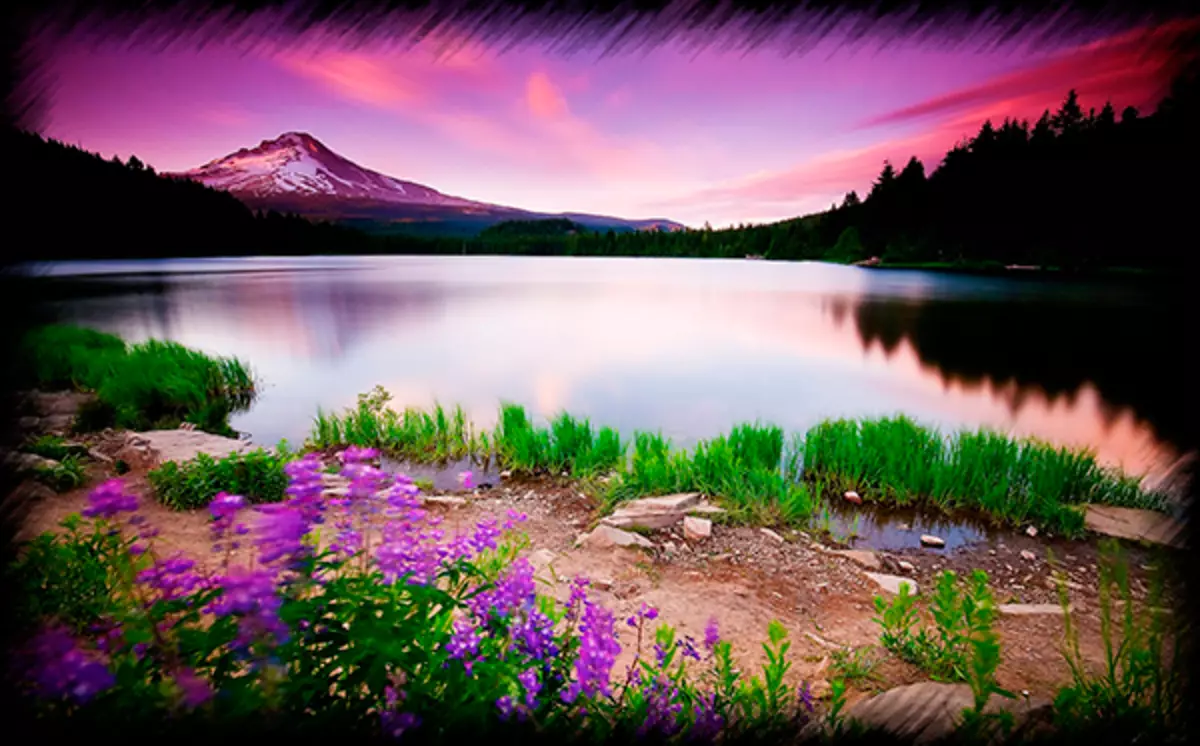
- Turn off the quick mask mode ( Key Q. ) and fill the resulting selection by color, for example, black. Do it better on the new layer. Remove the selection ( Ctrl + D.).
Option 4: Frame with stepped transition
- Choose tool "Rectangular region" and draw the frame on our photo, and then invert the selection ( Ctrl + SHIFT + I).
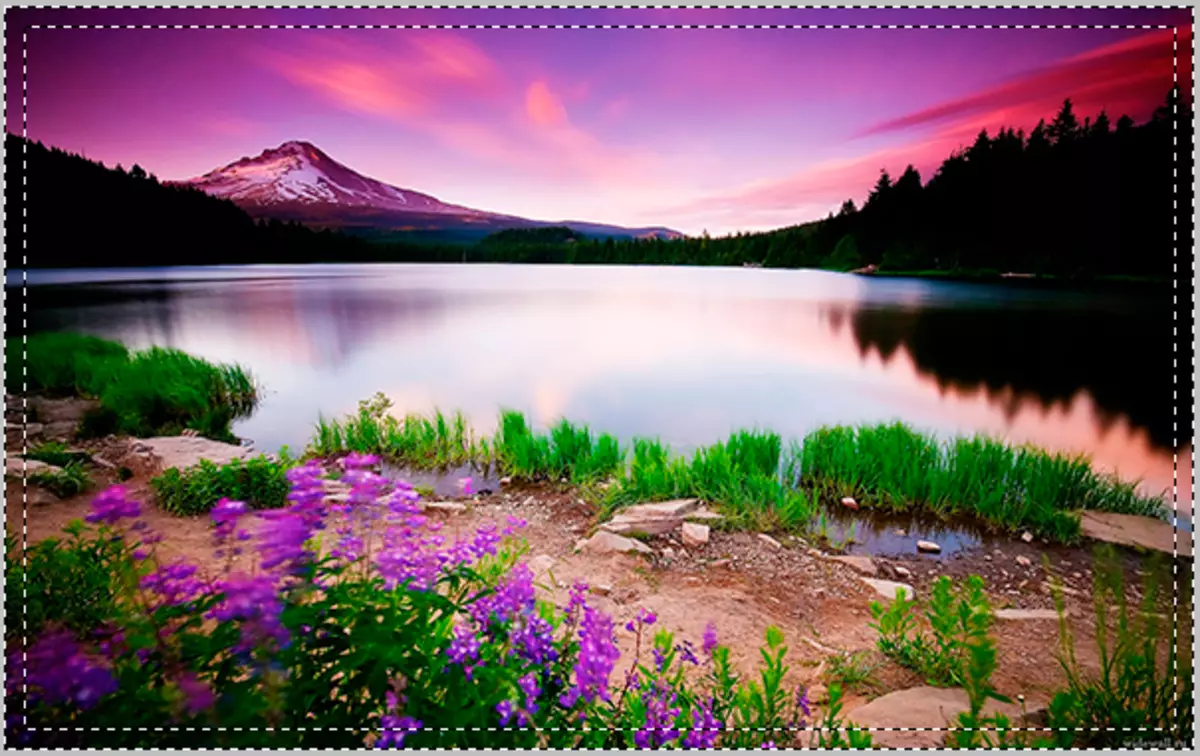
- Turn on the fast mask mode ( Key Q. ) And several times we use the filter "Design - Fragment" . The number of applications at your discretion.
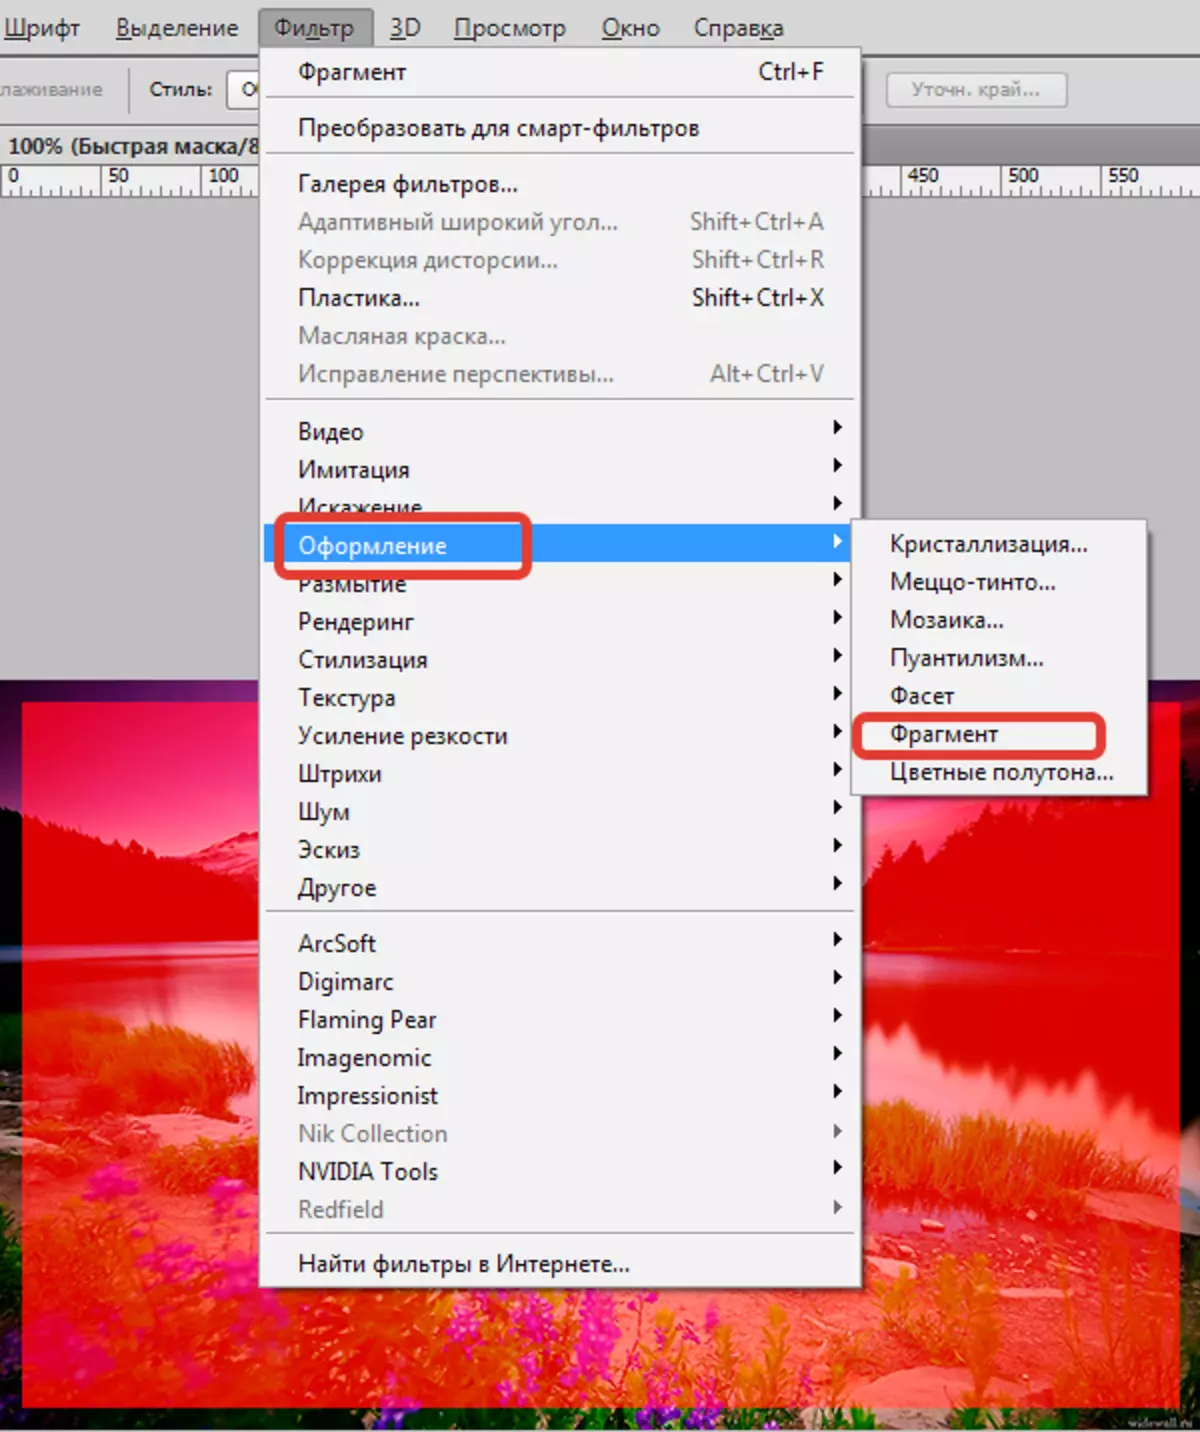
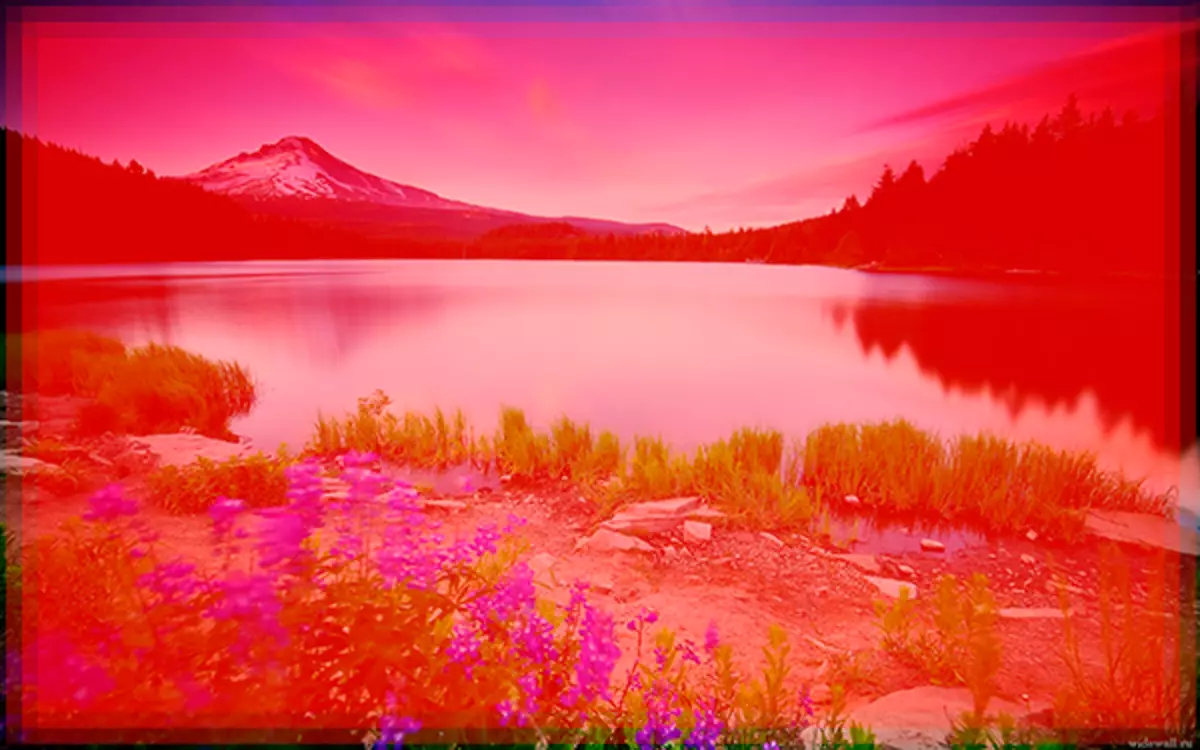
We get approximately the following:
- Turn off the quick mask and fill the selection by the selected color on the new layer.
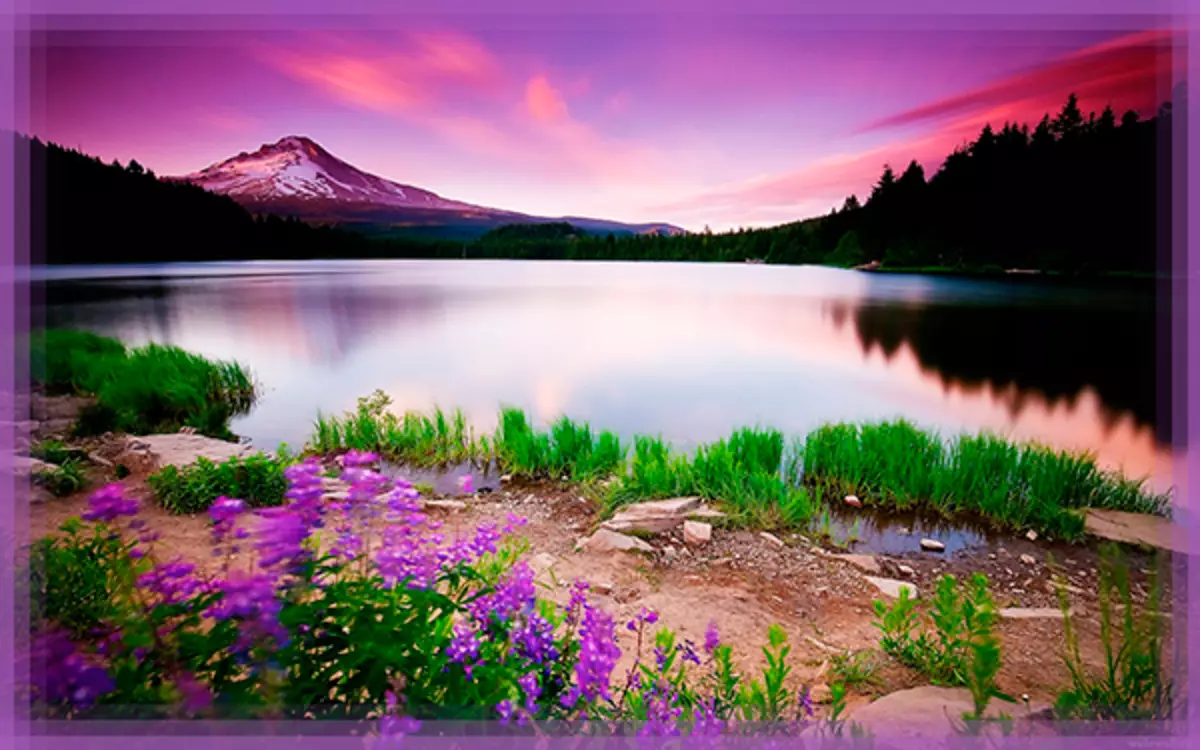
Such interesting options for the frames we learned how to create in this lesson. Now your photos will be executed properly.