

When working with a significant number of data on a sheet of the spreadsheet, you have to constantly check some parameters. But if there are many of them, and their area goes beyond the borders of the screen, constantly move the scroll bar is quite inconvenient. Excel developers just took care of the convenience of users, introducing into this program the possibility of consolidating areas. Let's find out how this feature is implemented and how to use the Microsoft Excel program.
Fastening the area in Excel
The solution of our today's task will be shown on the example of the Excel program that is part of the Microsoft Office 365 package, but in the previous versions or more new (2019), the steps necessary for fixing the area are performed in the same way.Option 1: area of strings
Quite often in the e-table Excel, it is necessary to fix the area from several top lines, which are the so-called cap. This is done as follows:
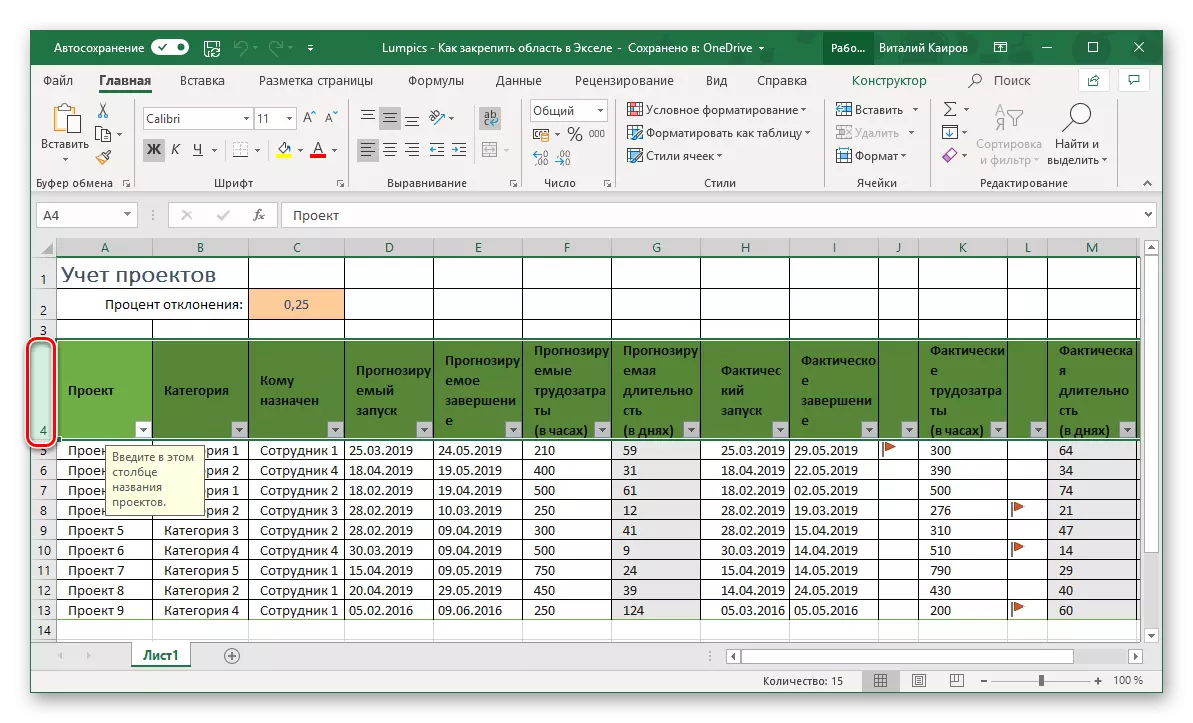
- Focusing on the line numbers on the side (left) program panel, select the left button by pressing the left mouse button (LKM) according to the line, which will be the following for the fixed range. In our example, we will fasten the first three lines, that is, it is necessary to allocate in this case the fourth.
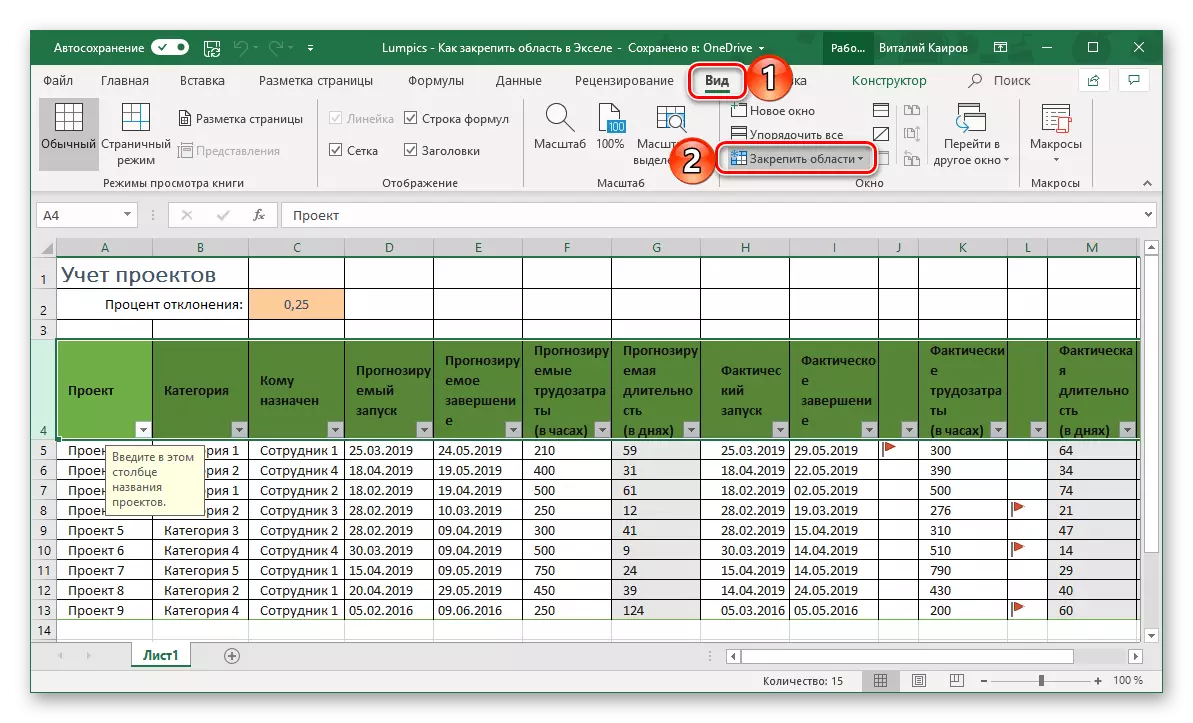
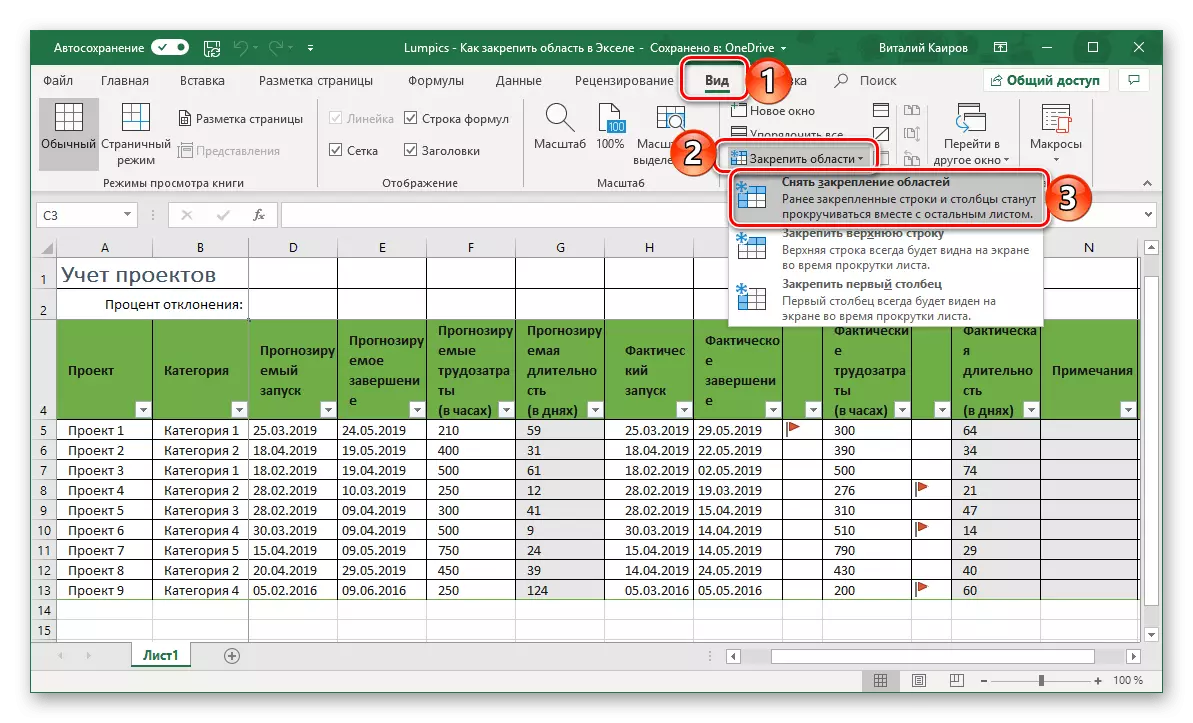
- Go to the "View" tab and in the "Window" toolbar, expand the menu of the "Secure Area" item.
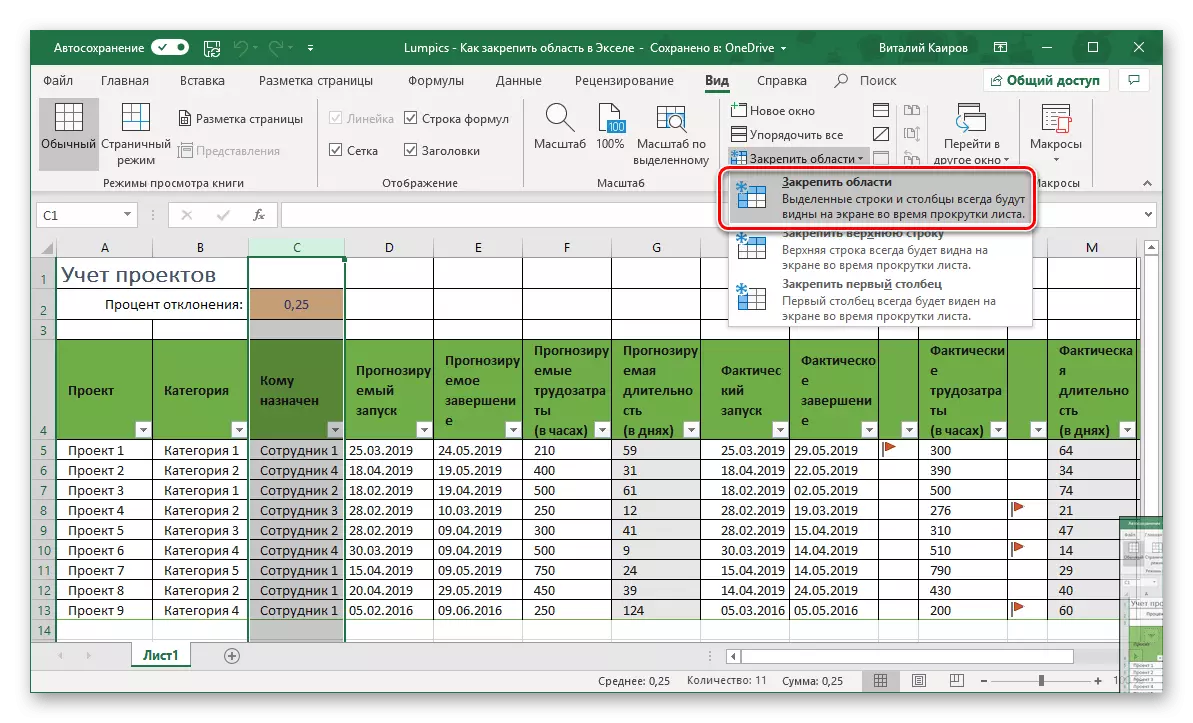
- In the displayed list of available options, select the only option suitable for our purposes - "fasten the area".

This is how easily you can fix a horizontal area consisting of several lines, in the EXCEL electronic table.

Option 2: area of columns
It also happens that it is necessary to fasten the top of the table, but the side, that is, the columns located on the left. The algorithm of actions in this case is the same, but with a short amendment.
- Highlight the column following the range of those planning to fix. In our example, the C column is, that is, we will fix the range A-B.
- Open the View tab and use the "Secure the Area" item.
- Select the first option from the list that duplicates the name of the main item and already mentioned by us in the previous part.


From this moment, the area designated (left) region will be fixed, and when scrolling the table in the horizontal direction, it will always stay in its place.
Option 3: area of rows and columns
Based on the fact that the information contained in the cells, which is most often needed to keep in front of the eyes, can be located both in its upper lines and side columns, it is not surprising that the Excel toolkit allows you to fix both the first and second. For this:
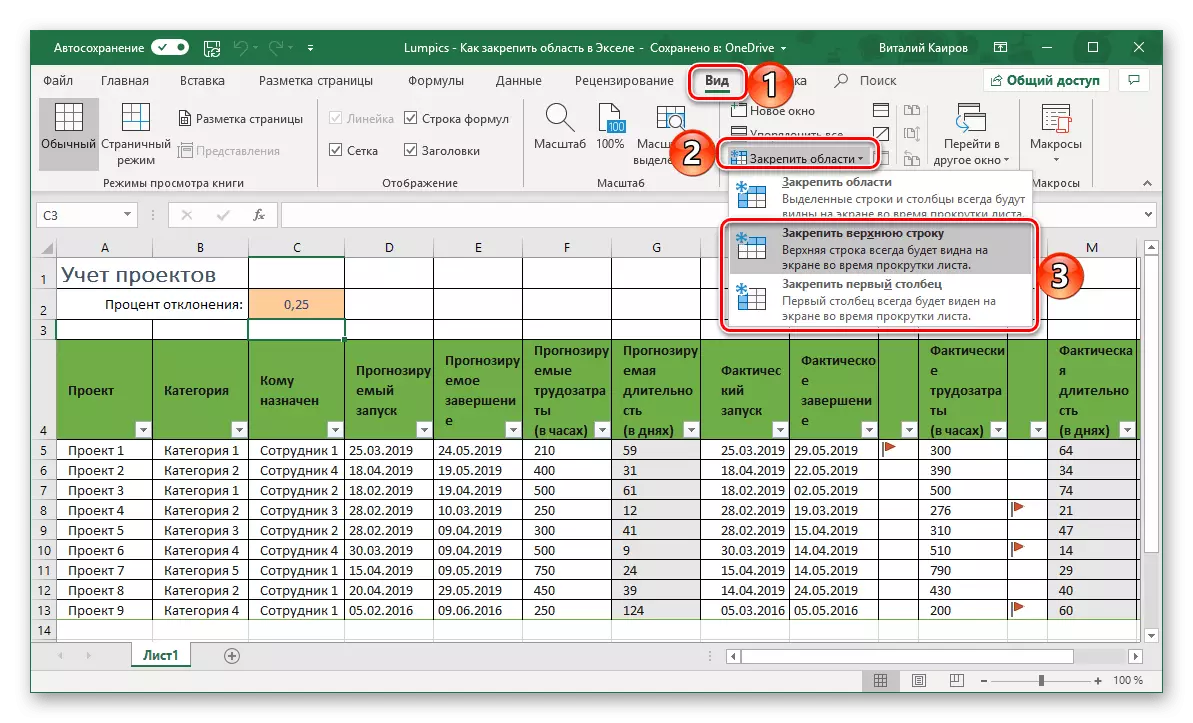
- Highlight by pressing the LCM that cell that is located below the rows and the right of the columns you want to fix, and then go to the "View" tab.
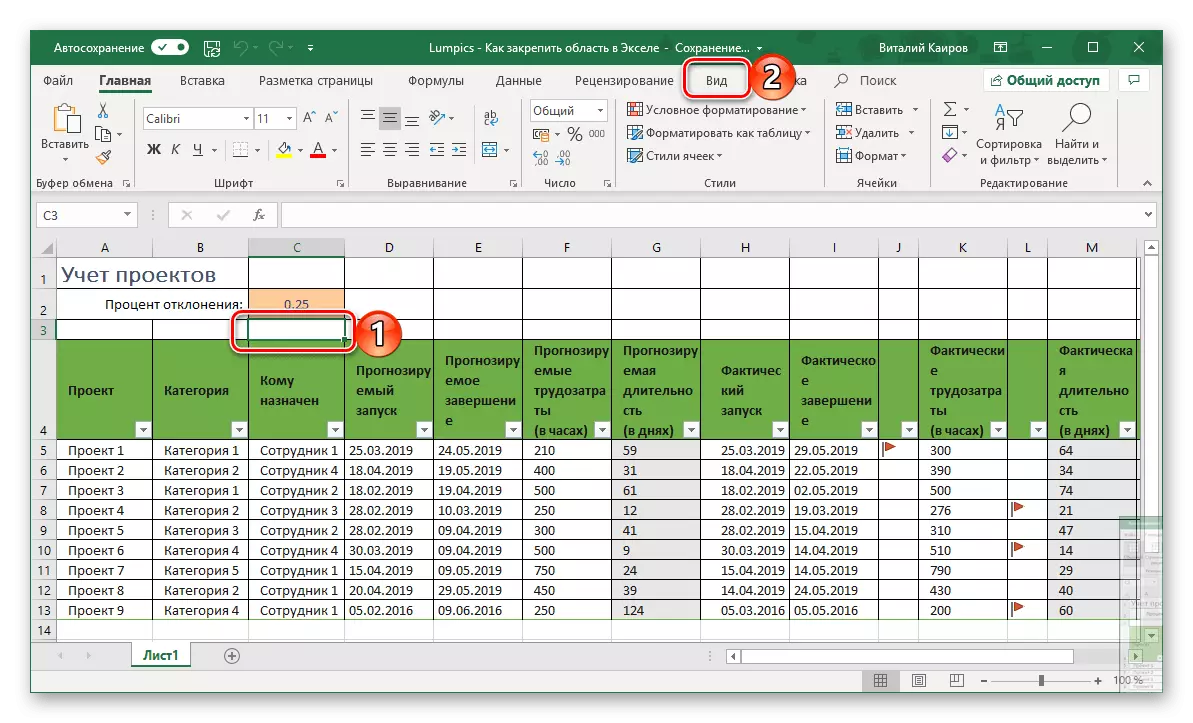
Example: In order to fix two first lines (12) and column (A, B) , select the cell with the address C3.
.
- In the field of "Window" tools tabs, use the item "Fasten the Area"

And in the list that opens, select the same option.
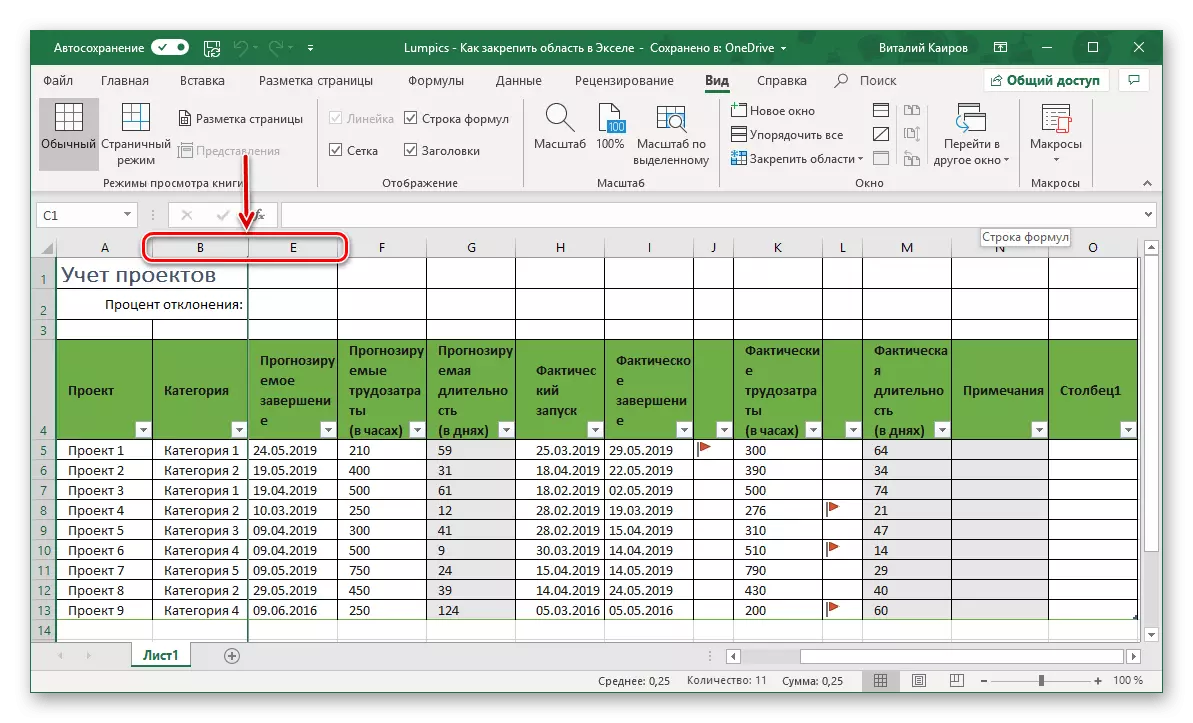
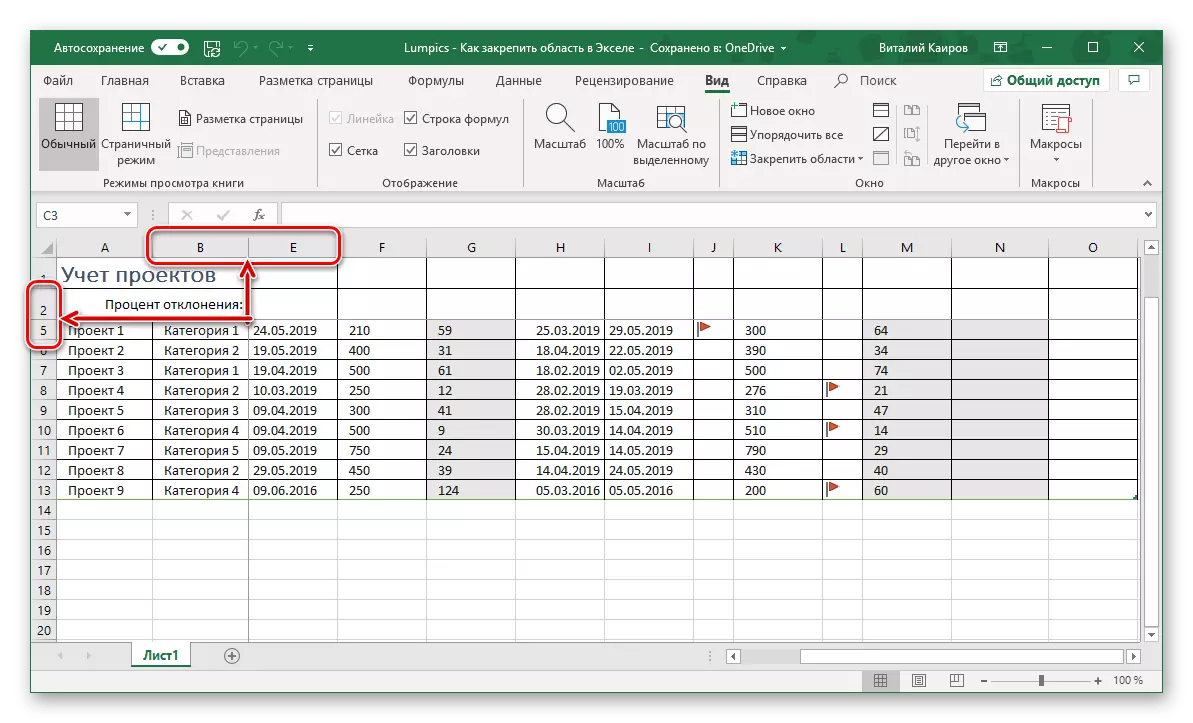
- Now, with a vertical scrolling of the table, fixed lines will remain in place,
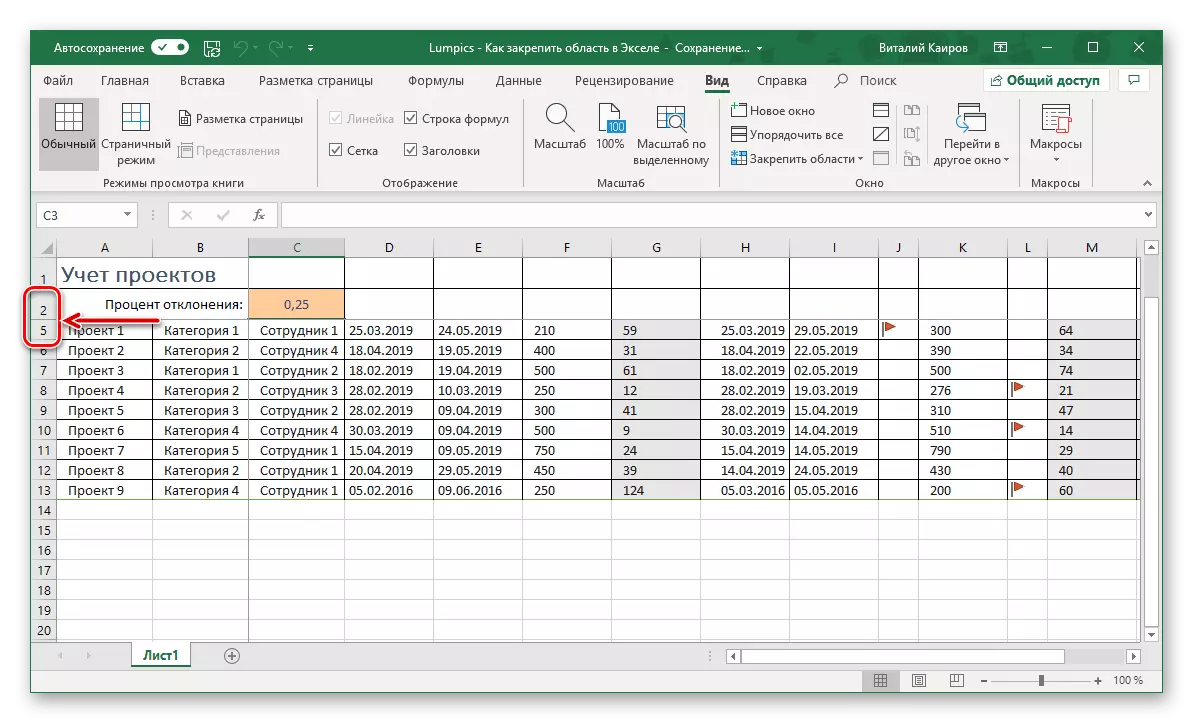
And with horizontal fixed columns will remain.


The version of the action considered in this part is the most literal interpretation of the phrase "consolidate the area". Make a static range from rows and columns may be required when the upper part of the EXCEL spreadsheet is a hat, and the side contains, for example, sequence numbers and full name of employees.
Option 4: One column or one line
If under the consolidation of the region, you imply a fixation of just one element of the table, that is, one of its row or one column, everything is done even easier. You just highlight the desired part, and then select the item that corresponds to your task in the "Secure Area" button. Alternatively, you can not allocate anything at all, and simply immediately choose one of the appropriate options - "secure the top string" or "fasten the first column", based on what task is in front of you. This procedure, as well as the nuances that may imply its implementation, was considered by us in separate articles, and we recommend familiarizing themselves.
Read more: How to secure one line or one column
Disposal of the enshrined area
In the event that the need to consolidate the area (strings, columns or mixed range is no matter) disappeared, it will be necessary to do in fact, as in the cases considered above. The only difference is that the "Fix area" menu should select the first and the most obvious item in this context to "remove the securing regions".
Conclusion
Snap the strings, columns or enlaring their range in the Microsoft Excel spreadsheet is easy. The main thing in this case correctly understand what element of the table must be allocated, and we told in detail in today's article.