
Very often, when photographing objects, the latter merge with the background, "lost" in space due to almost the same sharpness. The problem of the back background helps to solve the problem. This lesson will tell you how to make the back background blurred in Photoshop.
Blur back background
The amateurs come as follows: make a copy of the layer with the image, blur it, impose a black mask and open it on the background. This method has the right to life, but most often such works are obtained inactive. We will go different ways.Step 1: Branch of the object from the background
First you need to separate the object from the background. How to do this, read in this article so as not to stretch the lesson.
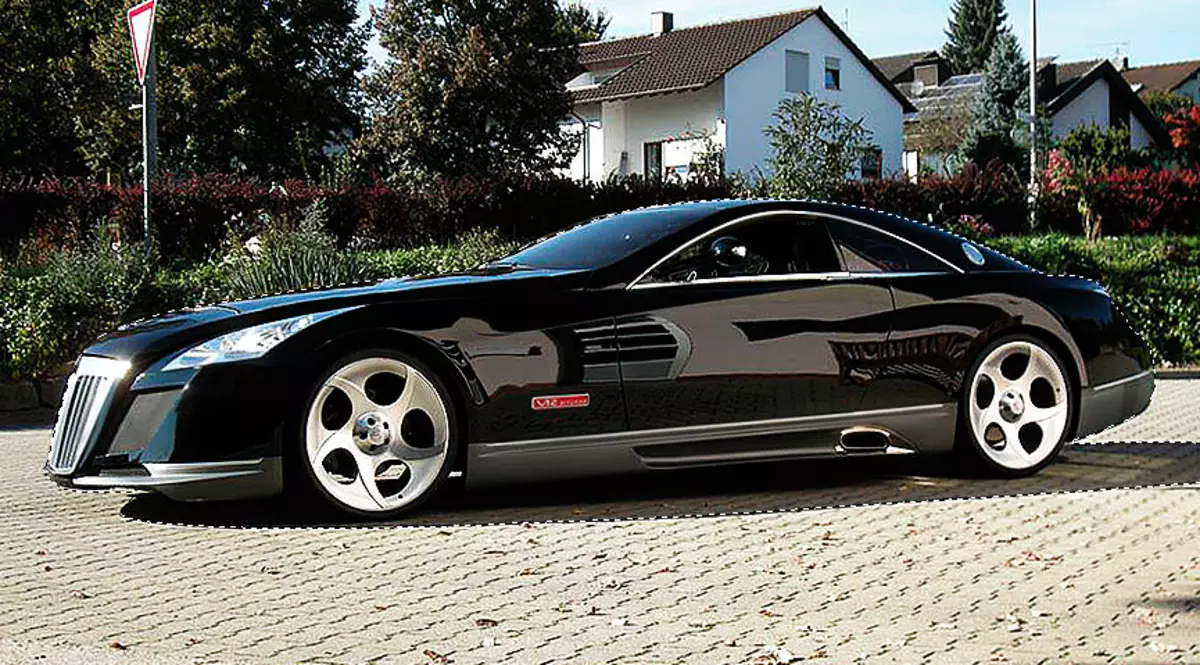
So, we have a source image:

Be sure to explore the lesson, the reference to which is given above!
- Create a copy of the layer and highlight the car along with the shadow.

The special accuracy is not needed here, the car we are then put back. After selecting, press inside the circuit with the right mouse button and form a selected area. Radius of decisive exhibit 0 pixels . Selection inverting key combination Ctrl + SHIFT + I . We get the following (selection):
- Now press the key combination Ctrl + J. Thereby copying the car to the new layer.
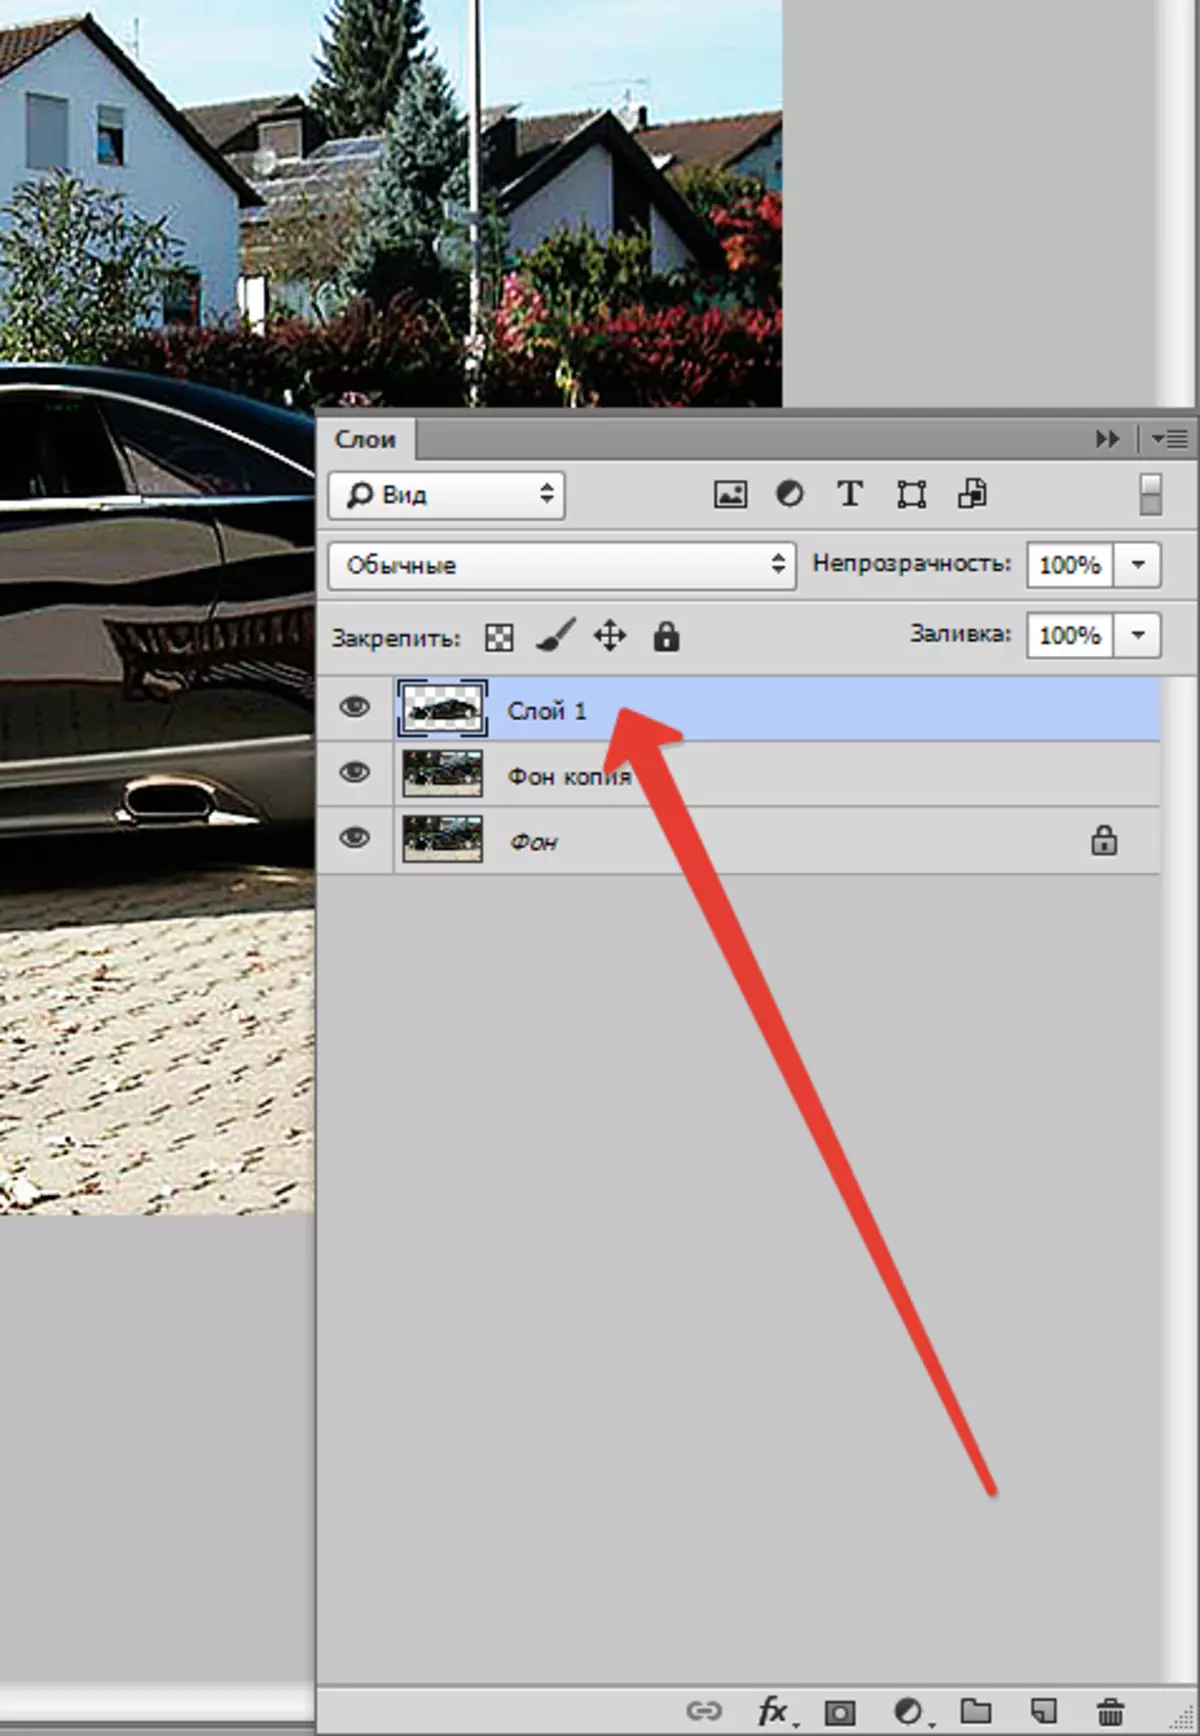
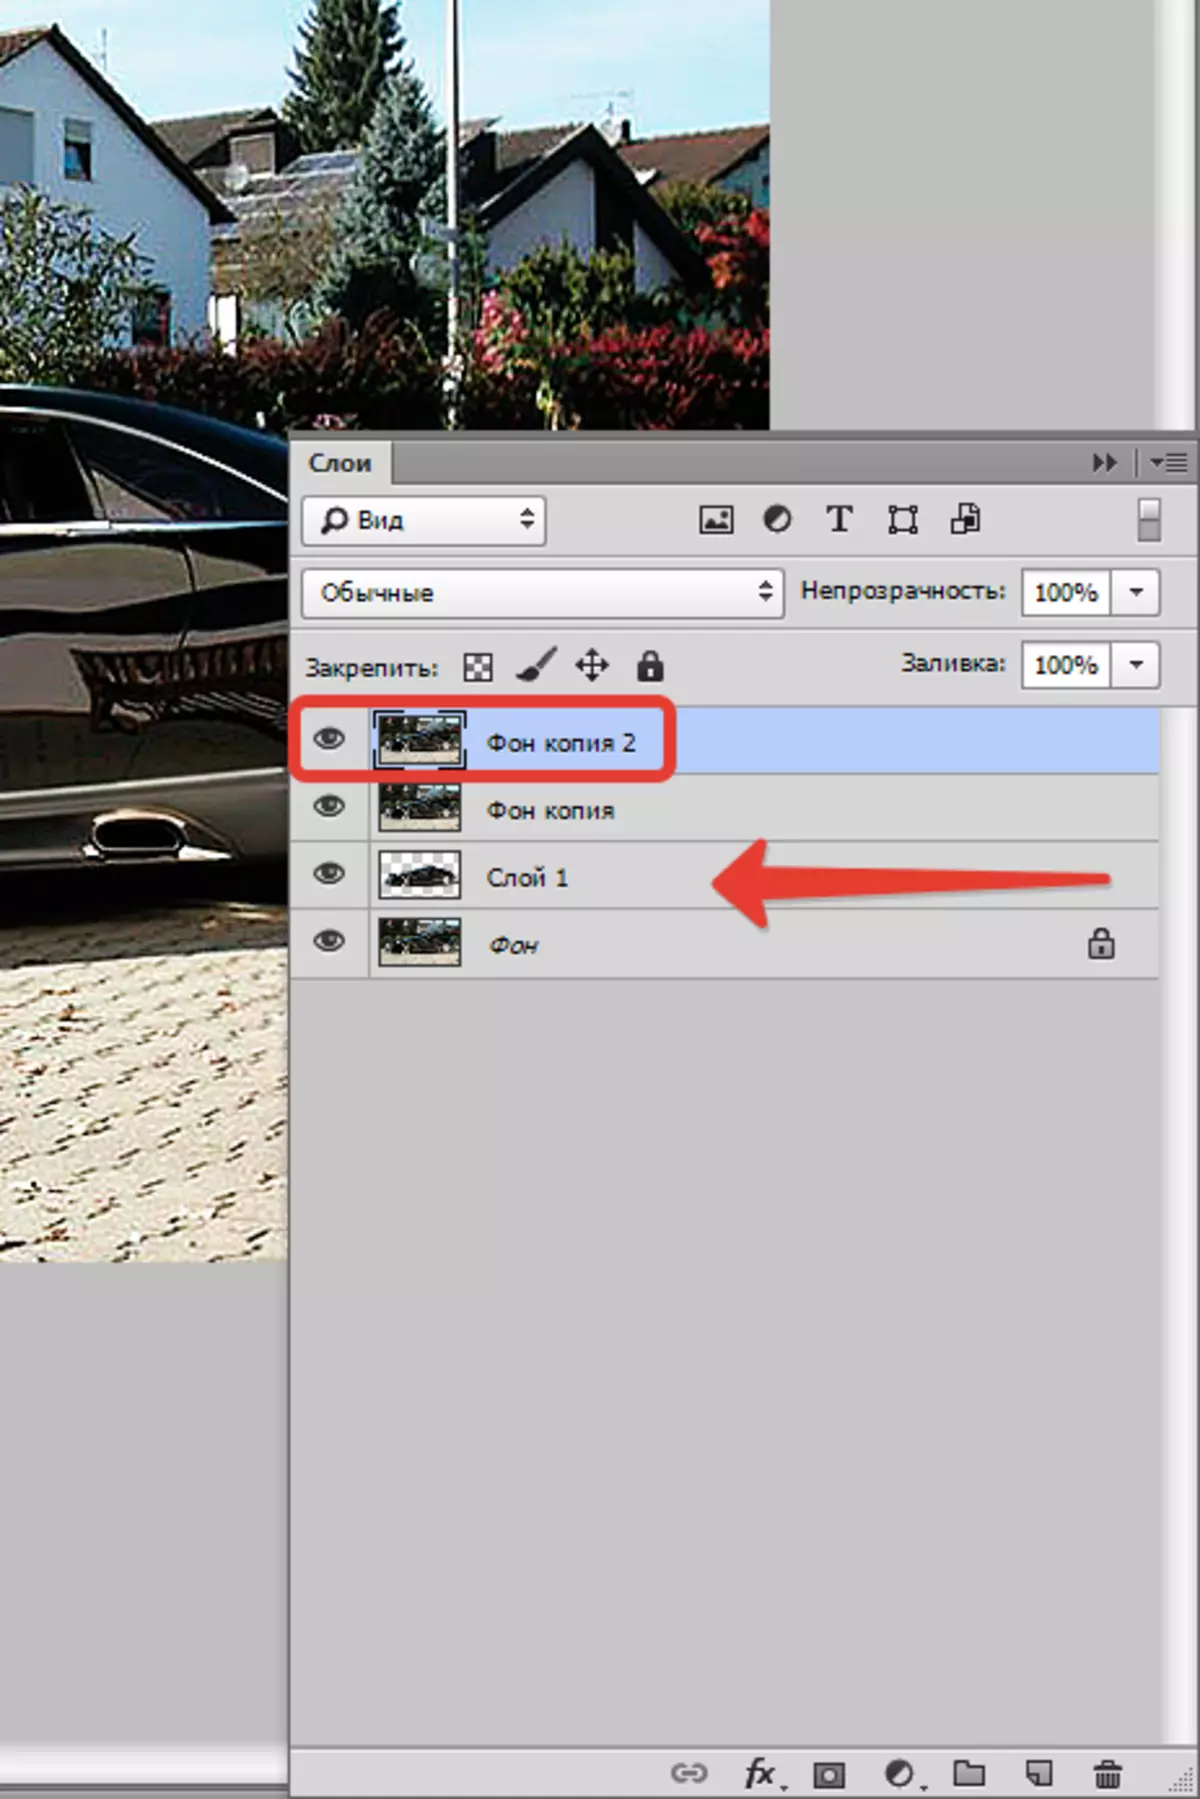
- We place the carved car under the copy of the background layer and make the duplicate of the latter.
Step 2: Blur
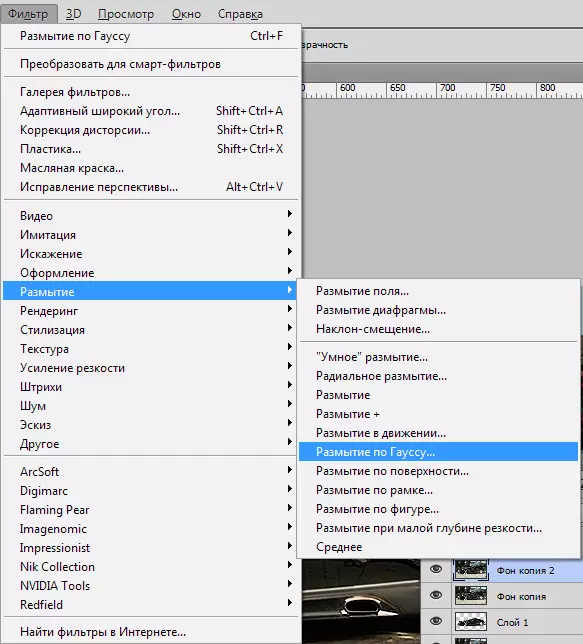
- Apply to the top layer filter "Gaussian blur" which is in the menu "Filter - blur".
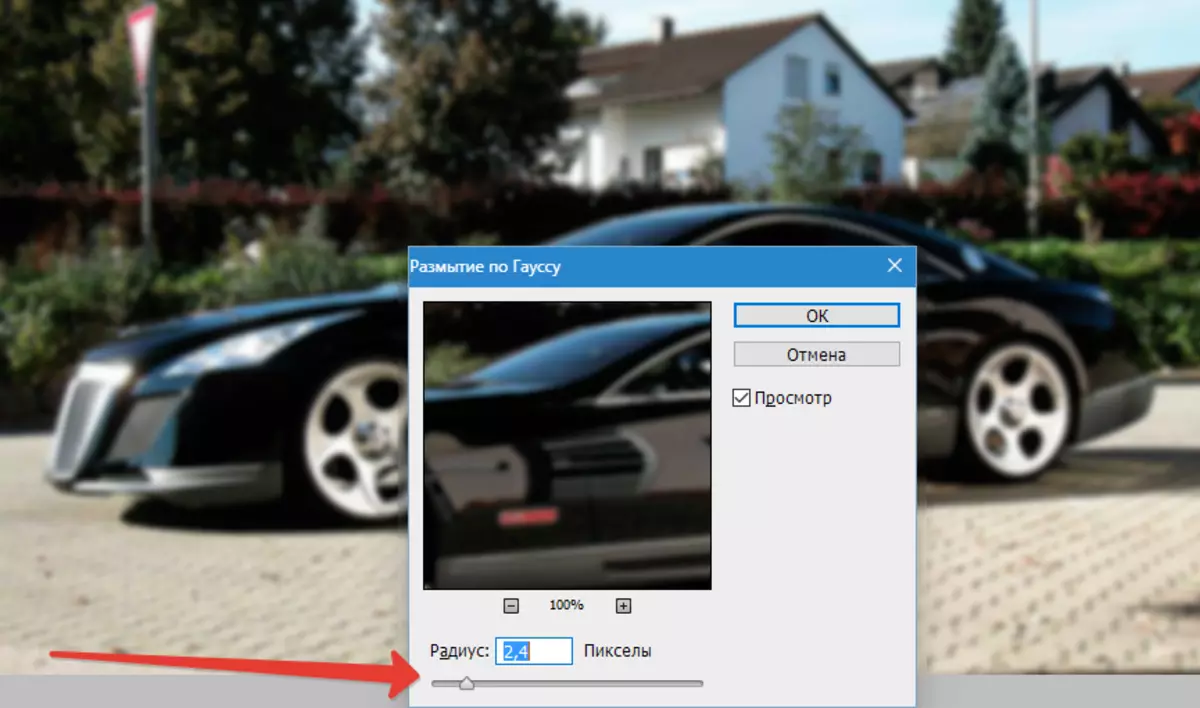
- Blind the background as much as we think necessary. Here everything is in your hands, just do not overdo it, otherwise the car will seem toy.
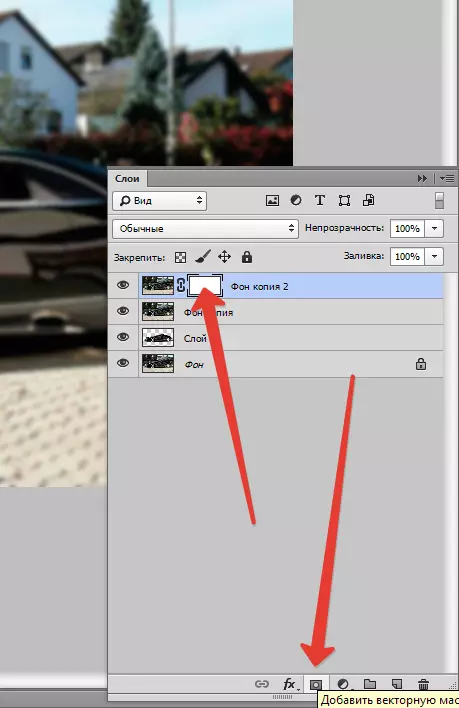
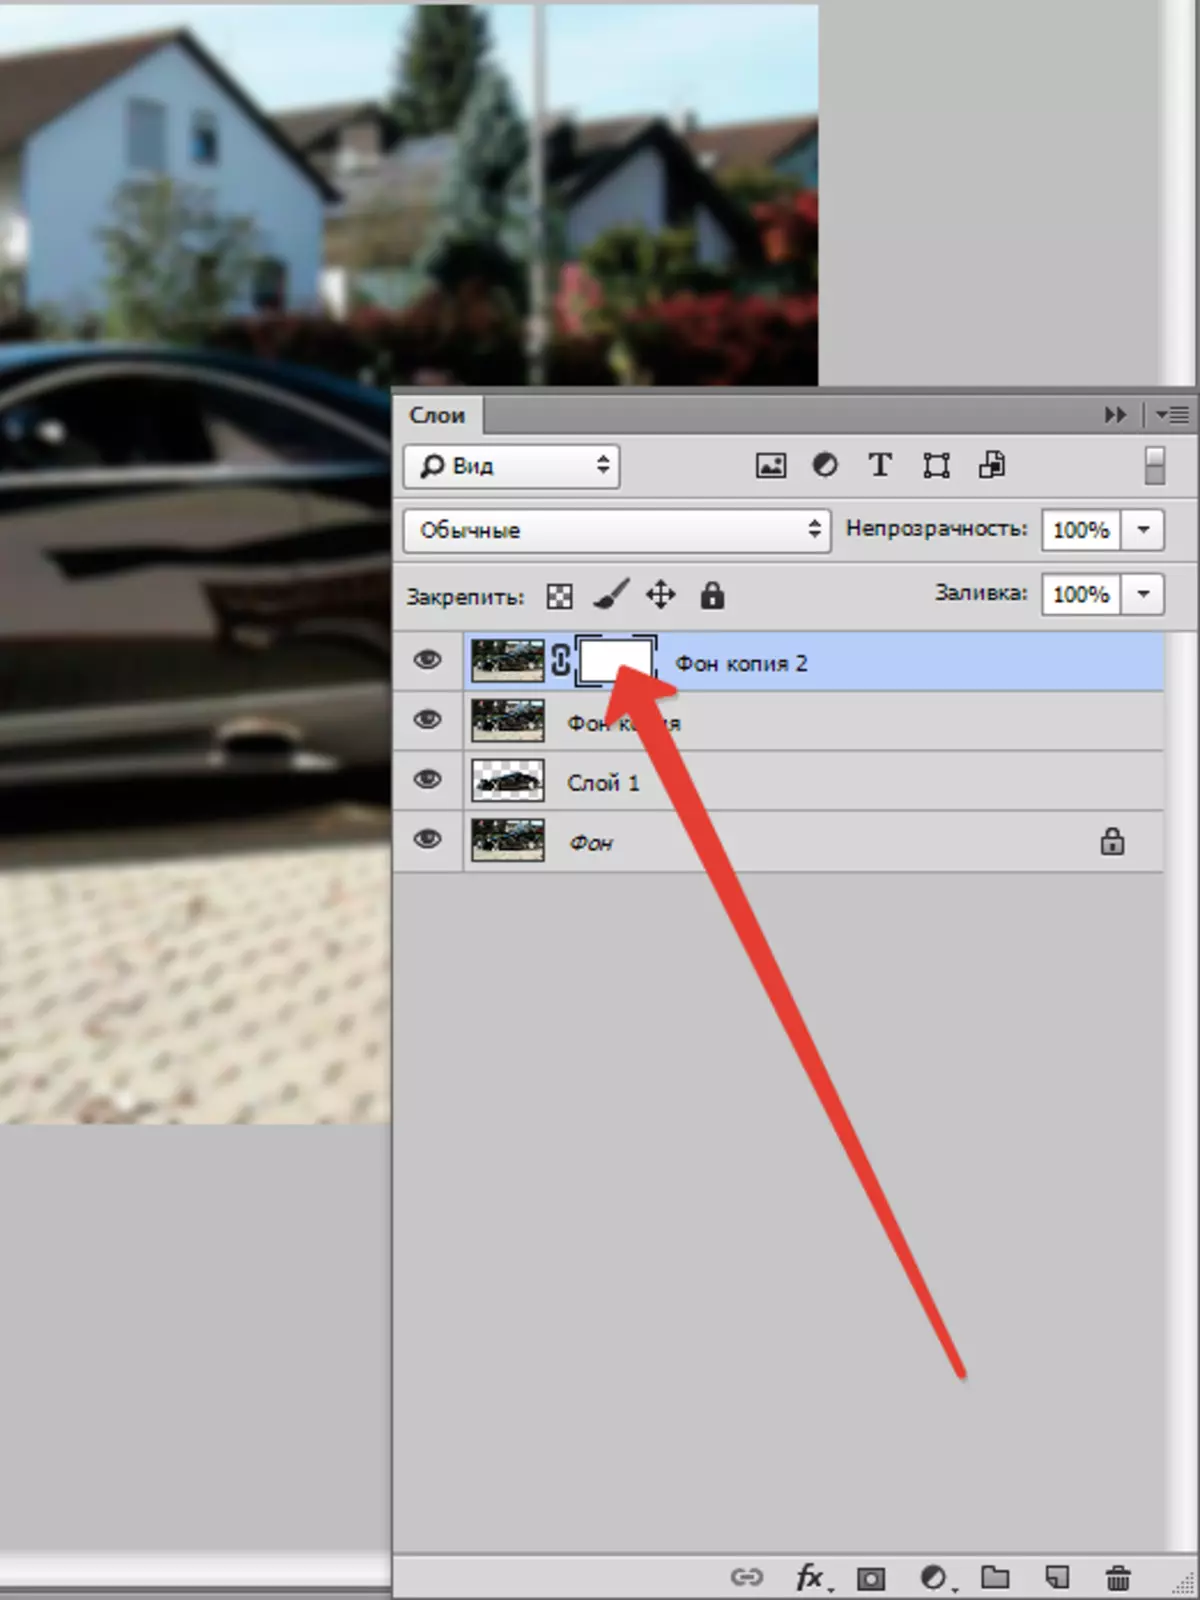
- Next, add a mask to a layer with blur by clicking on the corresponding icon in the layer palette.
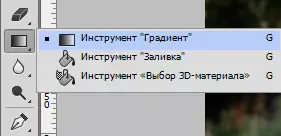
- Now we need to make a smooth transition from a clear image in the foreground to blurred in the back. Take the tool "Gradient".
Configure it, as shown in the screenshot below.

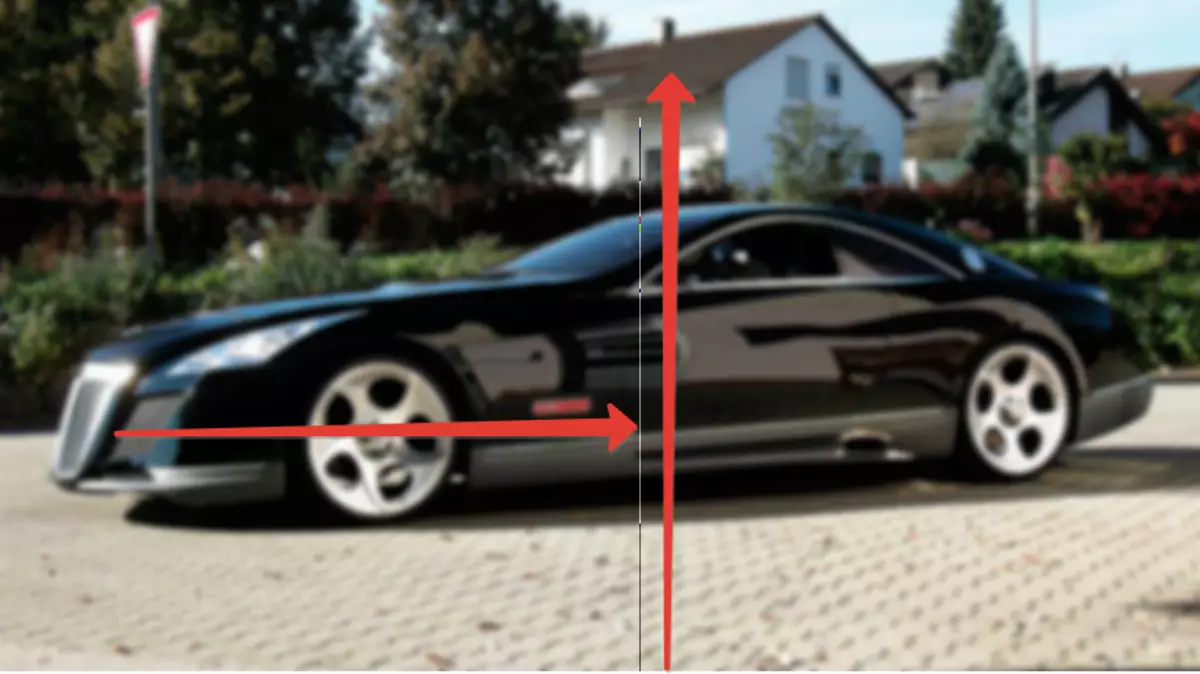
- Further is the most difficult, but at the same time an interesting process. We need to stretch a gradient on a mask (do not forget to click on it, thereby activating for editing).
Blur in our case should start approximately on the bushes behind the car, as they are behind it. Gradient pull the bottom up. If the first time (or from the second ...) did not succeed, nothing terrible - the gradient can be stretched again without any additional actions.
We get this result:
Step 3: Fitting an object to the background
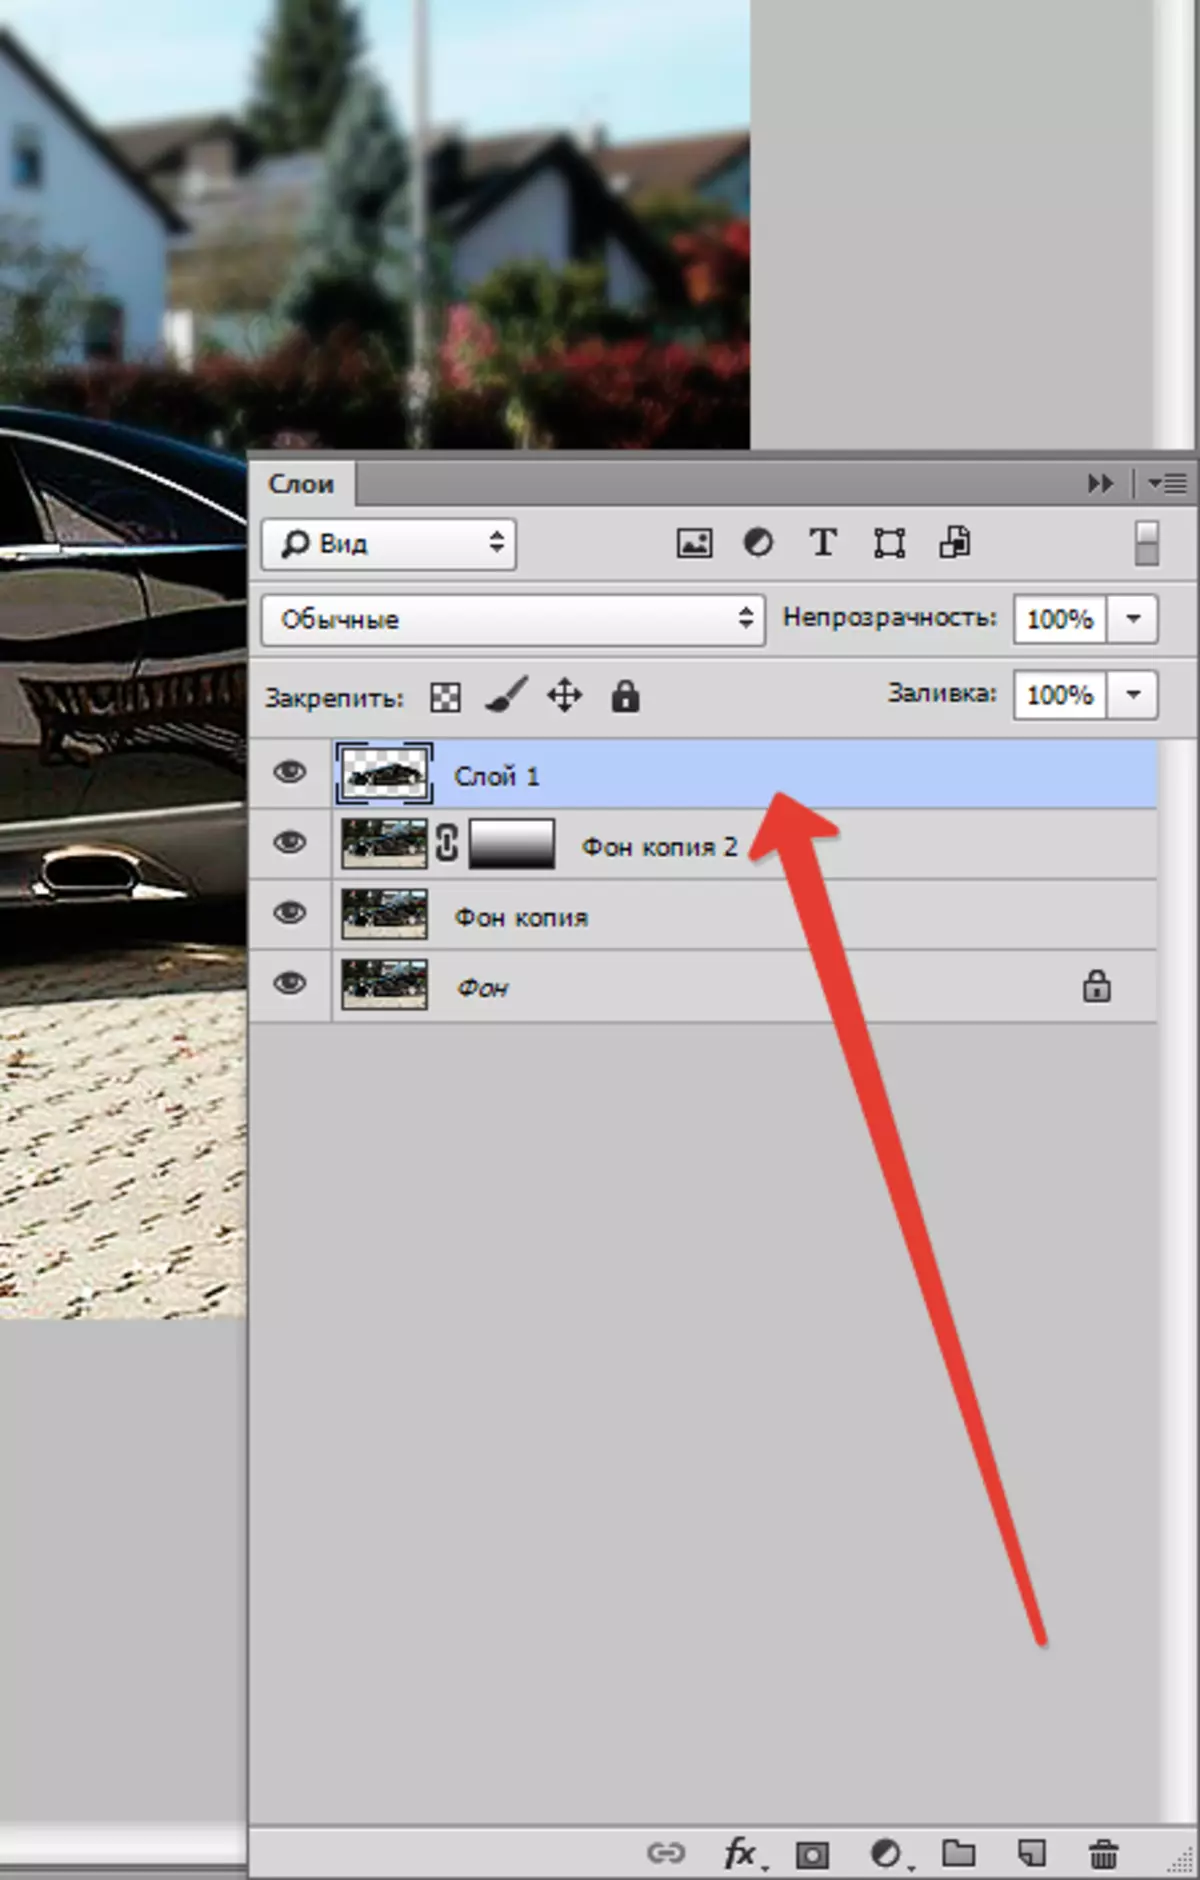
- Now we put our carved car to the very top of the palette.
And we see that the edges of the car after cutting look not very attractive.

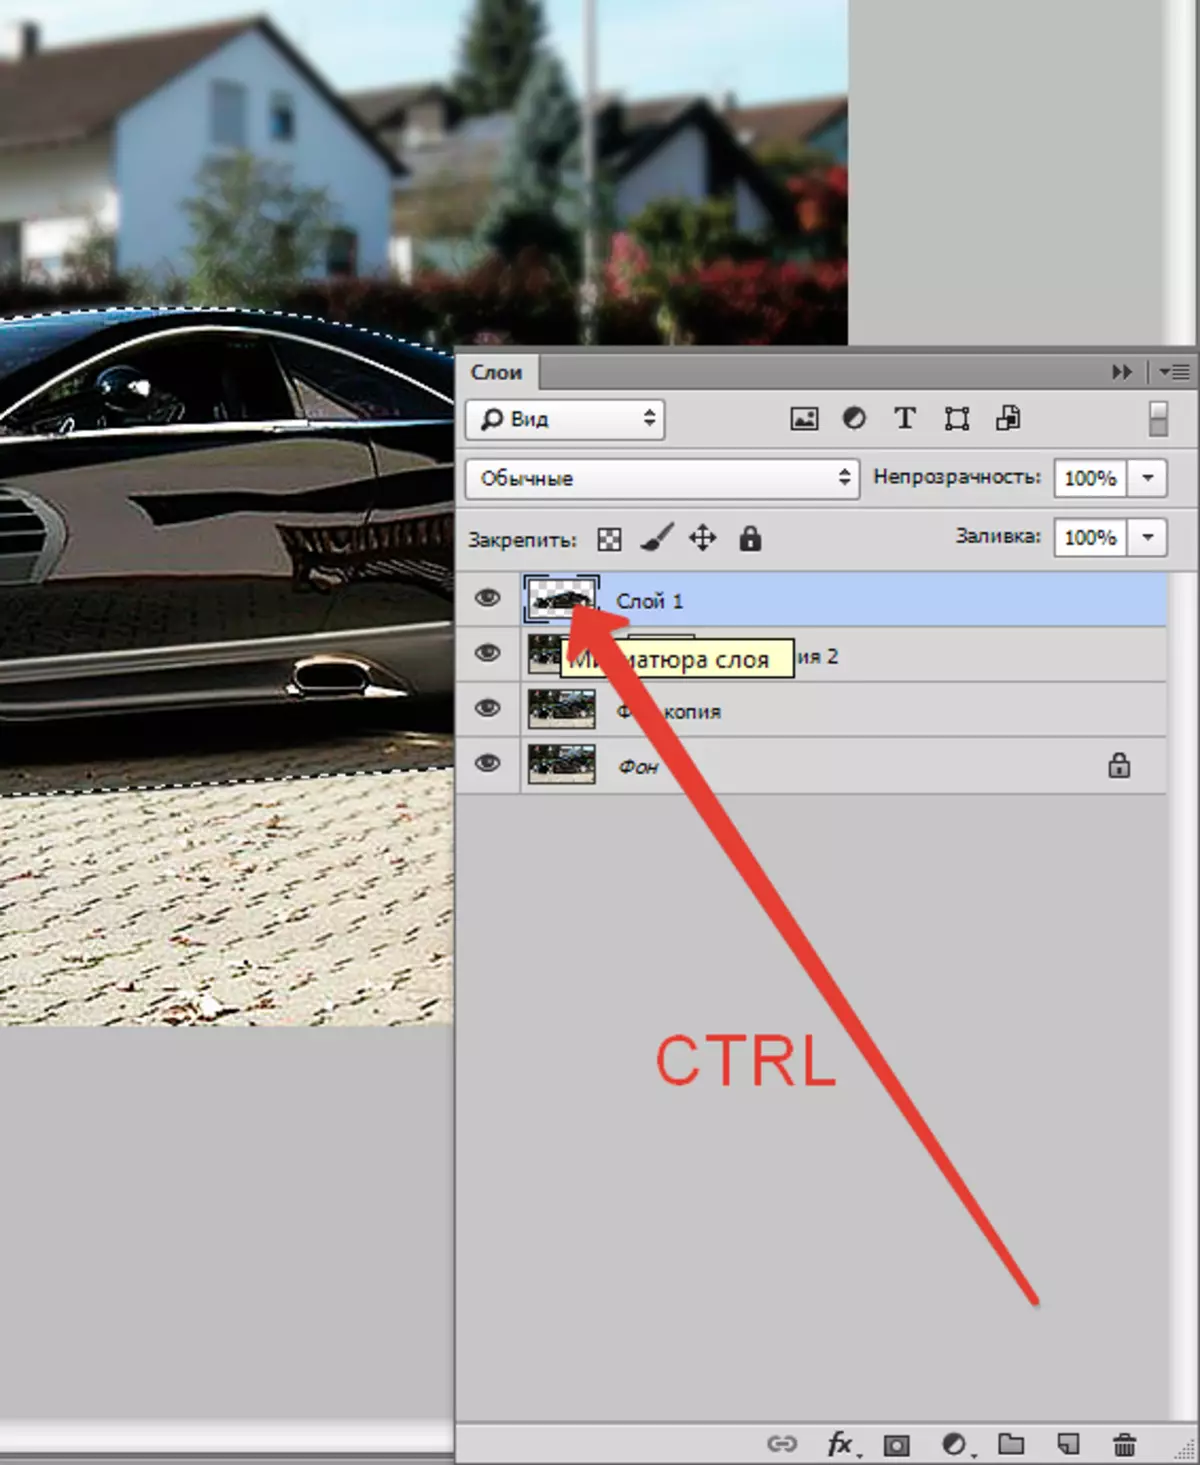
- Clamp Ctrl And click on the layer miniature, thereby highlighting it on the canvas.
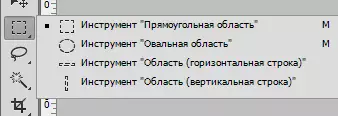
- Then choose the instrument "Allocation" (any).
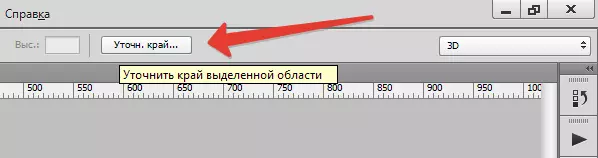
Click on the button "Clarify the Edge" On the top of the toolbar.
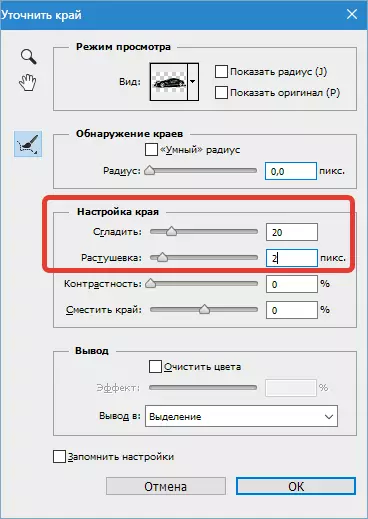
- In the tool window, do smoothing and cutting. Some tips here are difficult, it all depends on the size and quality of the image. Our settings are:
- Now invert the selection ( Ctrl + SHIFT + I ) And click Del. There is, thereby removing the part of the car along the contour. Selection Remove the keyboard key Ctrl + D..
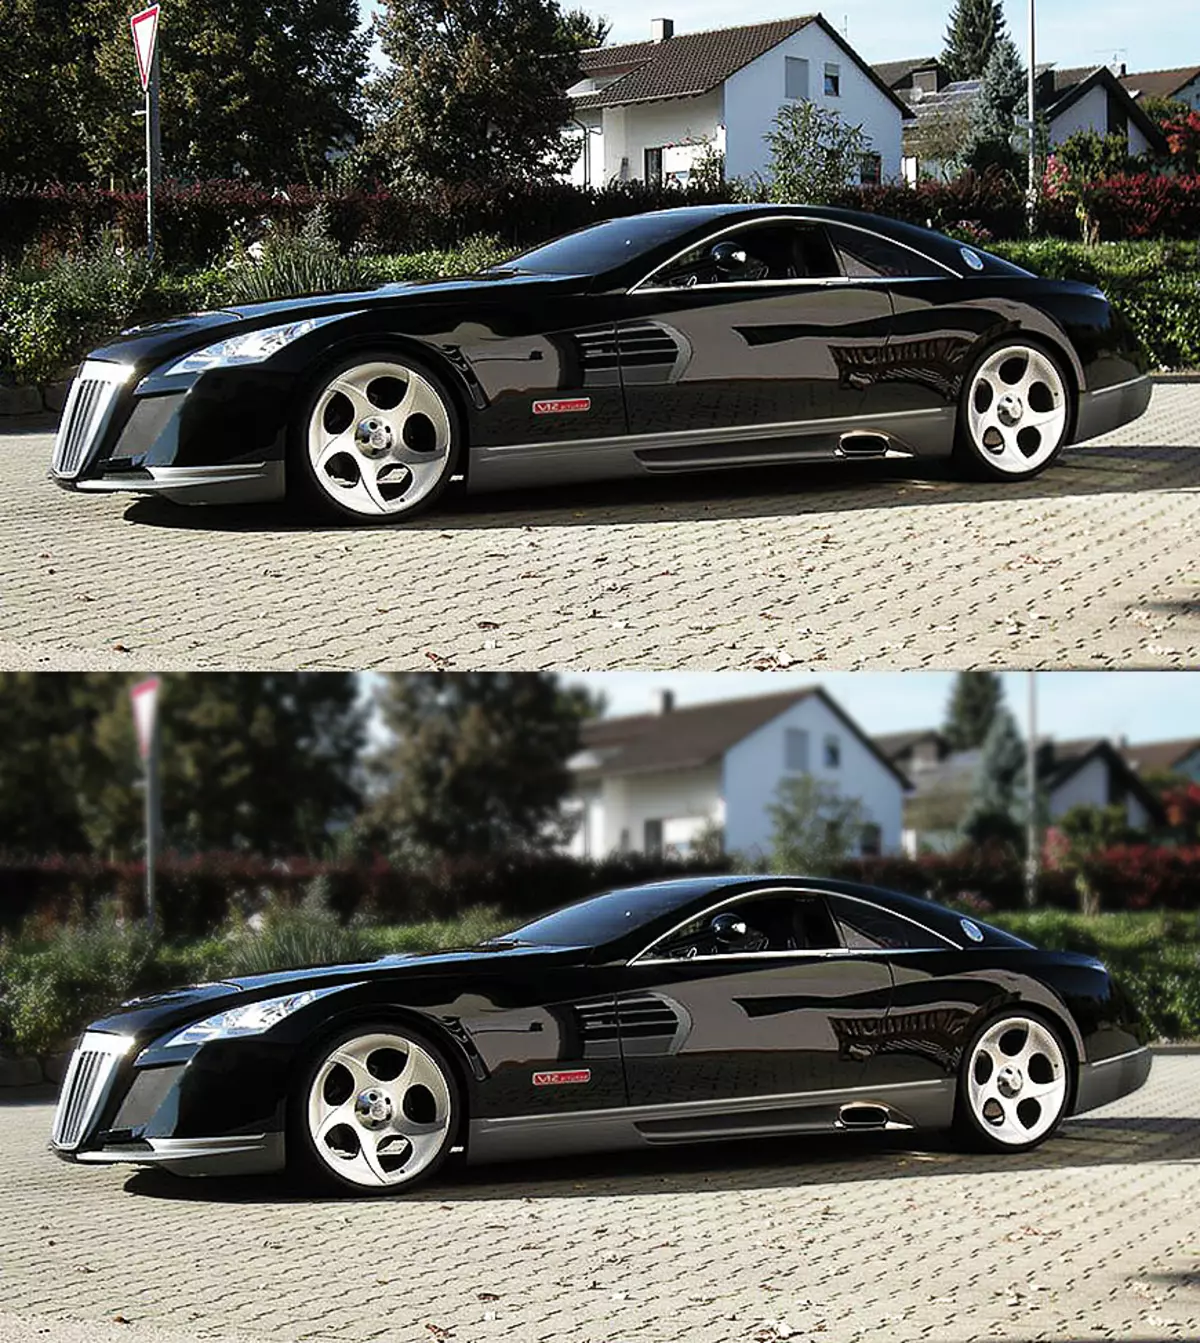
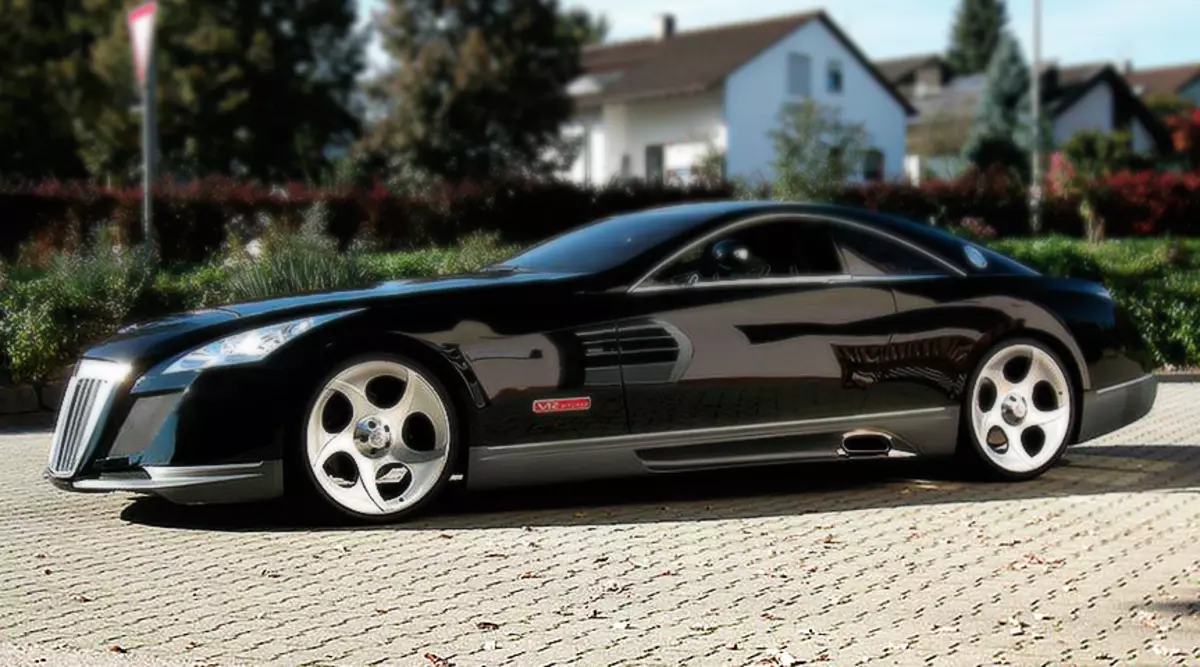
As you can see, the car has become more distinguished against the background of the surrounding landscape.
Using this reception, you can reverse the background in the photoshop CS6 on any images and emphasize any items and objects even in the center of the composition. The gradients are not only linear ...