Quite often, in the process of working with text documents in the Microsoft Word program there is a need to add a special character to the usual text. One of these is a tick, which, how you probably know, no on a computer keyboard. It is about how to put it, and will be discussed in this article.
Adding a symbol tick in the Word
Like most tasks that you can encounter in the process of working with documents in the Microsoft Word text editor, you set up before us today can be solved in several ways. Three of them are essentially different variants of one and how to add the same characters, but slightly different, one implies access to standard Windows capabilities, and one more allows you to create a real checkbox - an interactive field, a tick in which you can create , so clean. Consider all this more further.Method 1: Character Insert menu
This is the easiest and most obvious option to add any characters and special characters to a text document that is not on the keyboard. The checkbox you are interested in - no exception.
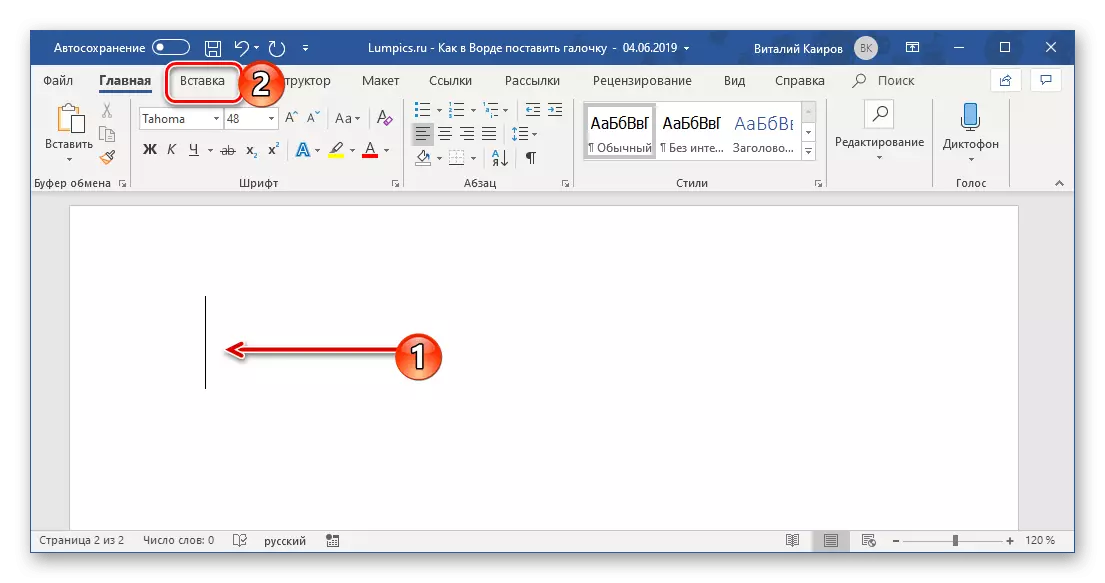
- Click on the place on the sheet where you need to add a tick. Switch to the "Insert" tab,
Find and click there on the "Symbol" button located in the group of the control panel and select "Other Symbols" in the expanded menu.
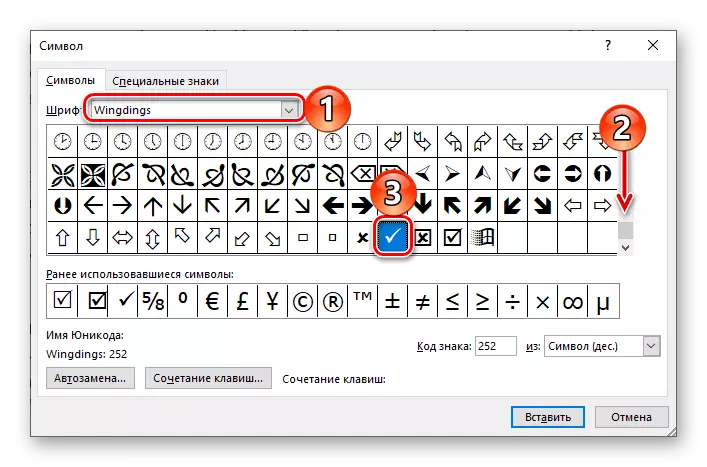
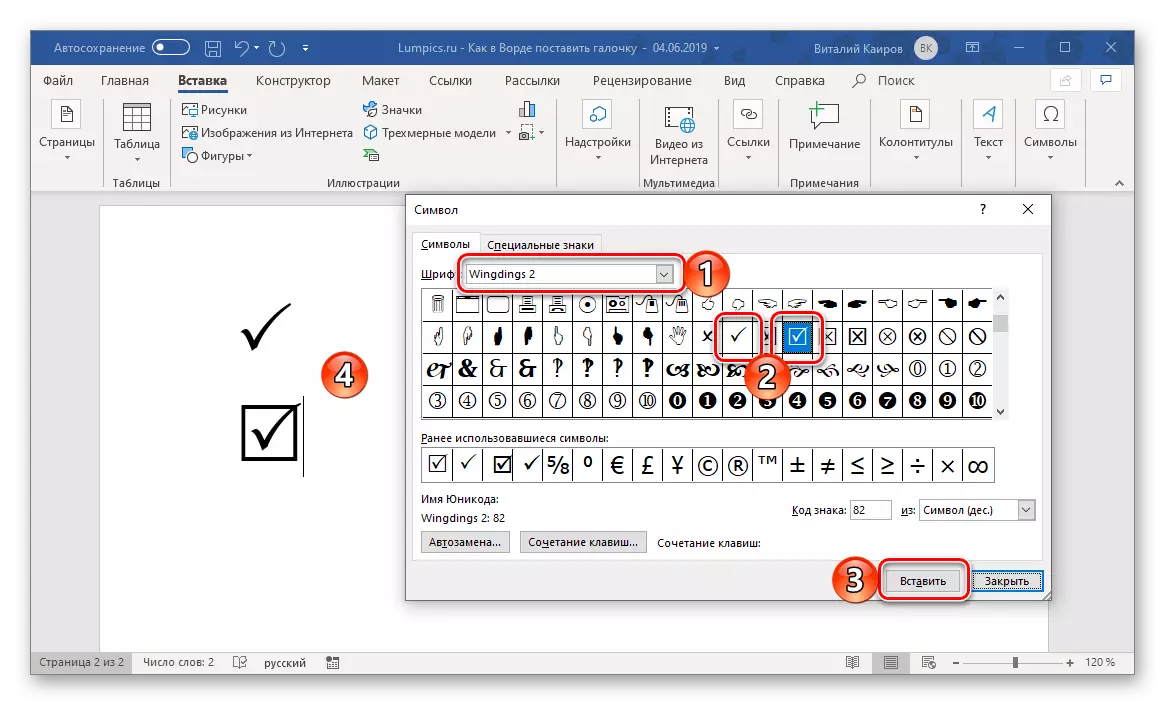
- In the dialog box that opens, find the symbol of the check mark. The easiest way and faster it can be done if in the "Font" from the drop-down list select "WingDings", and then scroll down the list of characters down a bit.
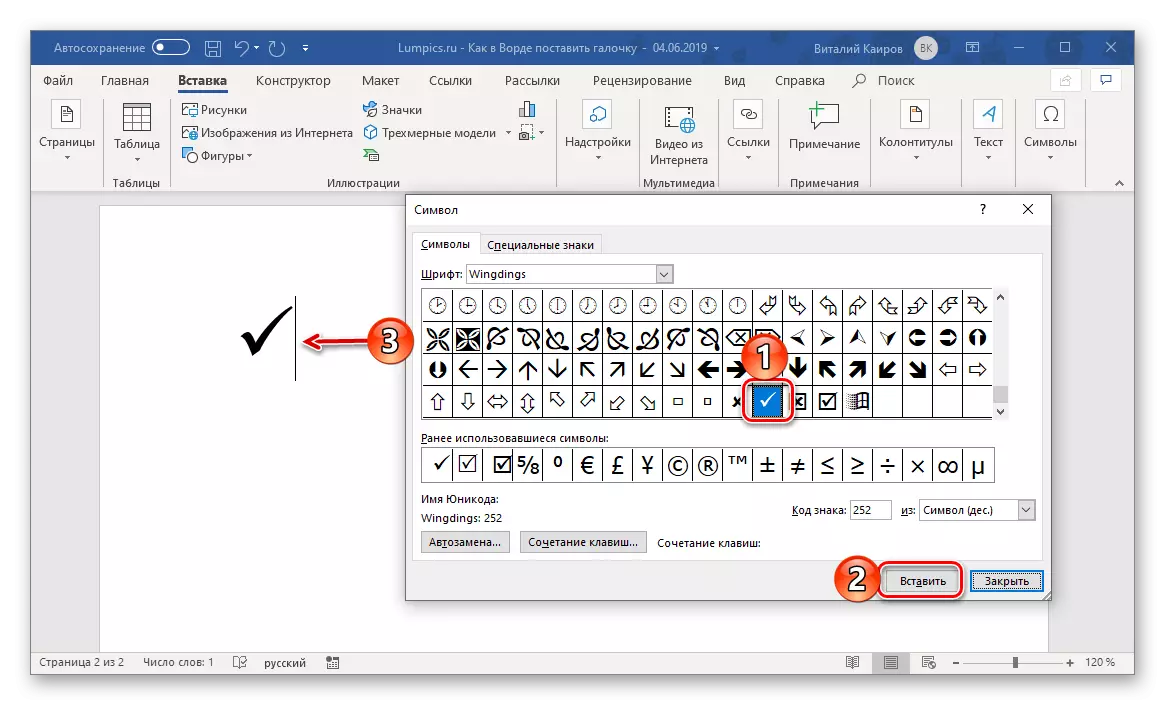
- By selecting the desired character, click on the "Insert" button, after which the checkmark symbol appears on the sheet.

By the way, if you need to insert a tick in the Word in the square, that is, to create the above-mentioned checkbox (truth, static, not interactive), simply select the corresponding icon in the same "Symbols" window and when the WingDings font is installed. It looks like this symbol as follows:

Additionally . If in the Symbol selection window, change the font to "WingDings 2", you can insert into a document similar to the symbols shown above, but in a thinner design.
READ ALSO: Inserting characters and special signs in Word
Method 2: non-standard font + key combination
The symbols that shown by us, imitating a tick and a tick in a square, belong to specific fonts - "Wingdings" and "Wingdings 2". Just the latter can be used to enter the icons you are interested in from the keyboard. True, not everything is so obvious here, but therefore without detailed instructions can not do
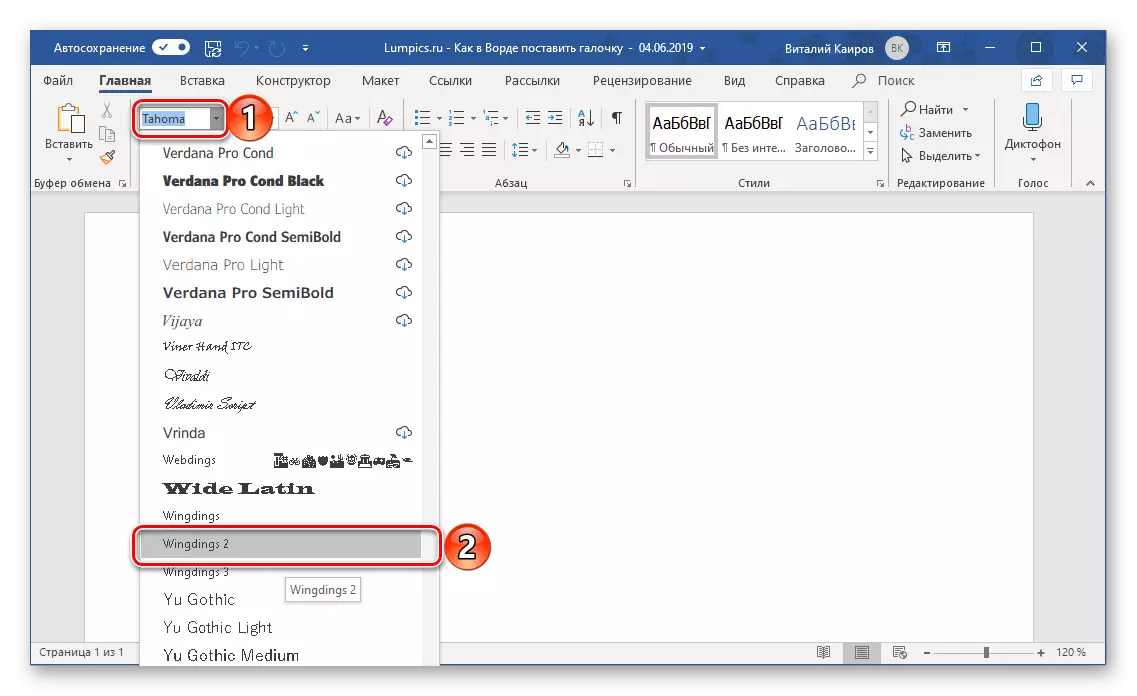
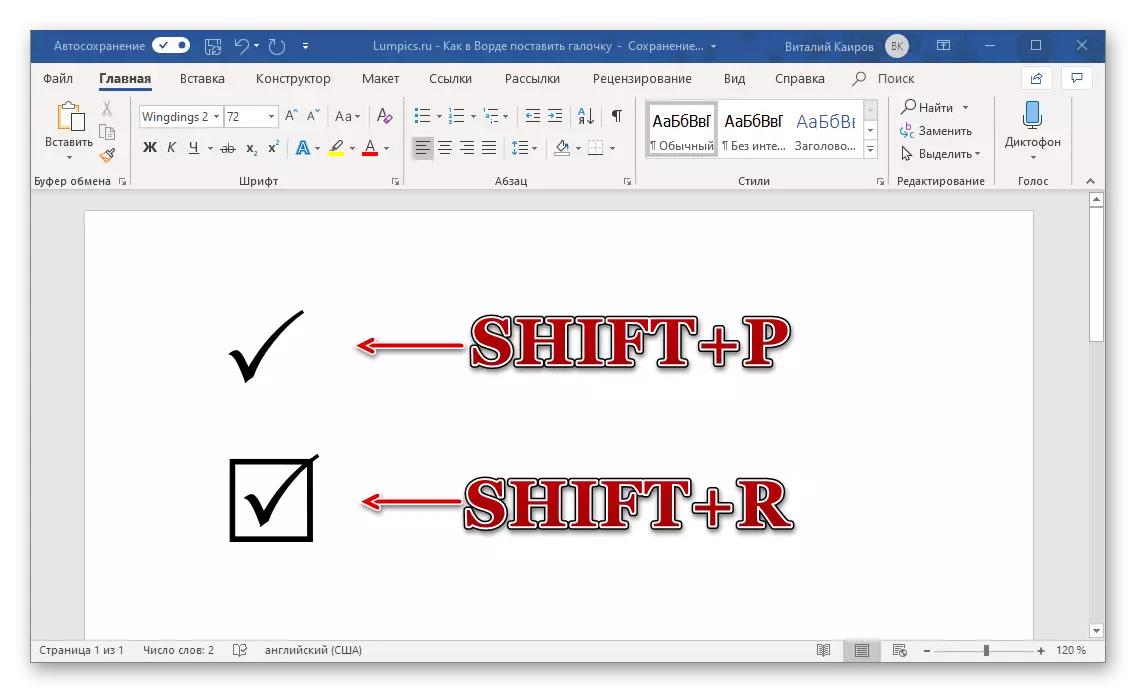
- Being in the "Home" tab, from the drop-down list available in the fonts program, select "Wingdings 2".
- Switch to English layout ("Ctrl + Shift" or "Alt + Shift" depends on the settings installed in the system), and press the SHIFT + P keys to add a tick or "SHIFT + R" to add a tick included in the square field .
Method 3: non-standard font + code
If you carefully monitored the progress of the first method, probably noticed that in the character selection window, with direct allocation, the "sign code" is specified in the right-time bottom area. Knowing it and what the font does it refer, you can quickly enter the necessary character, without referring to the standard menu insertion of the text editor.
Note: The code combinations indicated below should be entered only from the digital keyboard unit (NUMPAD) located on the right. The top number of numbers for this will not suit, therefore, on input devices without this block, this method will not work.
WingDings.
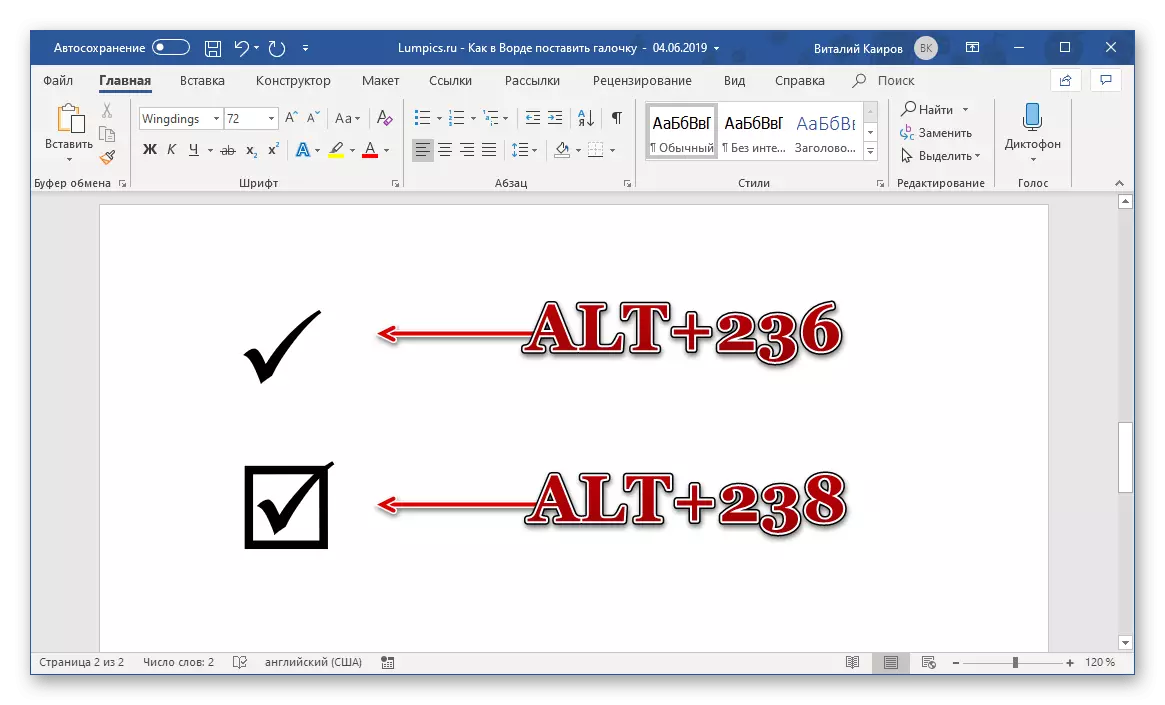
First of all, you need to select the appropriate font - "WingDings", then switch to the English keyboard layout, and then climb the alt key and alternately press the numbers below on the digital block. As soon as you enter them and release Alt, the symbol attached to the code. The direct entry of the code combination will not be displayed.
- Alt + 236 - Tick
- Alt + 238 - Tick in a square
Note: In the window "Symbol" For those considered by us, the ticks are indicated by other, different from the codes designated above, but they, for some reason, add completely different signs to the document. Perhaps this is just an error or bug program that will sooner or later be fixed.
Wingdings 2.
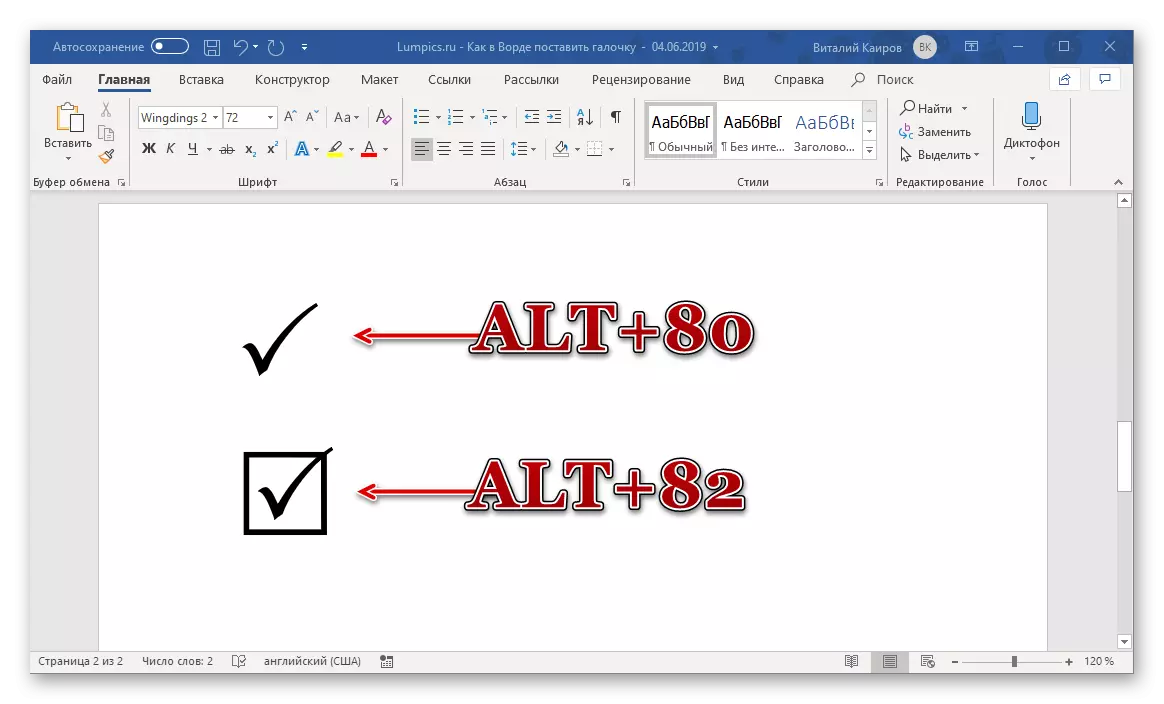
If you want to enter a slightly more "slender" symbols of a tick or static checkbox, select the "WingDings 2" font in the Home tab, after which, as in the above case, hold the ALT, type Special code on the digital keyboard block and release Alt.
- Alt + 80 - Tick
- Alt + 82 - Tick in a square
Method 4: Preset Set of Windows Symbols
All the characters presented in the built-in Word Library are and directly in the operating system - they are recorded in a special table from which they can be copied for further use. It is quite logical that WINDOVS contains the check mark and check mark in the square frame.
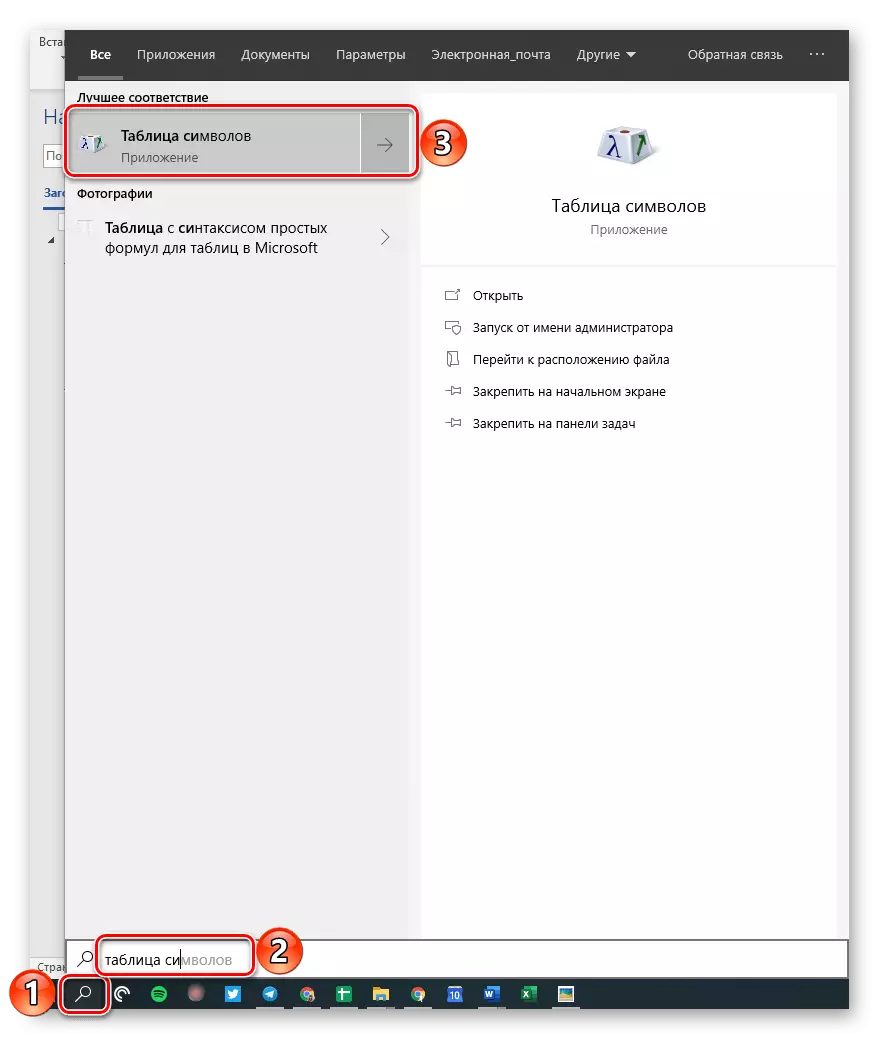
- Use the search for the system (Windows + S keys) if you have Windows 10 installed, and start typing the "Symbol Table" in the string. As soon as the corresponding component appears in the results list, open it by pressing the left mouse button (LKM) by name.
If you have installed Windows 7, the search should be executed through the Start menu - enter a similar request to the search string present in it.
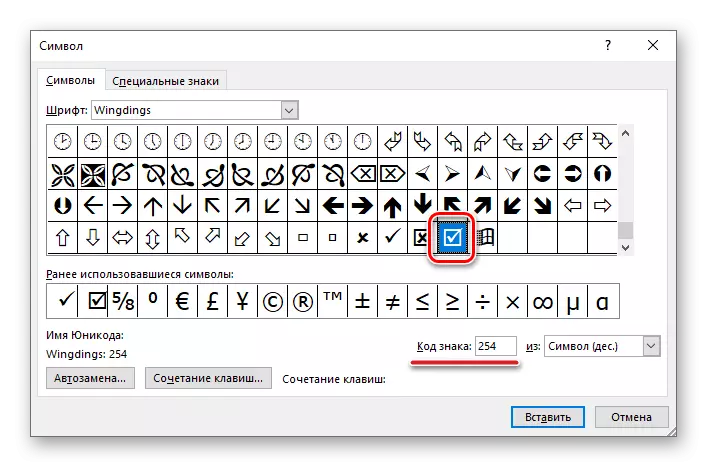
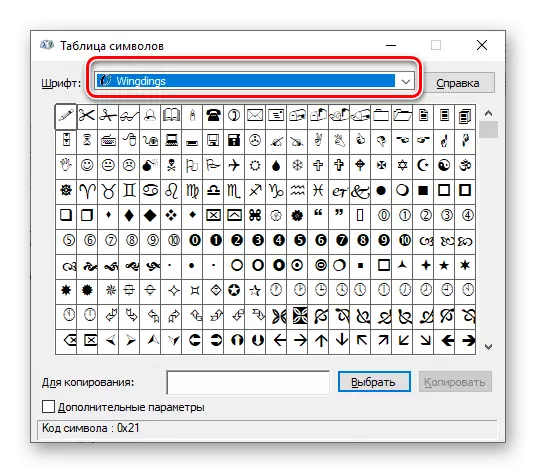
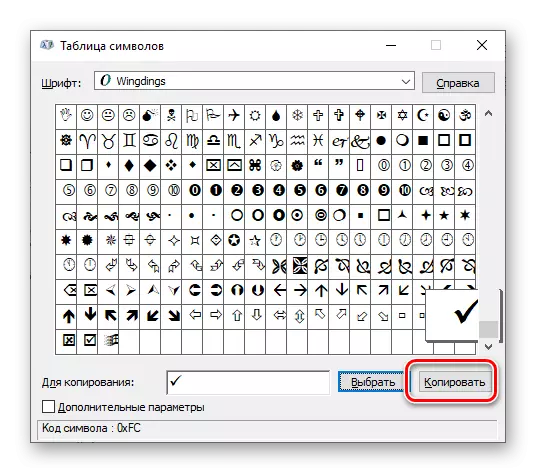
- In the Font drop-down list, select "WingDings" or "Wingdings 2", depending on which characters you need are more fat or thinner (although the difference between them is minimal).
- In the appeared list of symbols fixed behind the font, find a tick or tick in a square, select it by pressing the LKM and click on the "Select" button,
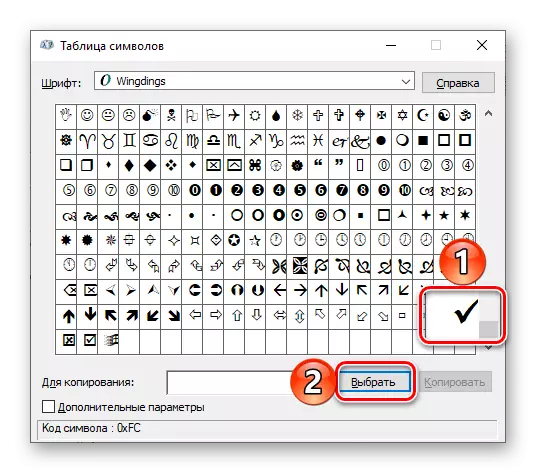
Immediately after which the active button will be the "Copy" button, which we with you and you need to use to premise the symbol to the clipboard.
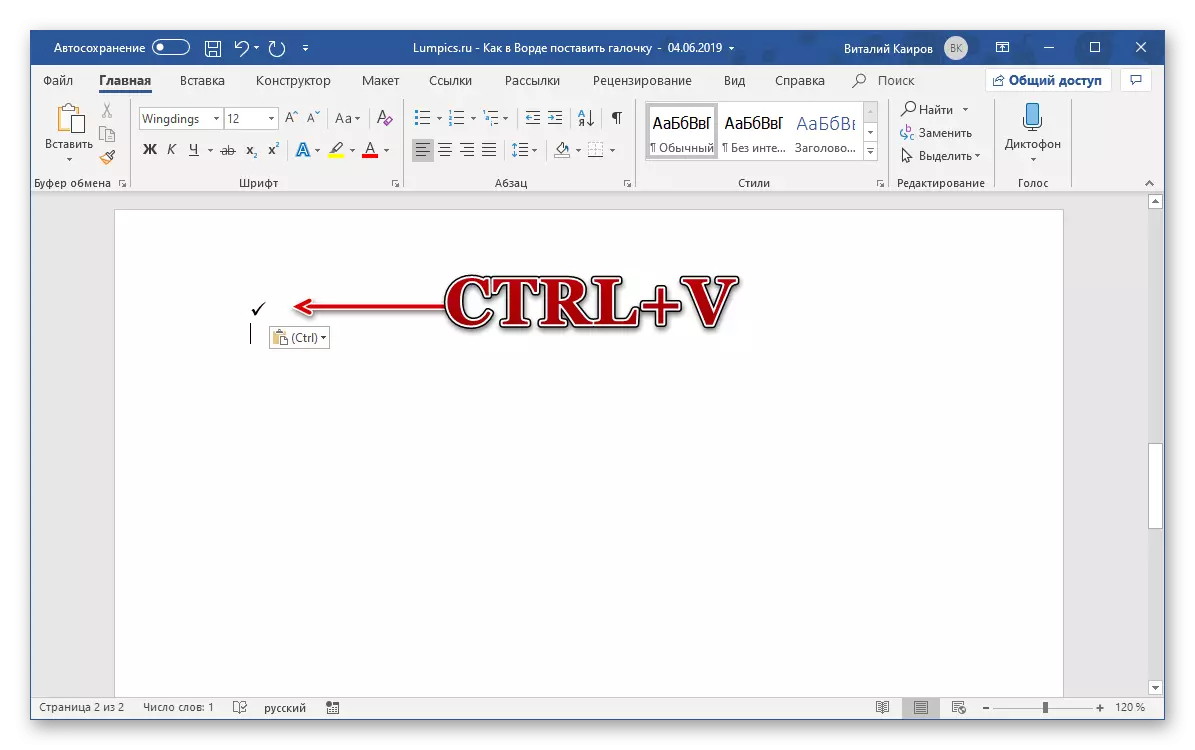
- Return to the Word text editor and insert a copied symbol (Ctrl + V keys).
As you understand, you can simultaneously copy from the system library and insert any other characters into documents. Perhaps someone such an approach will seem more convenient than accessing the Insert menu of the program.
Method 5: Controls in the Developer Mode
If a static tick, even-destroyed, you do not suit you and in the text document you need to insert an interactive element, that is, a box, a tick in which you can both put and remove, it will be necessary to perform much more complex actions than in all those considered above. ways.
So, if you want to create a survey in the Word or, for example, make a list of cases, or present something in the form of a list with items that must be marked with checkmarks, you will need to contact the developer tools that are disabled by default (for security purposes), and So, we are with you the first thing you need to include them.
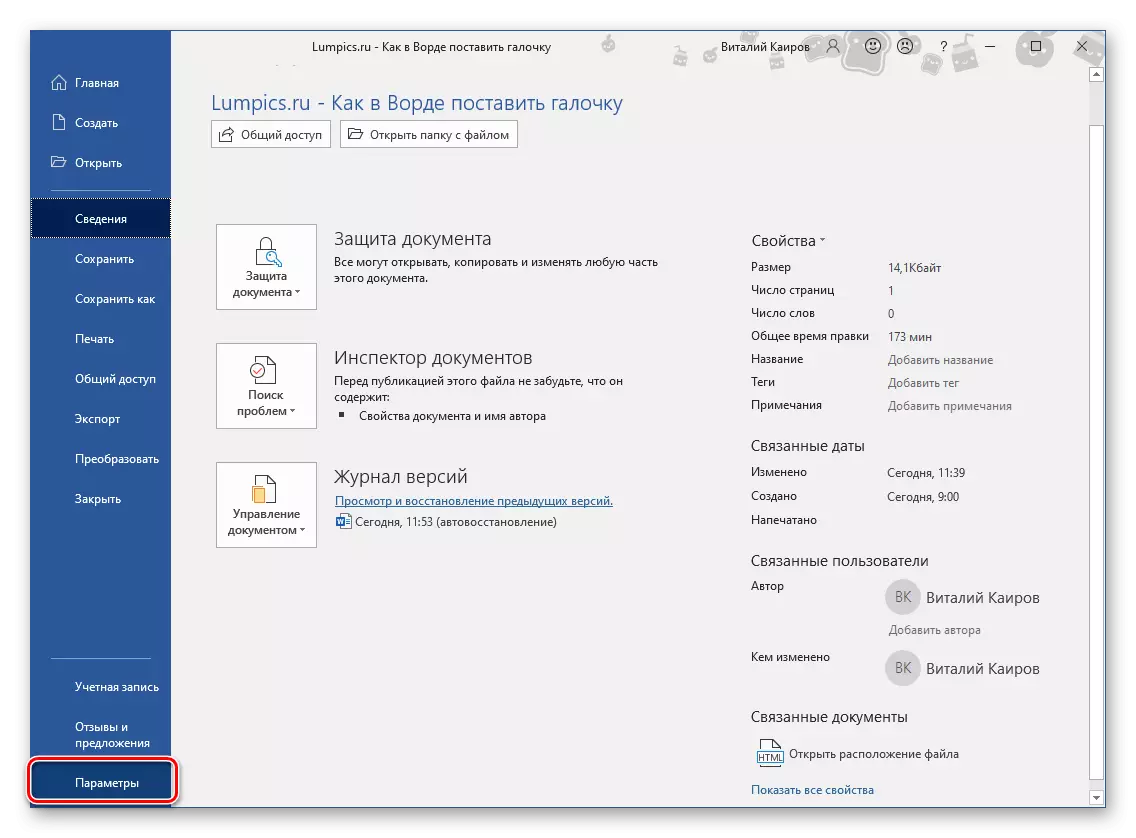
- Open the text editor options ("File" menu - "Parameters" item).
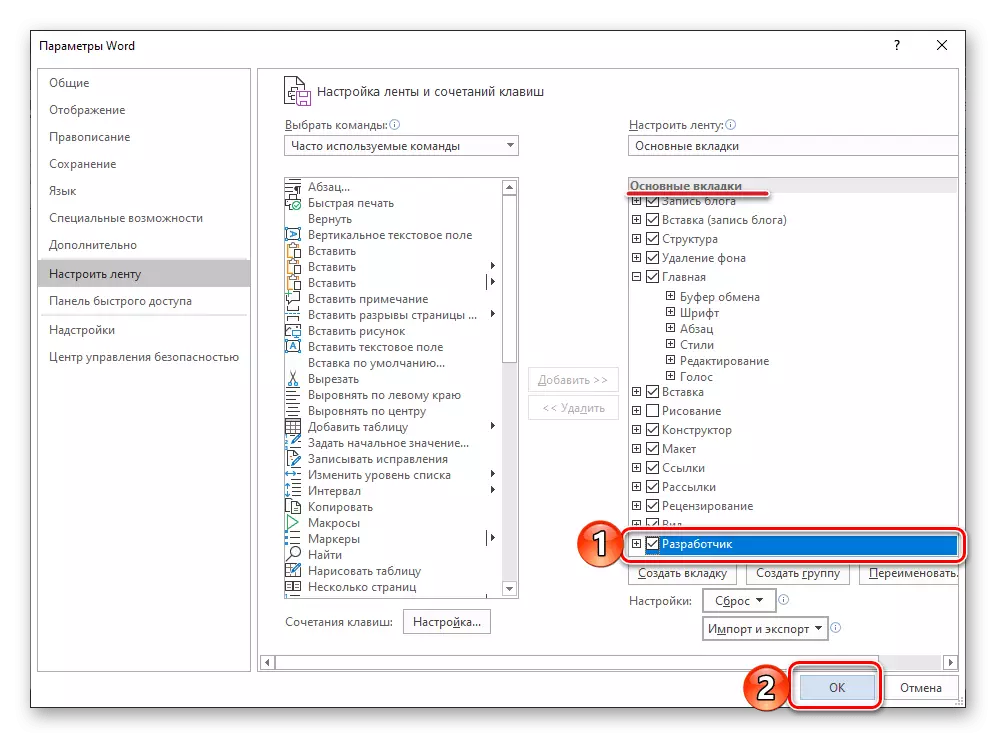
- Go to the "Configure Tape" tab located on the side panel of the opening window.
- In the right section of the "Main tabs" block, check the box opposite the Developer item, and then click "OK" to confirm the changes made.

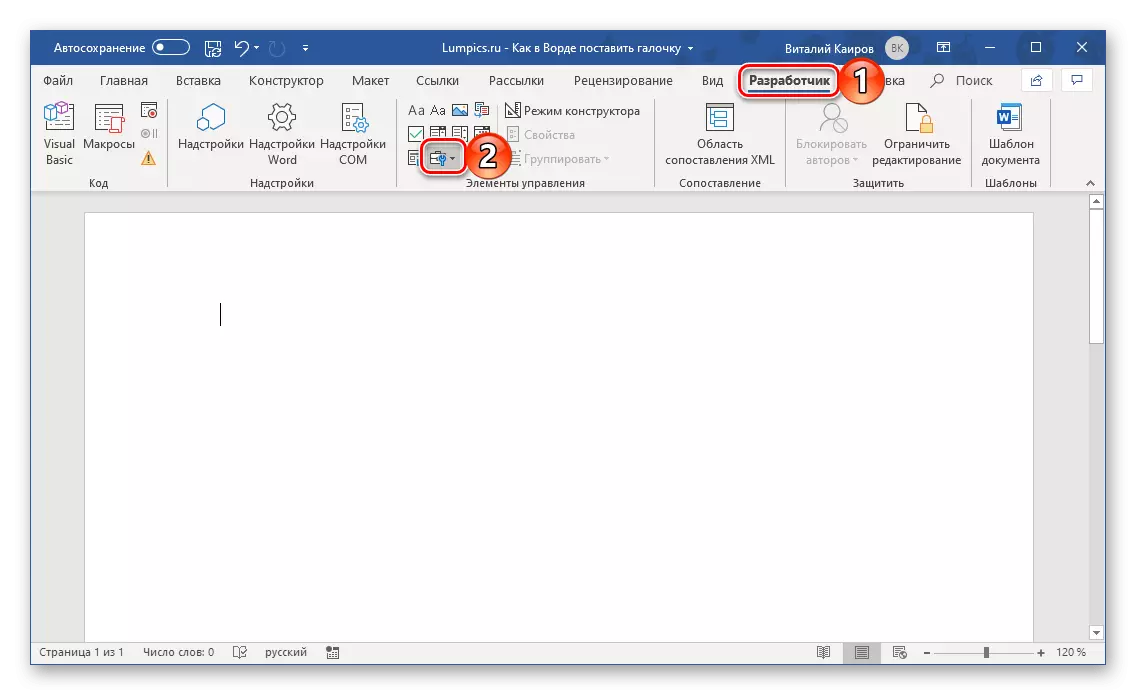
As soon as you do, the Developer tab will appear on the text editor toolbar (tape), we will create our list in it.
- Turning to the Developer tab, click on the "Controls" button "Tools from previous versions" toolbox, which is indicated in the image below (2).
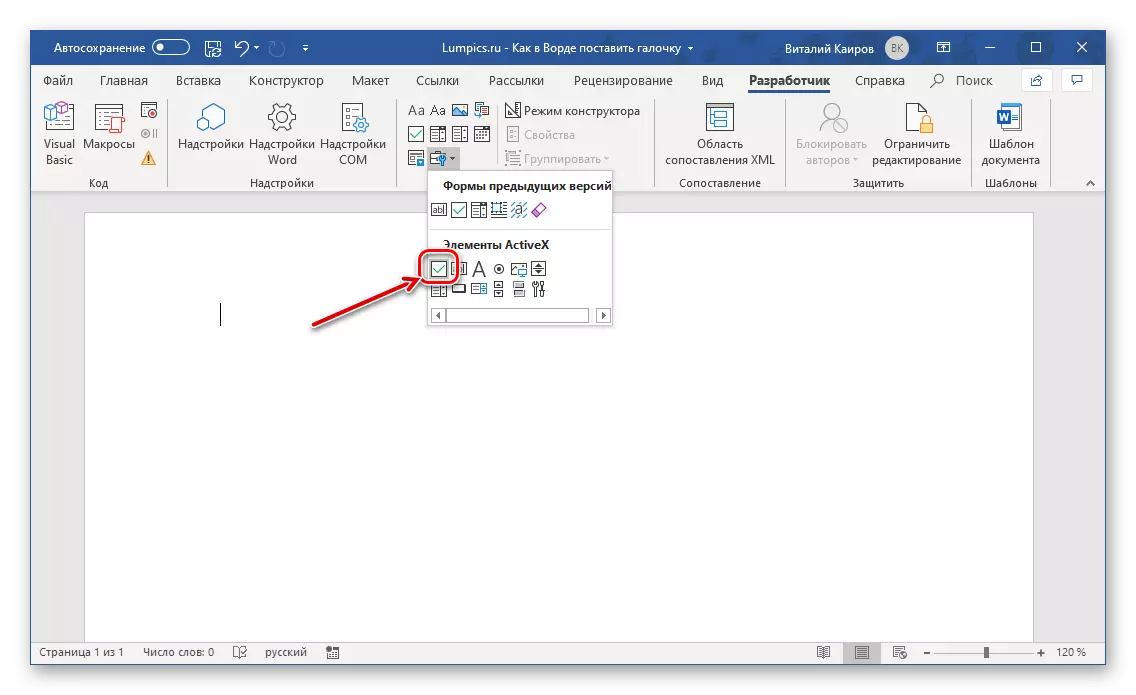
- In the small list that opens, click on the check mark icon in the square located in the ActiveX elements block.
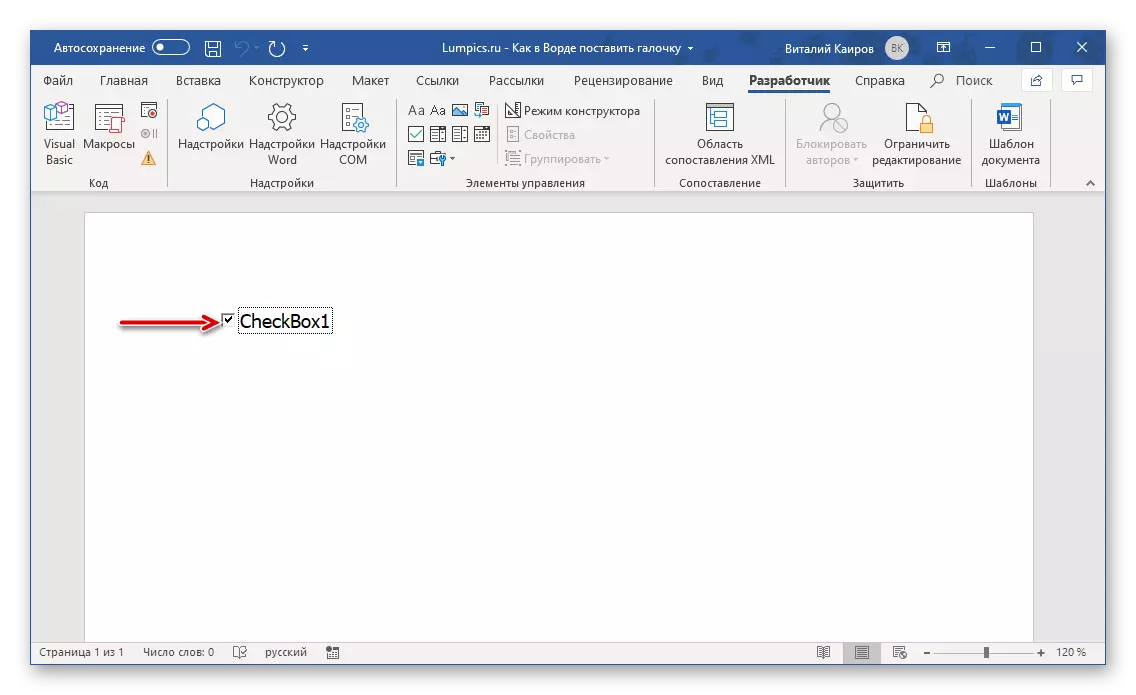
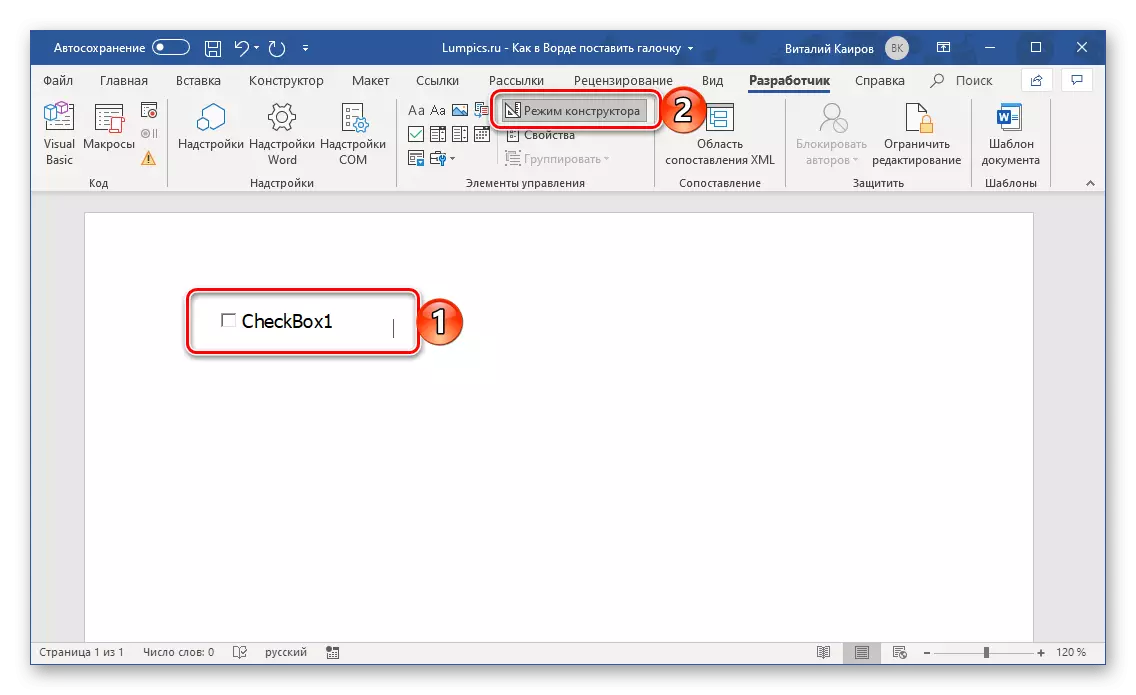
- A checkbox will appear in the document, in which you can put a tick accompanied by a standard signature - "Checkbox1". In order to "mark it", you must exit the "Designer Mode" - just click on the corresponding button on the tape.
- Immediately after that you can install a checkbox in Chekbox.
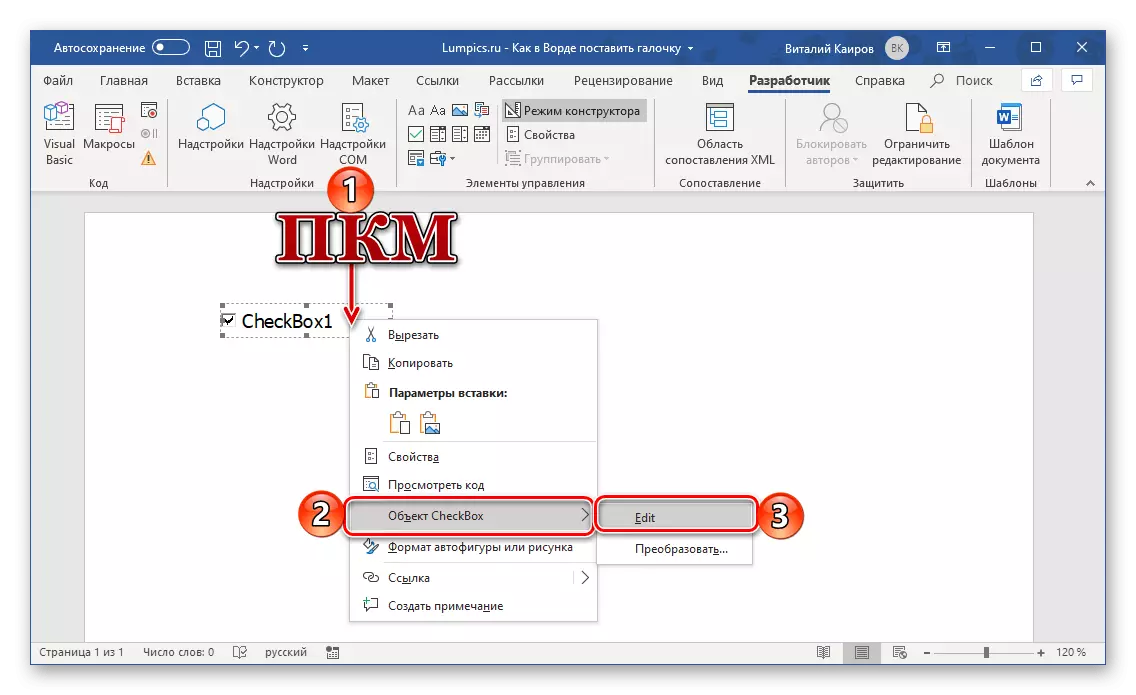
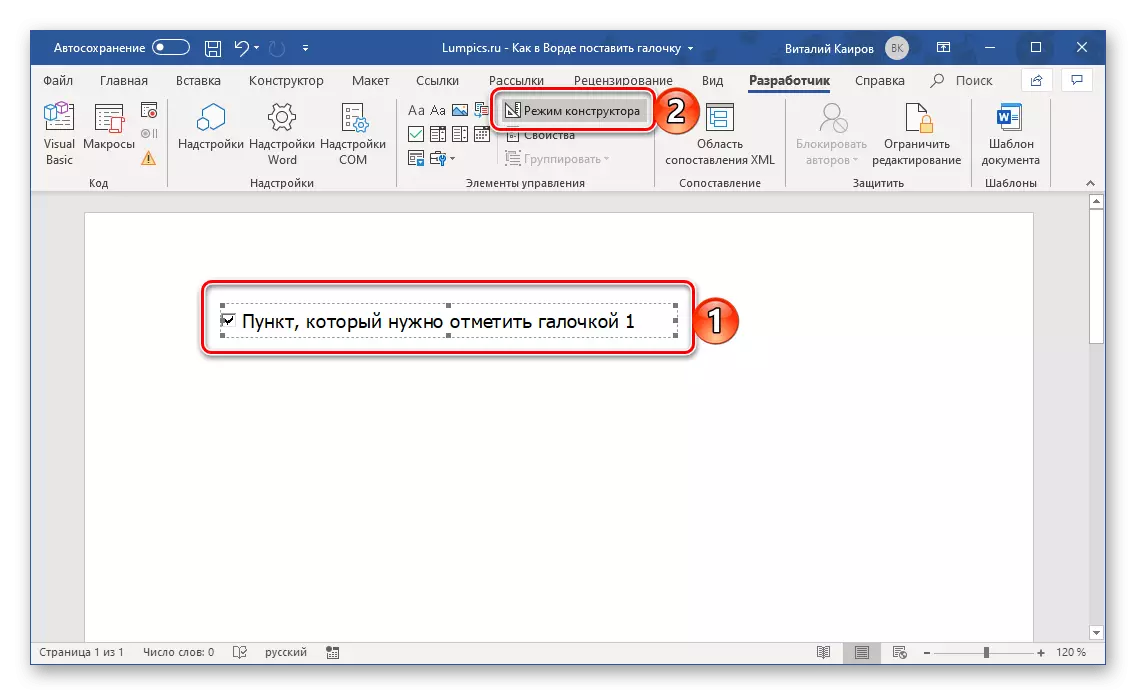
But it is unlikely that someone will arrange a template view of this element - the text of the signature clearly will need to be changed. To make it possible to do this, go back to the "Designer Mode" by clicking on the appropriate button on the tape. Next, right-click (PCM) on the checkbox field, and alternately, go to the CHECKBOX Object Context menu items - EDIT.
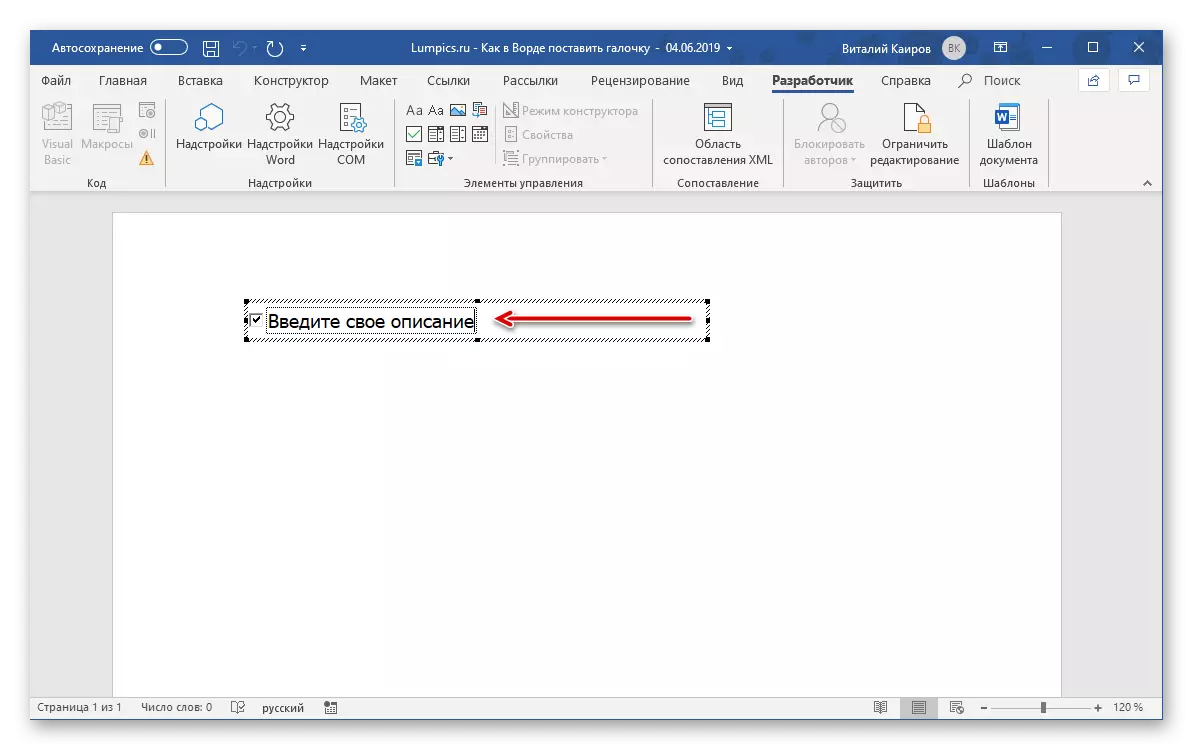
The area with the text will be "placed" in a separate field. Highlight the inscription by closing the LKM, and then remove the "Backspace" or "Delete" by pressing the "Backspace" keys. Enter your description.
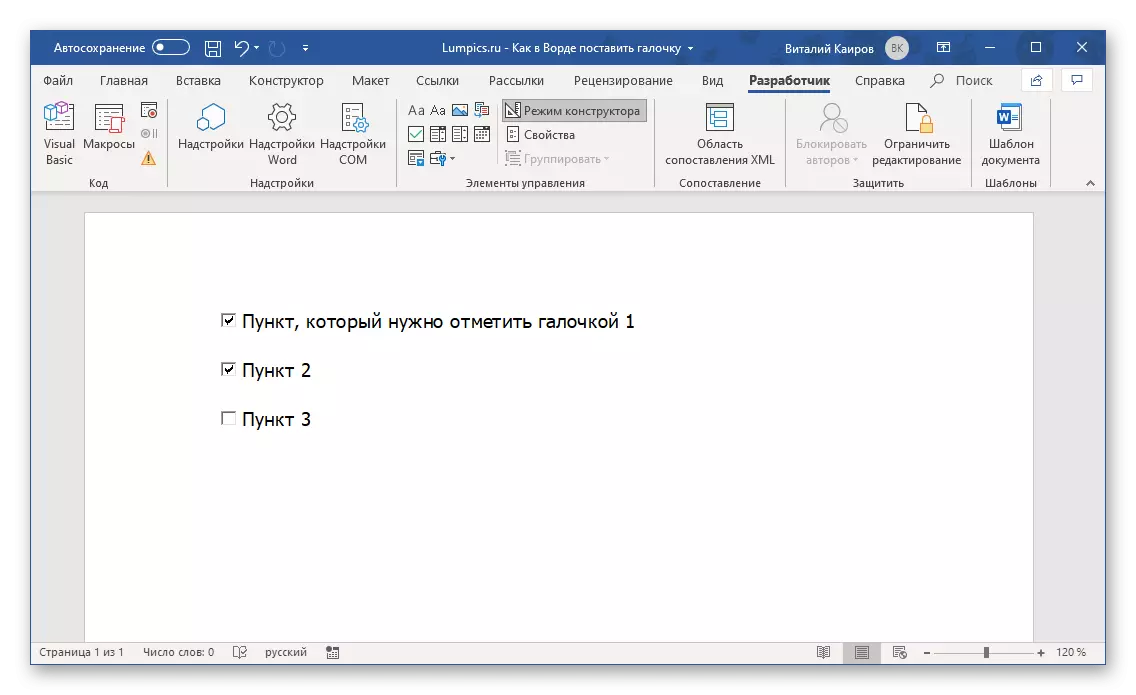
In order for the interactive field with Checkbox to be "ready for work," that is, it would be possible to put and remove the checkboxes, just exit the "Designer Mode"
- Similarly, you can add any desired number of list items.
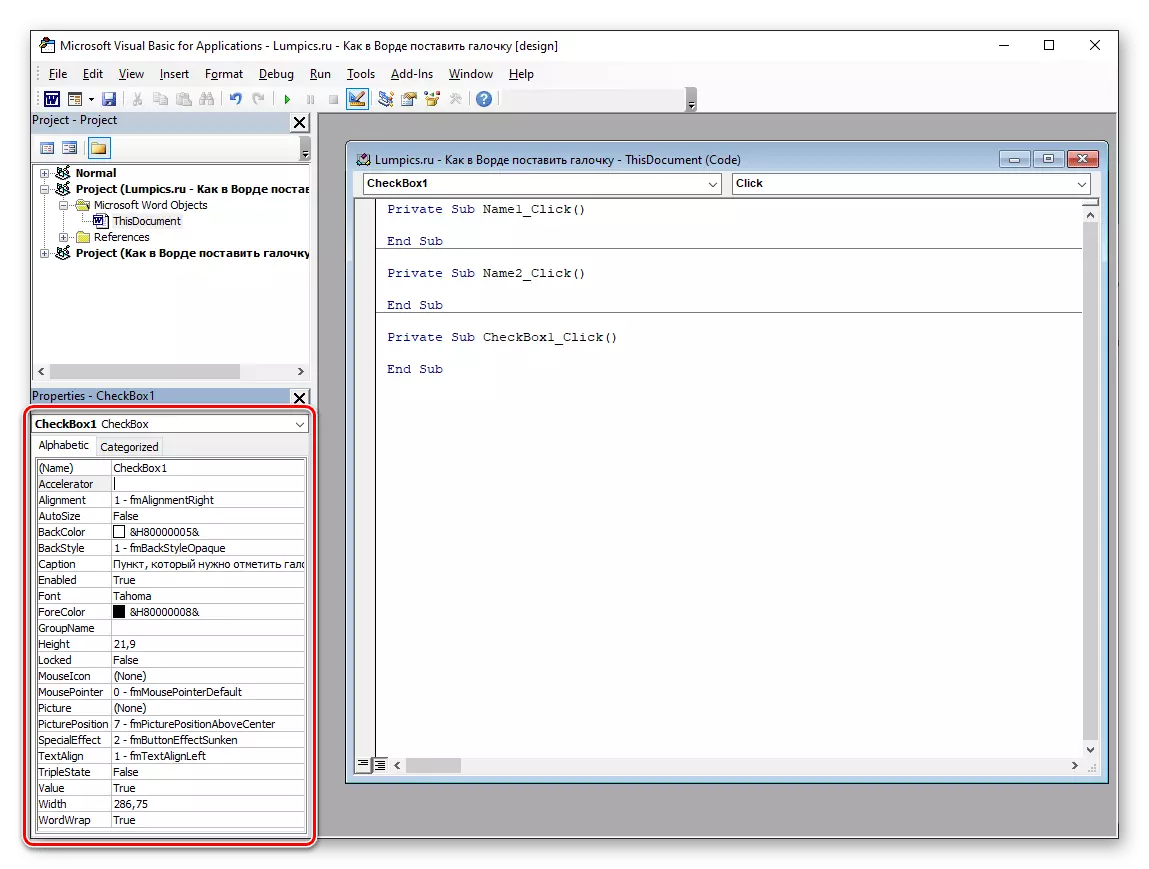
For more detailed work with the "ActiveX elements", which in our case are Chekboxes, while in the "Designer Mode" twice, click LKM on the item you want to change. This will open the Microsoft Visual Basic Editor window, in the left lower area of which you can do everything that with the usual text is done by means of a tool panel. Here you can change the description of the item, the font that it is written, its size, color, drawing and many other parameters. We recommend to do only what you understand.
Conclusion
We looked at all possible options for how you can put a tick in Word. Most of them are most similar in their implementation, and only the latter will noticeably stand out on their background, as it allows you to add interactive elements to the document with which you can interact with.