

Most people in the world have various skin defects. It can be acne, pigment spots, scars, wrinkles and other unwanted features. But, at the same time, everyone wants to look like a presentable. In this lesson, let's try to remove acne in Photoshop.
Elimination of acne
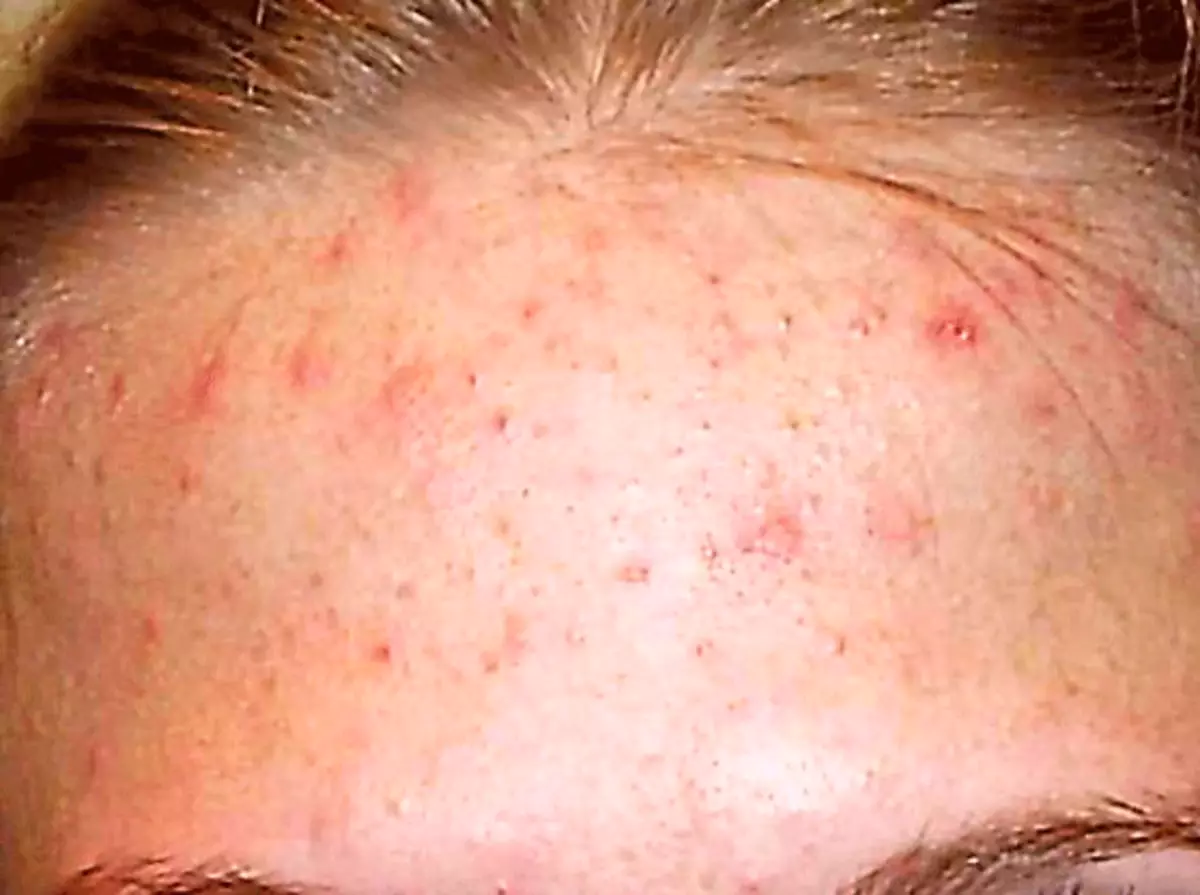
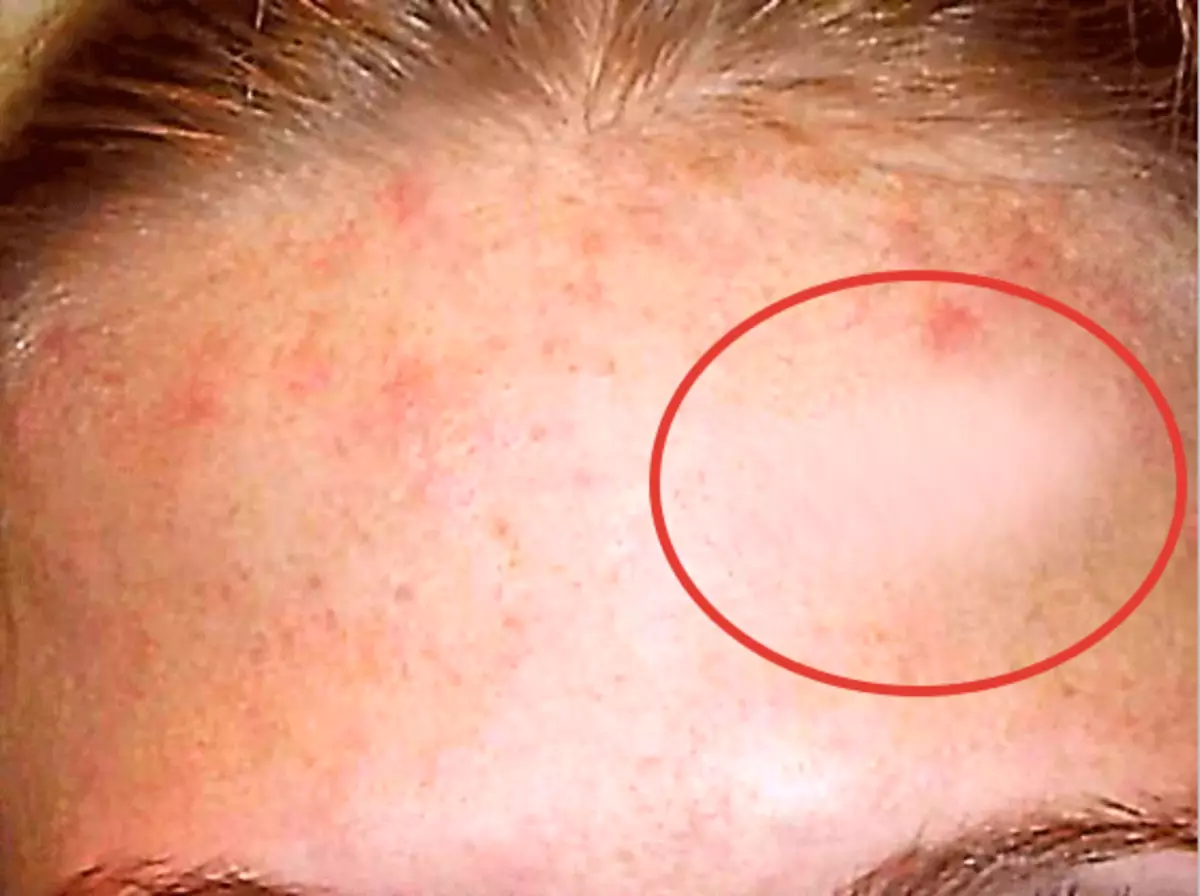
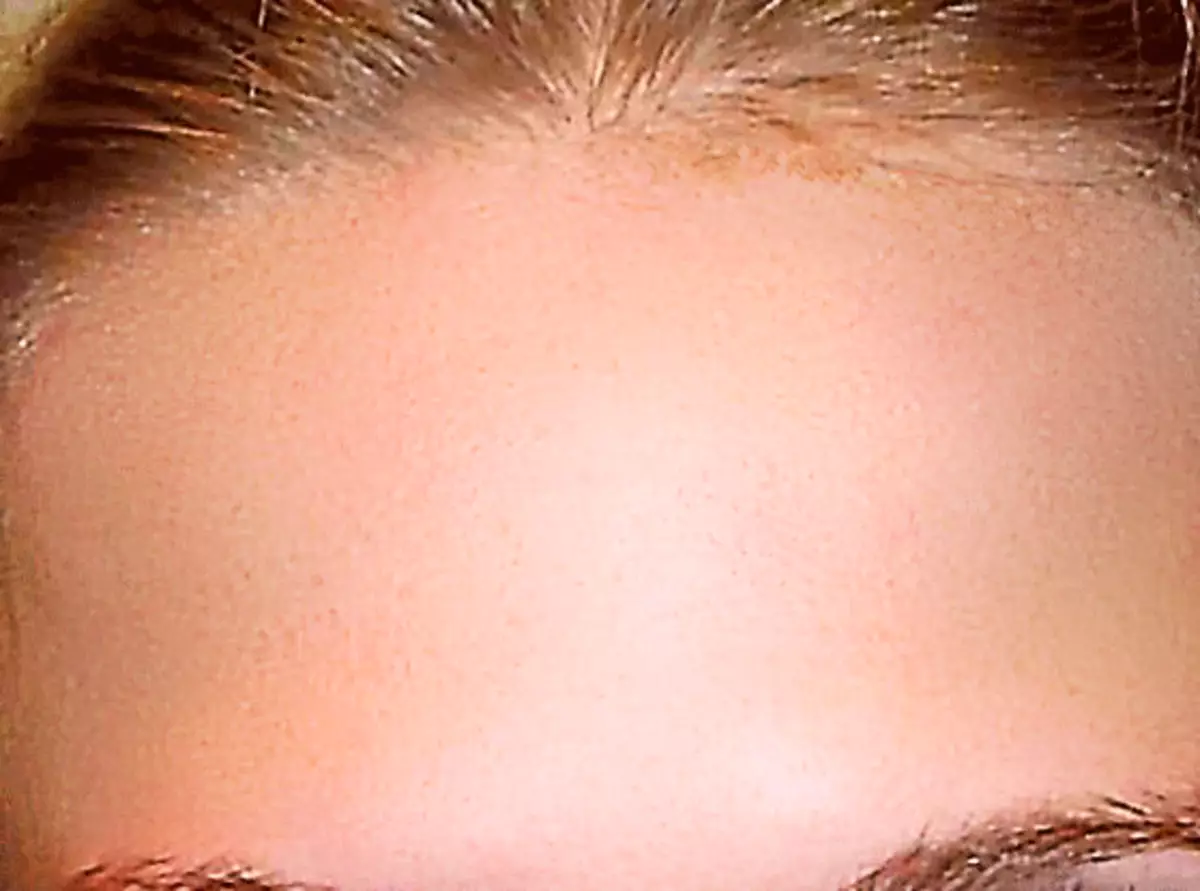
We have this source photo:
Just what we need for a lesson. Initially, it is necessary to get rid of large irregularities (acne). Large these are those visually the most far from performing above the surface, that is, they have pronounced lights. After that, you will have to smooth the skin, and then return it to her texture for giving naturalness.

Stage 1: Deleting large defects
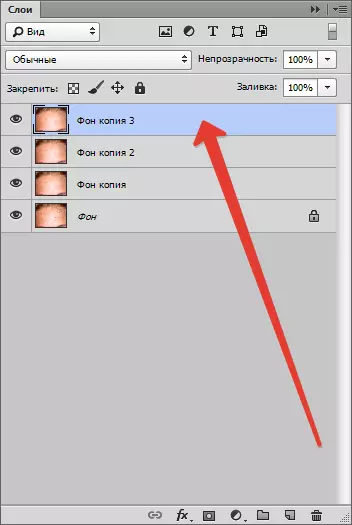
- To begin with, we will make a copy of the source layer - drag the layer in the palette to the corresponding icon.

- Next, take the tool "Restoring brush".

Configure, as shown in the screenshot. The size of the brush should be approximately 10-15 pixels.

- Now clamp the key Alt. And we take a sample skin sample (tone) as close as possible to a defect (check that the active layer is active with a copy of the image). The cursor takes the form of the "target". The closer we take the trial, the more the result will be.

- Then let go Alt. And click on the scales.

It is not necessary to achieve a one hundred percent coincidence of tone with neighboring sites, as the stains we will also smooth, but later. We do the same action with all major acne.
Next will follow one of the most time-consuming processes. It is necessary to repeat all the same in small defects - black points, wen and moles. However, if it is necessary to preserve the individuality, then the moles can not be touched.
It should be approximately what:
Please note that some of the smallest defects remained intact. It is necessary to save the skin texture (in the process of retouching the skin will be greatly smoothed).
Stage 2: Smoothing
- Go ahead. We make two copies of the layer with which you just worked. About the bottom copy (in the palette of the layers) for a while we forget, and actively make a layer with the top copy.
- Take the tool "Mix Brush".
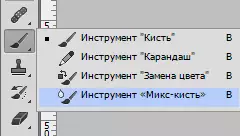
Customize it, as shown in the screenshot. Color is unimportant.

The size should be quite large. The brush will capture neighboring tones, and mix them. Also, the size of the brush depends on the size of the site on which it applies. For example, in those places where there is hair.
Quickly swap the size of the brush can be keys with square brackets on the keyboard.
- Work "Mix Brush" Need short circular movements to avoid sudden boundaries between tones, or this:
We process the tool those sites on which there are stains, sharply different from the adjacent one.
No need to smear the entire forehead right away, remember that he has a volume (forehead). It should not be achieved the full smoothness of all skin. Do not worry if the first time it does not work, everything is in training. The result should (may) be as follows:

- Next apply to this layer filter "Blur over the surface" To obtain even more smooth transitions between skin tones.

The filter values for each image can and must be different. Focus on the screenshot.

If you, as in the picture, turned out some torn bright defects (at the top, near the hair), you can fix them later to the tool "Restoring brush".
- Next, go to the palette of the layers, clamp Alt. And click on the mask icon, thereby creating a black mask on the active (on which you work) layer. A black mask means that the image on the layer is completely hidden, and we see what is shown on the subject.
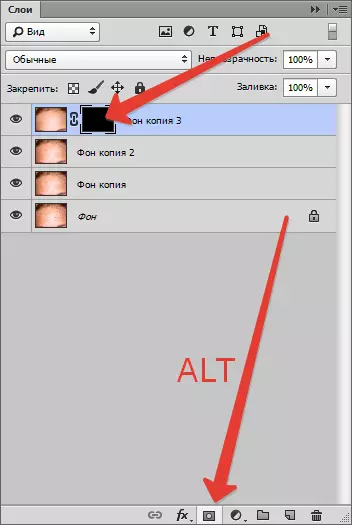
Accordingly, in order to "open" the upper layer or its sites, you need to work on it (mask) with a white brush.
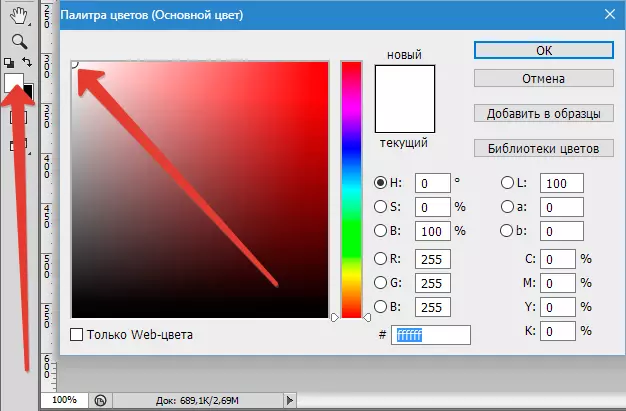
- So, click on the mask, then choose the "Brush" tool with soft edges and settings, as in the screenshots.

Form "Soft Round".

White color.
Mode "Normal", opacity and push by 30 percent.

- Now we go through the brush on the forehead of the model (they didn't click on the mask?), Achieving the result we need.
Stage 3: Recovery Texture
- Since the skin after our actions turned out to be washed, it is necessary to impose a texture. Here we will come in handy the layer with which we worked at the very beginning. In our case, he is called "Copy Background".

It must be moved to the top of the palette of the layers and create a copy.
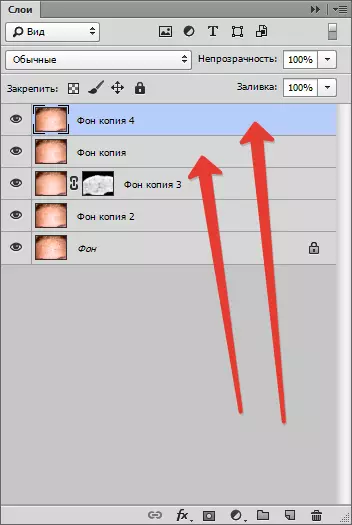
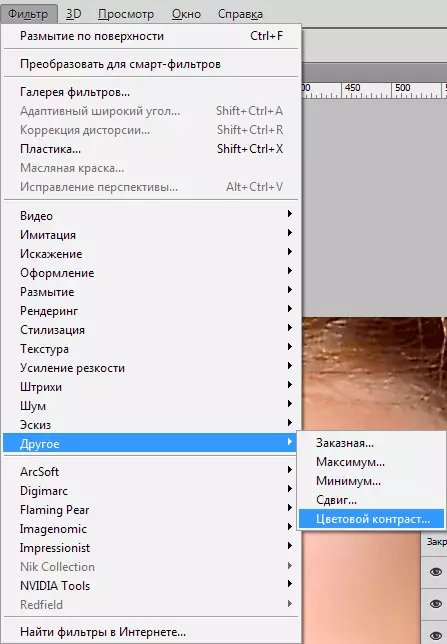
- Then remove visibility from the top layer by clicking on the eye icon next to it and apply to the bottom copy filter "Colour contrast".
The slider we achieve the manifestation of large parts.
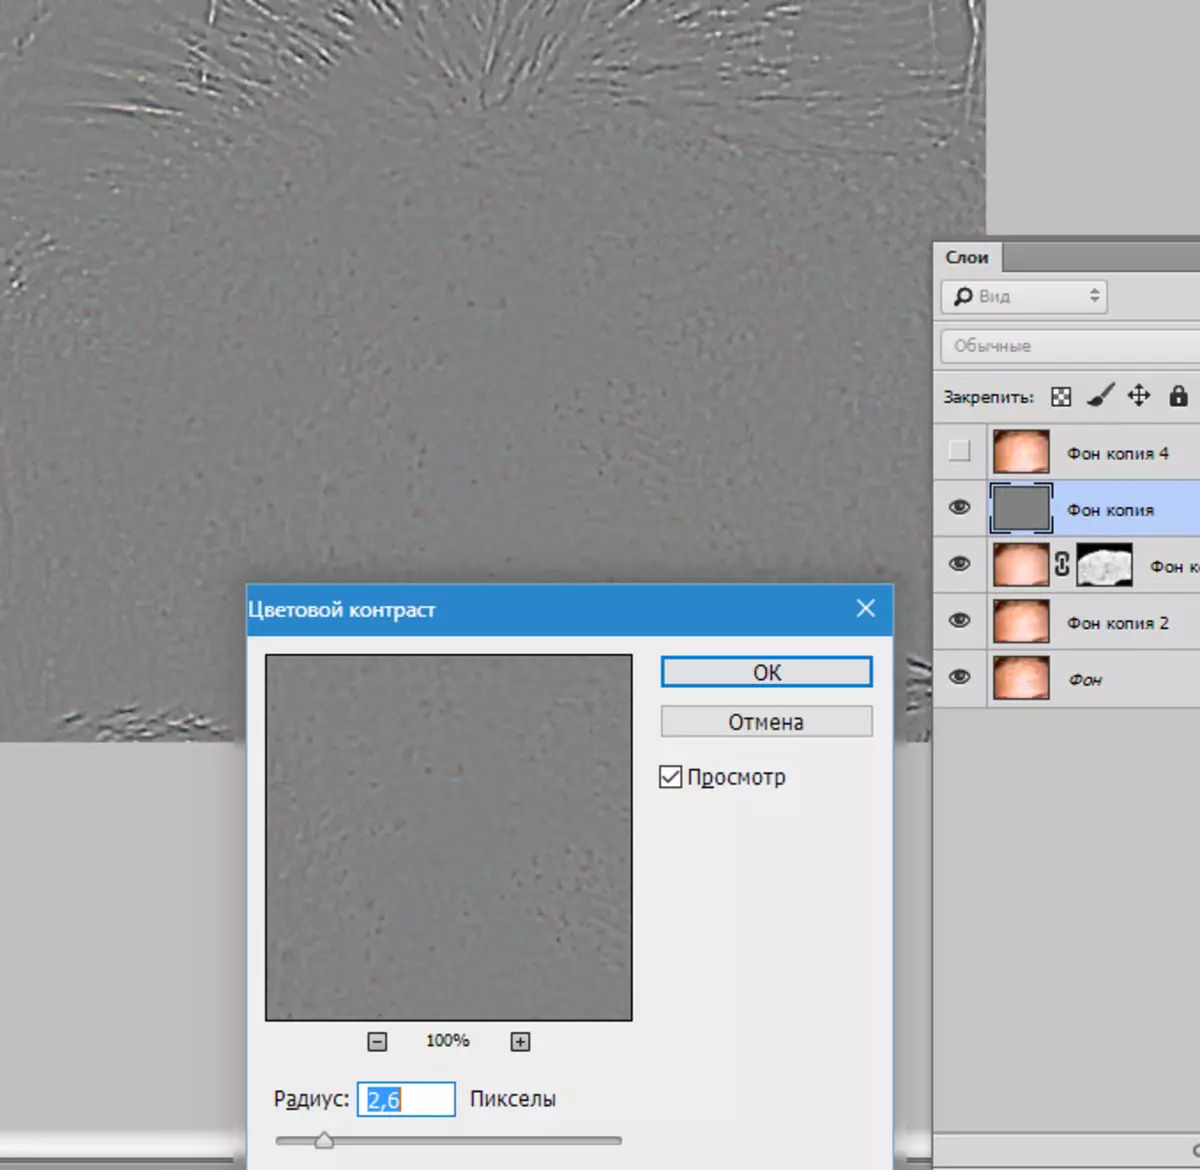
- Go to the top layer, turn on visibility and do the same procedure, only set the value less to manifest small parts.

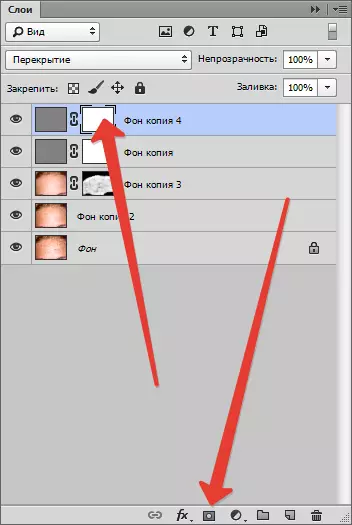
- Now for each layer to which the filter is applied, change the overlay mode on "Overlapping" . Click on the menu (indicated by the arrow).
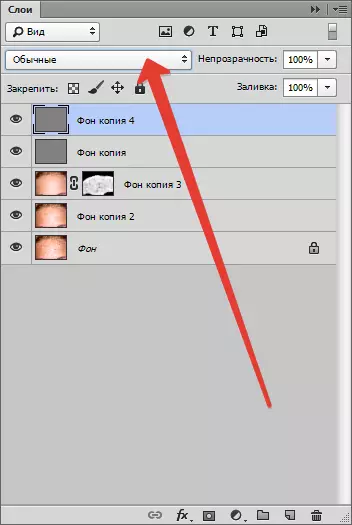
Select the corresponding point.

It turns out approximately the following:

- If the effect turns out to be too strong, the opacity in the layers palette can be changed for these layers. In addition, in some areas, for example, on hair or on the edges of the image, it is possible to muffled it separately. To do this, create a mask on each layer (without a clamping key Alt. ) And we go through this time on a white mask with a black brush with the same settings (see above). Before working on the mask layer visibility with another it is better to remove.
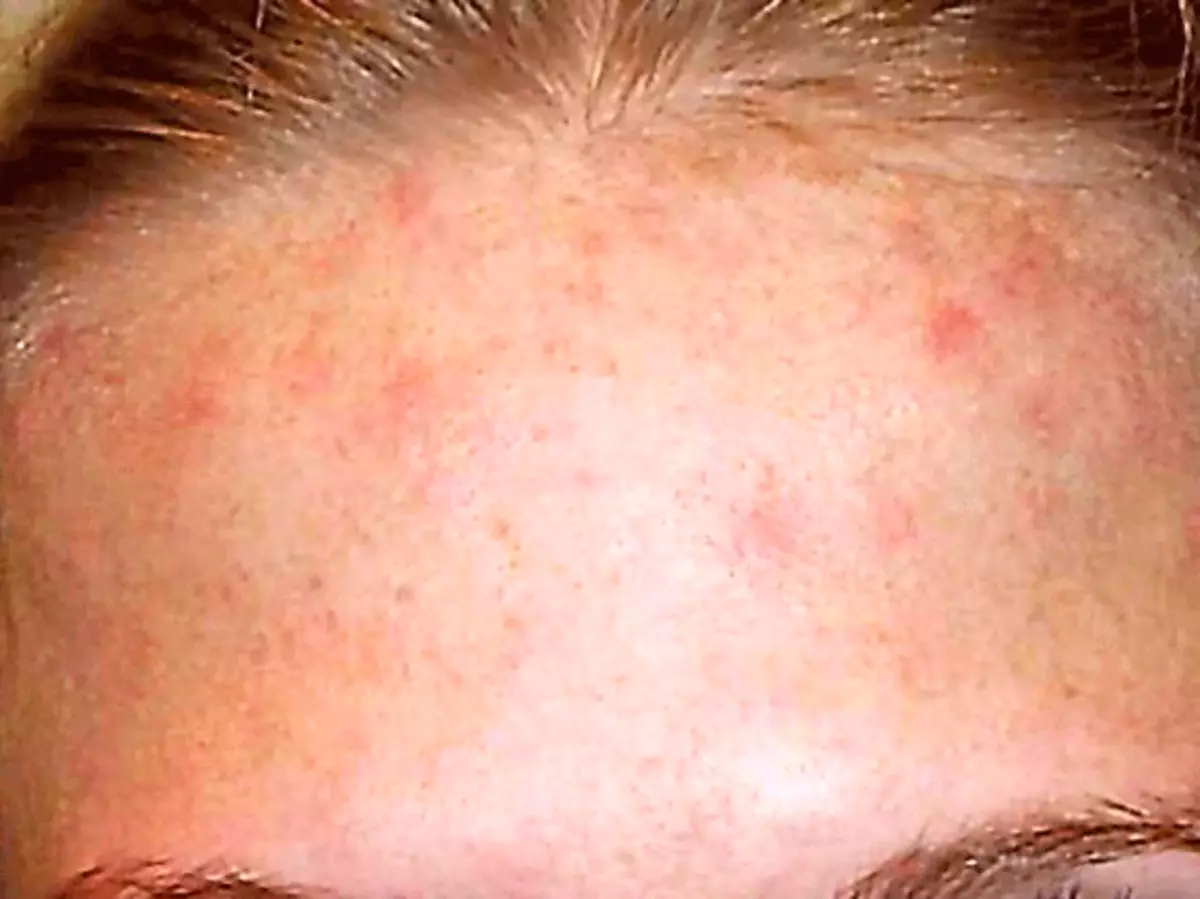
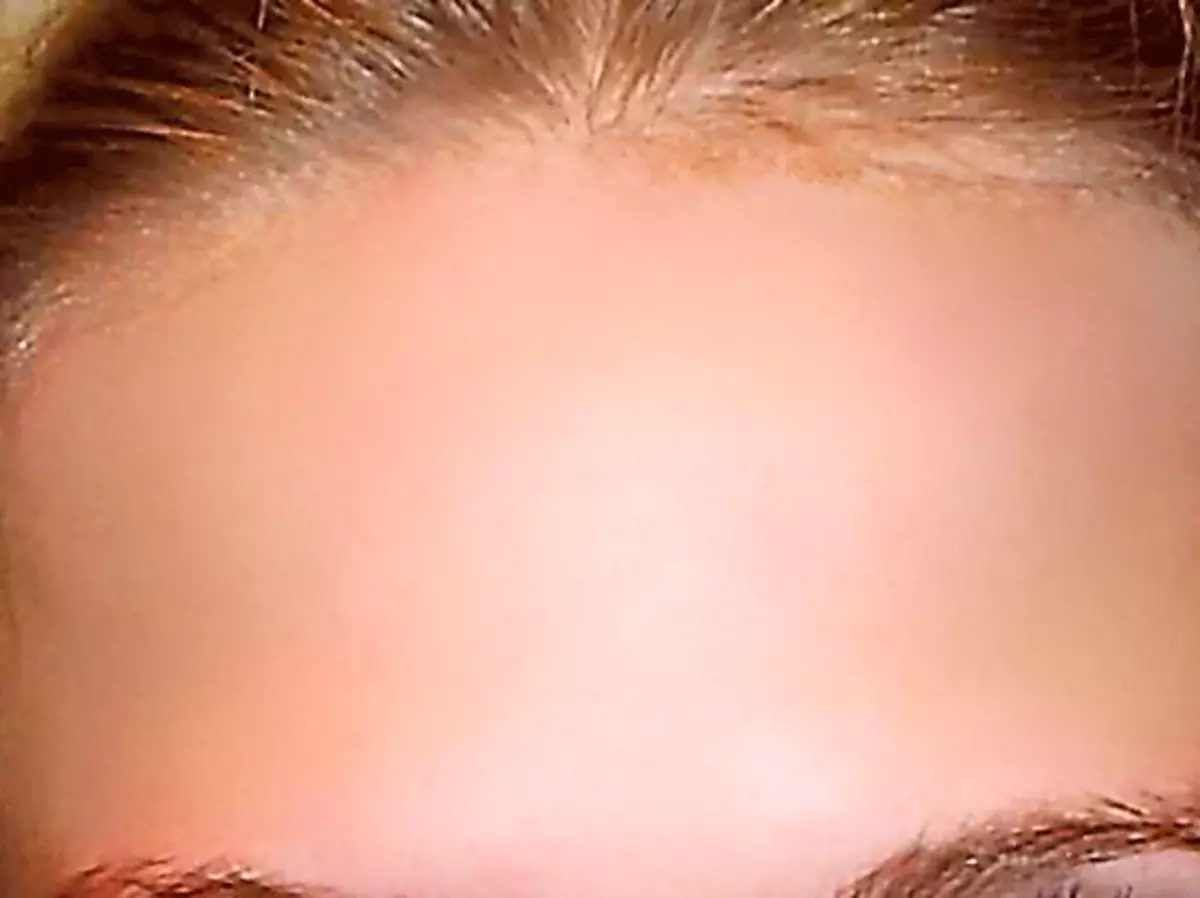
What happened:
What happened:
On this, work to remove skin defects is completed (as a whole). The main techniques we disassembled, now they can be applied in practice, if you need to smell acne in Photoshop.