
Mirror reflection of objects in collages or other compositions created in Photoshop looks quite attractive and interesting. Today I will learn how to create such reflections. More precisely, we will study one effective technique.
Creating reflections
Suppose we already have some kind of object, for example, the text:
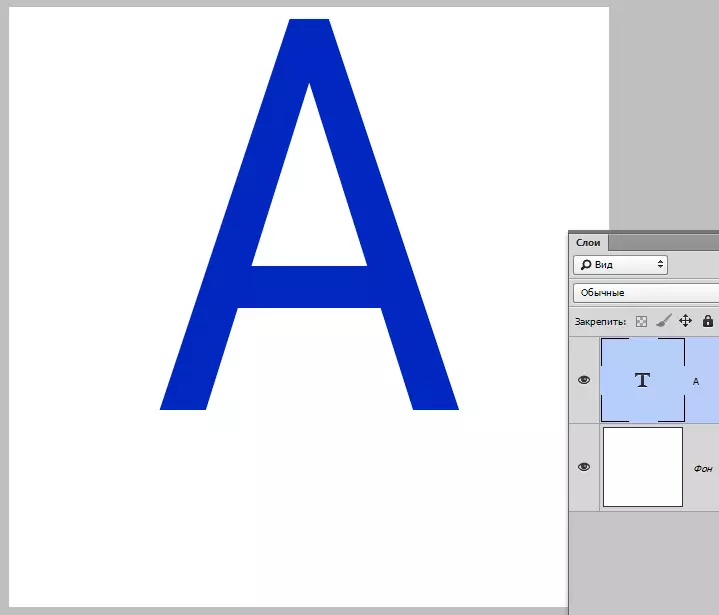
- First you need to create a copy of the layer with the object ( Ctrl + J.).
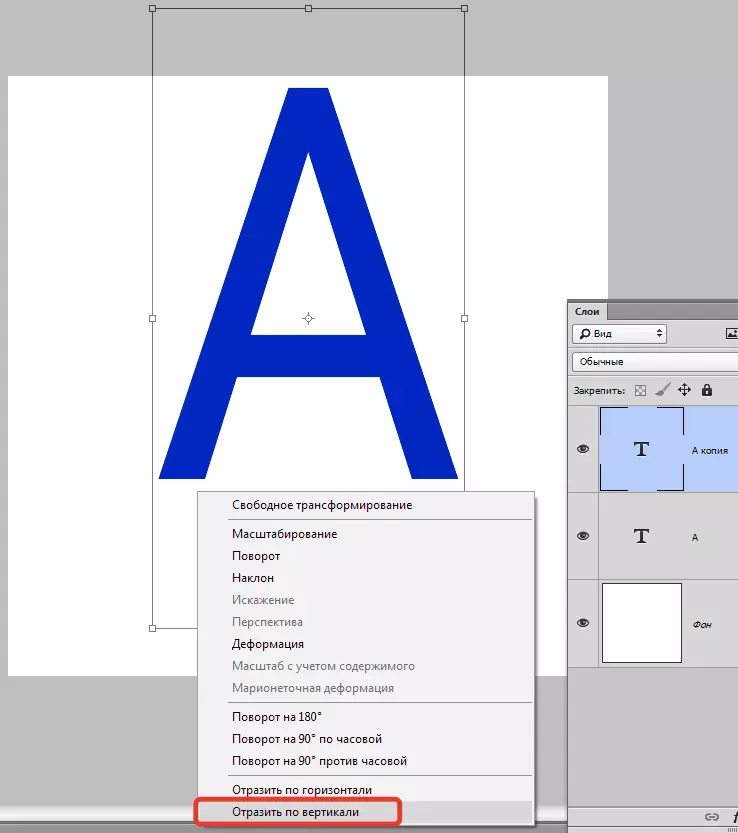
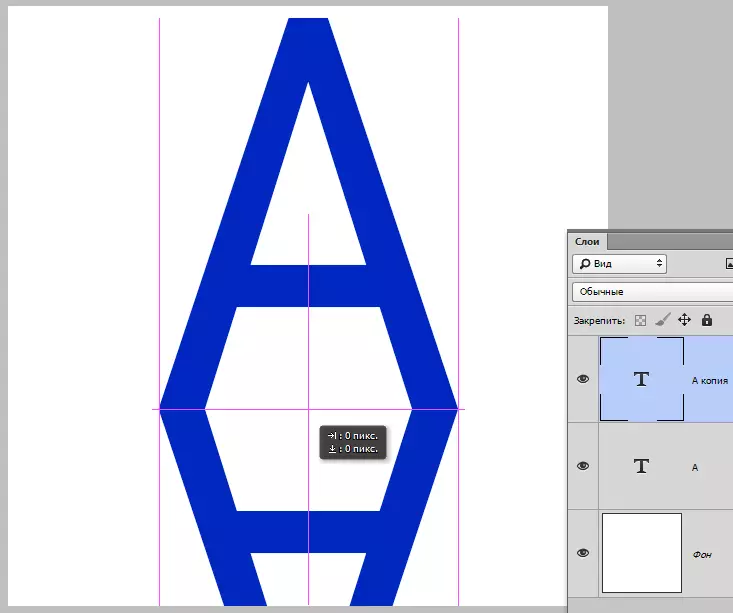
- Then apply a function to it "Free Transformation" . It is called by a combination of hot keys Ctrl + T. . Around the text, a frame appears with markers, inside which you want to click on the right mouse button and select item "Reflect by vertical".
We get such a picture:
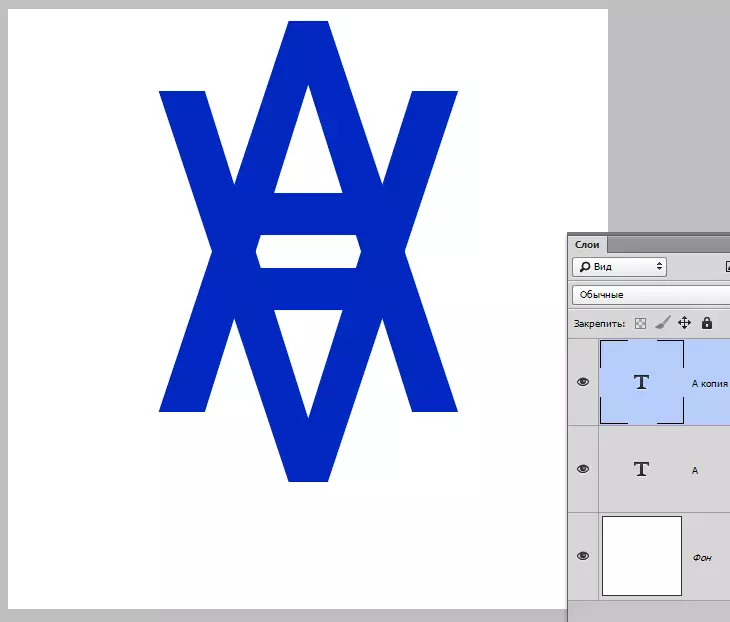
- We combine the lower parts of the layers tool "Movement".
- Next, add a mask to the upper layer:

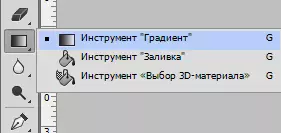
- Now we need gradiently erase our reflection. Take the Gradient tool.
Configure, as in the screenshot:
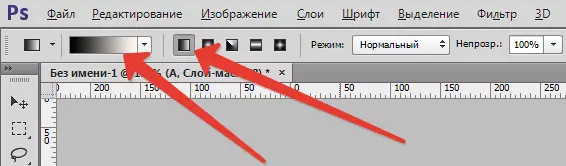
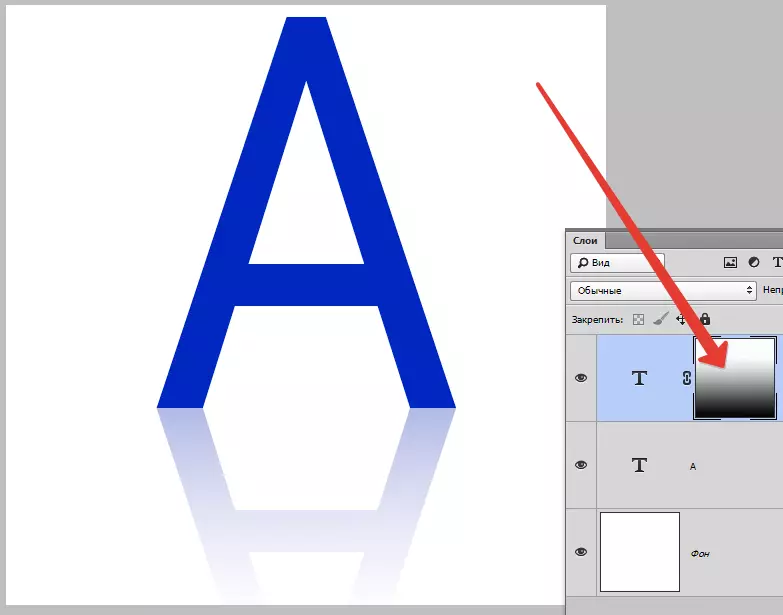
- Click the left mouse button and stretch the gradient on the mask below up.

It turns out exactly what you need:
- For maximum realistic reflection, the resulting reflection can be blocked a little filter "Gaussian blur" . Do not forget to move with a mask directly on the layer by clicking on his miniature.
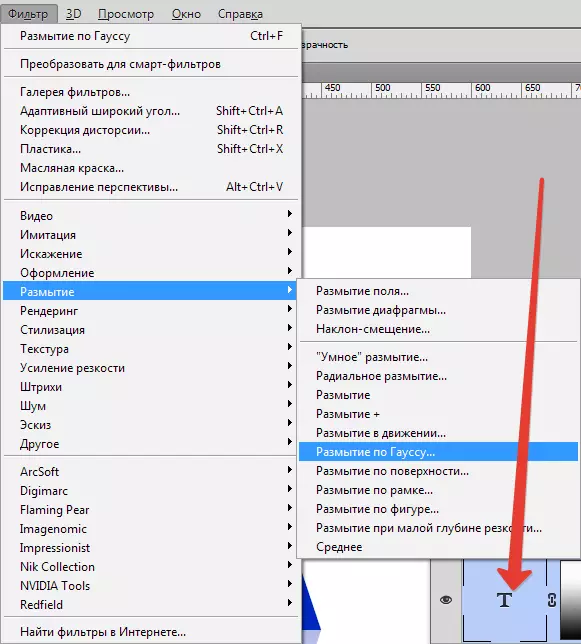
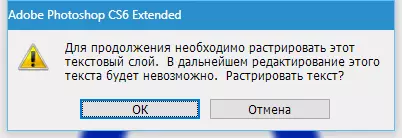
- When calling a filter Photoshop will offer to rip the text. Agree to and continue.
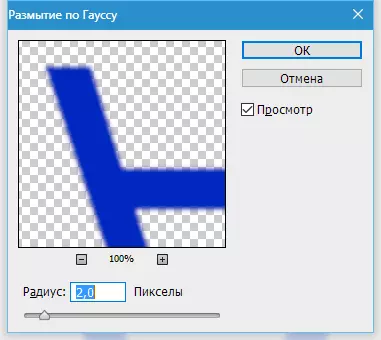
- The filter settings depends on which surface, from our point of view, the object is reflected. Tips here are difficult to give. Use experience or intuition.
- If unwanted gaps appeared between the images, then we take the "move" and the arrows move the top layer a little higher.
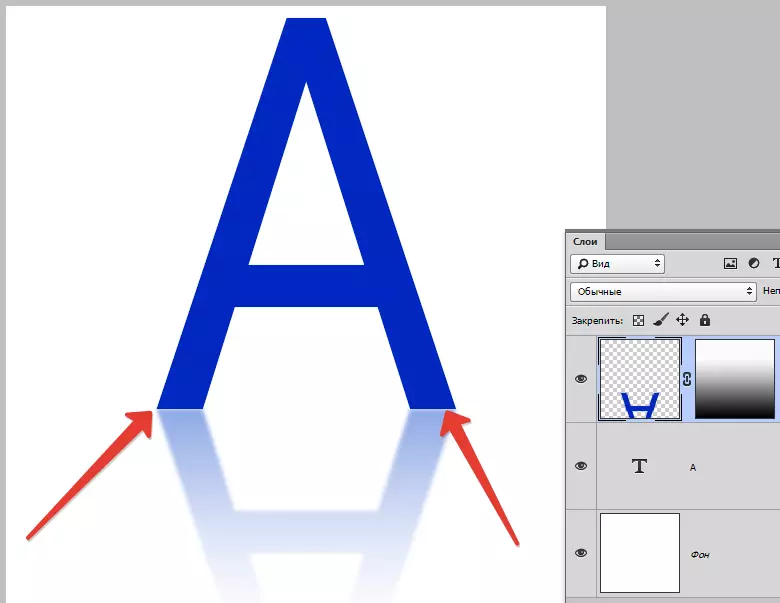
We get a mirror reflection of text quite acceptable.

On this lesson is over. Using the techniques that are given in it, you can create reflection of objects in Photoshop.