
Replacing the color in Photoshop - the process is simple, but fascinating. In this lesson, learn how to change the color of various objects in the pictures.
Replacement color
We will change the colors of objects in three different ways. In the first two, we use special functions of the program, and in the third painting the desired areas manually.Method 1: Simple replacement
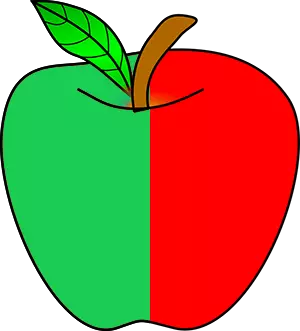
The first way to replace color is the use of the finished function in Photoshop "Replace color" or "REPLACE COLOR" in English. It shows the best result on monophonic objects. For example, take the icon and open it in Photoshop. Next, we will replace the color on any other of interest to us.

- Go to the menu "Image - Correction - Replace Color (Image - Adjustments - Replace Color)".

- The color replacement function dialog box appears. Now we must specify which color will change, for this you activate the tool "Pipette" And click it on color. You will see how this color will appear in the dialog box in the upper part, which is entitled as "Allocation".

- At the bottom of the headline "Replacement" - There and you can change the selected color. But before you can set the parameter "Spots" in highlight. The greater the parameter, the more it will capture the colors. In this case, you can put a maximum. It will capture the whole color in the image. Set up parameters "Color replacements" On the color you want to see instead of replaced. We chose green by setting the parameters "Color tone", "Saturation" and "Brightness".
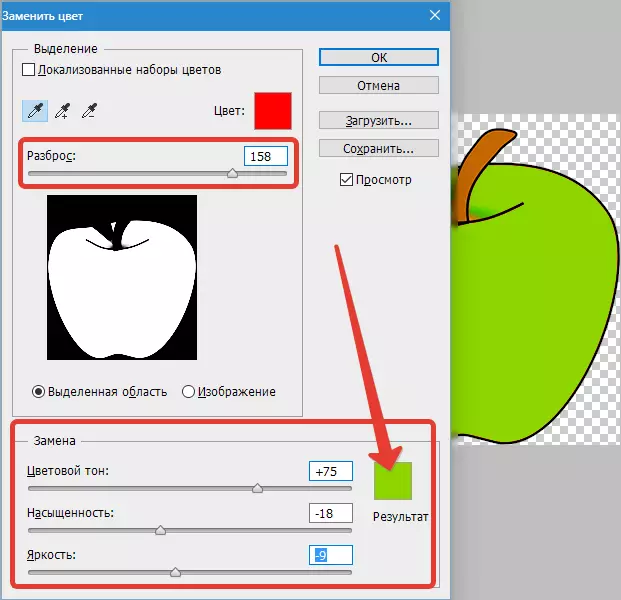
When will be ready to replace the color - click "OK".

So we changed one color to another.
Method 2: Color Range
The second way according to the work scheme can be said, identical to the first. But we will look at it on a more difficult image. For example, we chose a photo with a car.
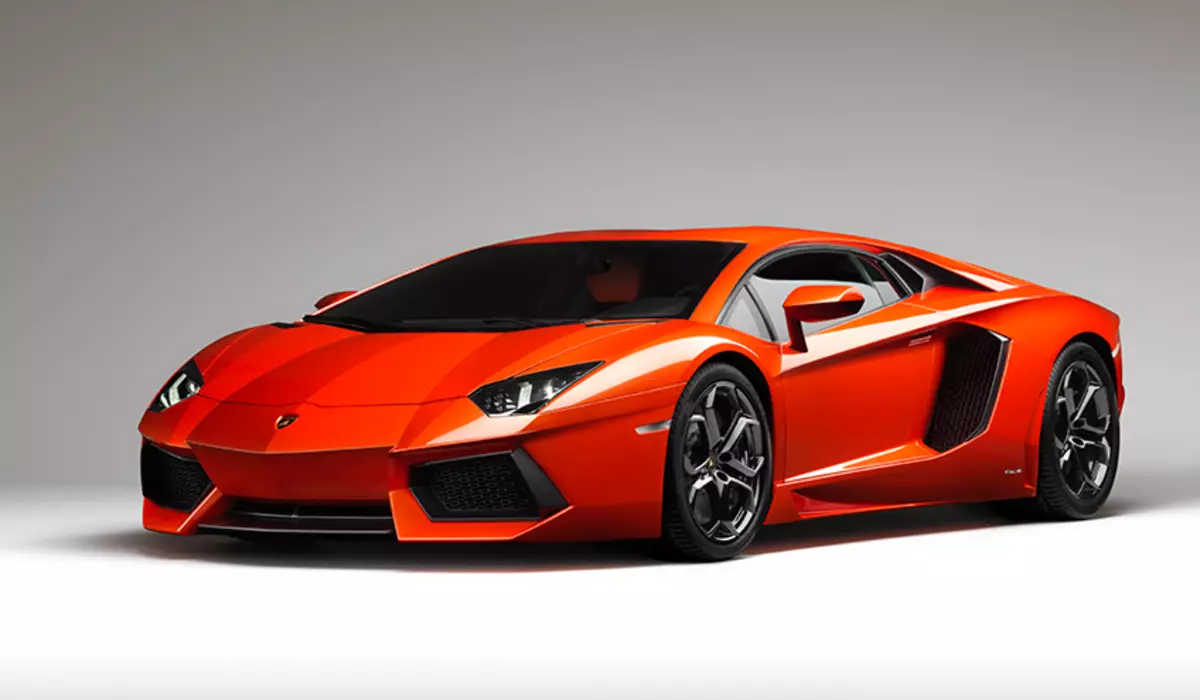
As in the first case, we need to specify which color we will replace. To do this, you can create a selection by using the color range function. In other words, highlight the image in color.
- Go to the menu "Selection - Color Range (Select - Color Range)"
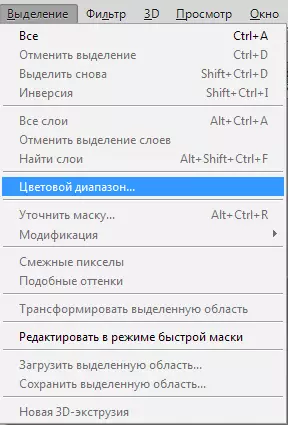
- Next, it remains to click on the red car machine and we will see that the function has determined it - painted with white in the preview window. White color shows which part of the image is highlighted. The scatter in this case can be adjusted to the maximum value. Click "OK".
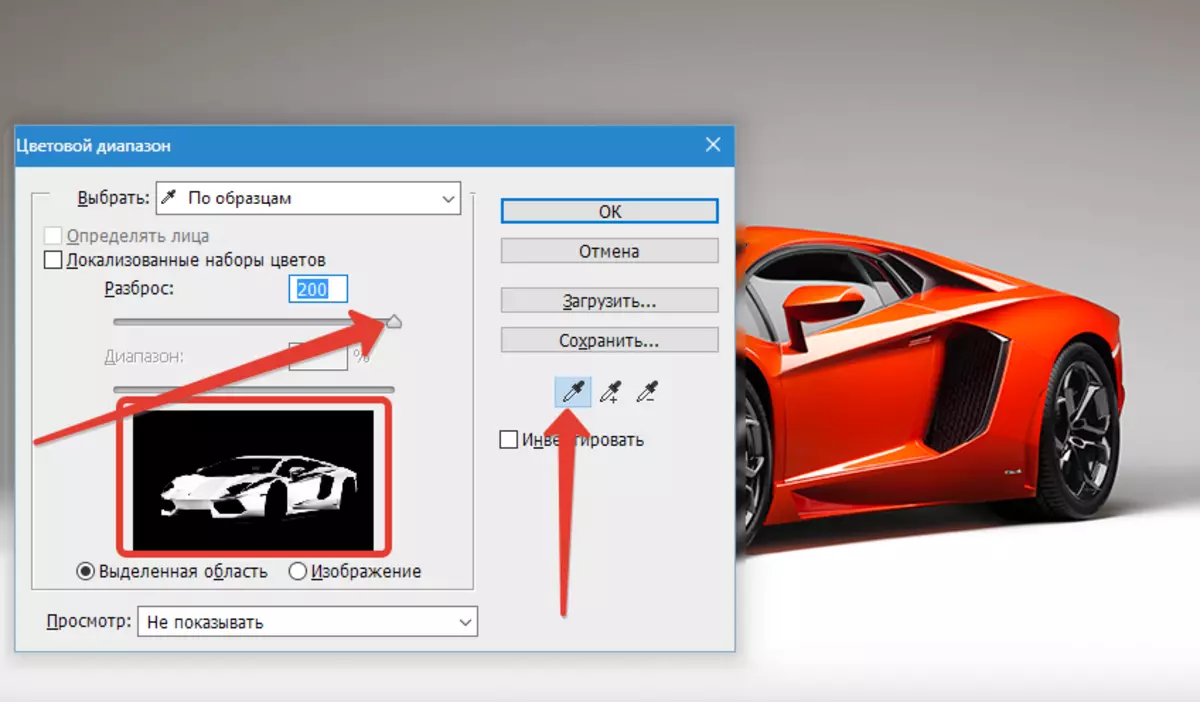
- After you click "OK" You will see how the selection was created.

- Now you can change the color of the selected image. To do this, use the function - "Image - Correction - Color Tone / Saturation (Image - Adjustments - Hue / Saturation)".

- A dialog box appears. Immediately check the parameter "Toning" (Down on the right). Now using parameters "Color tone, saturation and brightness" You can adjust the color. We chose blue.

The result is achieved. If the source sections remain in the image, the procedure can be repeated.
Method 3: Manual
This method is suitable for changing the color of individual image elements, such as hair.
- Open the image and create a new empty layer.

- Change the imposition mode on "Color".

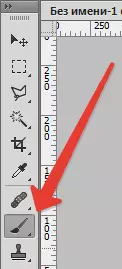
- Choose "Brush"
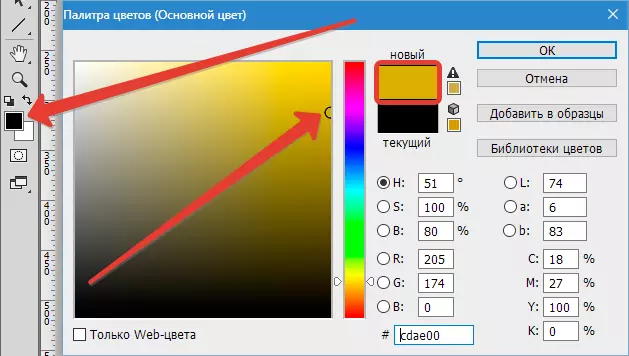
We specify the desired color.
- Then paint the desired sites.

This method is applicable and if you want to change the color of the eyes, leather or elements of clothing.
Such simple actions can be changed the color of the background in Photoshop, as well as the colors of any objects - monophonic or gradient.