
Now many users actively acquire printers of different models. Among the leaders in sales of such equipment is Canon, which in addition to printers became famous for MFP and scanners. However, novice users can be problematic to deal with the entire functionality of the acquired device, in particular, it concerns and scan. Today we would like to demonstrate the available methods of performing this operation on the devices from this manufacturer.
Scan on Canon printers
To scan, respectively, the device must have a special unit responsible for creating an electronic copy of the document. Such blocks are placed in printers, MFPs or they act separate models called scanners. Regardless of the type of device, the scan principle is practically identical and accessible to performing in different ways. We offer to familiarize yourself with all the famous.Method 1: Button on the Printer
Absolutely on all models, the functionality of which is built into the scanner, there is a desired button that starts this process. From the user you only need to make a number of actions to activate document copying:
- Connect the printer to the network and turn it on, then connect to the computer.
- Raise the scanner cover and place the document you need.
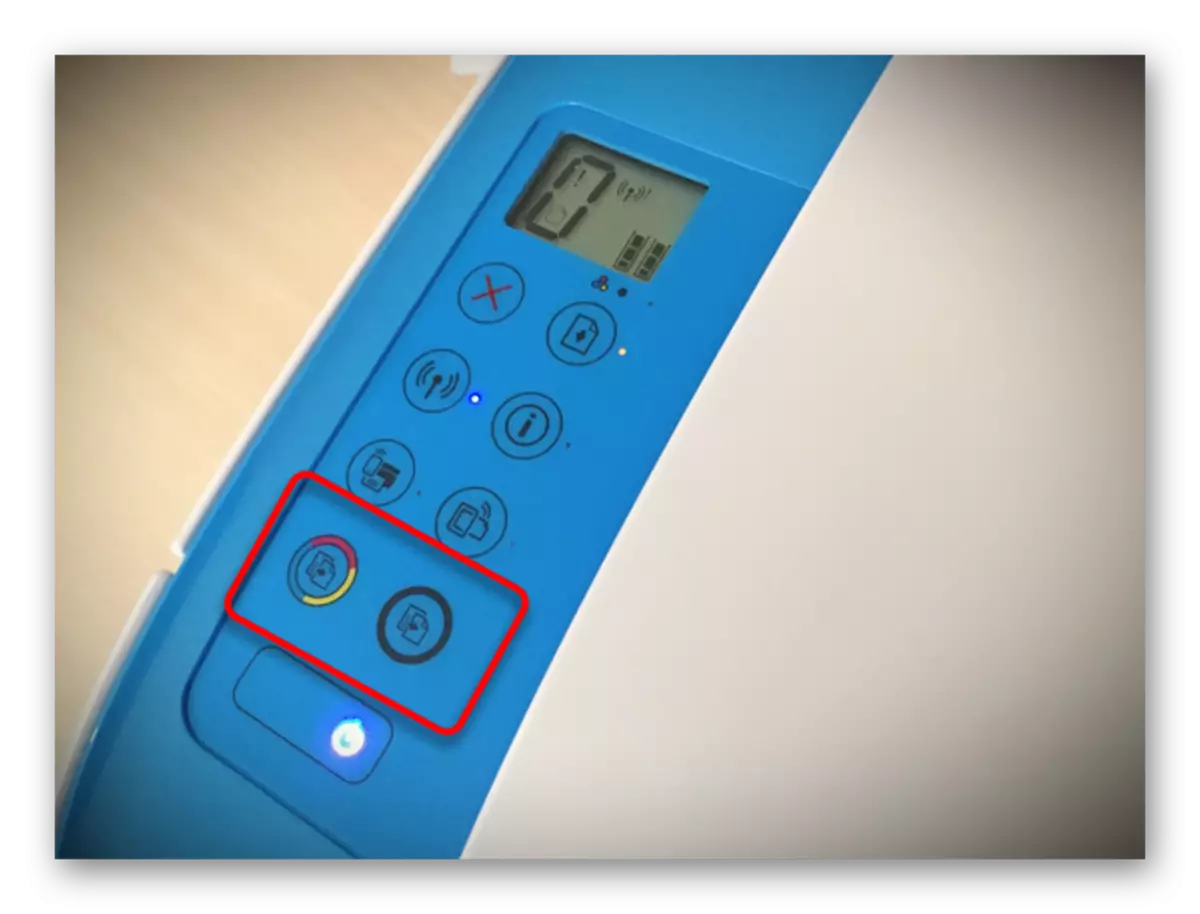
- Click on the allotted button to start scanning.
- A notification should appear on the monitor screen that the scanner is heating and cannot be opened.
- Expect scan completion.
- After the folder will automatically open where the finished document is saved. By default, all files are placed in "Documents".


Now you can get a document, put a new sheet in its place and create an electronic copy of it in the same way. As you can see, nothing complicated in this operation.
Method 2: Brand Utility IJ Scan Utility
Canon is specifically for the manufactured equipment created separate software called IJ Scan Utility. It performs the function of pre-setting the scanning, which results in the result of obtaining the necessary document in the desired format. The IJ Scan Utility is installed along with the printer driver, from the CD in the kit or downloads separately from the official site. After successful installation, you can go directly to copying.
- First, run the IJ Scan Utility itself and select the active device.
- Then proceed to setting up additional parameters.
- In the window that appears, there is the ability to create settings for each type of scan. For example, the saving place is selected, the default viewer is specified, the name is selected for each file. With all the advanced settings, we recommend reading yourself by studying the mentioned menu.
- Next, it remains to select only the scan type based on your own needs.
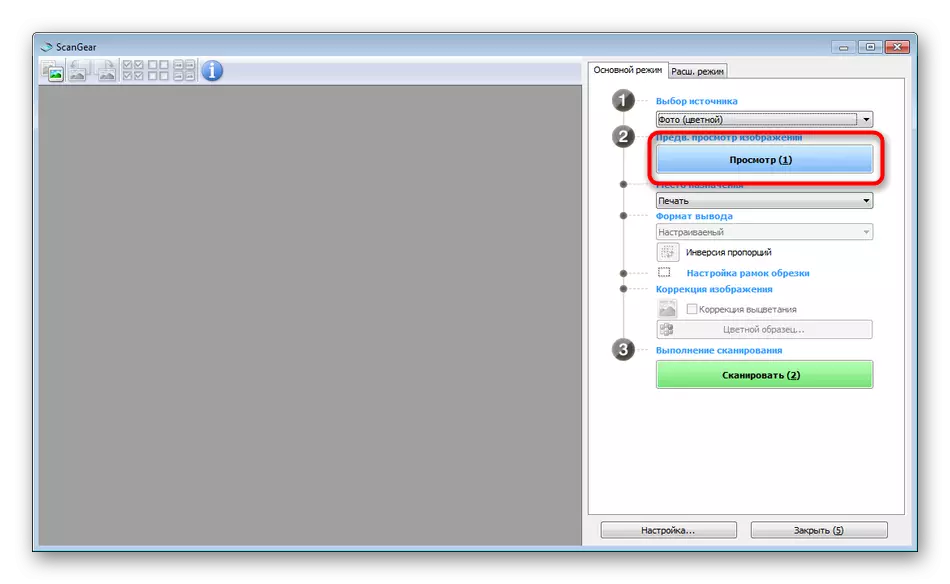
- We will consider performing this procedure on the example of the SCANGEAR mode, since there is a set of additional tools. First, it is recommended to download scan to view by clicking on the appropriate button.
- Next is edited by the captured area, the output format and the color rendition is adjusted. Only after that the button "Scan" is pressed.
- Expect the completion of the receipt of a copy of the scan, on how the copy procedure is successfully completed.


It is worth noting that recently canon is not particularly actively supporting the development of the utility considered, so it is possible that on the site with a printer model or on the disk you will not detect it. In this case, we advise you to use the other methods given in this article.
Method 3: Programs for Scanning Documents
Now there are many of the most diverse software on the Internet, performing various tasks. Among the entire infinite list are also applications that allow you to scan documents. Their advantage over standard means is the presence of advanced features, for example, instantly sending a copy to printing, which makes them sought-after in certain circles of users. Next, we want to show the work process in such a provision on the example of Scanitto Pro.
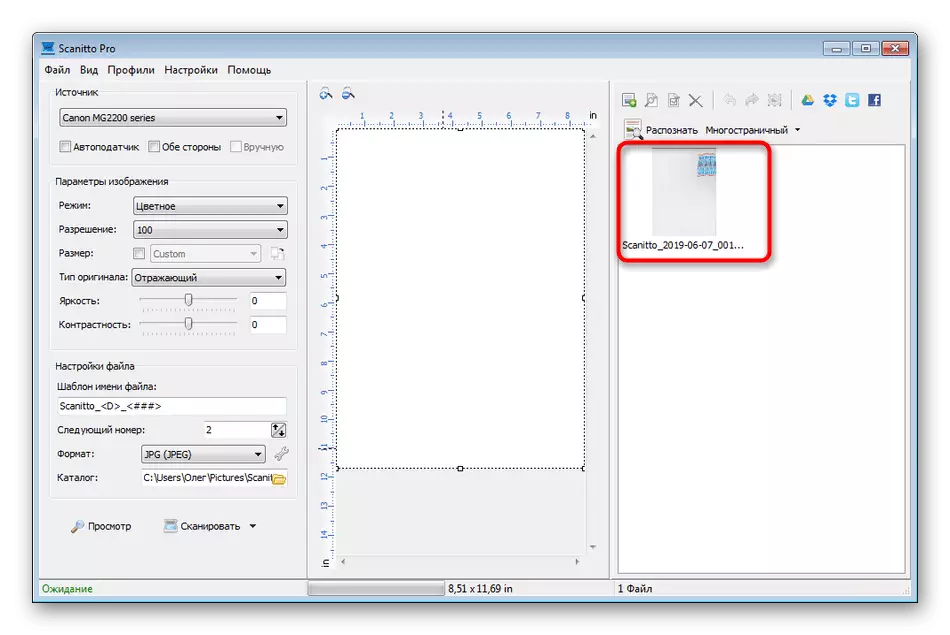
- Download and install the program. After starting the first thing, select the device from which the scanning will continue.
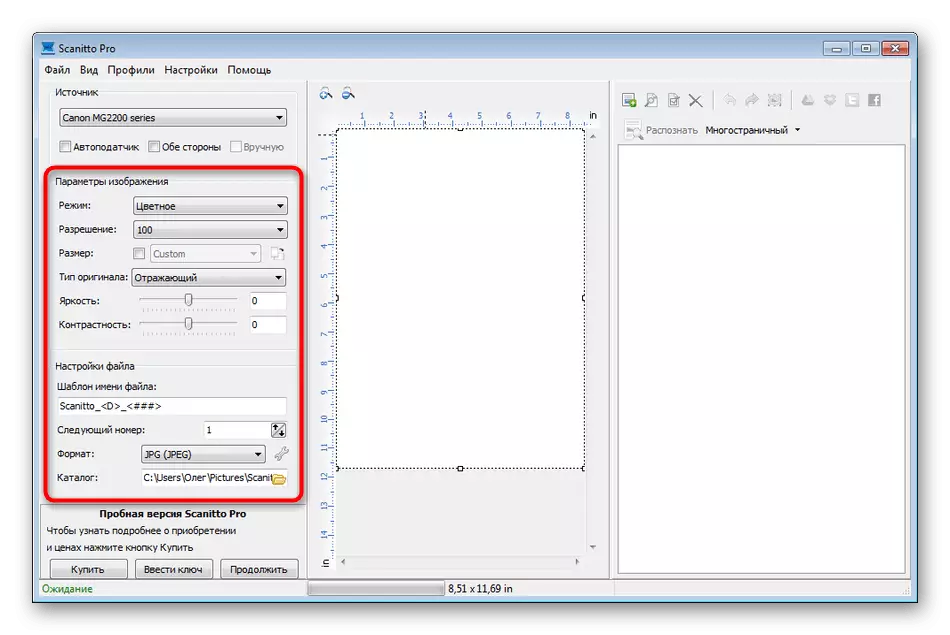
- Set the parameters of the image according to your needs. SCANITTO Pro functionality allows you to configure mode, brightness, contrast, resolution, scale and finished file format.
- Next, click on "View" or "Scan" to launch this operation.
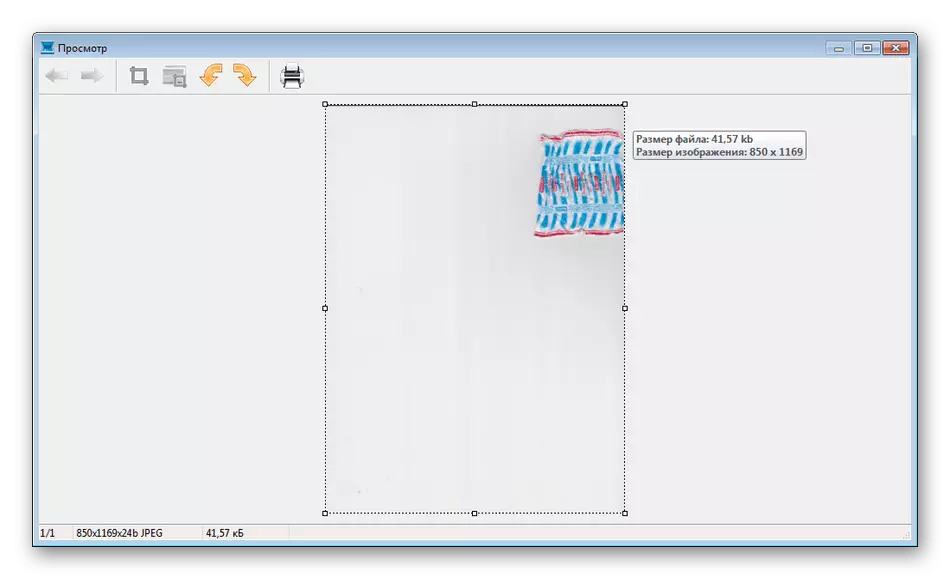
- At the end of the right, a snapshot will appear. Click on it twice LCM if you want to go to edit.
- In the opened editor, there is an opportunity to fit the size, turn the picture, trim it or immediately send to print.


In addition to the above-mentioned software, there are still many paid and free analogues providing similar functionality with certain features. Therefore, each user will easily find a suitable option. We advise you to get acquainted with the additional material on this topic, while moving on the link below.
Read more: Programs for scanning documents
Method 4: Standard Windows
In the Windows operating system, there is a default tool that allows you to quickly and conveniently scan documents from the printer. Its feature is the presence of a preliminary configuration and sorting of ready-made files. The whole procedure is as follows:
- Go to the "Start" menu and through the search for finding the Faxes and Windows Scanning application.
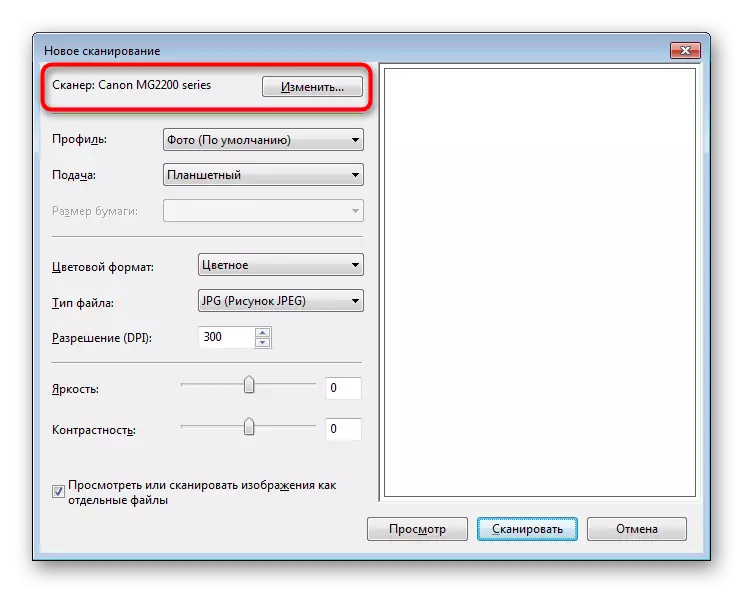
- In the tool itself, start the new scan by clicking on the allotted button.
- Make sure that the correct device is selected.
- Specify additional settings, for example, the format of the destination file, color format, brightness and contrast.
- Click the button to start scanning.
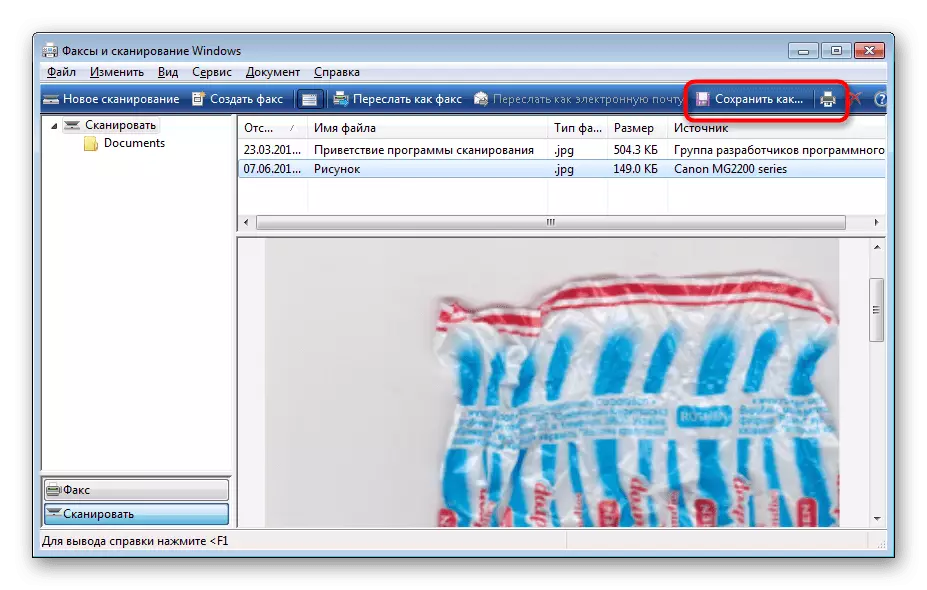
- Upon completion, you will receive a document that can be viewed.
- It remains only to save it in a suitable extension on a computer or removable media.


Today you have been familiar with the four scanning methods from the Canon printer to the computer. After that, you can move directly to print. By the way, the description of this operation is also described in a separate article on our website, familiarization with which is available at the link below.
Read also: Print documents on a computer using a printer