

The most popular editor of graphic images is Photoshop. He has a large amount of different functions and modes in his arsenal, thereby providing infinite resources. Often, the program applies the fill function.
Pouring in photoshop
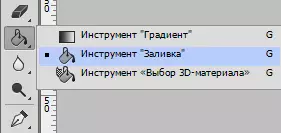
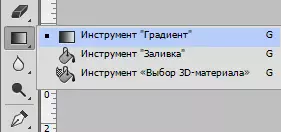
To apply colors in the graphics editor, there are two functions that meet our requirements - "Gradient" and "Fill" . These functions in Photoshop can be found by clicking on "Bucket with a drop" . If you need to select one of the fills, you need to right-click on the icon. After that, a window appears in which the color applying tools are located.
"Fill" It is perfect for applying a flaper to the image, as well as to add patterns or geometric shapes. So, this tool can be used when painting the background, objects, as well as when applying intricate patterns or abstractions.
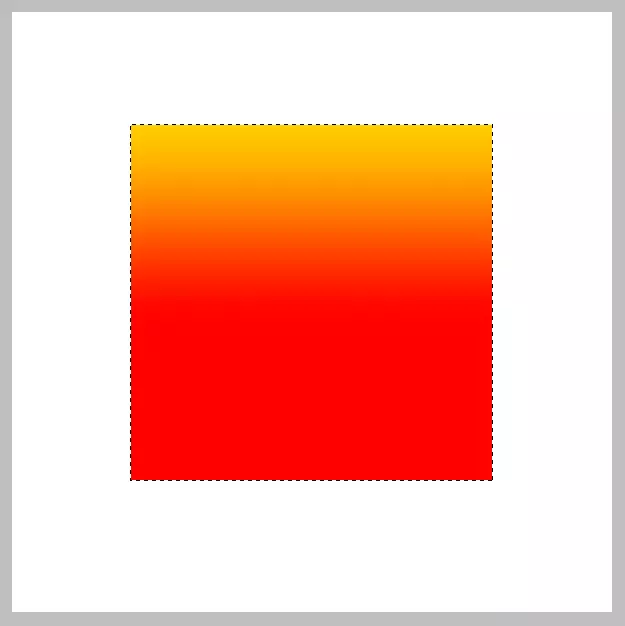
"Gradient" It is used when it is necessary to fill with two or several colors, and these colors are smoothly moving from one to another. Thanks to this tool, the border between the colors becomes invisible. Another gradient is used to underline the color transitions and outlines of boundaries.
Read more: How to make a gradient in Photoshop
Pouring parameters can be easily configured, which makes it possible to choose the necessary mode when filling the image or subjects on it.
Setting and applying tools
Working with color in Photoshop, it is important to take into account the type of fill used. To achieve the desired result, you need to select the fill and optimally adjust its settings.
"Fill"
The fill process itself is made by clicking the tool on the layer or selected area and we will not describe it, but with the tool settings it is worth dealing. Apply "Fill" , You can adjust the following parameters:
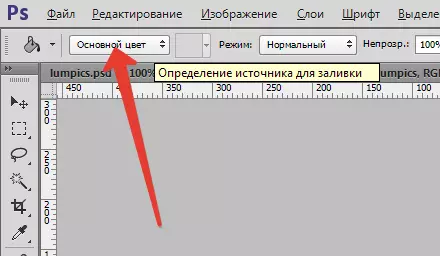
- The "fill source" is a function, with which the fill modes of the main region are regulated (for example, smooth color or ornament);
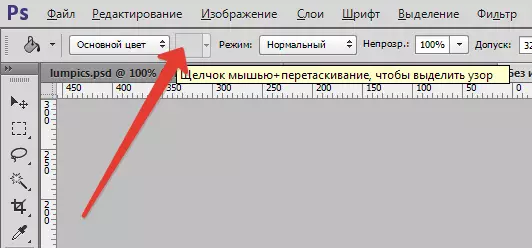
To find a suitable pattern for applying for a picture, you need to use the parameter Pattern.
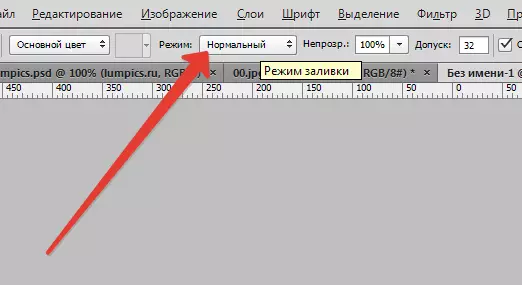
- "Fill Mode" Allows you to adjust color application mode.
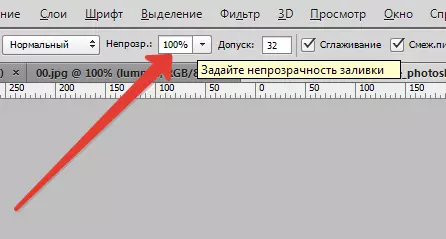
- "Opacity" - this parameter regulates the level of transparency of the fill.
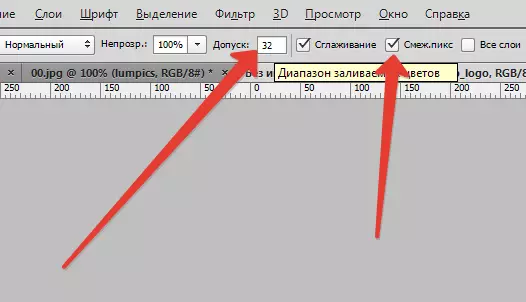
- "Tolerance" sets the proximity mode to be applied; Using the tool "Related pixels" You can pour close intervals included in the tolerance range.
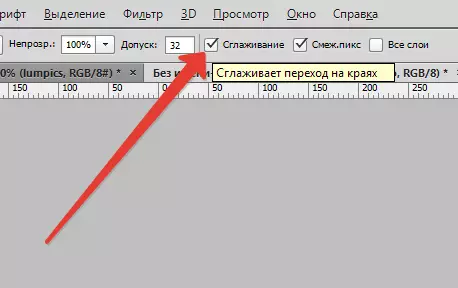
- "Smoothing" forms half the painted face between the flooded and not flooded intervals.
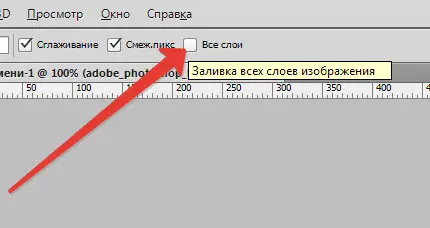
- "All layers" - causes color to all layers in the palette.
"Gradient"
To customize and apply the tool "Gradient" In Photoshop, you need:
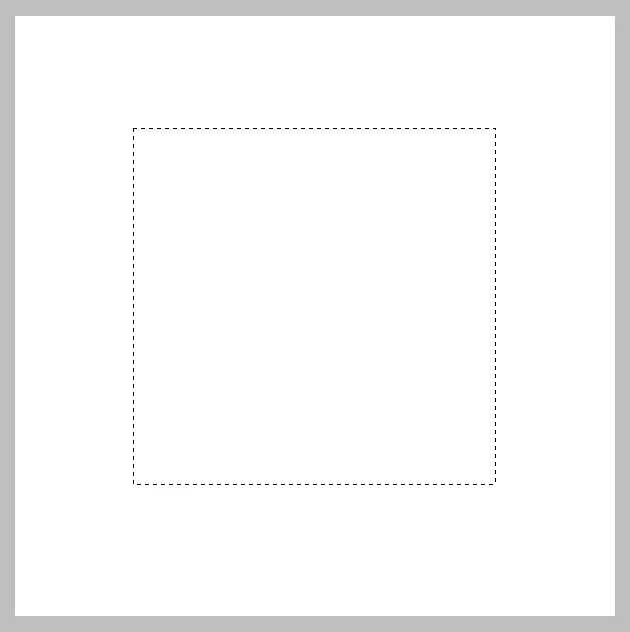
- Determine the area in need of fill and highlight it.
- Take tools "Gradient".
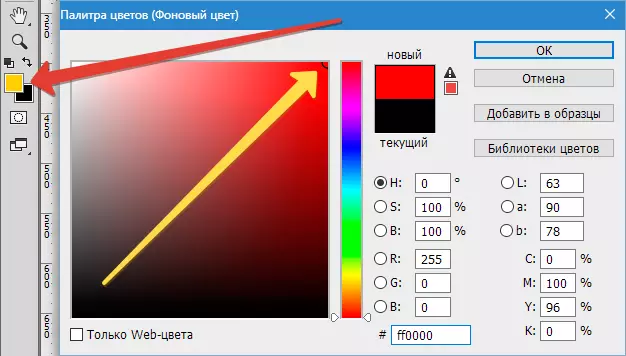
- Find the desired color to paint the background, as well as determine the basic color.
- On the toolbar at the top of the screen, you need to configure the desired fill mode. So, you can adjust the level of transparency, the method of overlay, style, fill area.

- Place the cursor inside the selected area and using the left mouse button to draw a straight line.
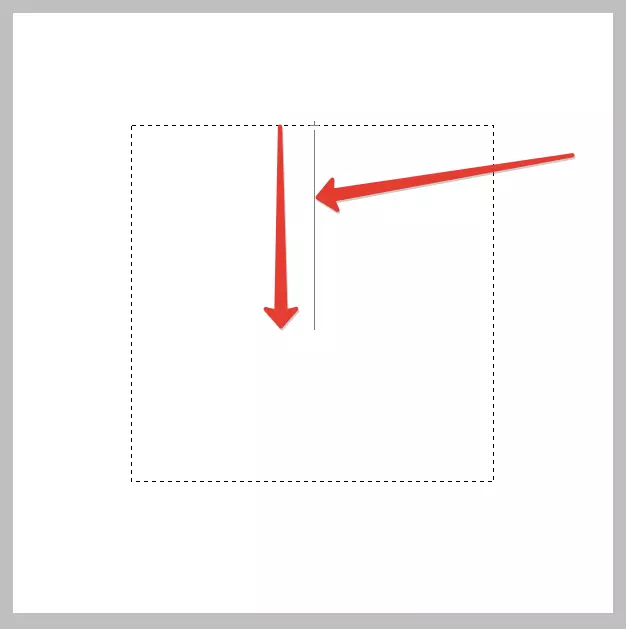
The degree of color transition will depend on the length of the line: the longer it is, the less visible color transition.
When working with color instruments, using different types of fill, you can achieve the original result and very high-quality pictures. Pouring is used in almost every professional image processing, regardless of the issues and goals. At the same time, we propose to use the photoshop editor when working with images.