
Each self-respecting organization, an entrepreneur or an official must have its own seal, which carries any information and graphic component (coat of arms, logo, etc.). In this lesson, we will analyze the main techniques for creating high-quality seals in Photoshop.
Creating a print in Photoshop
For example, create the printing of our site Lumpics.ru, applying several techniques, and then save it to reuse.Stage 1: Development
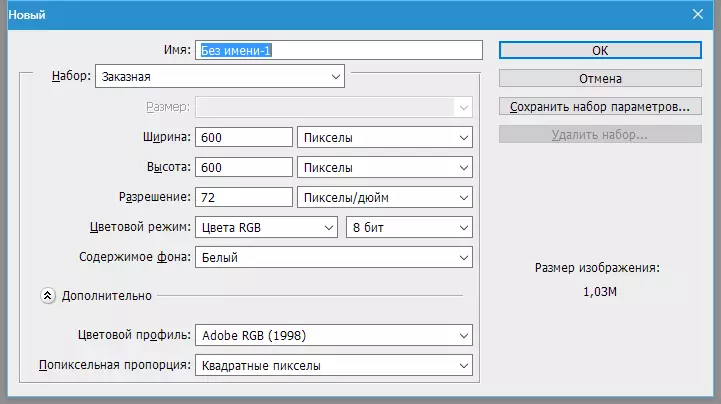
- Create a new document with a white background and equal parties.
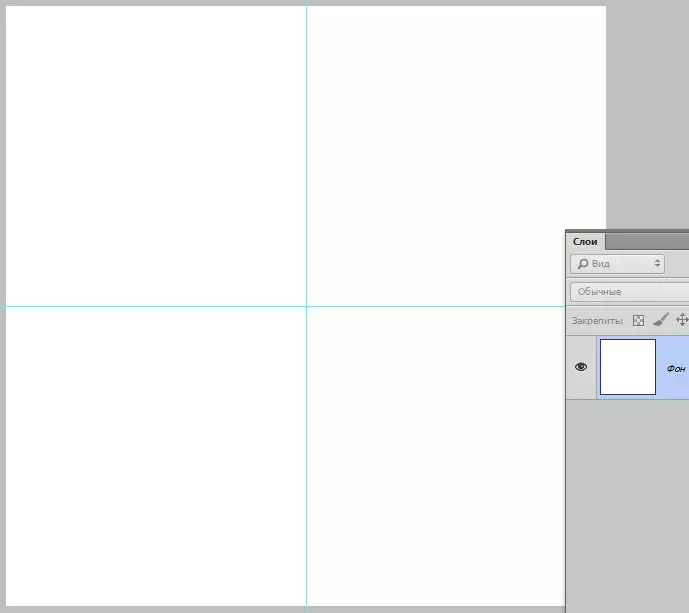
- Then stretch the guides to the middle of the canvas.
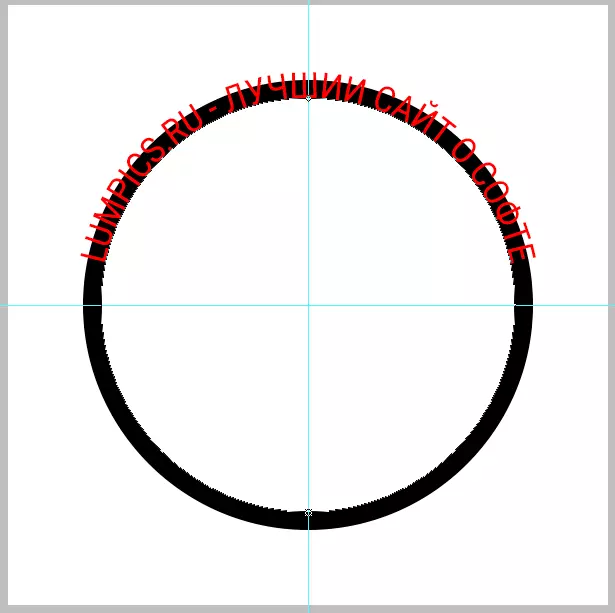
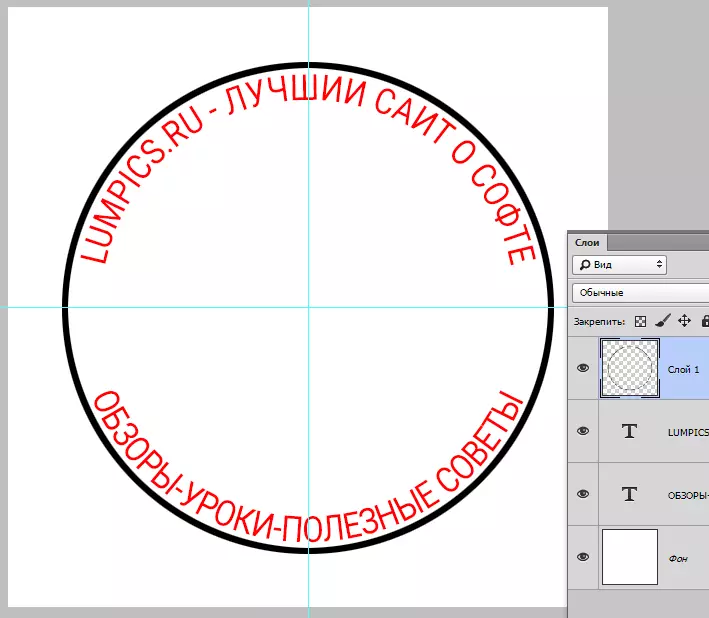
- The next step will be the creation of circular inscriptions for our print. Detailed instructions will find in the article below.
Read more: How to write text in a circle in Photoshop.
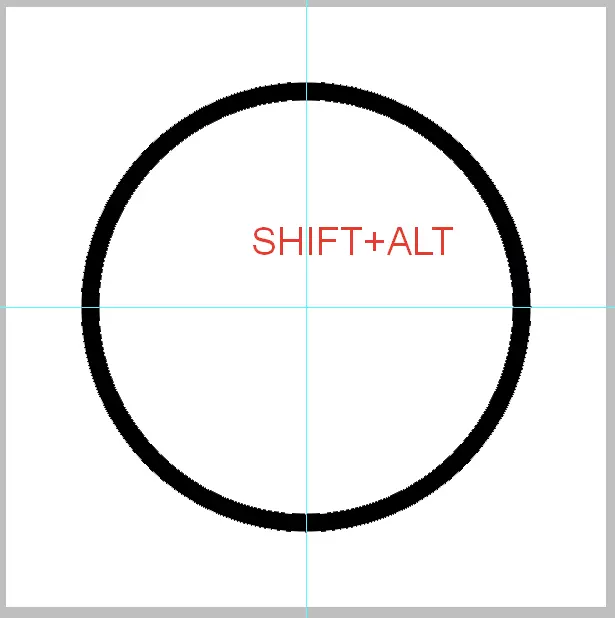
We draw a round frame (read an article). We put the cursor on the intersection of the guides, clamp Shift. And when they have already begun to pull, they also hold Alt. . This will allow the figure to stretch with respect to the center in all directions.
The information contained in the article on the link above allows you to create circular inscriptions. But there is one nuance. The radii of external and internal contours does not coincide, and it is not good for printing. Despite this, we coped with the upper inscription, but with the bottom will have to tinker.
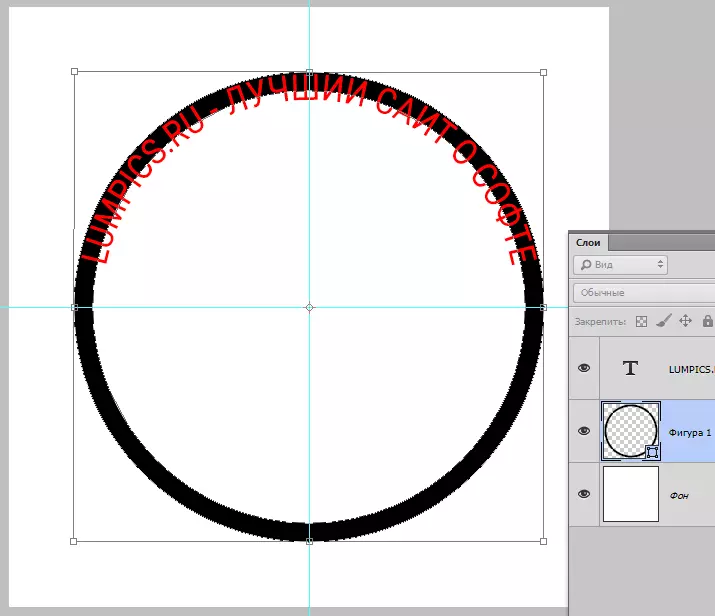
- Go on a layer with a figure and call free transformation by a combination of keys Ctrl + T. . Then, apply the same technique that when creating a figure ( Shift + Alt. ), stretch the figure, as in the screenshot.
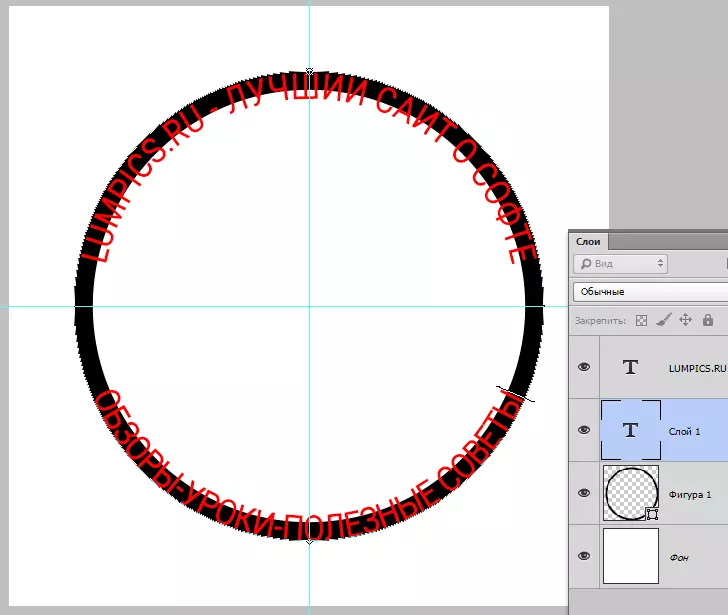
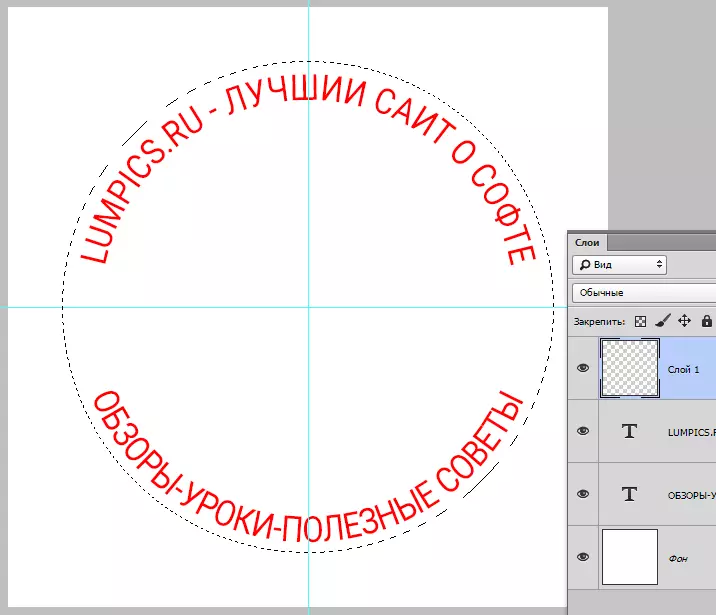
- We write the second inscription. Remove auxiliary figure and continue.
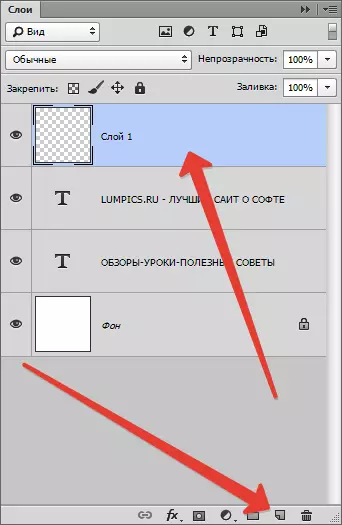
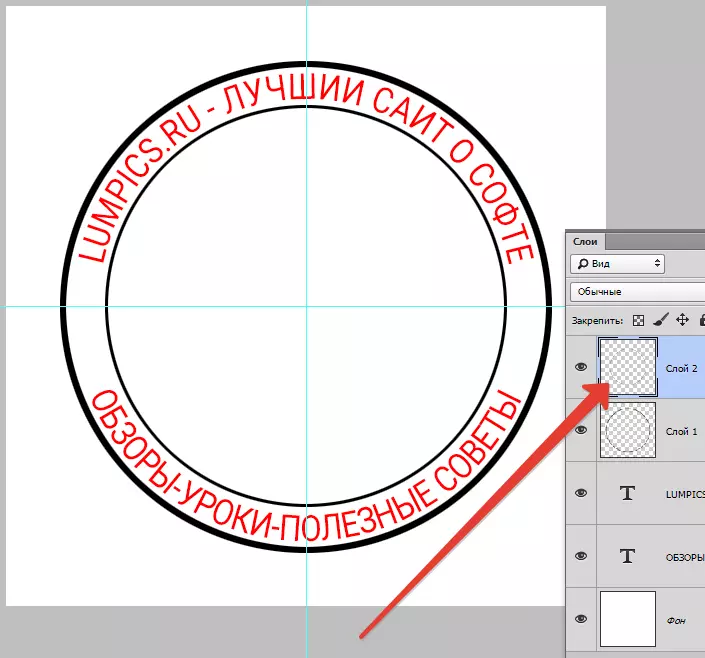
- Create a new empty layer at the very top of the palette.
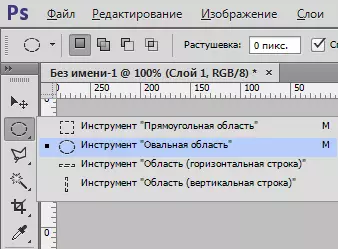
- Choose tool "Oval region".
- We put the cursor on the intersection of the guides and again draw a circle from the center ( Shift + Alt.).
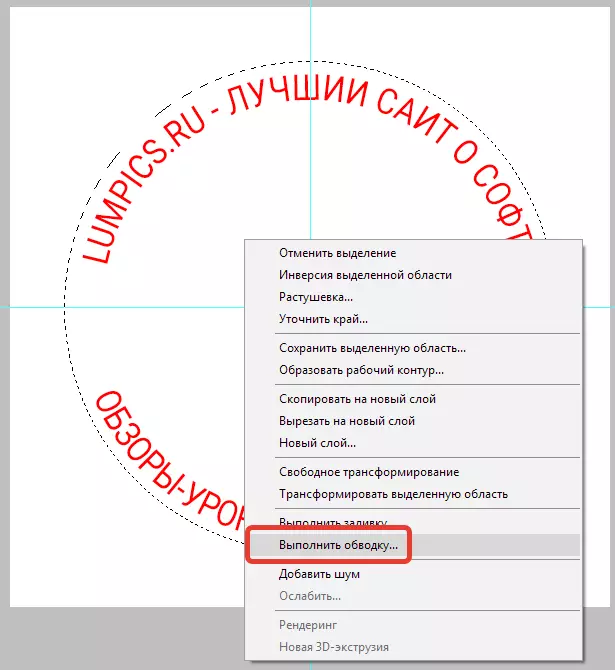
- Next, press the right mouse button inside the selection and select item "Perform stroke".
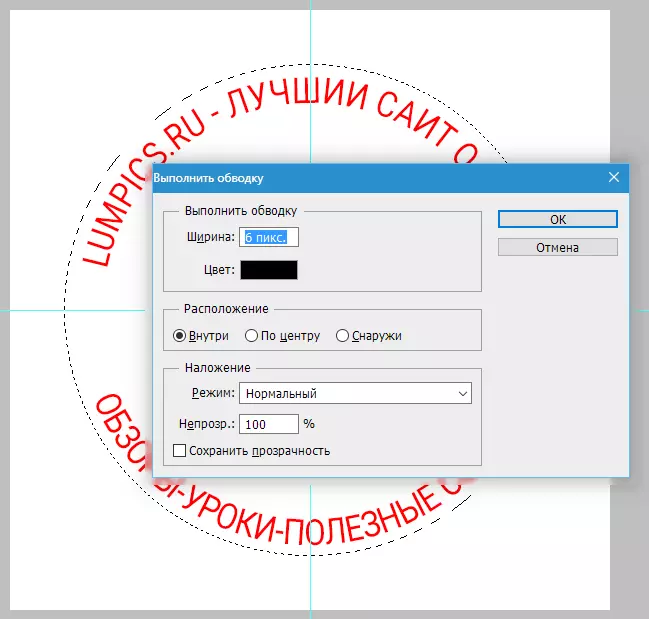
- The thickness of the stroke is chosen on the eye, the color is not important. Location - Outside.
- Remove the selection by a combination of keys Ctrl + D..
- Create another ring on the new layer. The stroke thickness is done a little less, the location is inside.
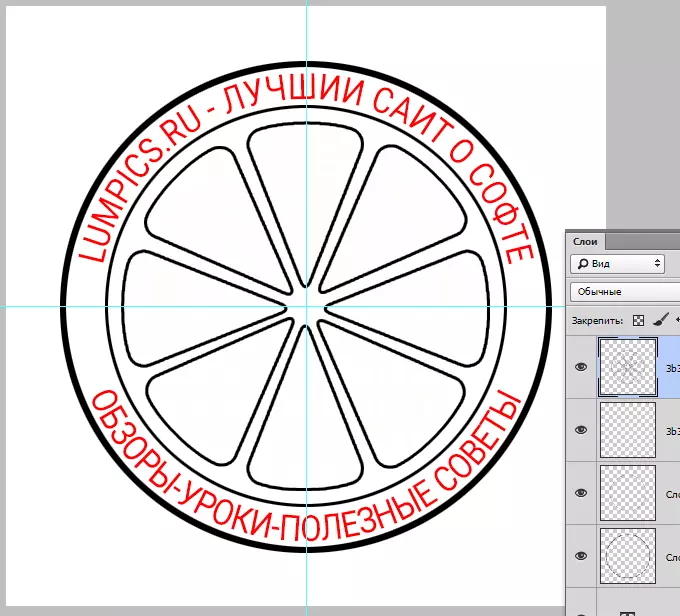
- Now put the graphics component - the logo in the print center. We found in the network here is the image:
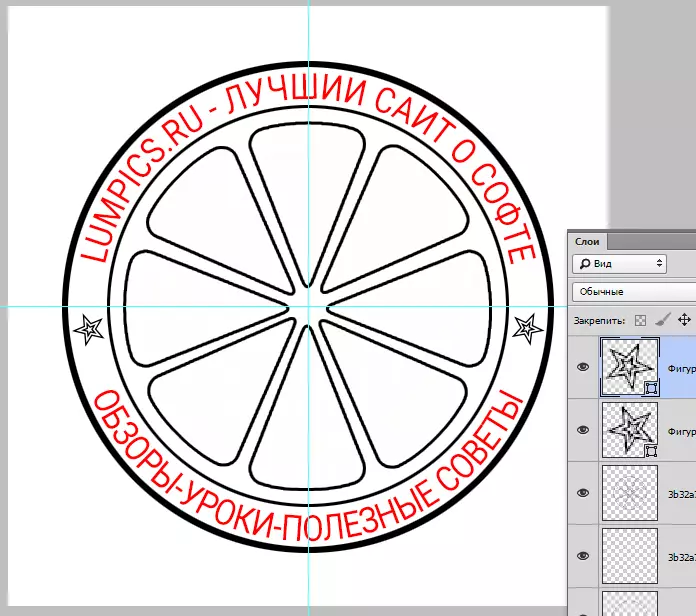
- If you wish, you can fill out an empty space between inscriptions with some characters.
- We remove visibility from the layer with the background (white).
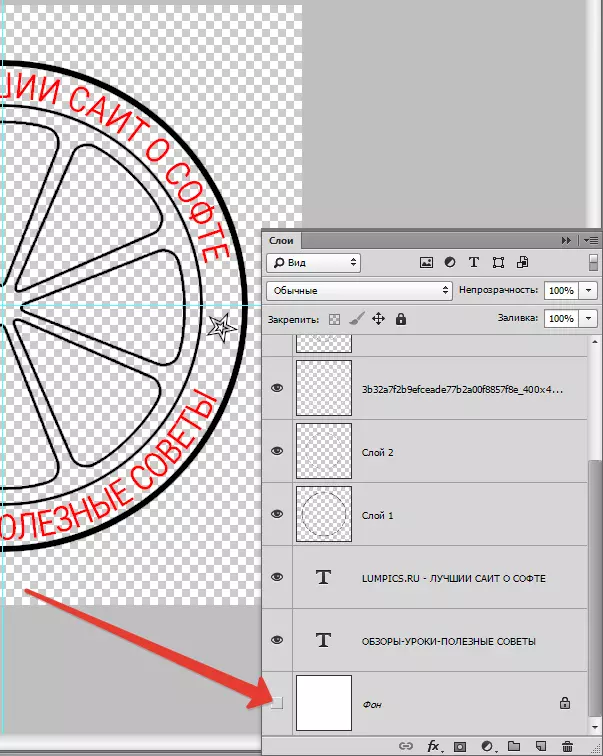
- Being at the highest layer, create a print of all layers by a combination of keys Ctrl + Alt + SHIFT + E.
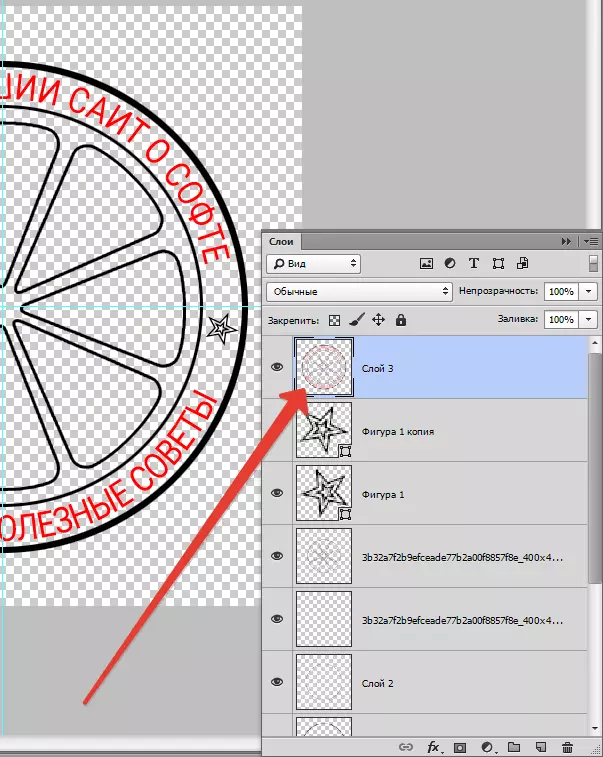
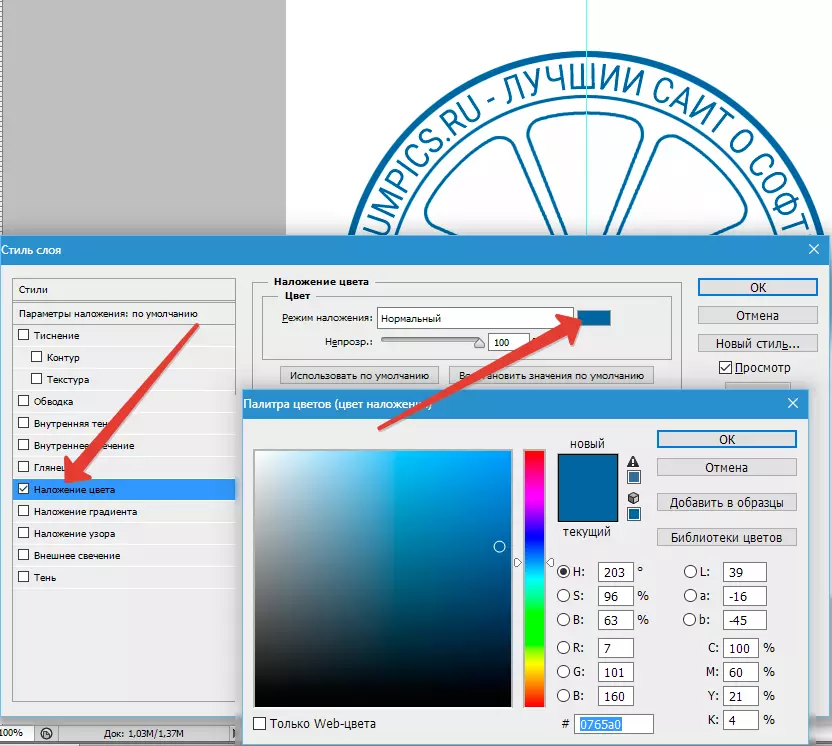
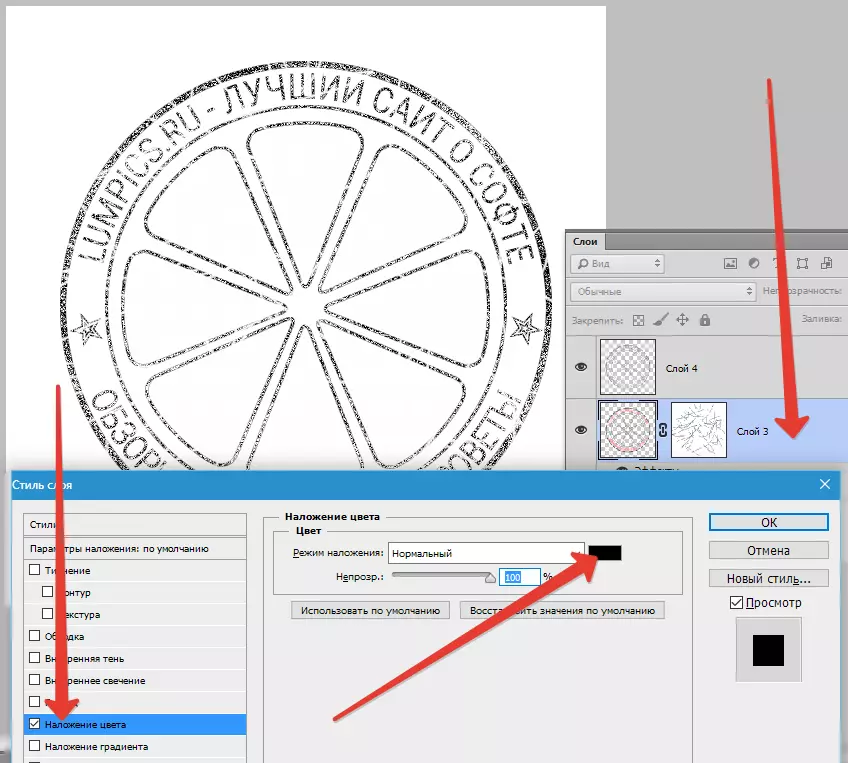
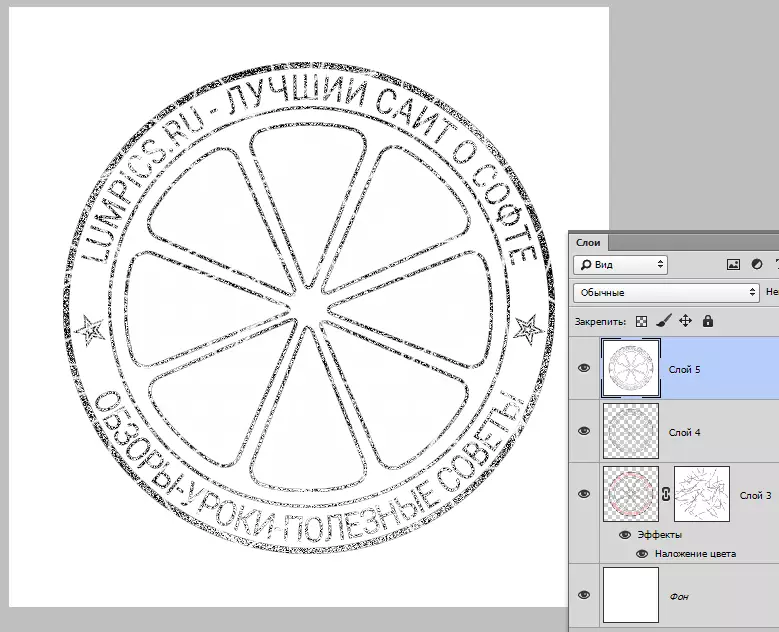
- Turn on the visibility of the background, click on the second top in the palette, clamp Ctrl , Choose all the layers, besides the top and bottom and delete - they are no longer needed. Twice clicking on a layer with seal and in the opening styles of layer choose the item "Overlay color" . Color We select in your understanding.
Print is ready, but you can make it a bit more realistic.

Stage 2: Finishing
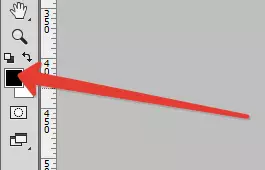
- Create a new empty layer and apply filter to it. "Clouds" After pressing the key D. To reset colors by default. There is a filter in the menu "Filter - Rendering".
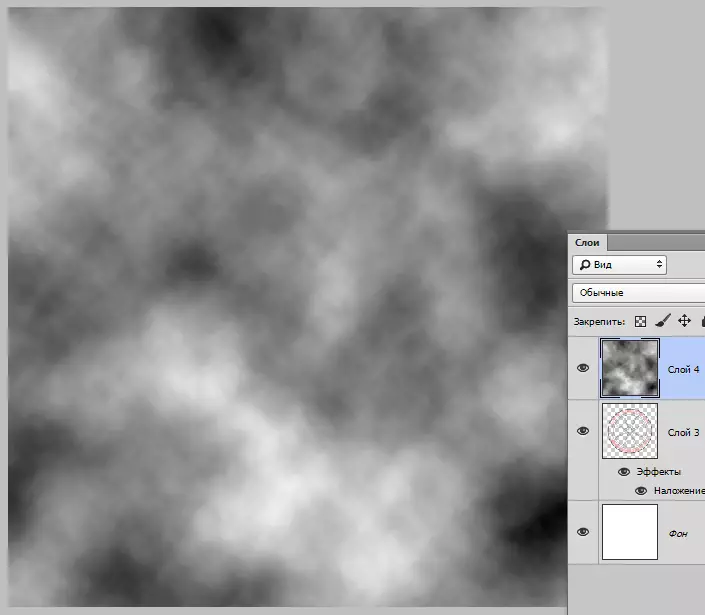
- Then apply filter to the same layer "Noise" . Search in the menu "Filter - noise - add noise" . The value is chosen at your discretion. Like that:
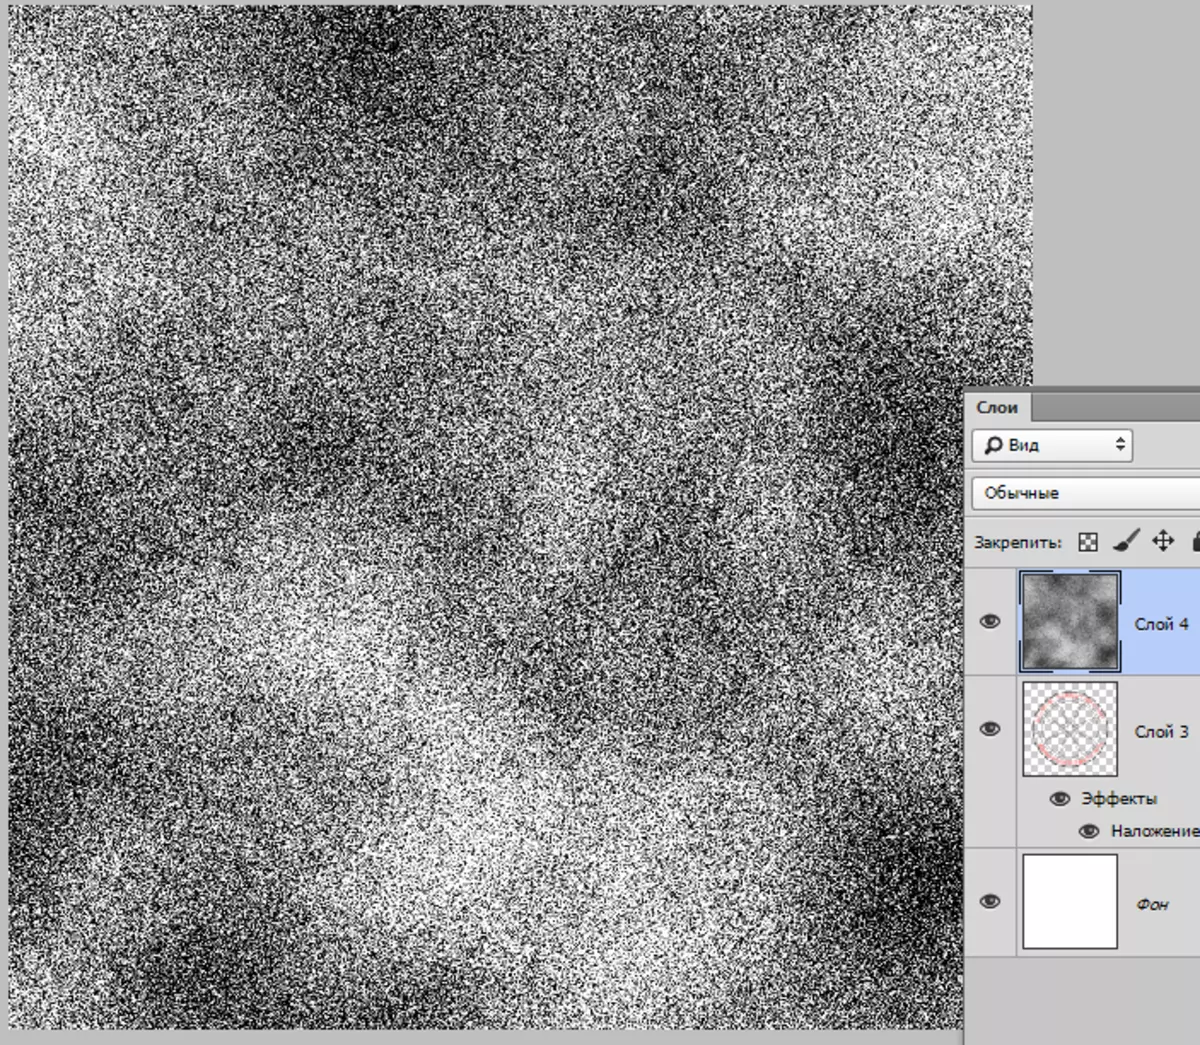
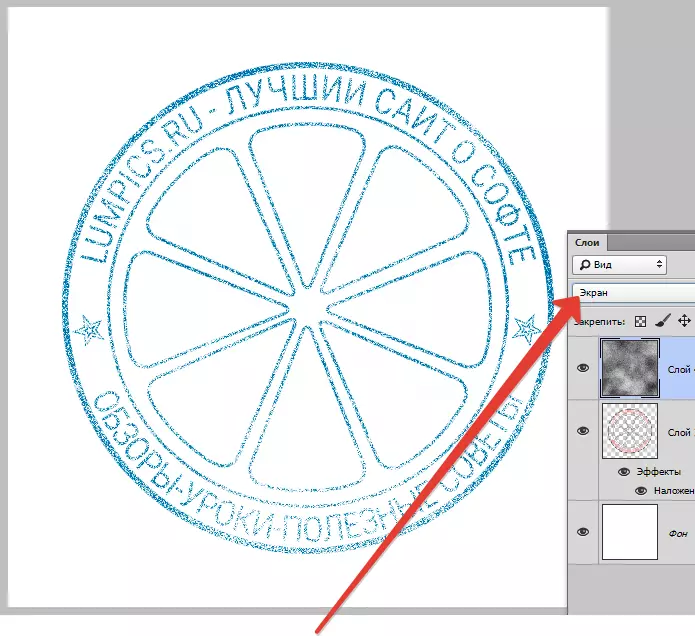
- Now change the overlay mode for this layer on "Screen".
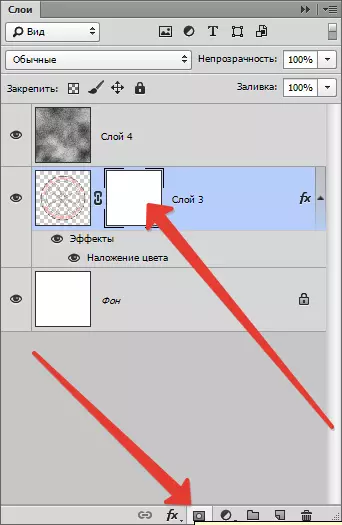
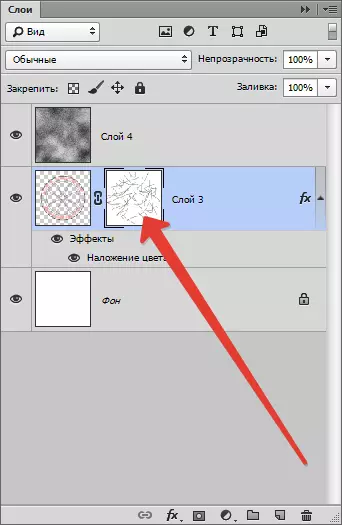
- Add some more defects. We move on a layer with printing and add a layer-mask to it.
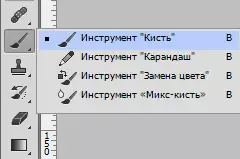
- Choose a "brush".
Black color.
The form "Tough Round" , Size 2-3 pixels.

- This brush is chaotically chirk together on a layer mask with seal, creating scratches.
Result:

Stage 3: Saving
There is an inevitable question: if you need to use this seal in the future, how to be? Draw it again? No. To do this, in Photoshop there is a function of creating brushes. Let's do a real print.
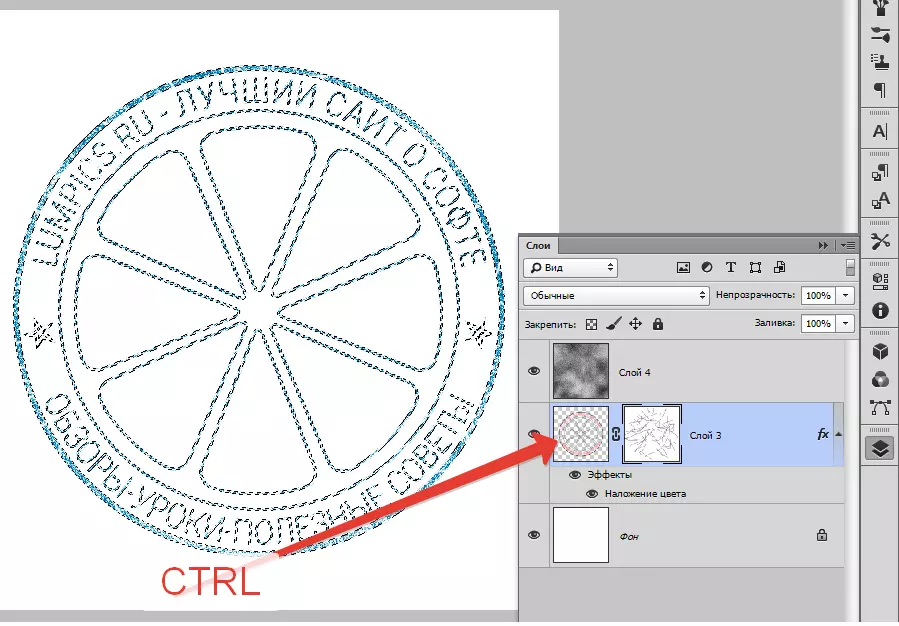
- First of all, it is necessary to get rid of the clouds and noise outside the print circuits. To do this, clamp Ctrl And click on the miniature layer with seal, creating a selection.
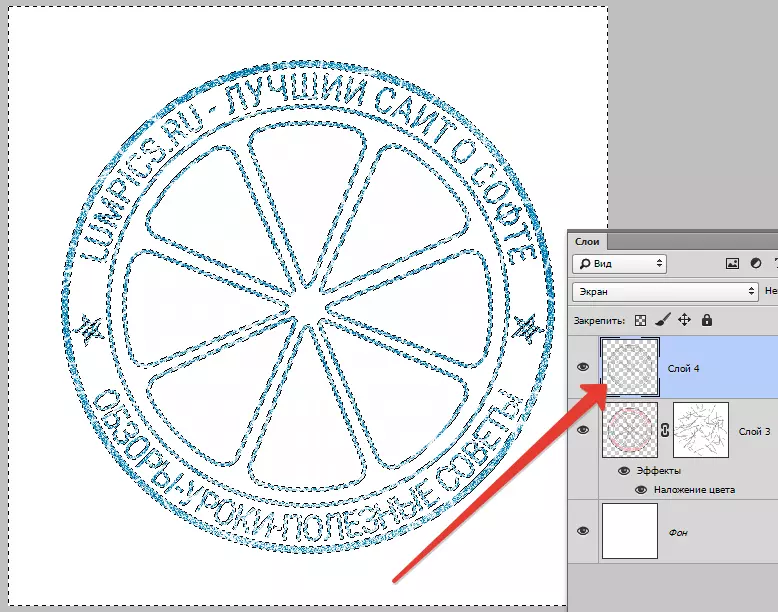
- Then go to the layer with clouds, inverting the selection ( Ctrl + SHIFT + I ) And click Del..
- Remove the selection ( Ctrl + D. ) And continue. Go to a layer with seal and double-click on it, causing styles. In the "Overlay color" section, we change the color to black.
- Next, go to the top layer and create a layer imprint ( Ctrl + Shift + Alt + E).
- Go to the menu "Editing - define a brush" . In the window that opens, give the name of the brush and click "OK".
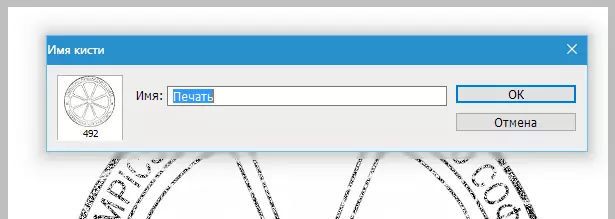
The new brush will appear at the bottom of the set.
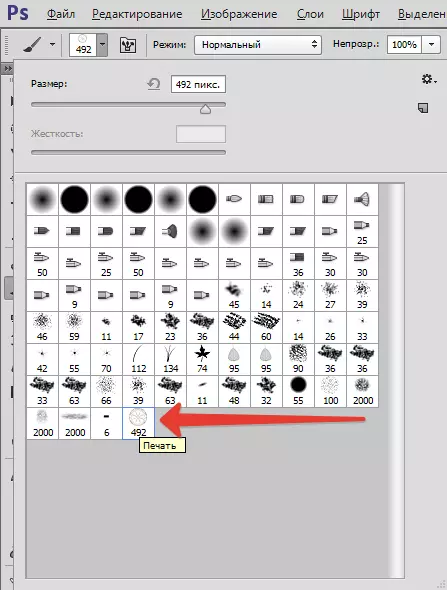
Now you can, choosing a finished brush with a print, customize its size, color, and rotate around your axis.
Printing created and ready for use.