
Panoramic pictures are photos with an angle of view up to 180 degrees. You can and more, but it looks rather strange, especially if there is a road in the photo. Today we will talk about how to create a panoramic snapshot in photoshop of several photos.
Panorama gluing in Photoshop
First, we need the photos themselves. They are made in the usual way and a conventional camera. Only you will need to twist around your axis. It is better if this procedure is done using a tripod. The smaller the deviation vertically, the smaller there will be errors when gluing. The main point in preparing photos for the creation of panorama - objects on the borders of each picture must enter the "Vansel" to the neighboring.
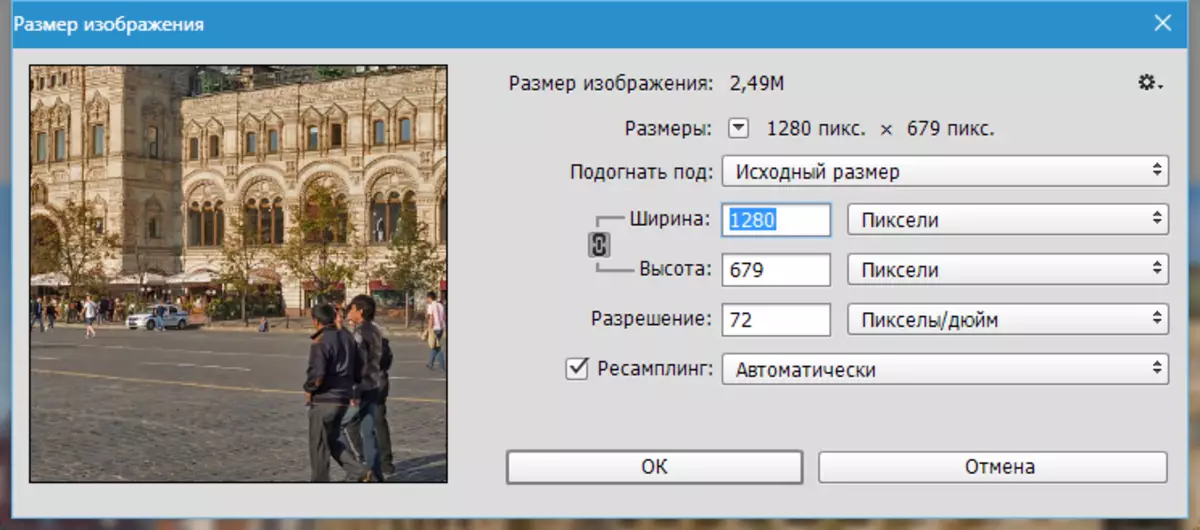
In Photoshop, all photos should be made of one size.
Then save to one folder.
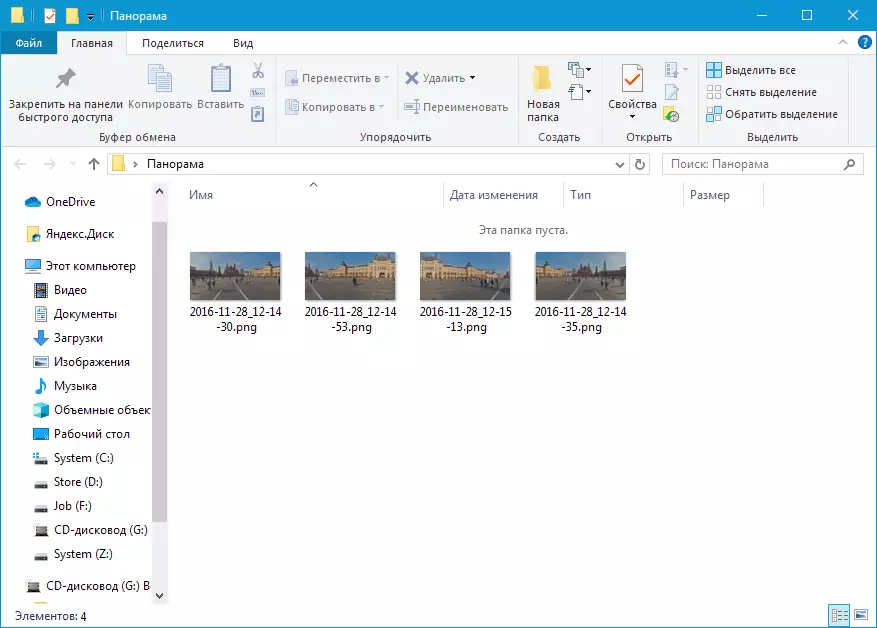
So, all photos are fitted in size and placed in a separate folder. We start gluing panorama.
Step 1: gluing
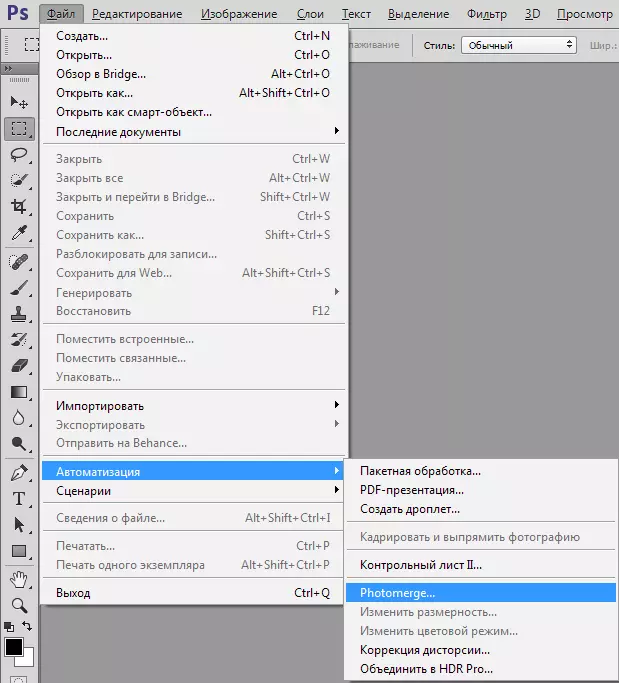
- Go to the menu "File - Automation" And looking for item "PHOTOMERGE".
- In the window that opens, leave the activated function "Auto" and click "Overview" . Further, we are looking for our folder and allocate all files in it.
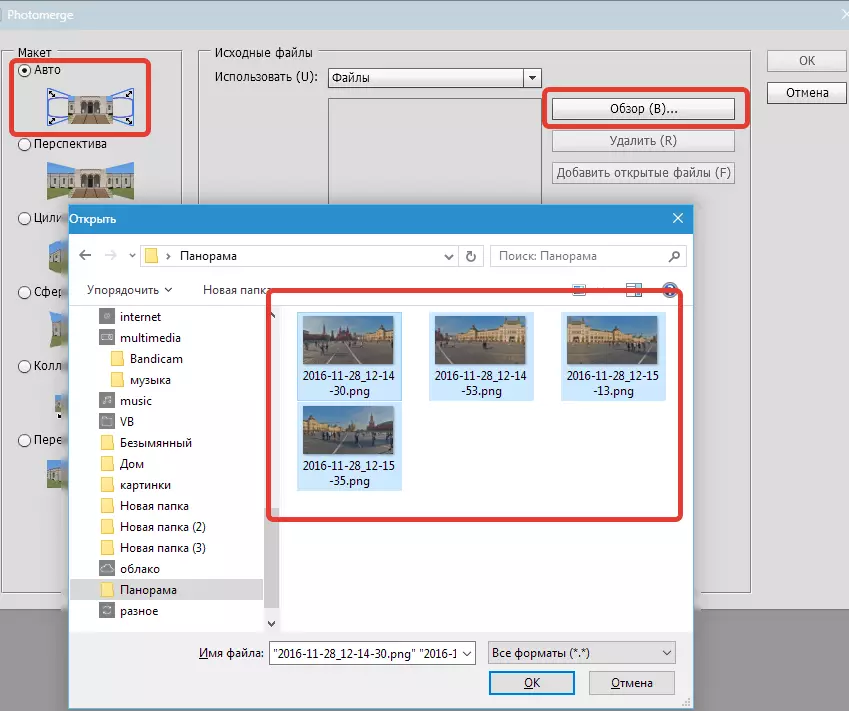
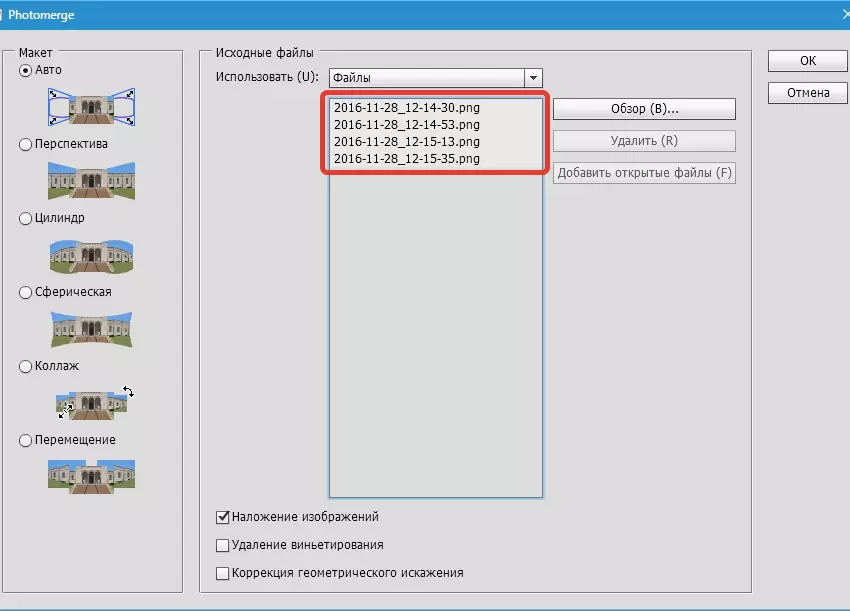
- After pressing the button OK Selected files will appear in the program window as a list.
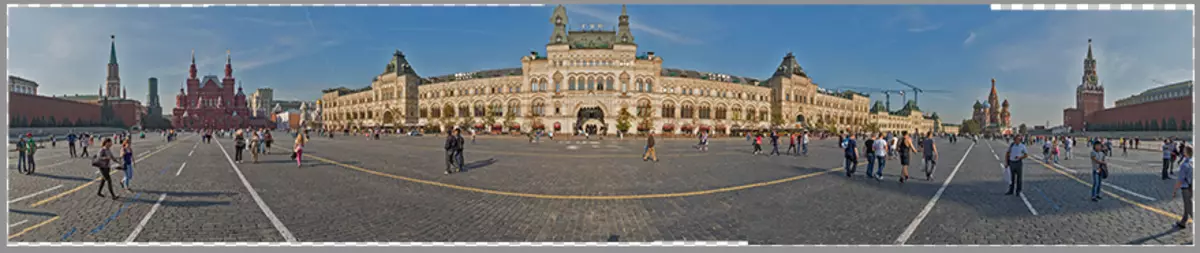
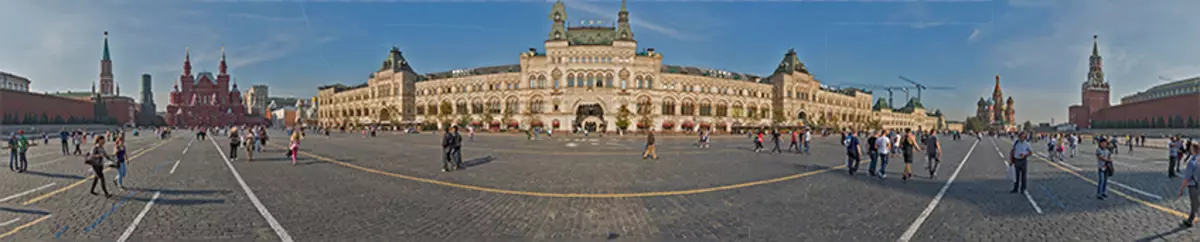
- Preparation Completed, click OK And we are waiting for the completion of the gluing process of our panorama. Unfortunately, restrictions on the linear dimensions of the pictures will not allow you to show you the finished panorama in all its glory, but in the reduced version it looks like this:
Stage 2: Finishing
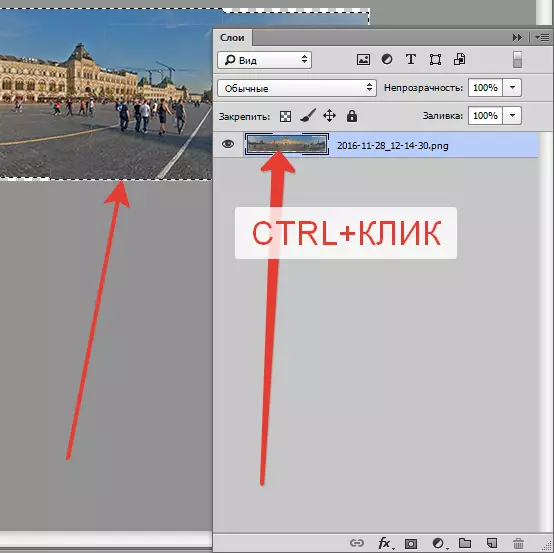
As we can see, in some places the images appeared. Eliminates it is very simple.
- First you need to highlight all the layers in the palette (pressing the key Ctrl ) and combine them (right-click on any of the selected layers).

- Then clamp Ctrl And click on the miniature layer with panorama. A selection will appear on the image.
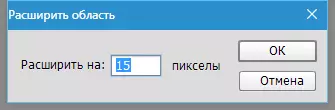
- Then we selection invert inverting keys Ctrl + SHIFT + I and go to the menu "Allocation - Modification - Expand".

Value exhibit in 10-15 pixels and click OK.
- Next click the keyboard key SHIFT + F5. and choose the fill with the contents.
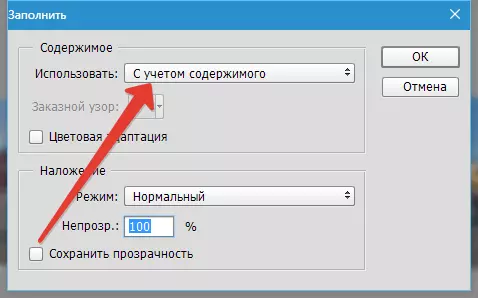
Press OK and remove the selection ( Ctrl + D.).
Panorama is ready.
Such compositions are best printed or viewed on monitors with great resolution. Such a simple way to create panoramas provides us with our favorite photoshop.