

The active users of the distributions of the Linux operating system sometimes set themselves the task of changing the desktop environment for various reasons. Kali Linux owners have not exceeded, because the functionality of this assembly allows you to put almost any of the available environments. As part of today's article, we would like to demonstrate the procedure for changing the graphics shell on the well-known KDE.
Install KDE in Kali Linux
KDE is one of the most popular graphic shells, which is standard in many distributions. The official website of Kali is the ability to upload an assembly with this environment, so if you have not yet installed the OS and want to have KDE, we strongly recommend immediately downloading the appropriate version. Detailed instructions for installing the platform can be found in another our material on the following link, and we go directly to the installation of the shell.Step 2: Configure Display Manager
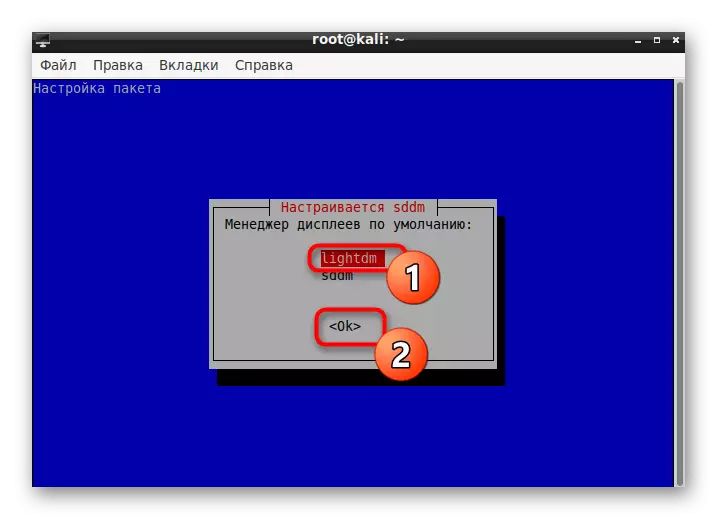
The displays manager responds for the performance of the graphics shell. For Linux, there were several of them to ensure the correct operation of a variety of desktop environments. During the installation of KDE, a new manager will also be added, it will be necessary to configure it:
- After a certain point, during the loading of packets, the console will pop up a separate window with a notification of configuring the display manager. Confirm the transition to the configuration by selecting OK.
- Using the arrow on the keyboard, switch the standard manager on LightDM, then click on "OK".
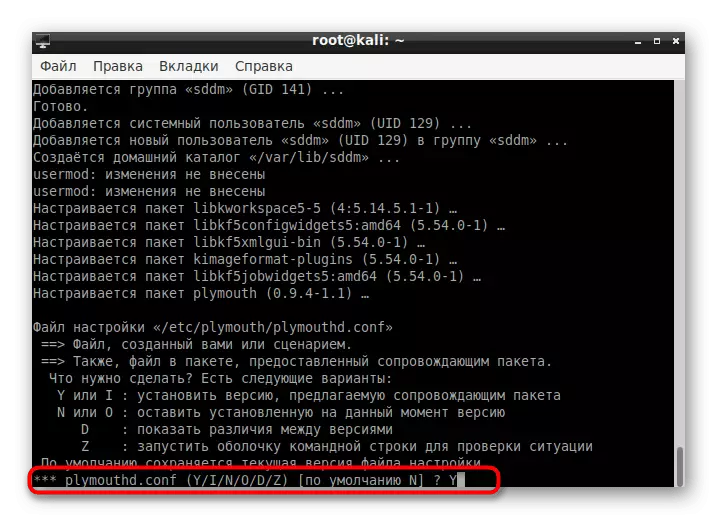
- In the Terminal, confirm the changes to the system files by option Y.
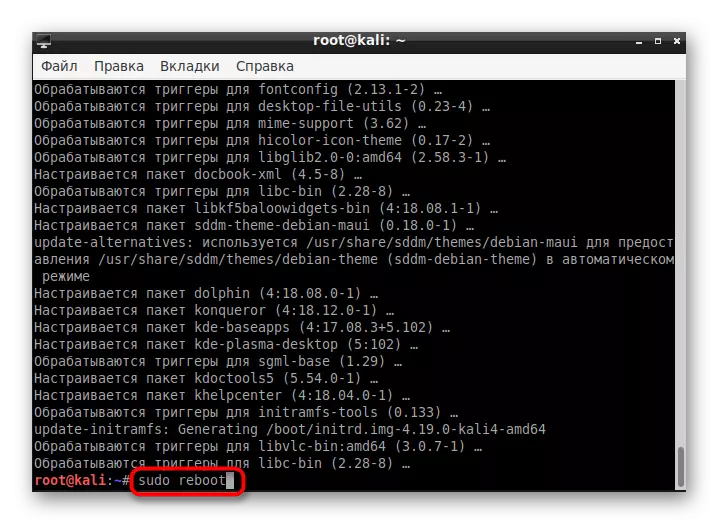
- Upon completion of the installation, restart the operating system through the sudo reboot.

Step 3: Login and Setup
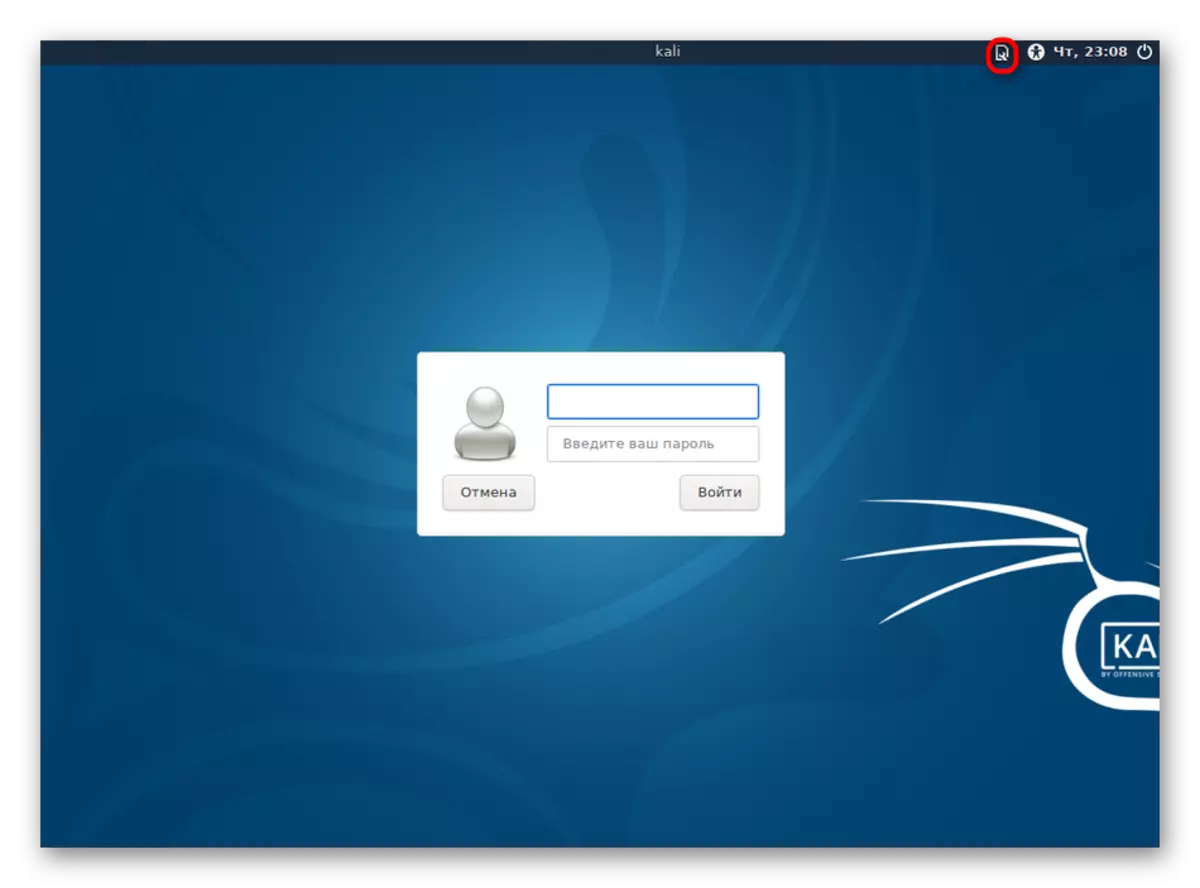
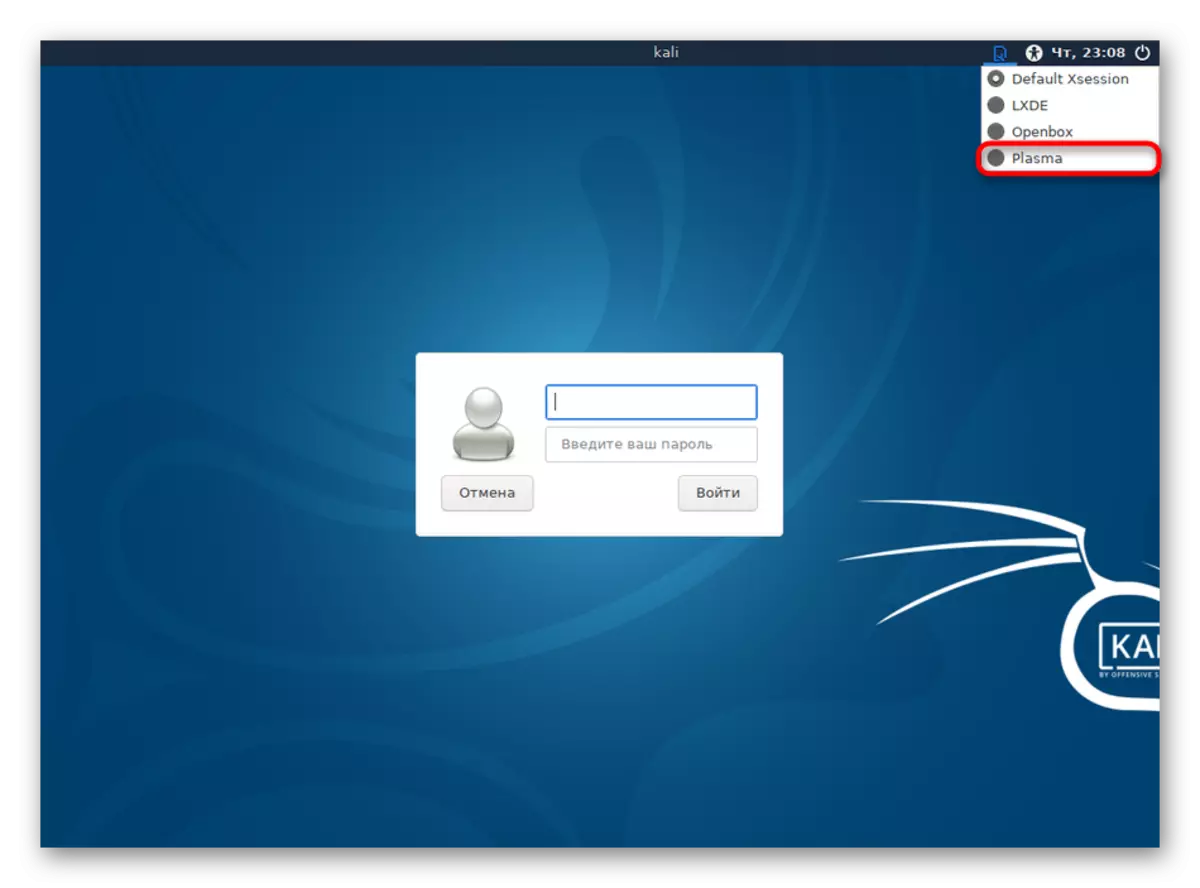
If before that you did not have any desktop environments, you can immediately start configuration after the restart. Otherwise you will have to select the selection of the shell in the starting window, which is carried out like this:
- In the upper right corner, select the settings icon.
- A pop-up menu will open, where you should mark the PLASMA paragraph.
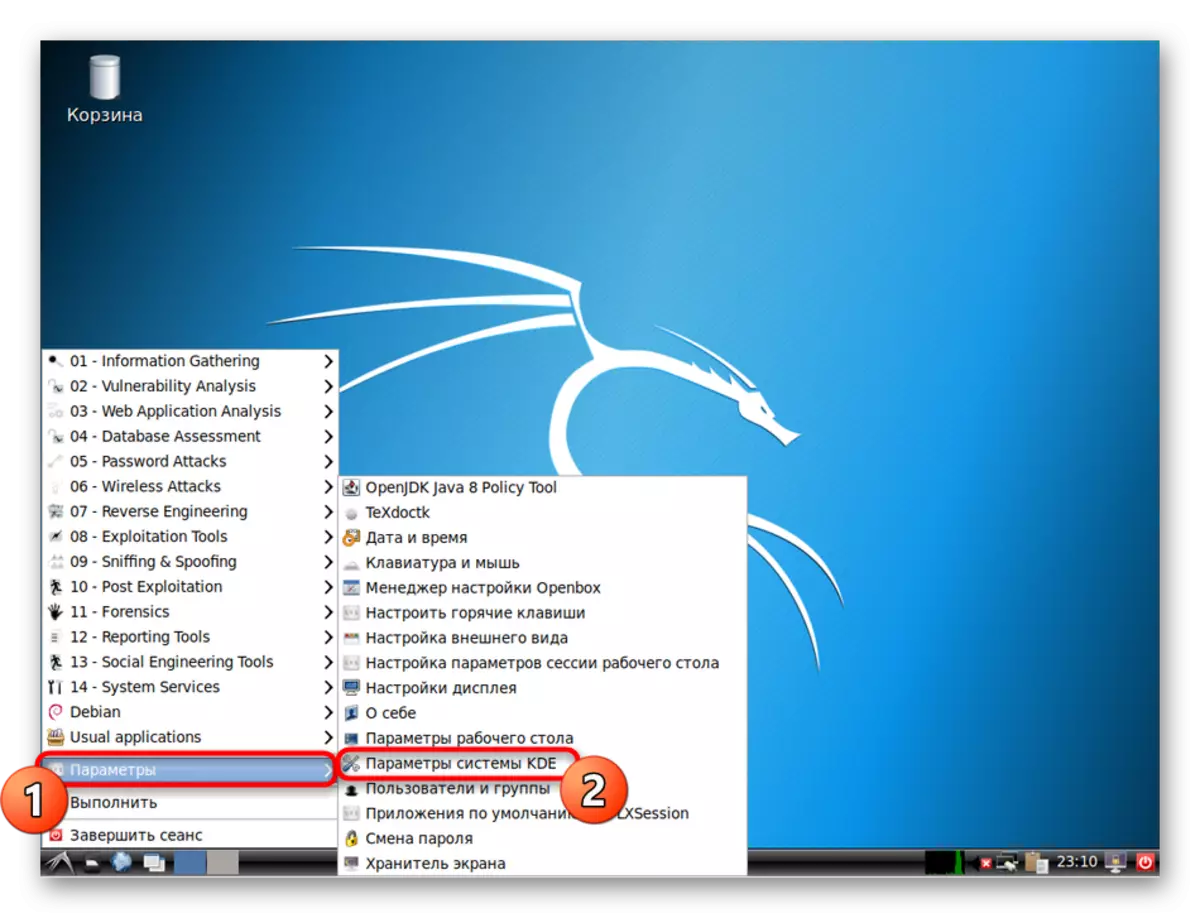
- After entering the menu, go to "Parameters"> KDE System Parameters.
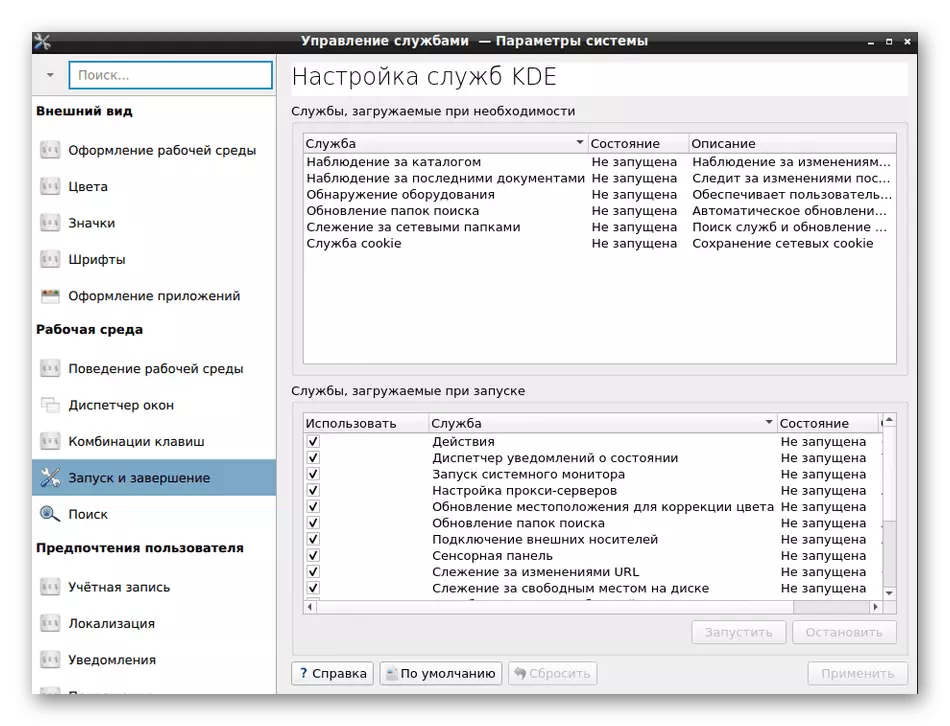
- Configure KDE components at your discretion. Points here are quite a lot, which will create a flexible configuration.
Separately, I would like to mark the Update-Alternatives Console command --config X-Session-Manager. It allows you to change the current shell through the console.
Step 4: Removing the old shell
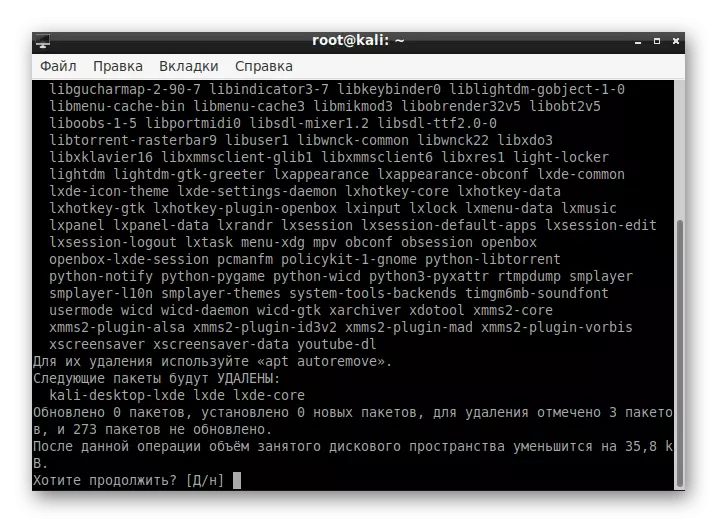
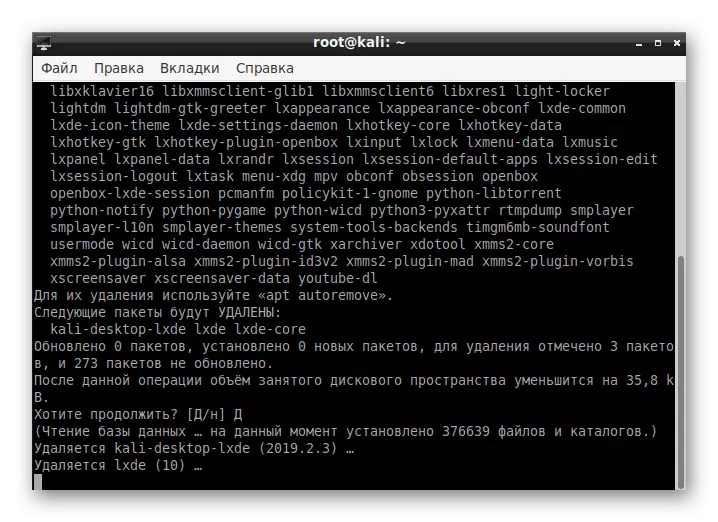
Some users do not want to have two shells on the computer. In this case, the old one can be removed in just a couple of minutes, leaving only KDE. Let's look at the removal on the example known LXDE:
- Open the console and register the APT-Get Remove LXDE-Core LXDE command.
- Confirm the action performed.
- Expect the end of the procedure.
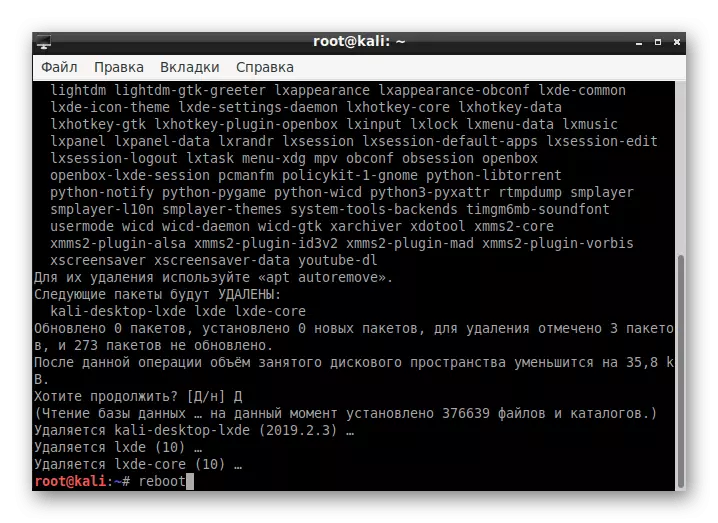
- After uninstalling, restart the PC via the reboot command.
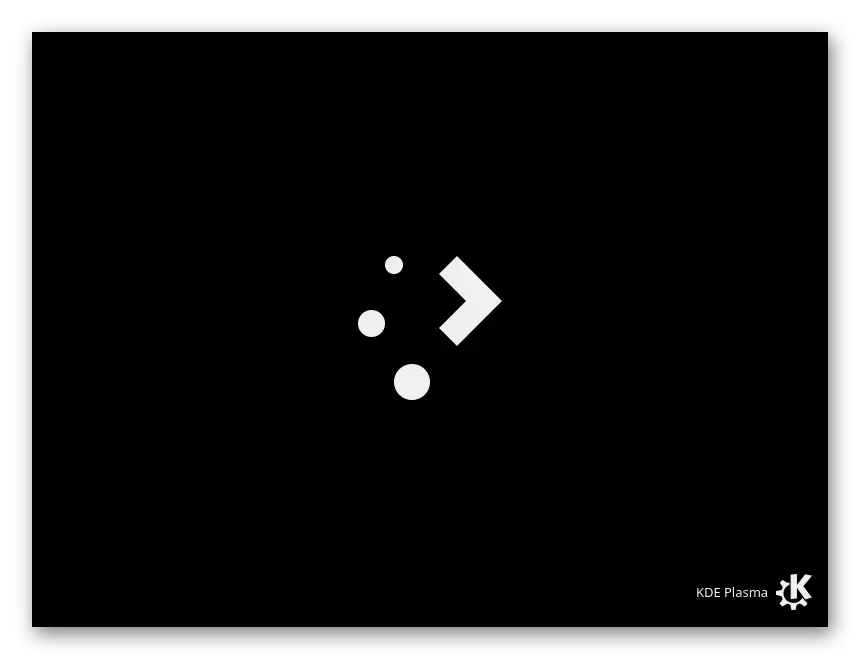
- After the KDE icon appears on the screen and download will begin.
- Now you can go to work with a new shell.


The owners of other environments will have to introduce teams a little different content:
- CINNAMON - APT-GET REMOVE CINNAMON
- XFCE - APT-GET Remove Xfce4 Xfce4-Places-Plugin Xfce4-Goodies
- GNOME - APT-GET REMOVE GNOME-CORE
- Mate - APT-GET Remove Mate-Core
If you did not find your environment in this list, refer to the official documentation to find the necessary information there.
KDE setting solution in Kali Linux
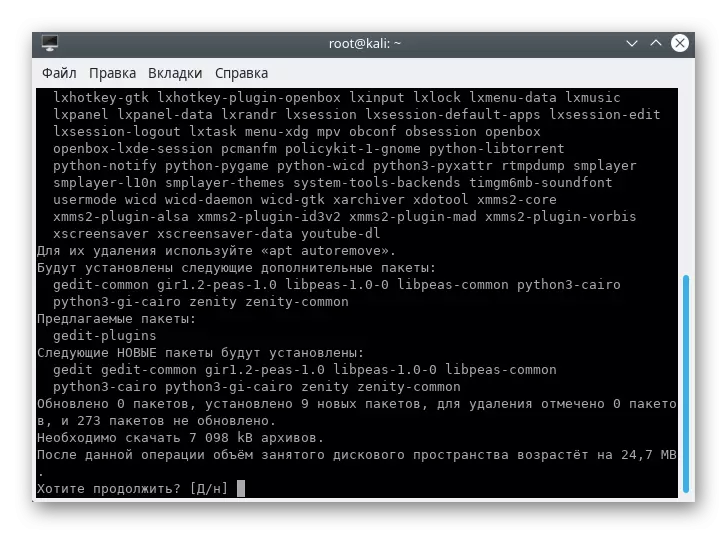
In some cases, users faced various problems when trying to download KDE. In most situations, after starting the command, a notification "Unable to Locate Package KDE-Plasma-Desktop" appears, which indicates the impossibility of finding a package. If you encountered such a problem, we advise you to execute the following instructions.
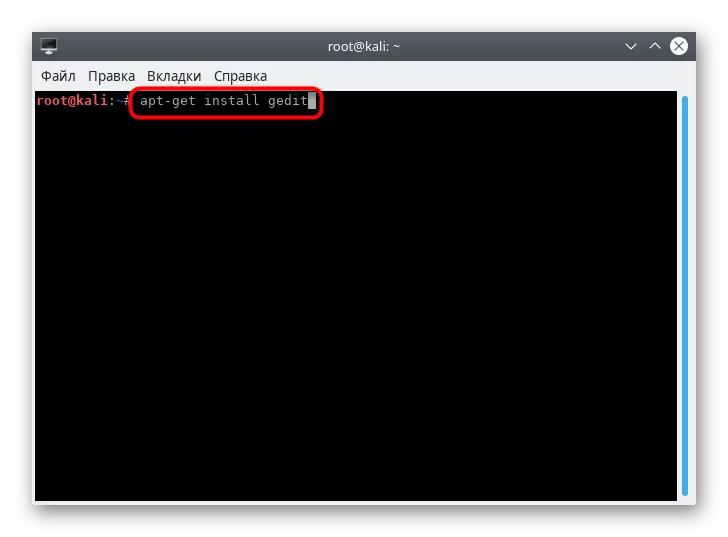
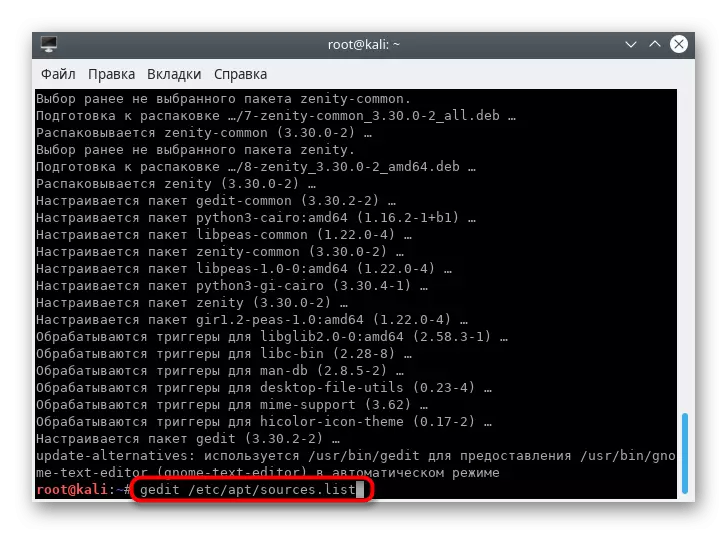
- To begin with, install the GEdit text editor to simplify further work with the configuration file. To do this, enter the APT-Get Install GEdit command.
- Confirm Adding new files to the system.
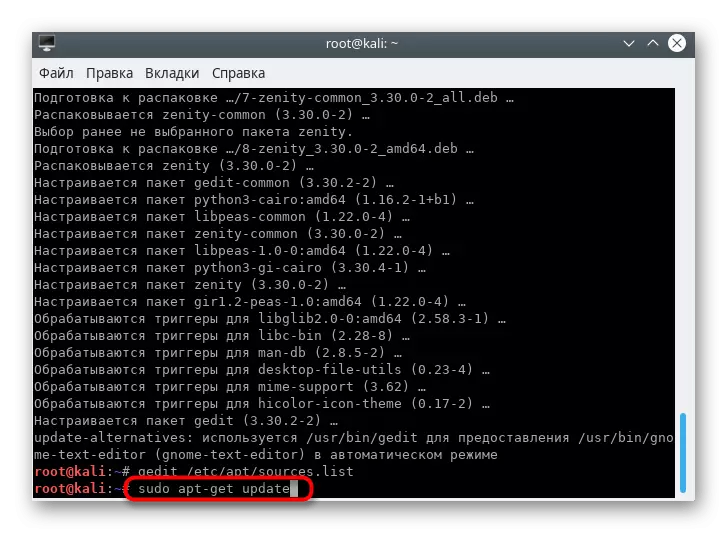
- At the end of the installation, run the configuration file by entering gedit /etc/apt/sources.list.
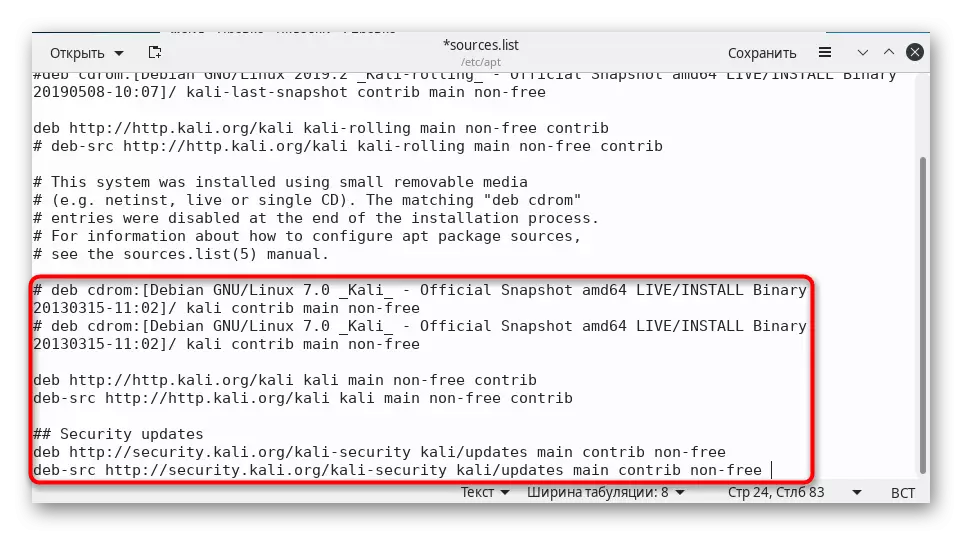
- Insert the following contents at the end of the file:
# DEB CDROM: [Debian GNU / Linux 7.0 _kali_ - Official Snapshot AMD64 Live / Install Binary 201330315-11: 02] / Kali Contrib Main Non-Free
# DEB CDROM: [Debian GNU / Linux 7.0 _kali_ - Official Snapshot AMD64 Live / Install Binary 201330315-11: 02] / Kali Contrib Main Non-Free
DEB http://http.kali.org/kali Kali Main non-Free Contrib
DEB-SRC http://http.kali.org/kali kali main non-free Contrib
## Security Updates.
DEB http://security.kali.org/Kali-Security Kali / Updates Main Contrib Non-Free
DEB-SRC http://security.kali.org/kali-security Kali / Updates Main Contrib Non-Free
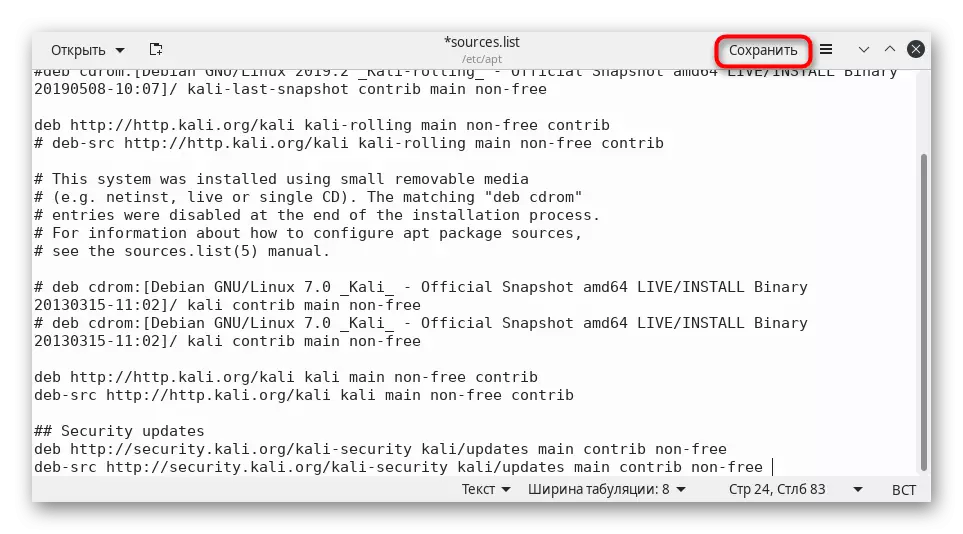
- Save the changes by clicking on the appropriate button.
- Enter Sudo Apt-Get Update, activate it, and after the new input row appears, try the installation attempt.
Other problems arise quite rarely, and they are connected mainly with the inattention of users themselves. For example, somewhere was missing the letter or after the word there is no space. When notifications appear, you always first read them, maybe they are solved simply. In other situations, we recommend contacting the official documentation of the distribution and environment of the desktop.
Now you are familiar with the KDE installation procedure in Kali Linux. Approximately the same principle are established by other media. We offer information about the most popular of them in another our reference guide below.
READ ALSO: Graphic shells for the desktop Linux