

Some users involved in video formation are faced with the need to impose one video over the other, while using the effect of translucency or simply placing the picture on top of another, for example, at the top in the corner. If necessary, the implementation of such actions can not do without the use of special software. Next, we would like to clearly demonstrate an example of creating a similar project, using the three most popular video editor.
We carry out the overlay of one video to another
There are many different situations when it is required to produce such an operation, for example, one of the video is the effect and will be perfectly complemented by the second. Or they can be interconnected, and the images should be placed on one screen, dividing them in half. Professional and amateur solutions will help to cope with all these tasks, which will be discussed. You only will only choose the optimal option.Method 1: Sony Vegas Pro
Sony Vegas Pro is rightfully considered one of the most famous and convenient video recorders. This software is used both professionals and amateurs, since it is enough to deal with the inclosures of control fairly, and the tools present are enough to implement complex projects. With the imposition of two risks of Sony Vegas, too, will cope with this process, and this process looks like this:
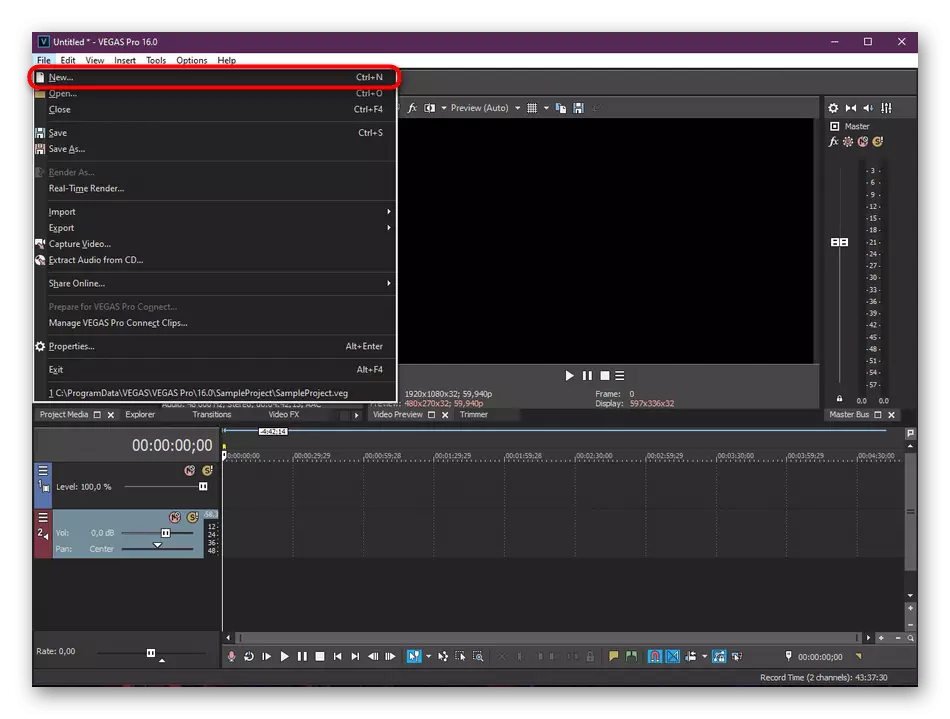
- Run the program and proceed to add a new project.
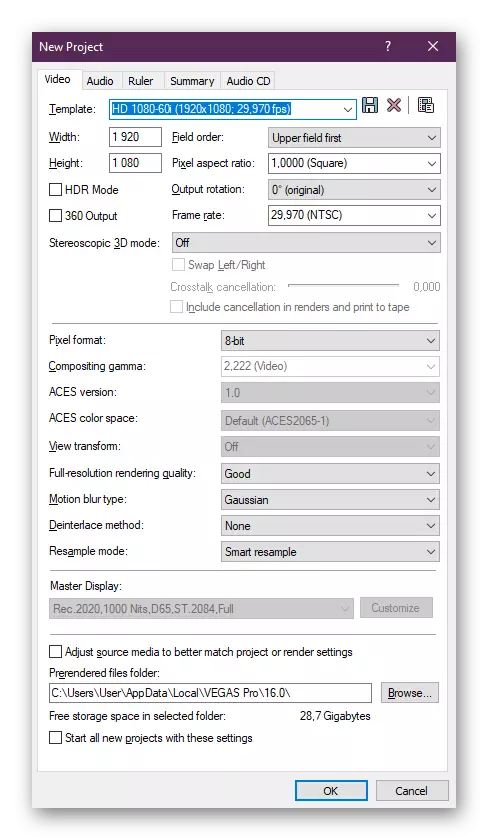
- Set the necessary parameters or leave all default values if the pre-configuration is not needed.
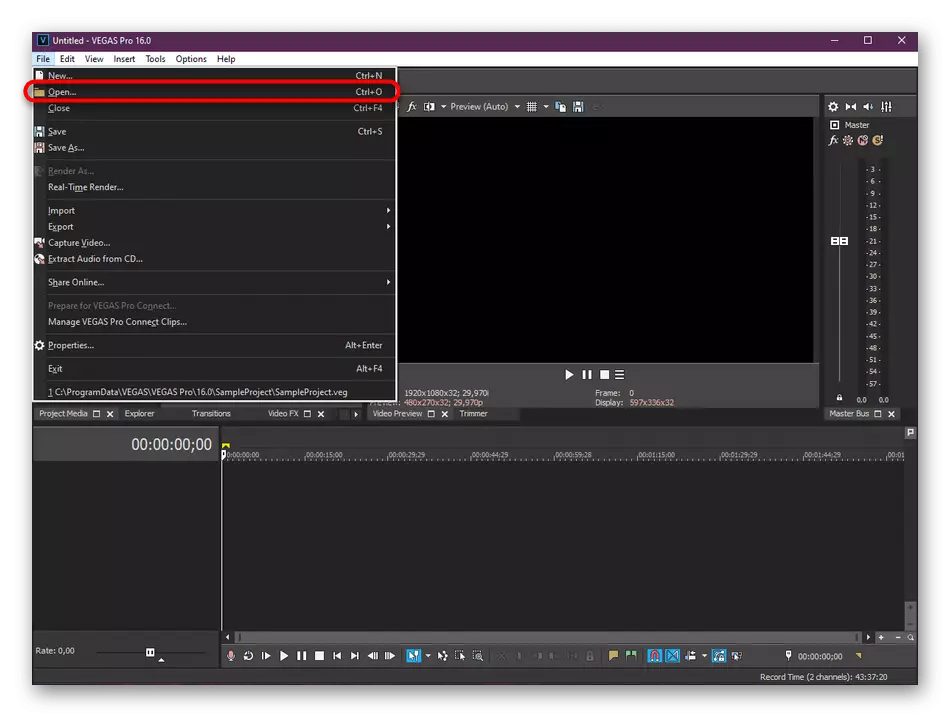
- Through the "File" menu, go to add new files by clicking on Open.
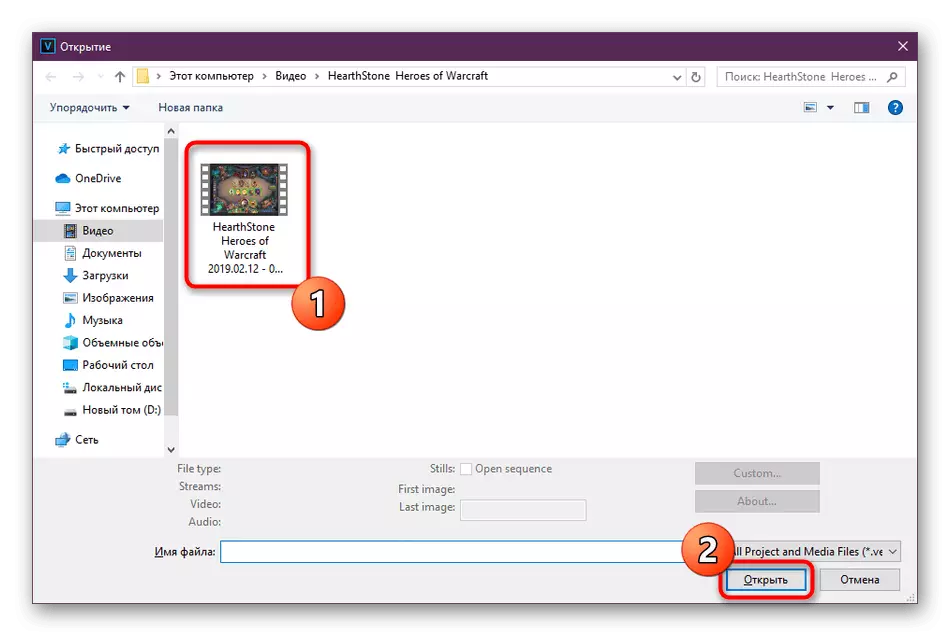
- In the "Explorer" that opens, you will need to specify the required records, and then click on "open".
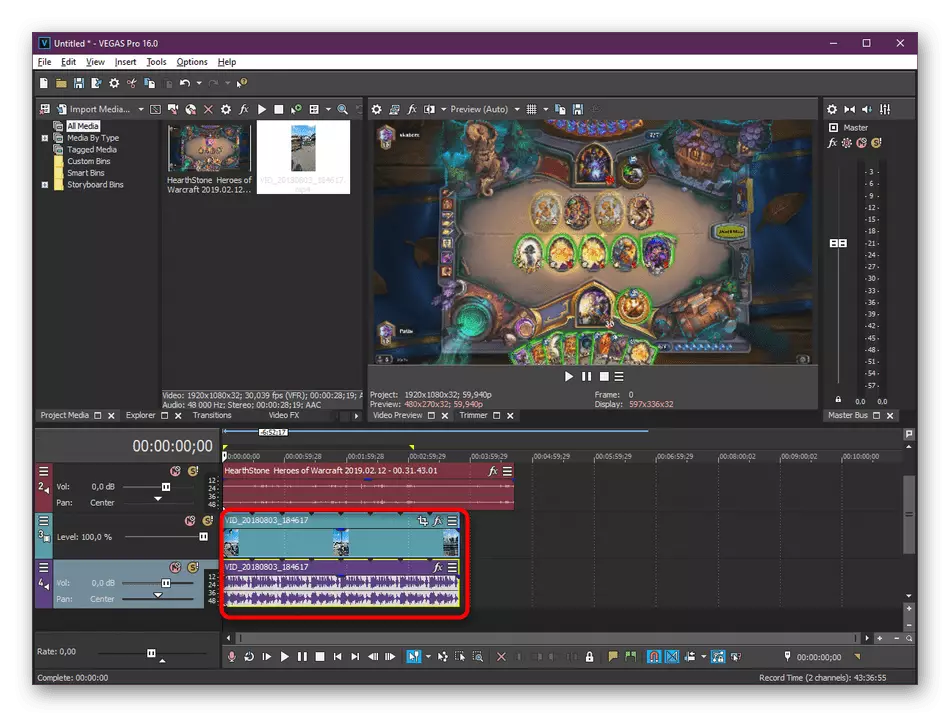
- The video that should be below, respectively, is placed under main on timeline.
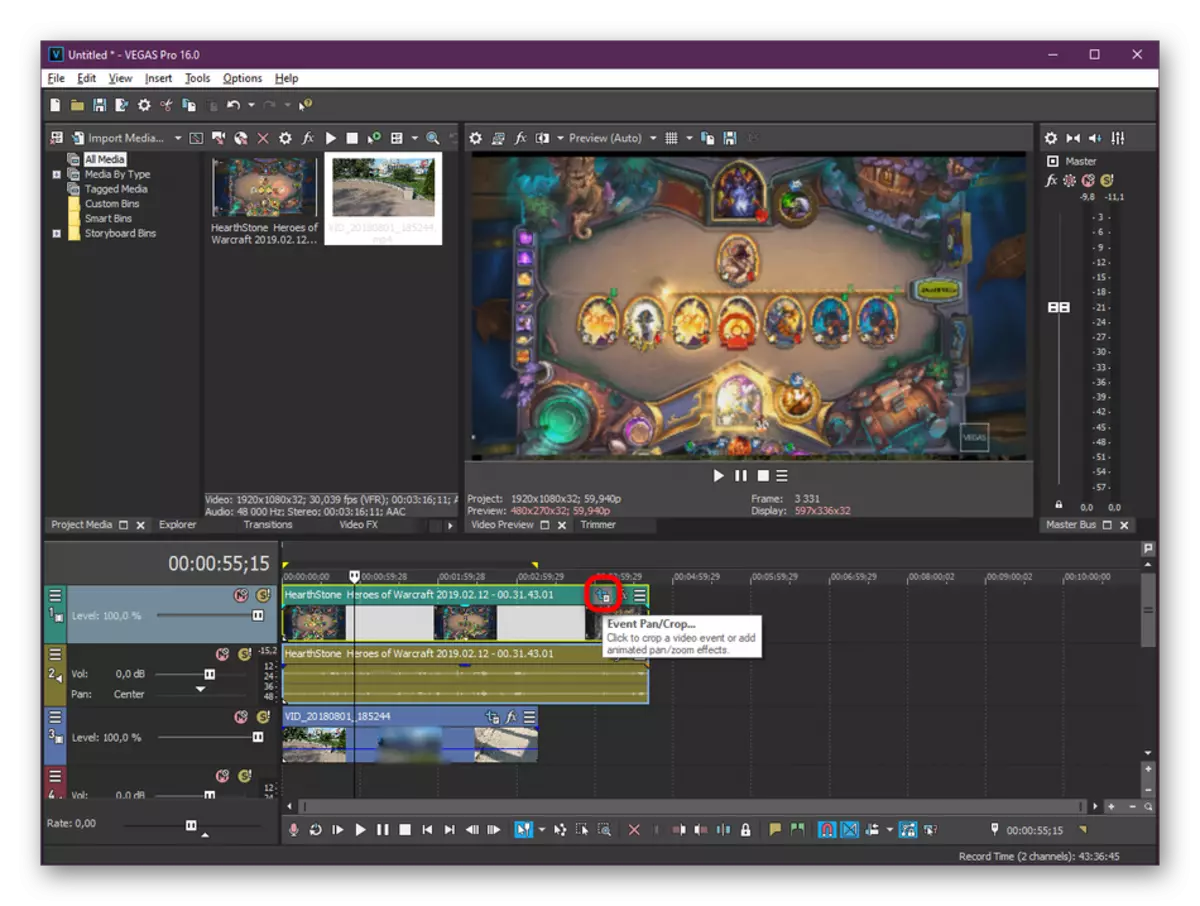
- After clicking on the "Event Pan / Crop" button located on the track of the top roller.
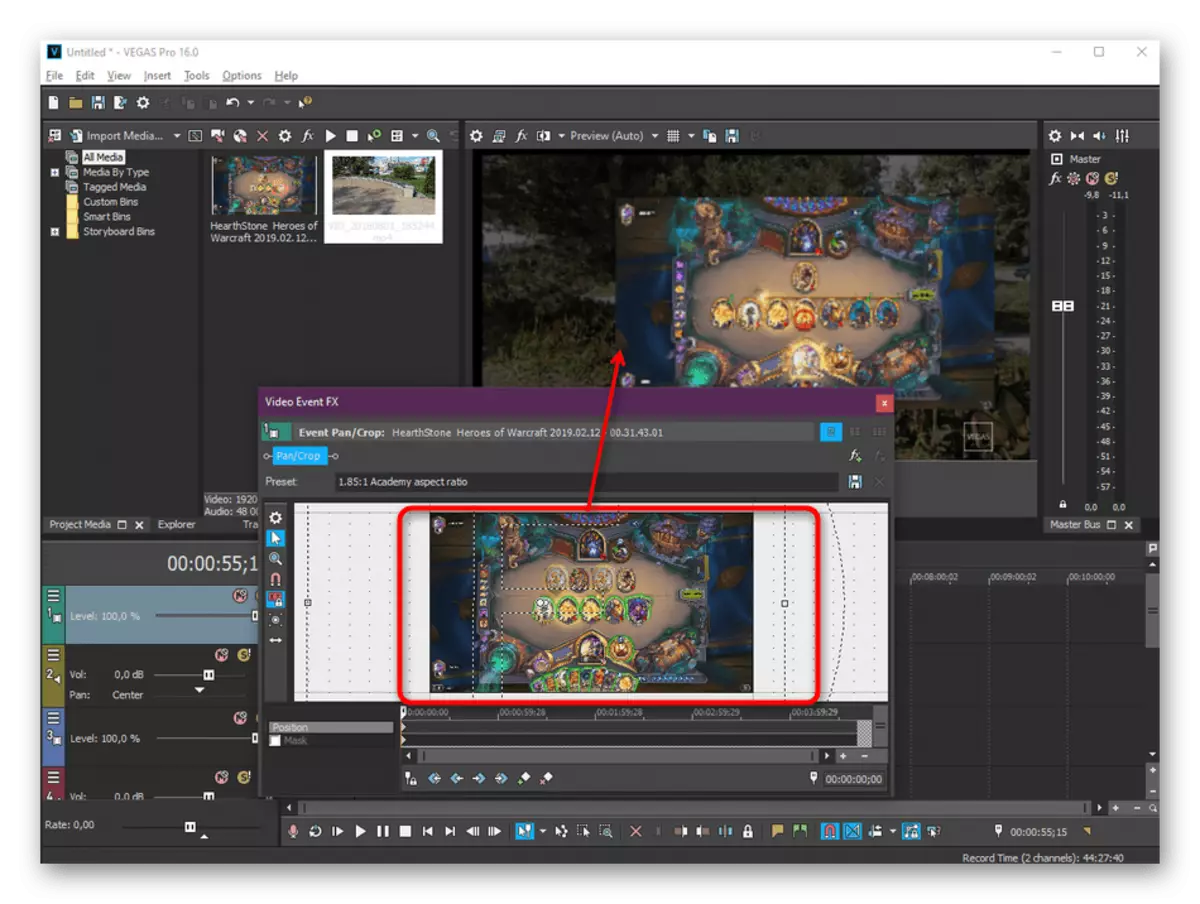
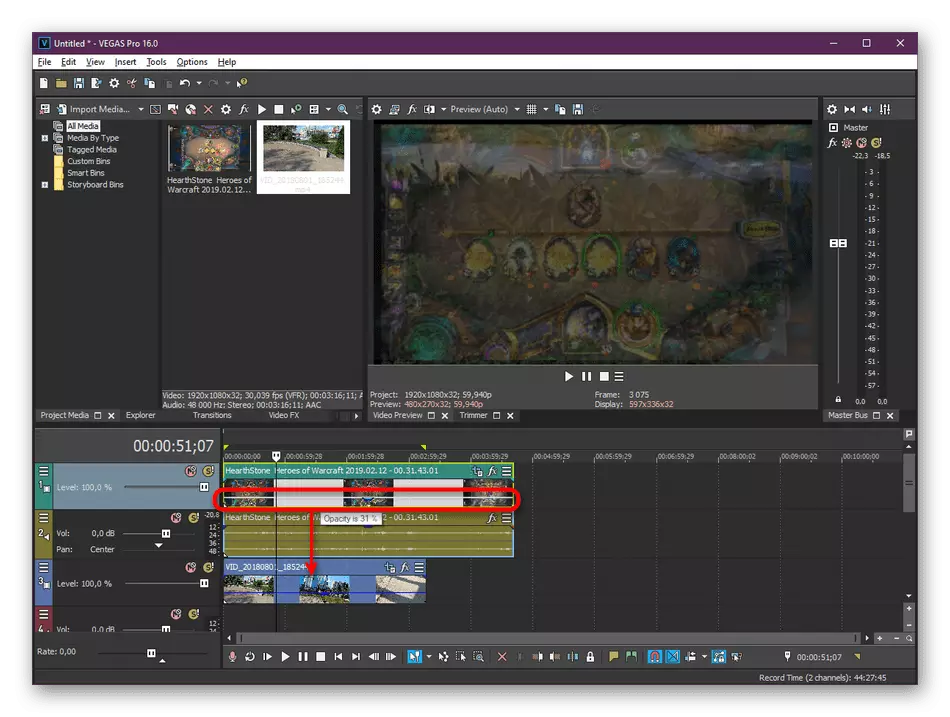
- Start scaled the image and move it by visible area to lay on top of another.
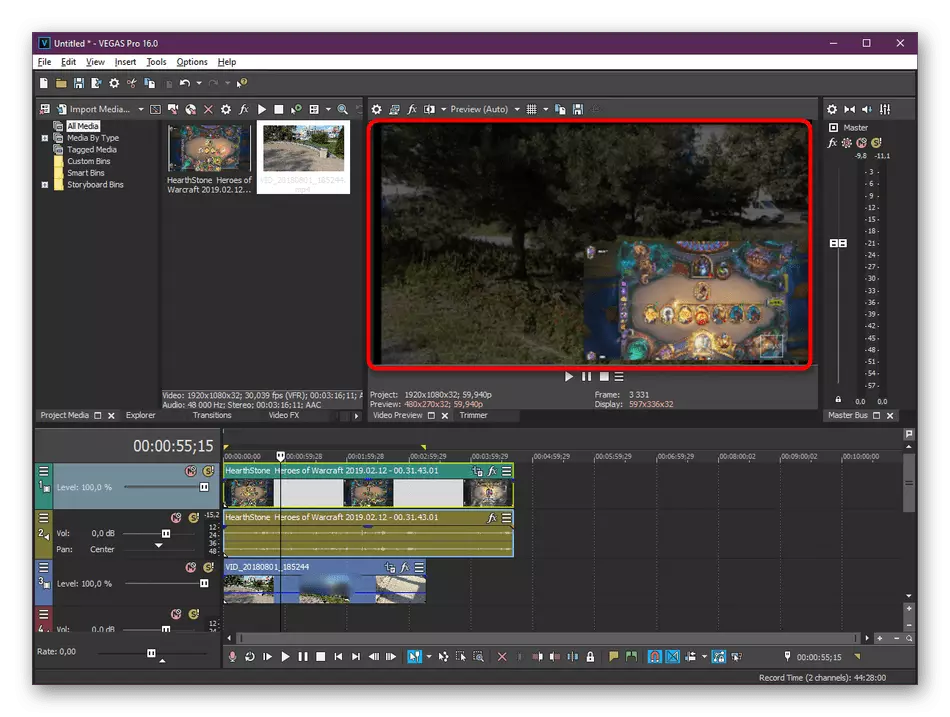
- Thus, you can achieve the effect that seemed below the screenshot below.
- If you want to change the transparency of the top video, making visible under, simply move the horizontal strip on the track down to set the appropriate value.
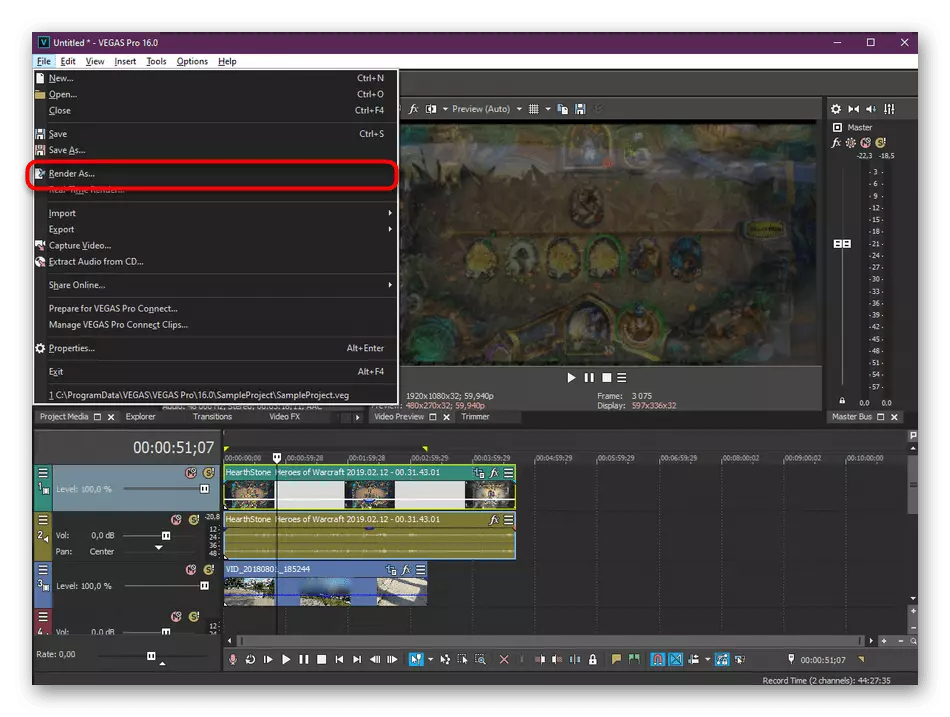
- After completing all the works, make sure the task is successfully completed, and proceed to rendering to save the finished record.
As far as you could see, reviewing the instructions above, nothing complicated in the overlay video in various ways in Sony Vegas no, even a novice user will cope with it. However, not everyone wants to work in this software or do not have the desired amount of funds for the purchase of the full version. In such cases, we advise you to get acquainted with the following alternative options.
The only minus Movavi VideoEditor is the emergence of a pop-up notification in the finished rollers that the trial version of this program was used to create them. It is removed similar limitation only after purchasing the full version of the software. Therefore, we recommend first to download the demonstration assembly to decide whether this tool is spent.
Method 3: Adobe Premiere Pro
Adobe is actively developing various professional editors. Their projects are known to most modern users. Among the product is also a video editor called Premiere Pro. Next, we suggest familiarizing yourself with the video overlay procedure in this by the example of the latest version.
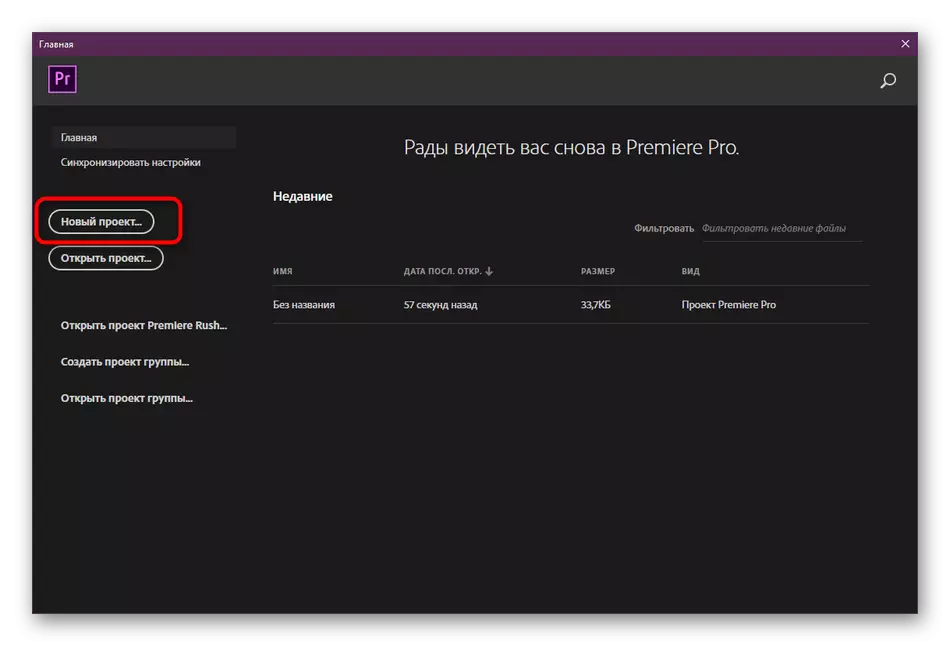
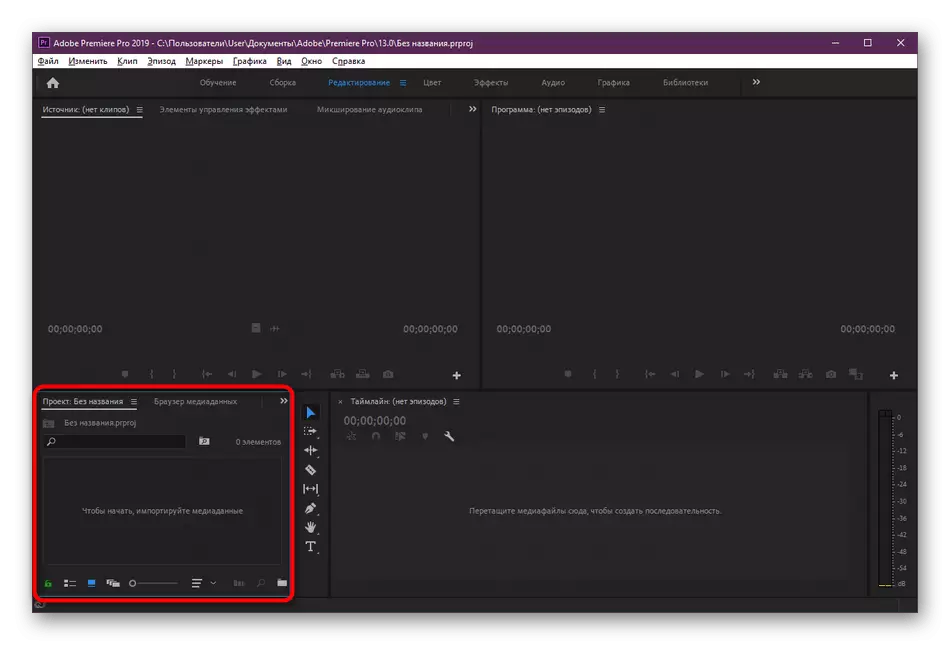
- Run Adobe Premiere Pro and go to the creation of a new project in the main window that appears.
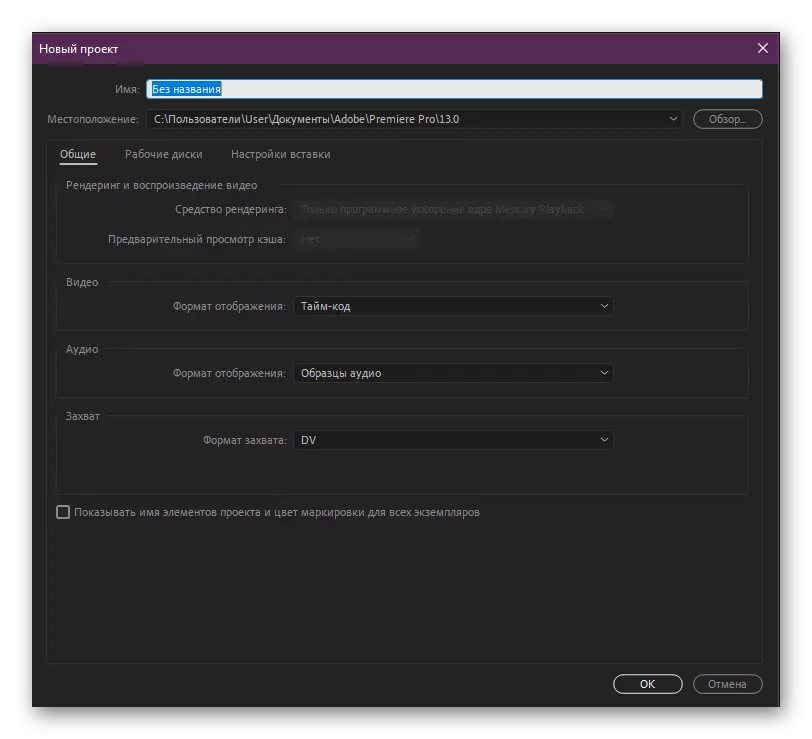
- Work Name and General Settings Adjust your needs.
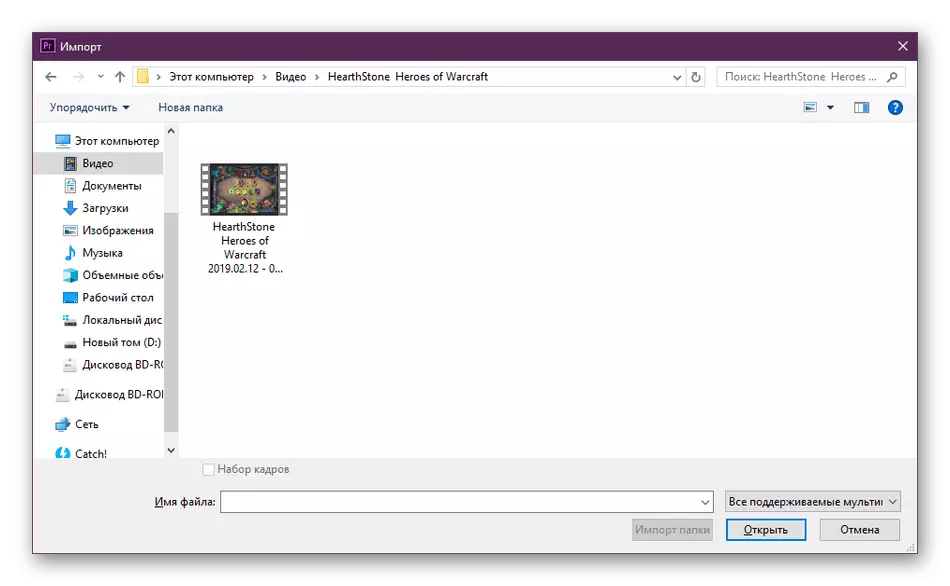
- Now double-click on the left underline work area window to open the browser to add new files.
- The elements are opened in the same way as it was shown in the two previous methods.
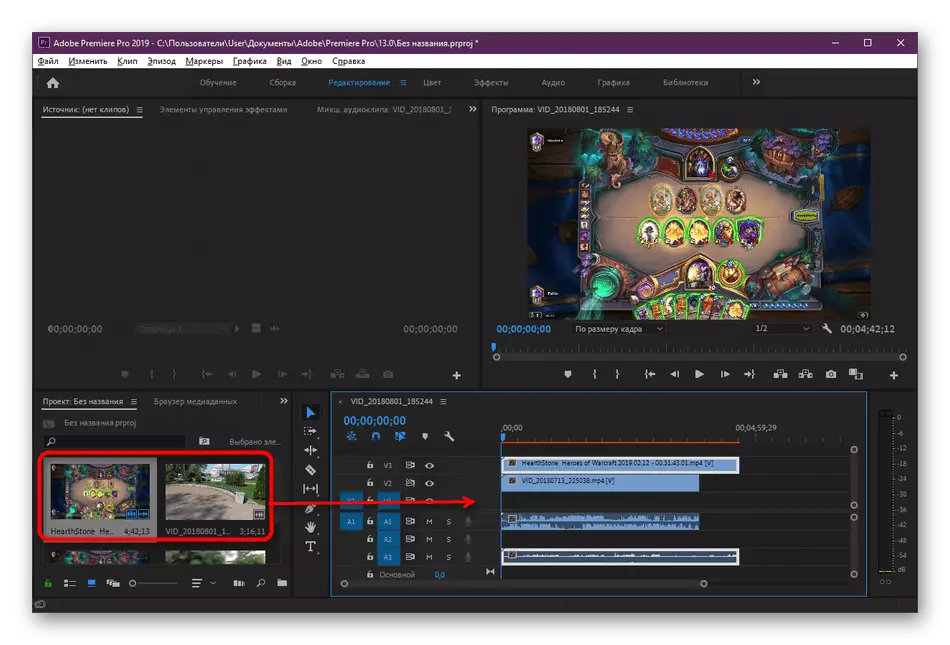
- After opening two or more video, move them to the editor area so that they are displayed on the timeline.
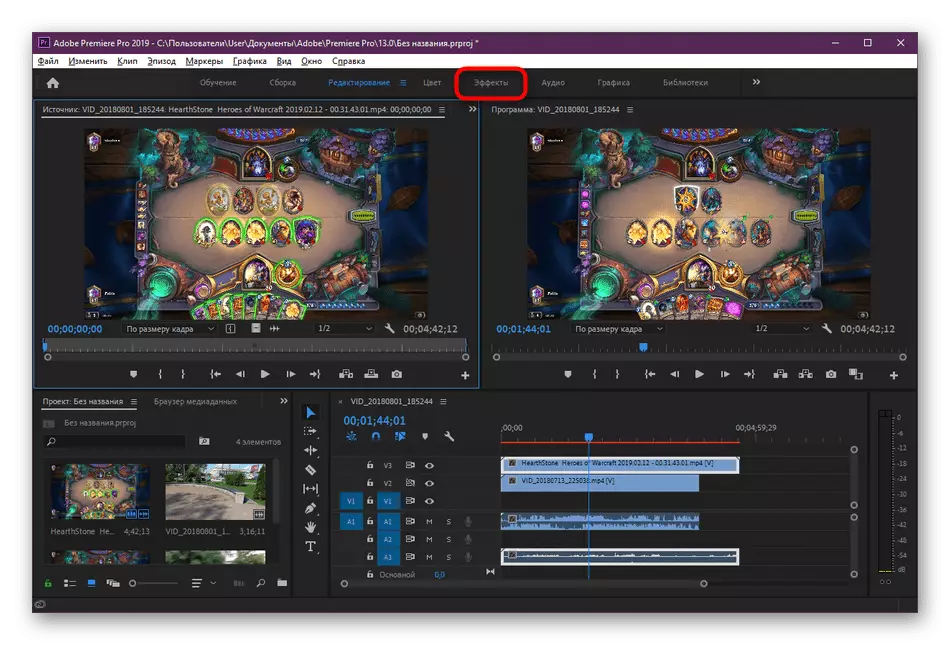
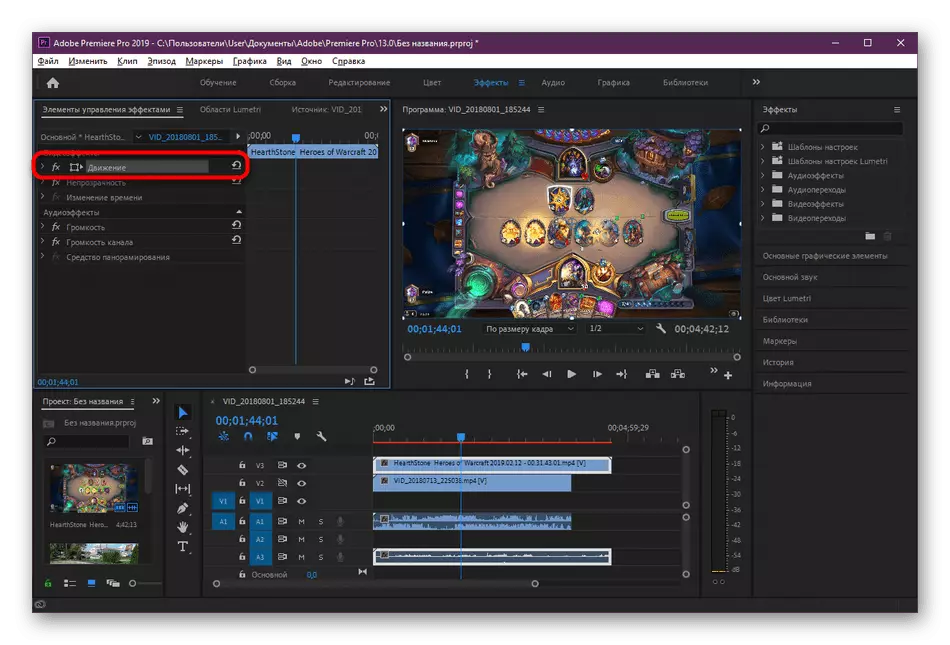
- Highlight one of the necessary records and on the panel that opened on top. Click the "Effects" tab.
- Expand the "Movement" section.
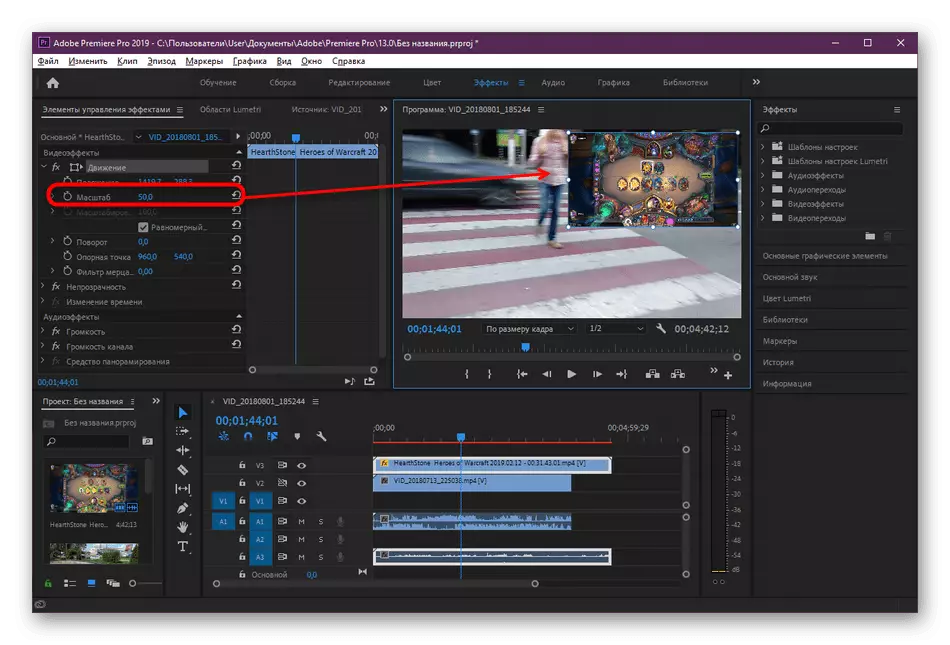
- Select the "Scale" category and via the preview window, edit the size and location of the video. You can also do this by changing the values in the effect itself.
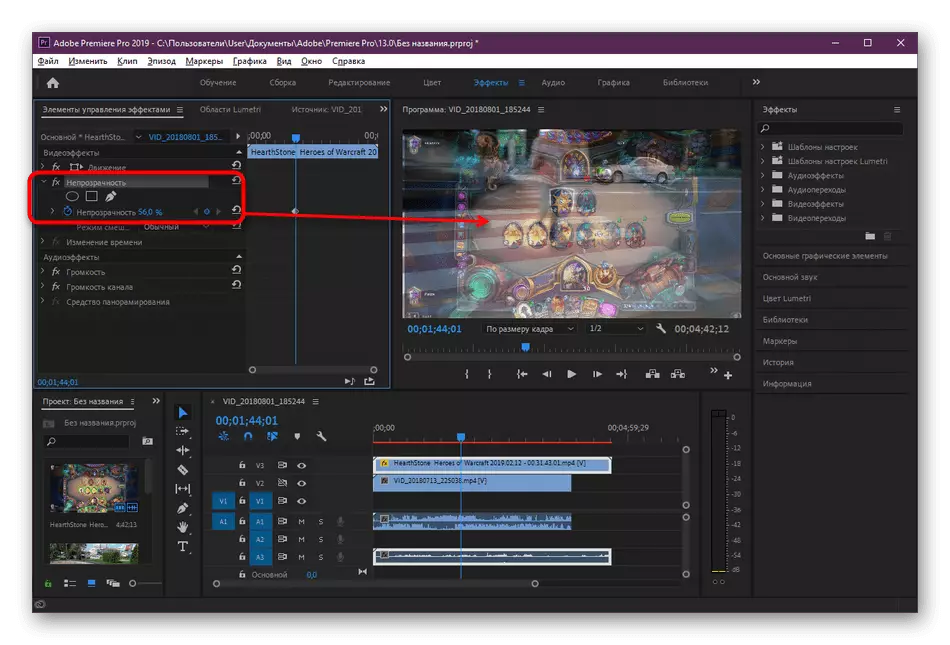
- If you need to configure opacity, it is also carried out in the "Effects" tab by changing the percentage value. The result will immediately appear in the preview window.
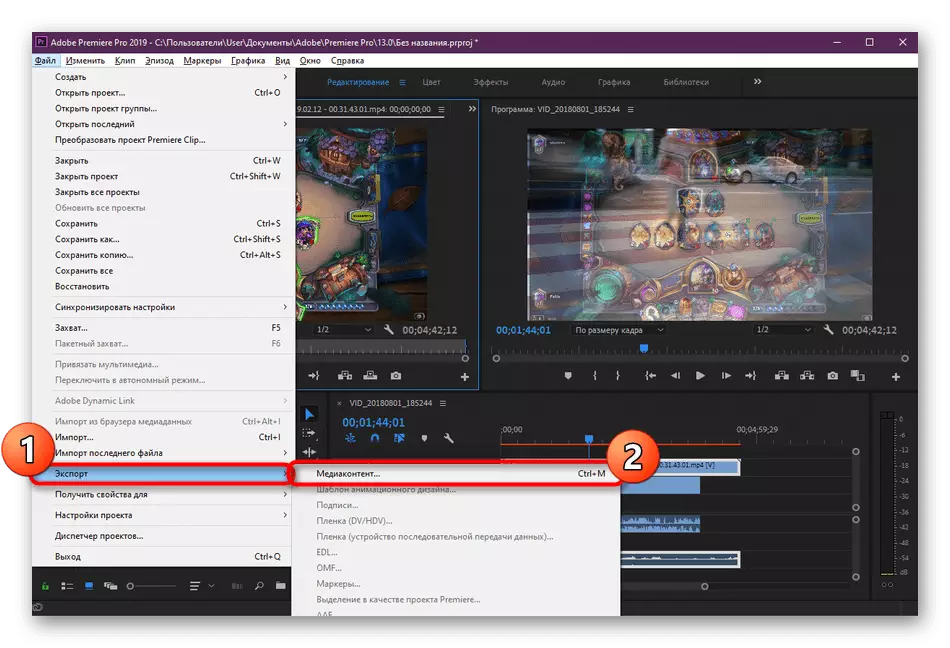
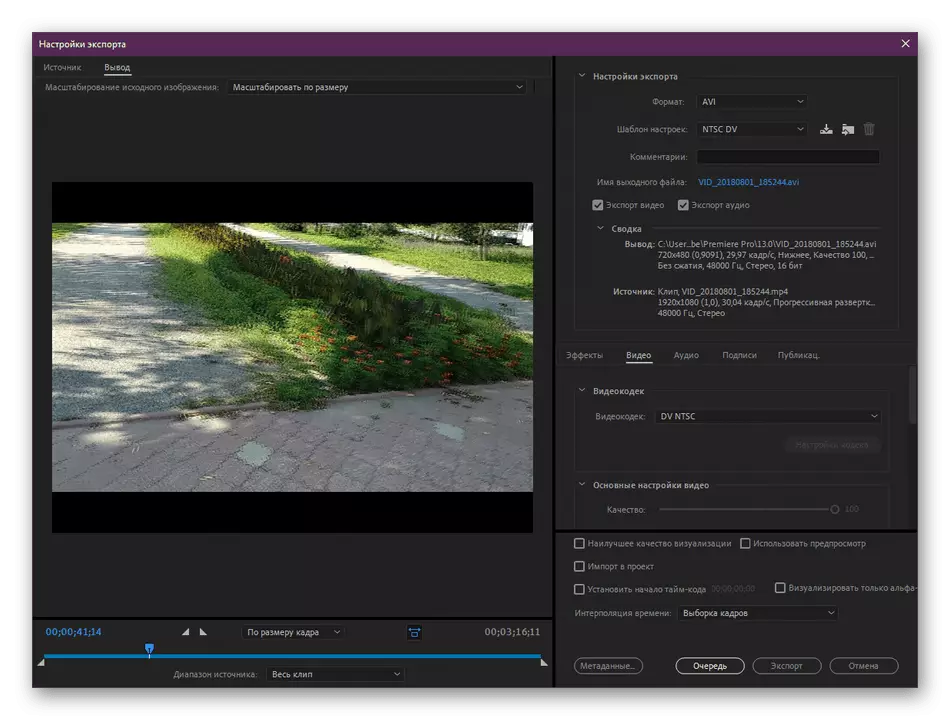
- Upon completion of editing, go to the export of the finished project through the "File" menu.
- Specify the basic save parameters, look at the resulting result, and then place the file in the queue. The speed of rendering depends on the power of the computer, the length and complexity of frames.
As you can see, nothing complicated in managing Adobe Premiere Pro, in addition, the entire interface is translated into Russian, so there should be no problems with understanding the menu items. If you use the older version of the program, simply find the above items in accordance with their names, the video overlay procedure will not change.
See also: What is better: Adobe Premier Pro or Sony Vegas Pro
Our options do not always sue users, for example, someone does not want to acquire a video editor or not to arrange functionality. In such cases, we advise you to familiarize yourself with other suitable ways by reading a separate review on this topic on our website by clicking on the following link.
Read more: The best apps for video overlay on video
Within the framework of the presented guides, you were familiar with the three possible options for video formation using professional and amateur instruments. Now it remains only to choose the optimal solution and follow the instructions in order to understand the principle of implementing the task. In the future, this operation will occur much faster, since it is only necessary to understand once again how it is done.