

Now more common uses have found virtual disks images and drives that have become an excellent replacement for such physical drives. Full DVDs or CDs in our time are not used almost anywhere, but work with disk images is still implemented. The most popular format for storing such data is ISO, and the image itself can create each user. It is about this that we want to talk further.
Create an ISO image on a computer
To perform the task, you will have to resort to additional software in which the image creates, add files and directly saving in the required format. Suitable software There are many, therefore you have to choose the one that is suitable best and will help you quickly cope with this process.Method 1: Ultraiso
The first on our list will perform one of the most popular tools whose functionality is focused on working with drives and virtual disks. Of course, the Ultraiso has a separate section where ISO format files are created, and the interaction with it is as follows:
- To create an ISO image from the disk, you will need to insert a disk into the drive and run the program. If the image is created from files available on your computer, immediately run the program window.
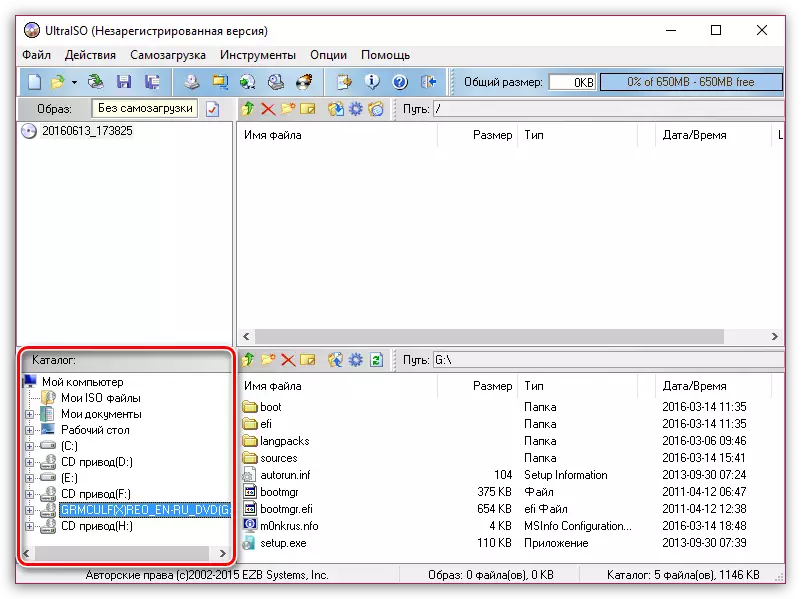
- In the left lower area of the window displayed, open the folder or disk, the contents of which you want to convert to the ISO format image. In our case, we chose a disk drive, the contents of which you want to copy to the computer in the form of an image.
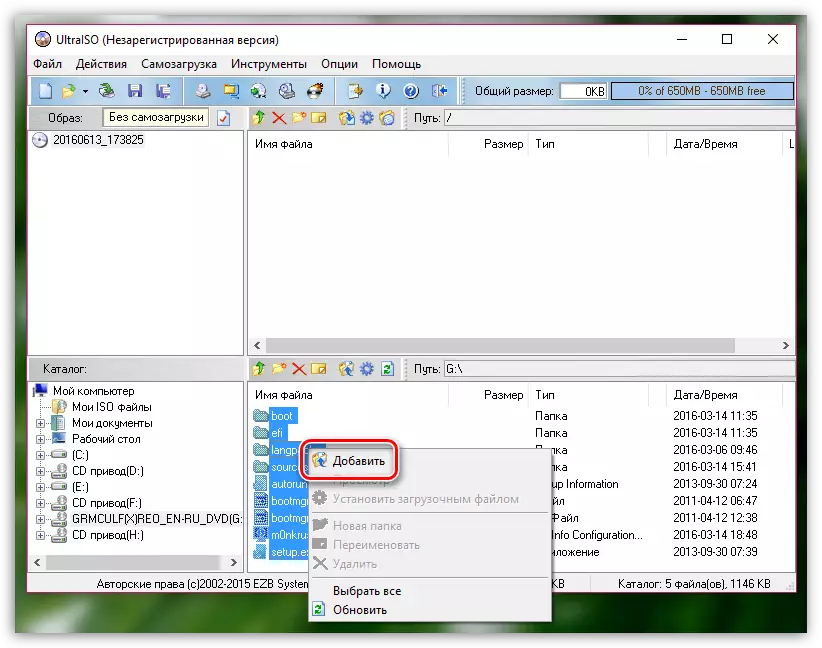
- In the central bottom area of the window, the contents of the disk or the selected folder will appear. Highlight the files that will be added to the image (we use all files, so you press the Ctrl + A key combination), and then click on the dedicated right mouse button and select "Add" in the displayed context menu.
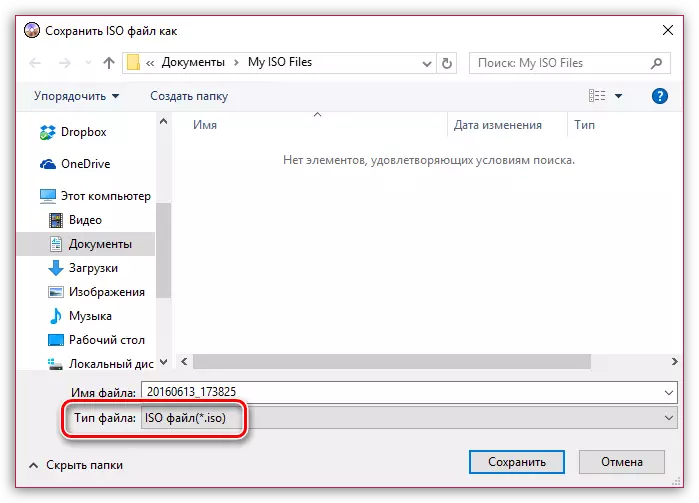
- A window will be displayed in which you need to specify the folder to save the file and its name. Pay attention to the "File Type" Count, where the ISO File item must be selected. If you have another option, specify the desired one. To complete, click the Save button.
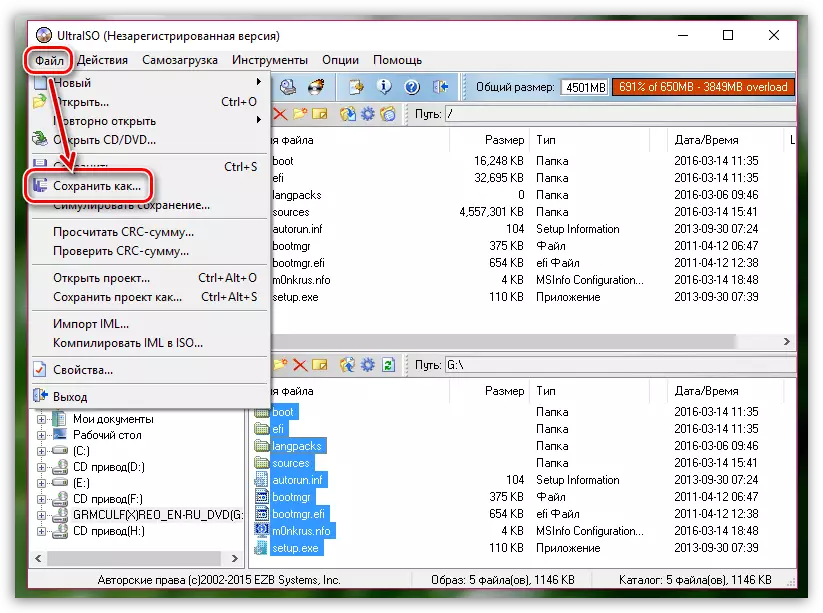
Selected files are displayed in the upper central part of the ultra ISO. To complete the image creation procedure, go to the "File"> "Save As" menu.
After successfully completing the image creation, you can safely move to work with it. If you are going to work in Ultraiso, consider that this software supports and mount ISO files. Read more about this in a separate article on this topic, the link to which is below.
Read more: How to mount the image in Ultraiso
Method 2: Daemon Tools
Surely many users have heard such a program as Daemon Tools. It is usually used to mount ISO images in order to further read the contents or installation of various software. However, even in the minimum version of Lite there is a built-in function that allows these images to create independently. On our site there is already a separate instruction on this topic, in which the author stepped out the entire process, accompanying every action by thematic screenshots. If you are interested in working with this tool, we advise you to familiarize yourself with the training material by clicking on the link below.Read more: How to create a disk image using Daemon Tools
Method 3: Poweriso
The functionality of the Poweriso program is also quite similar to those that we have already spoken earlier, however, there are certain additional features that provide useful users. Now we will not focus on additional opportunities, you will read about them in a special review on our website. Let's consider the process of creating an ISO format disk image process.
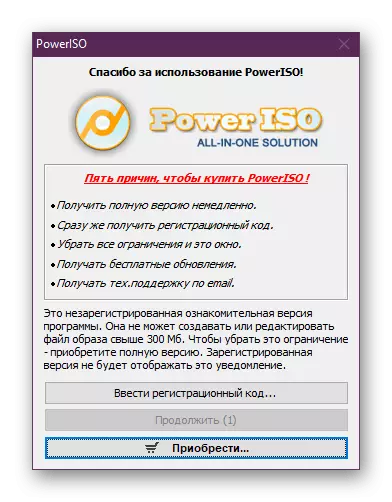
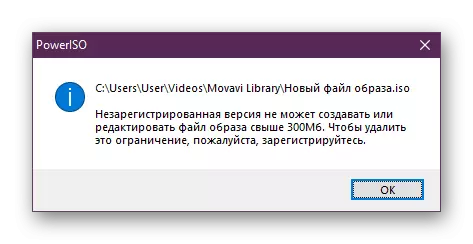
- Unfortunately, Poweriso applies for a fee, but there is an introductory version that includes a restriction on creating an image. It lies in the fact that it is impossible to create or edit files with a size of more than 300 MB. Consider this when downloading the trial assembly of this software.
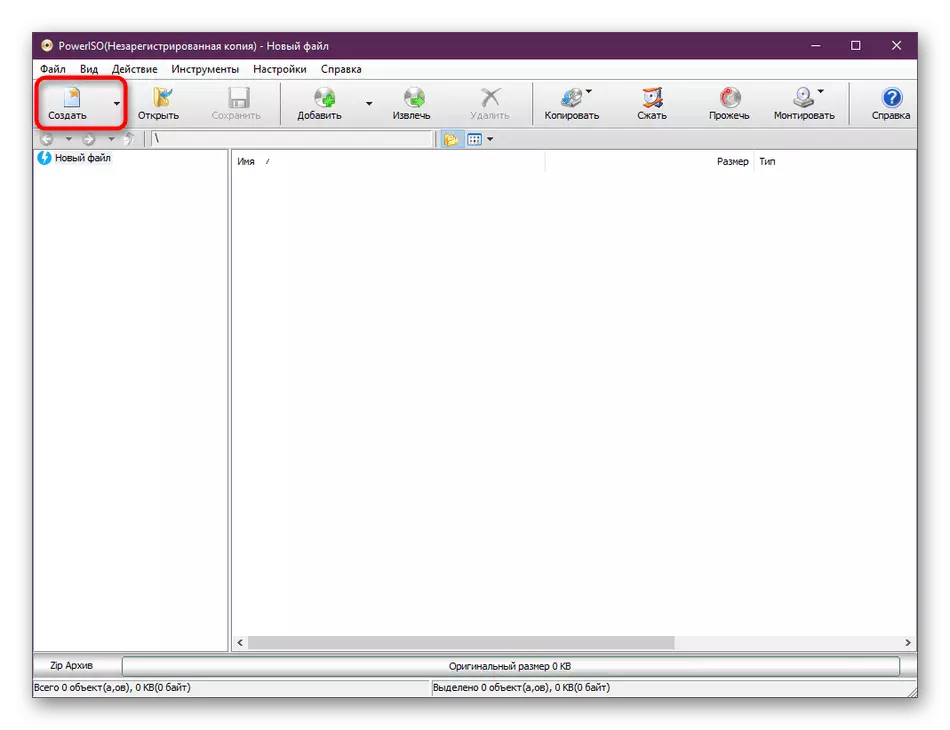
- In the main program window, click on the "Create" button to proceed to work with a new project.
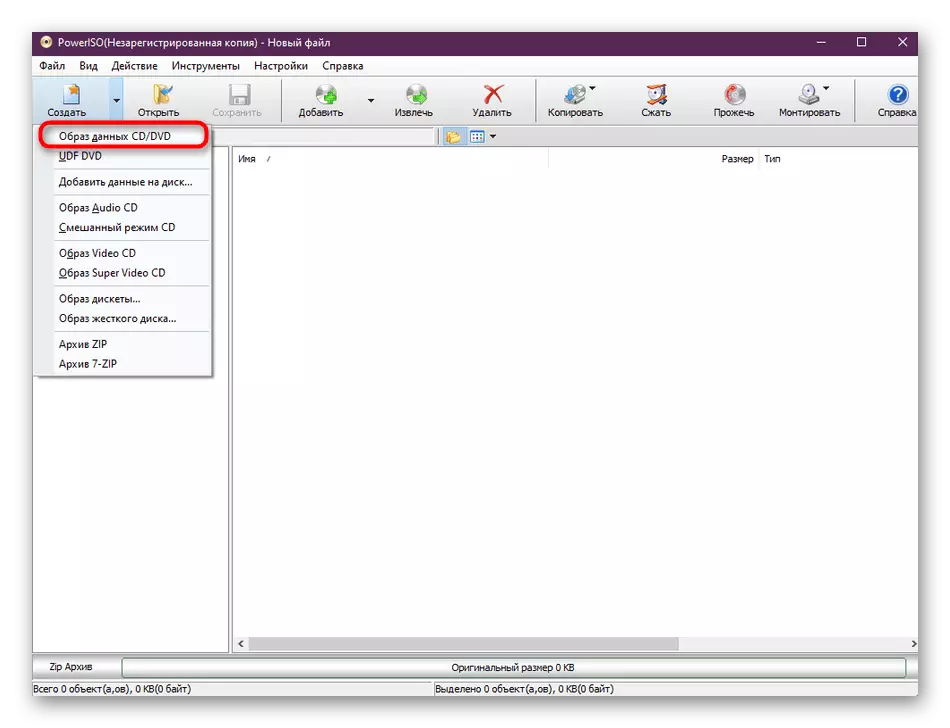
- Now you will be prompted to choose one of the data images, which depends on the type of files placed there. We will consider a standard way when you can save objects of various formats into a virtual disk. You can choose absolutely any option.
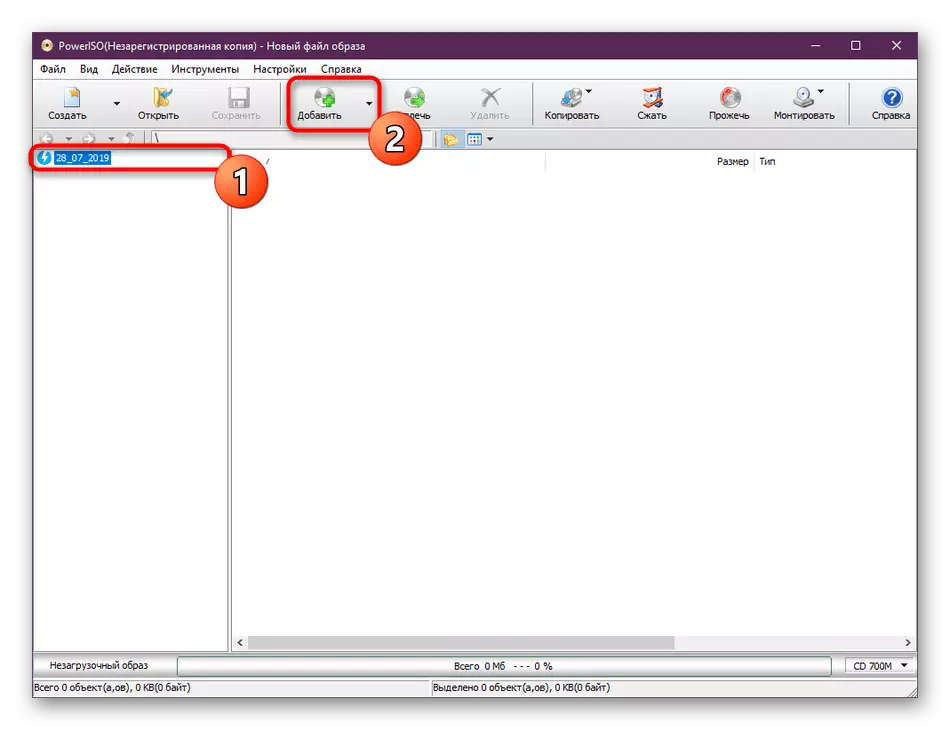
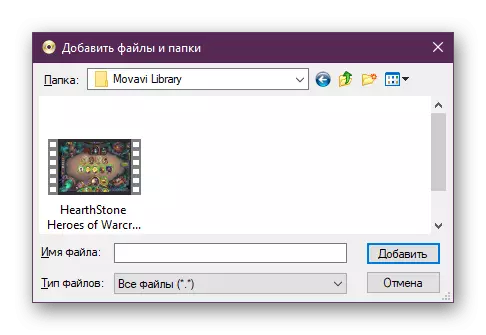
- Next, select the created project and proceed to add files by clicking on the corresponding button.
- A built-in browser will open through which the desired elements are found.
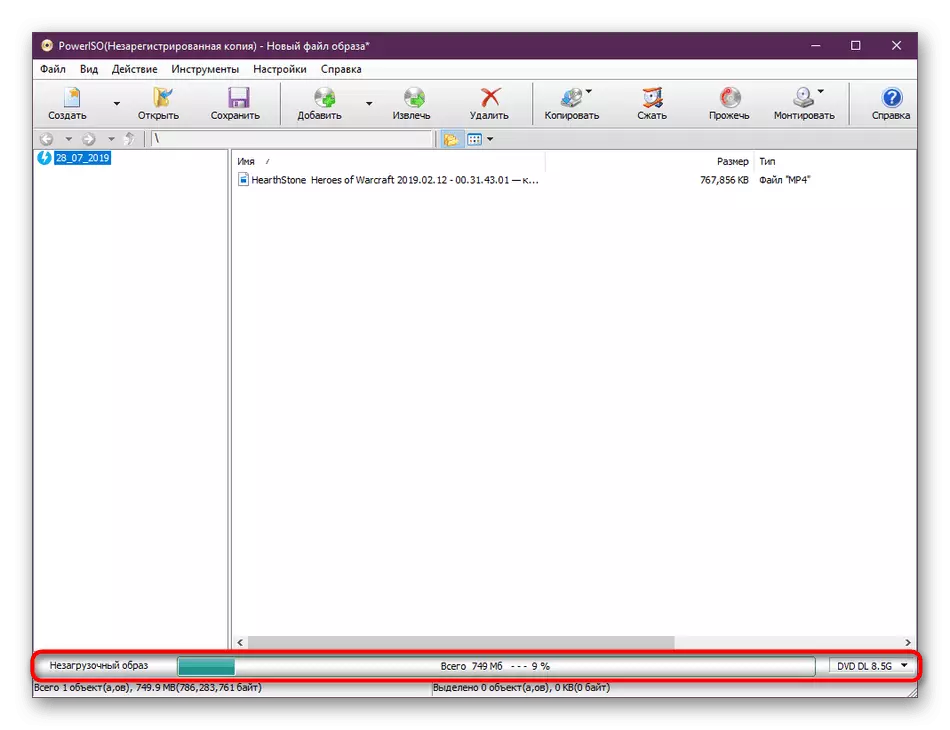
- The number of free disk space will be displayed below. On the right is the mark characterizing the formats of drives. Specify the one that is suitable by volume of downloadable data, such as standard DVD or CD.
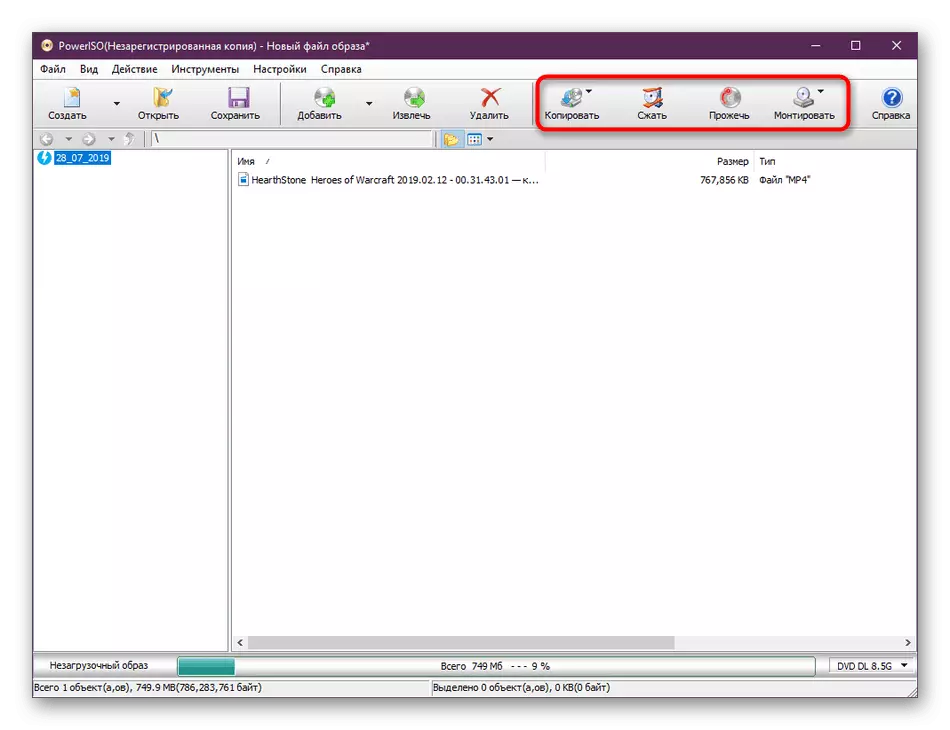
- Look at the right upper panel. Here there are tools for copying disks, compression, burning and mounting. Use them in case of need.
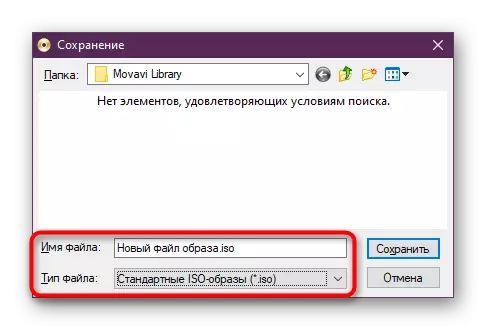
- When you finish adding all files, go to save by clicking on "Save" or Ctrl + S. In the window that opens, simply select the "ISO" format, specify the name and place where the image will be located.
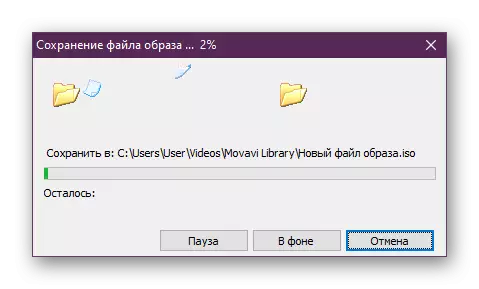
- Expect to end the storage. It will take a certain amount of time depending on the size of the final ISO.
- If you are working with a test version of software and try to record more than 300 MB, a notification will appear on the screen, which is visible in the screenshot below.
As you can see, nothing complicated in the fulfillment of the task through Poweriso is not. The only noticeable drawback is to limit the trial version, but it is immediately removed after the license is acquired, if the user considers that it will continually use this software on an ongoing basis.
Method 4: Imgburn
ImgBurn is one of the simplest programs that have about the same functionality. The interface here is implemented as friendly as possible, so even a novice user will quickly understand with the control. As for the creation of an image in ISO format, this is as follows here:
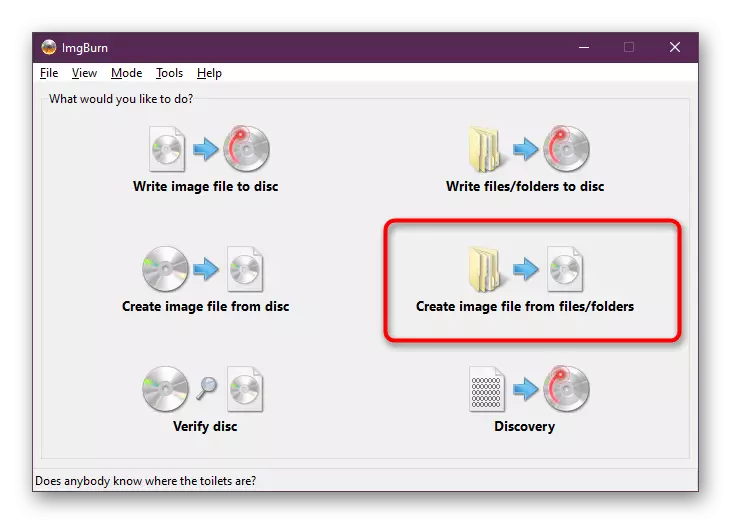
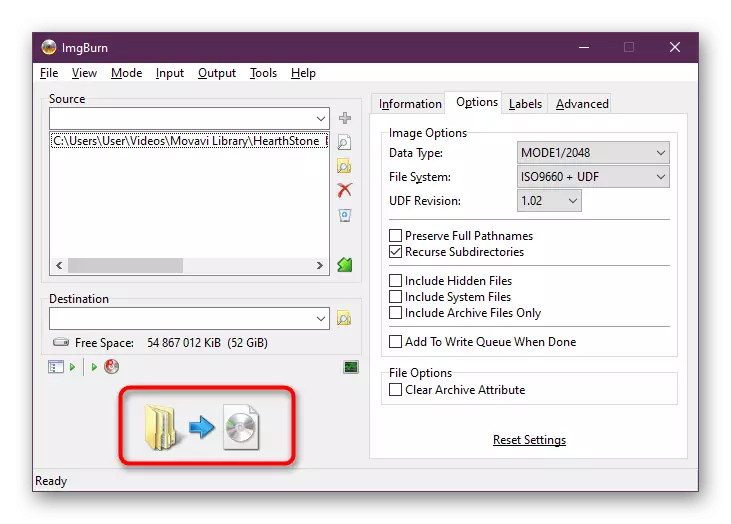
- Download and install imgburn on your computer, and then run. In the main window, use the option "Create Image File From Files / Folders".
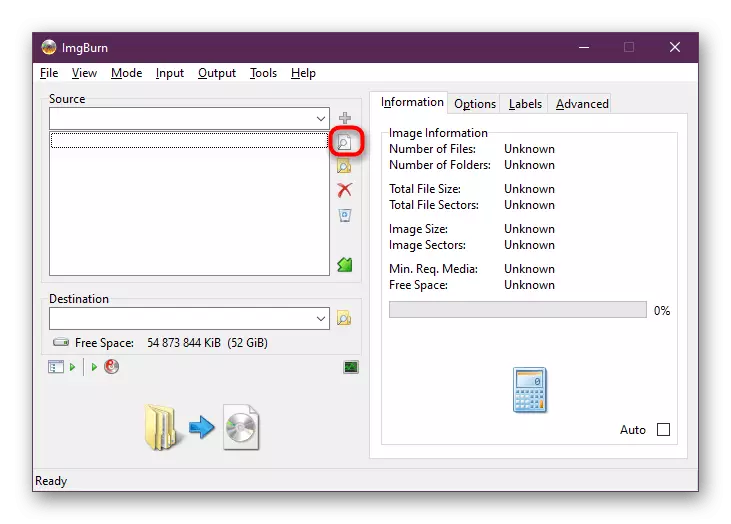
- Getting Started adding folders or files by clicking on the corresponding button in the "Source" section.
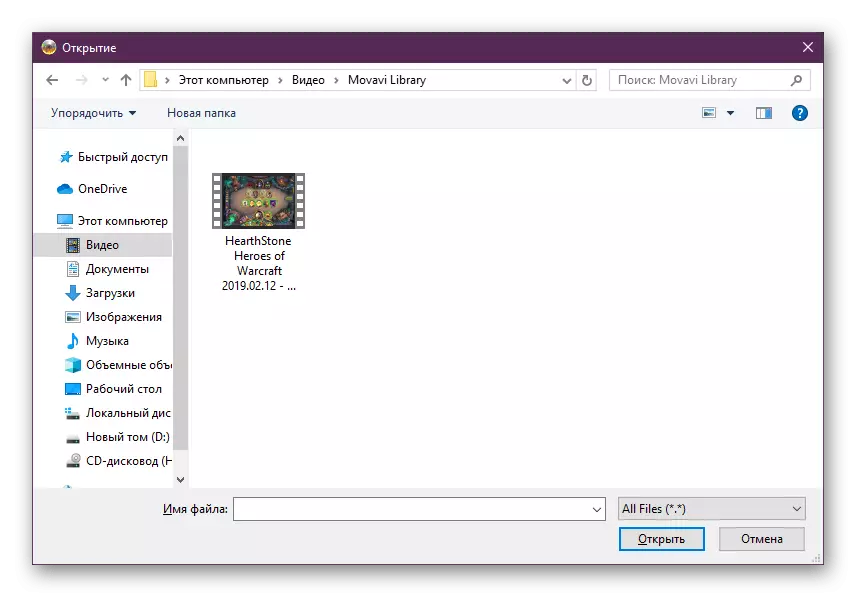
- A standard conductor will start, through which objects are selected.
- On the right there are additional settings that allow you to set the file system, set the date of writing the date and include hidden files.
- Upon completion of all settings, proceed to writing an image.
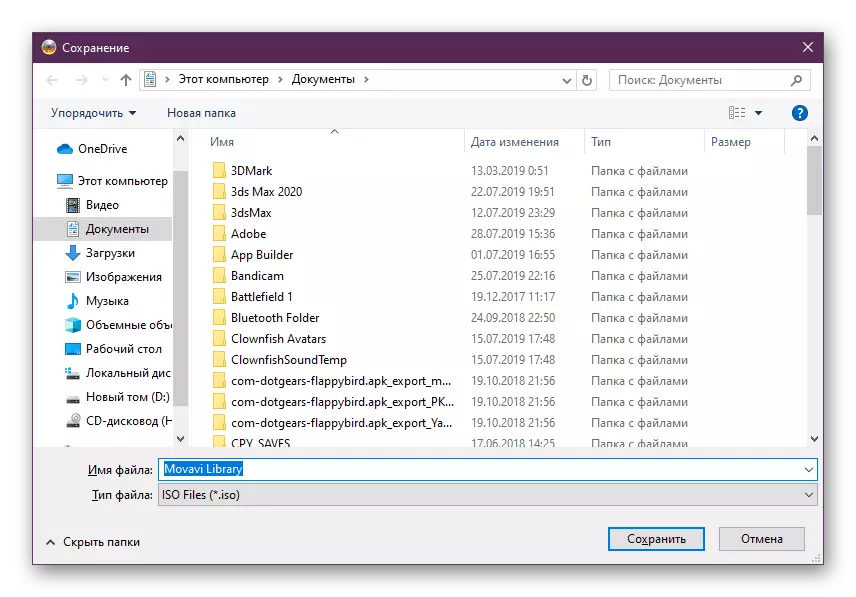
- Select a place and set the name to save.
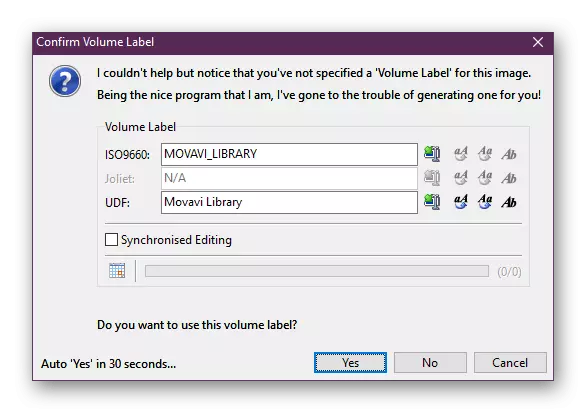
- If necessary, install additional options or set a schedule entry if required.
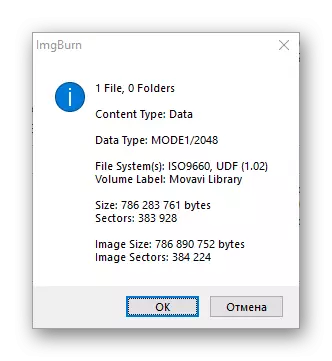
- After completing the creation, you will receive information with a detailed report on the work done.

If the above options for creating an ISO image are not suitable for you, you can safely choose any other similar software. The principle of interaction with it is almost the same as you saw in the given methods. More detailed information about the most popular follows.
Read more: Programs for creating a virtual disk / disk image
Now you know about the methods for creating an ISO format image through a special software. For further mounting, for the purpose of reading the content, use any tool above, since all of them are universal in this regard.