
Sometimes CD or DVD is used as a media on which a wide variety of files are stored, that is, its main task is comparable to a flash drive. In such cases, burning is carried out slightly according to other standards, naturally, using special software. If you suddenly needed any objects on the disk, we advise you to familiarize yourself with the methods below in order to study this question as in detail.
Record files to disk
Next, we want to clearly demonstrate the principle of operation of three programs designed to assist the user in the record of any files to the disk, applying the minimum amount of effort. You may notice that the algorithms of action in all are similar, but attention here should be paid primarily to additional functions that are sometimes useful to specific users.Method 1: CdBurnerXP
We would like to start with free software called CdBurnerXP, since such solutions are most popular due to the lack of various restrictions. However, it is not worth counting on a large number of additional tools. As for the process of recording files, it happens as shown in the next manual.
Please note that the CDBURNERXP program is a simple tool for burning disks with a minimum settings. If you need a much more advanced package of professional tools, it is better to record information on the drive by using In way 2..
- Install the program to the computer, insert the blank to the drive and start the CDBurnerXP.
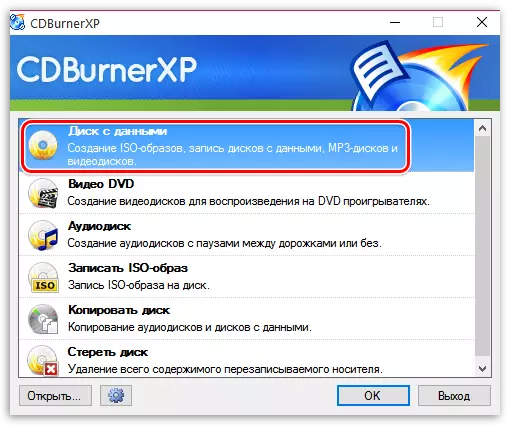
- The screen will display the main window where you select the first point "Disc with data".
- Drag all the required files that you want to write to the drive, in the program window or click the Add button to open Windows Explorer.
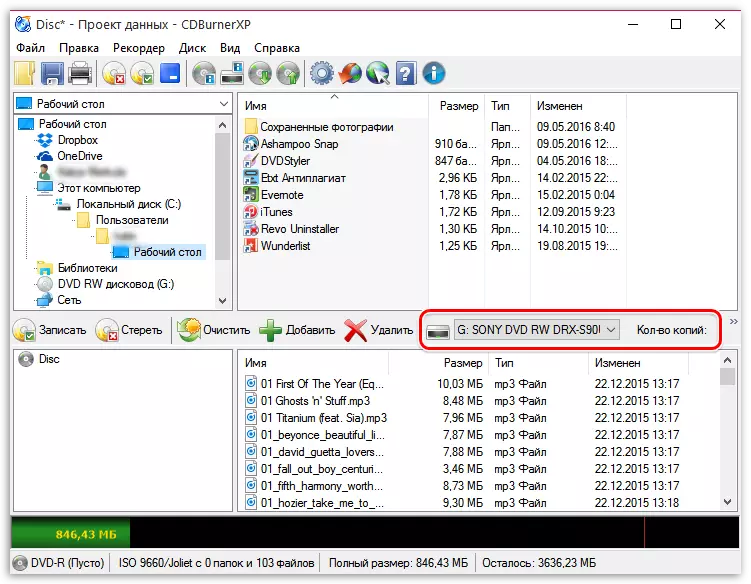
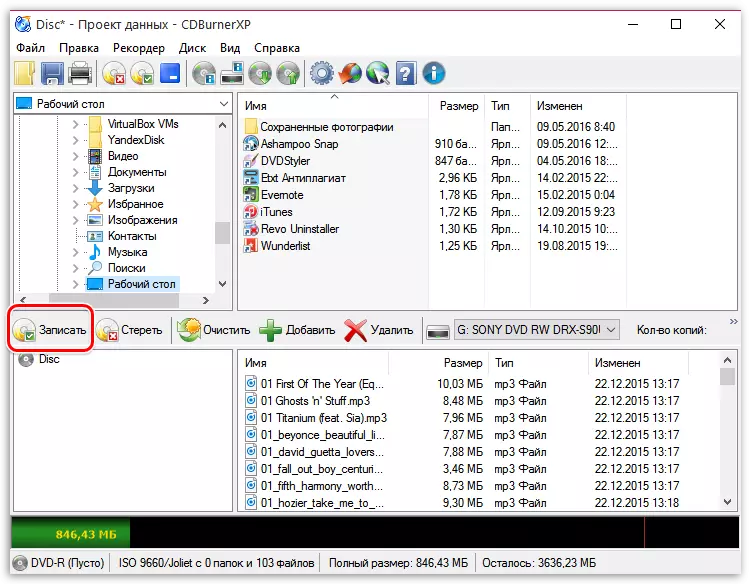
- Immediately over the list of files, there will be a small toolbar where you need to make sure that you have selected the desired drive (if you have several of them), as well as, if necessary, the desired number of copies are noted (if you need to write 2 or more identical disks).
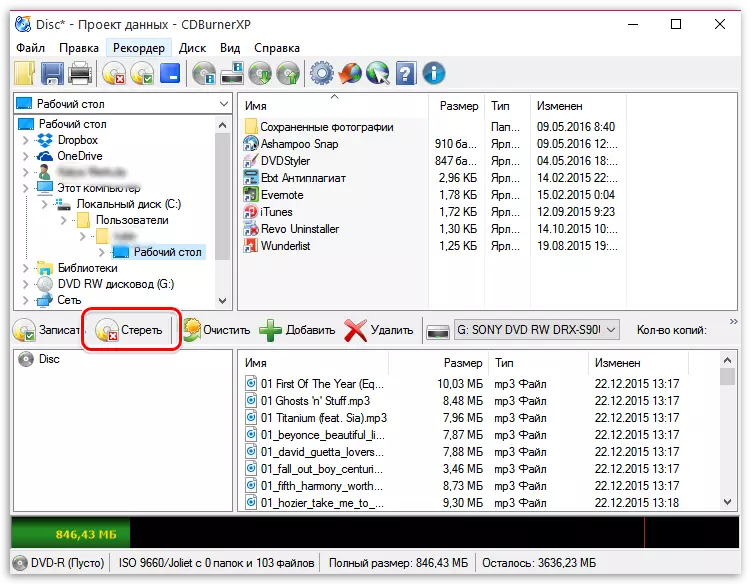
- If you use a rewritable disk, for example, CD-RW, and it already contains information, it must be cleaned, by pressing the "Erase" button. If you have an absolutely clean dwarf, skip this item.
- Now everything is ready for the recording process, now for the start of the process you can click the "Record" button.
- The process of execution of the process will begin, which will take a few minutes (the time depends on the amount of information recorded). As soon as the proceeding process is completed, CdBurnerxp will notify you about it, and will also automatically open the drive so that you can immediately remove the finished disk.

In addition to the files, you can add and create any folders to easily navigate in the contents of the drive.
Method 2: Nero
Among the entire existing software for burning discs, Nero is considered to be the most famous, since the developers have been supporting the performance of this software for many years, pleaseing lovers with constant updates and improvements. Here it is necessary to take into account the fact that the application applies for a fee, and the trial version is available for use for a period of two weeks. Then you have to either give up the program, or buy a license key. So far I will post this decision for later, because it is always first required to know the basic functionality.
- Use the above reference to download and install Nero. After starting, go to the "Nero Burning ROM" section.
- When using a trial version, a window will appear with a purchase offer, boldly close it to start work.
- When creating a new project, it is enough to specify the mode "CD mixed mode" or "DVD mixed mode", and then click on the "new".
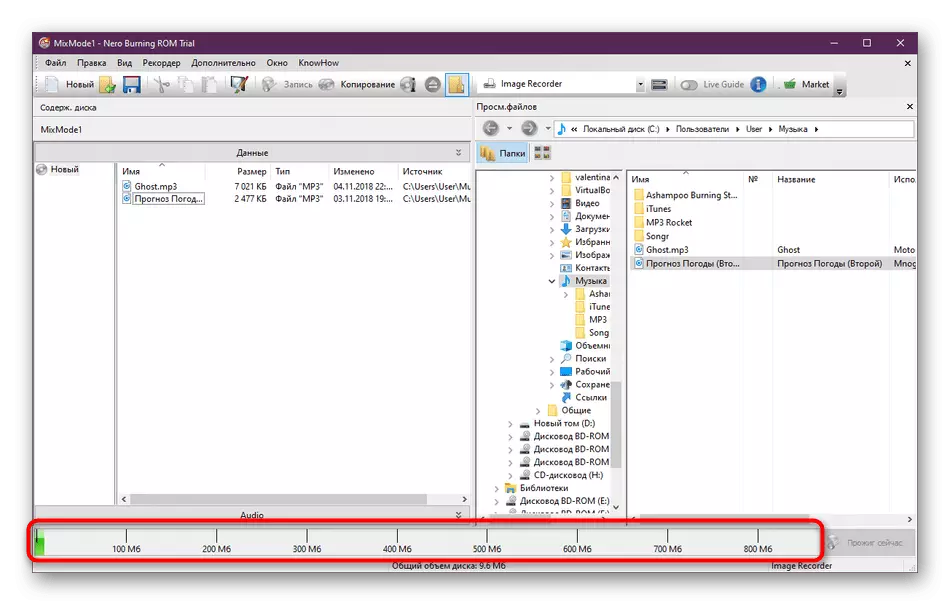
- Start add files for burning by dragging them from the built-in browser.
- At the bottom noted the storage time scale. Make sure that all objects fit and do not have to delete anything.
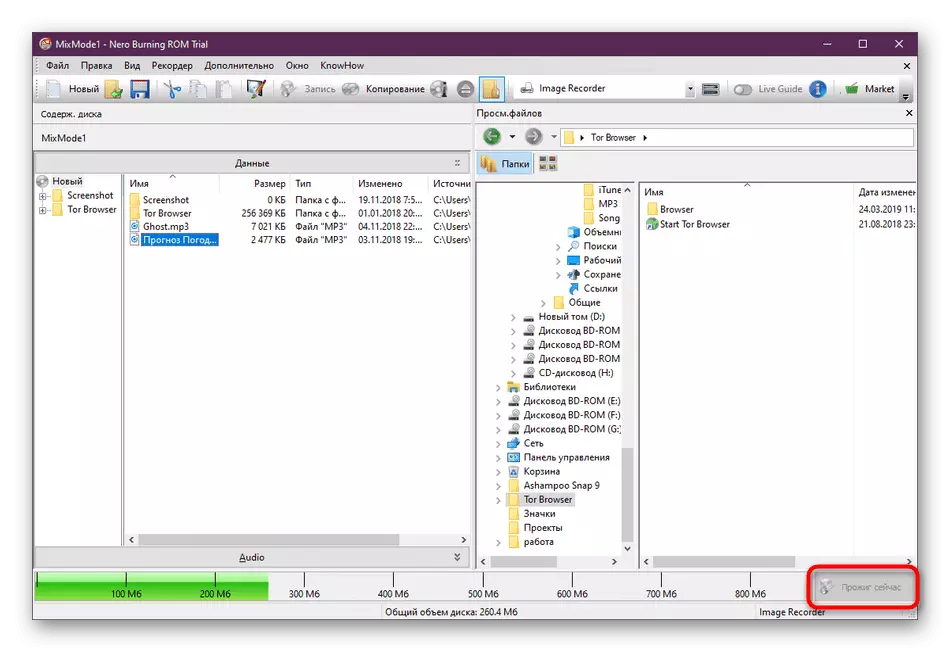
- Upon completion, click on the "Burn Now" button to start the recording procedure.
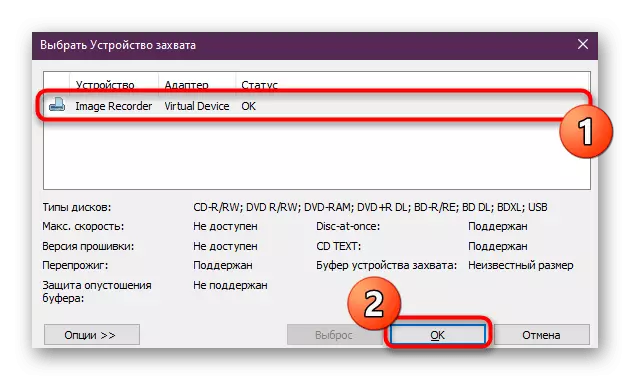
- If multiple drives are installed in the system, you will need to select active and click Click on OK.


After the process of burning will be launched. Expect it to end, this will indicate the notification that has appeared. If you are interested in interaction with Nero and you wish to continue using this software on an ongoing basis, we recommend you to familiarize yourself with a separate article on our website, where the main areas of application of this software are dealt with. This will help learn all aspects of the tool.
Read more: Using Nero
Method 3: Astroburn Lite
Another free software in our today's material is called Astroburn Lite and stands out among the other solutions for ease of use. All actions are performed literally a couple of clicks and look as follows:
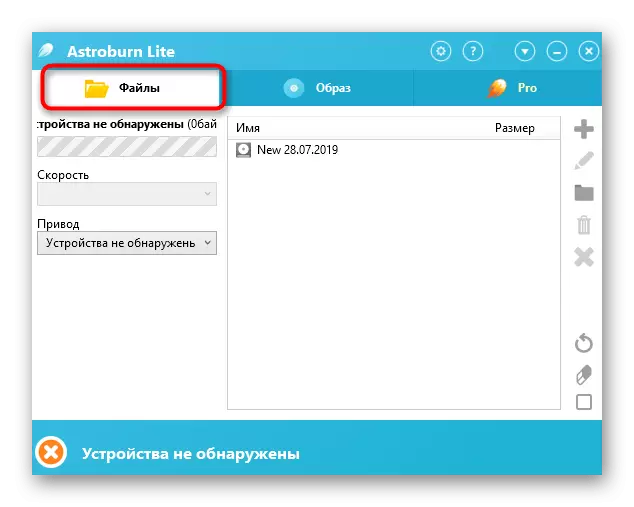
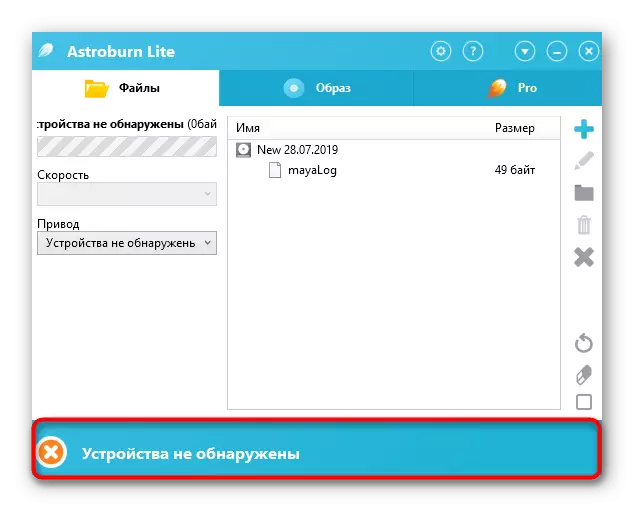
- After successfully launching Astroburn Lite, go to the "Files" tab.
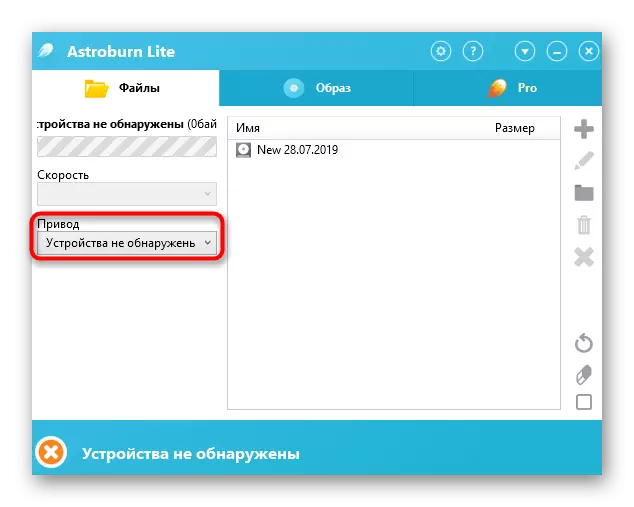
- To start here, specify the drive in which the desired disk is inserted. It takes it in the case of connecting multiple drives.
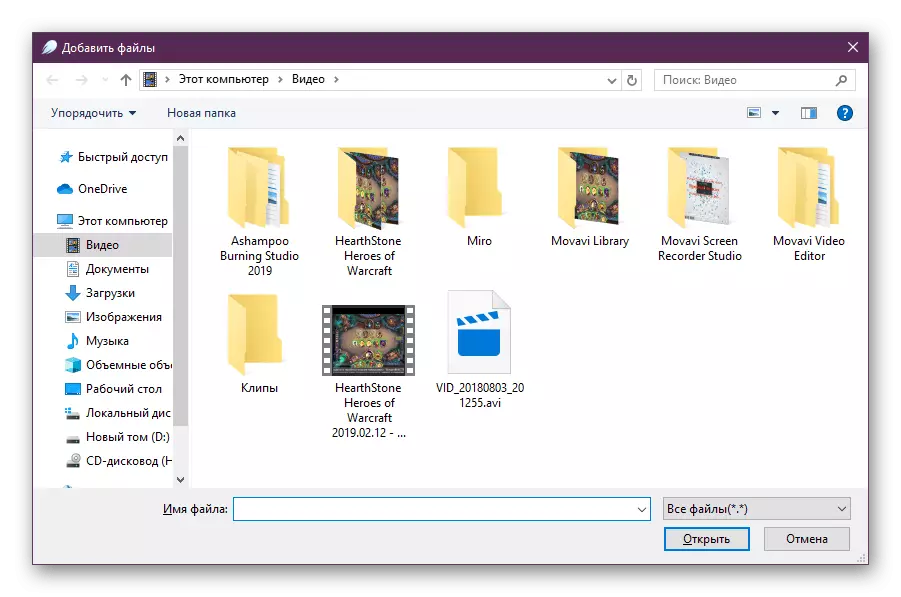
- Then proceed to add files or directories using the buttons that are located on the right pane.
- The standard window of the conductor opens. Here, select absolutely any files you need.
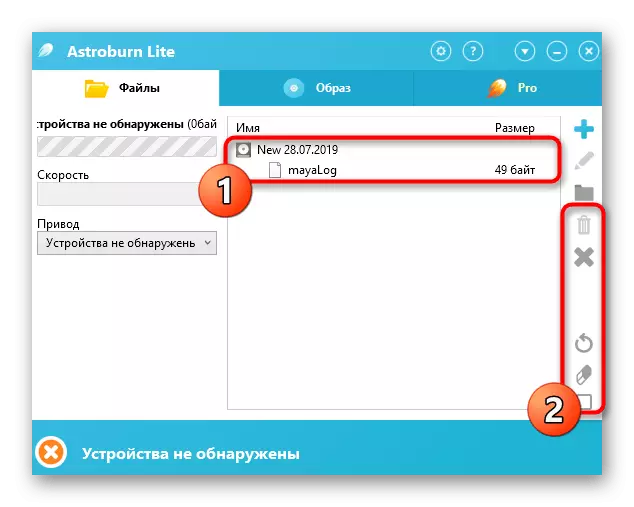
- Edit them with the help of accessible tools, if you want to delete or completely clean the project.
- In the screenshot below you see the inscription "Devices not detected." In your case, there must be the "Start Record" button. Click on it to run burning.

Expect the recording to complete, and you can immediately go to work with the contents.
There are users who presented above options are not suitable for various reasons. In this case, we advise you to use an absolutely any program for the burning, which will like you. Almost all of them allow you to record any files and work in about the same principle. Detailed reviews for popular solutions are looking for further.
Read more: Programs for recording disks
On this, our article comes to an end. From it you learned about the methods of recording files on a CD or DVD. As you can see, nothing complicated in interaction with software is not, so you can safely download the option you like and fulfill the task.