
The endoscope is a useful tool that allows you to penetrate and inspect hard-to-reach places if necessary. And although such a device was initially created for medical purposes, today it is possible to buy it without any special problems for later use in conjunction with a PC or smartphone. We will be told about the second connection option further along the article.
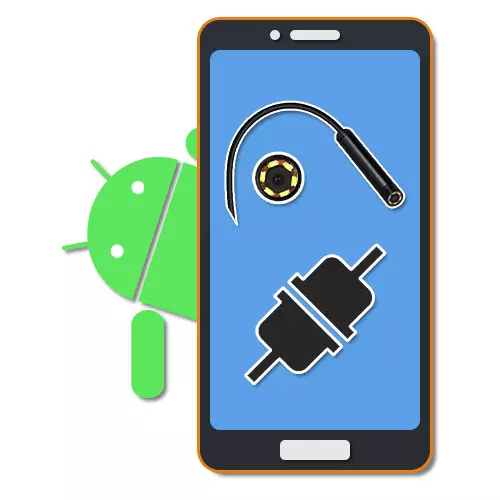
Connecting Endoscope on Android
The procedure for connecting an endoscope with a telephone can be divided into two stages that are reduced to connecting the cable and using one of the special programs. To successfully install the connection, some specific requirements for the Android device and the installed version of the OS are absent.Step 1: Hardware Connection
Currently, there are two types of connecting an external chamber that are divided into a wired and wireless connection. We will look at both options.
Option 1: USB endoscope
To connect the USB device to the phone, use the cable and the "USB-Micro-USB" as needed to be connected. Most often, the endoscope is originally equipped with a Micro-USB plug, which should be connected to the corresponding port on the phone.
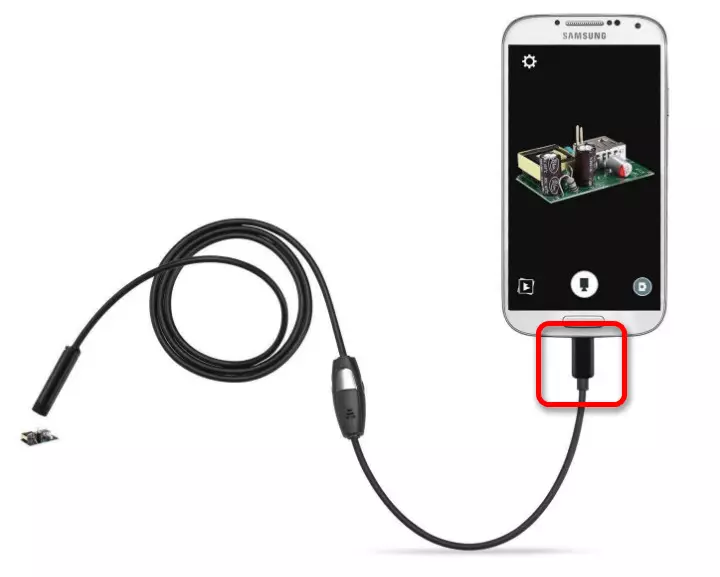
It is worth paying attention to that not all smartphones are compatible with USB endoscopes, as some models are more demanding in terms of consumption and therefore cannot be connected to the port on the phone due to lack of energy for simultaneous operation of the camera and backlight. It is impossible to bypass such restrictions, so consider it in advance when choosing a model.
Option 2: Wi-Fi Endoscope
- Some more expensive models of the endoscope allow you to connect using a wi-fi module that is compatible with both phones and computers. First of all, turn on the Wi-Fi by clicking the button marked in the screenshot.
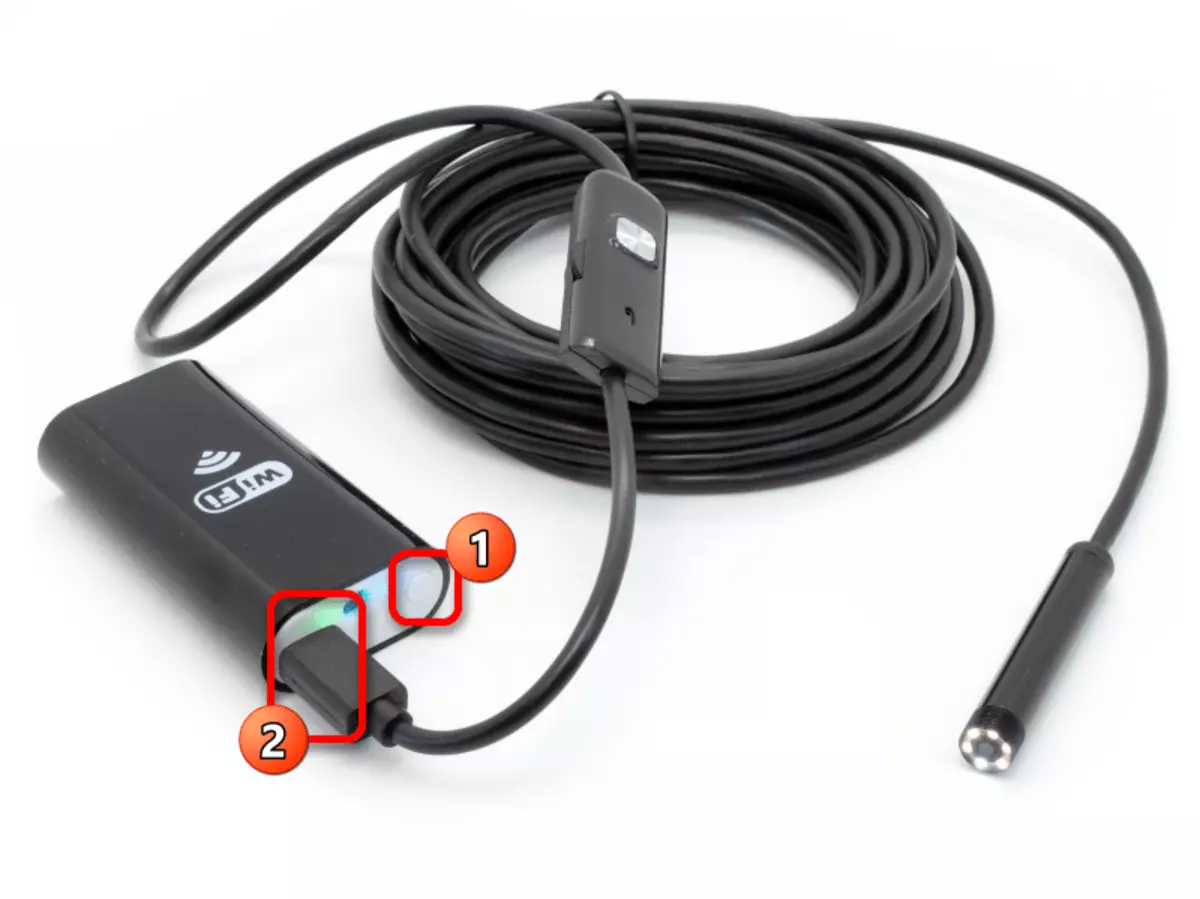
Connect the Micro USB cable from the device to the port, a highlighted green indicator and Wi-Fi icon. Due to this, the camera will be ready for signal transmission over a wireless network.
Note: The second port is used only for charging as, as opposed to the wired endoscope, this device works at the expense of the built-in battery.
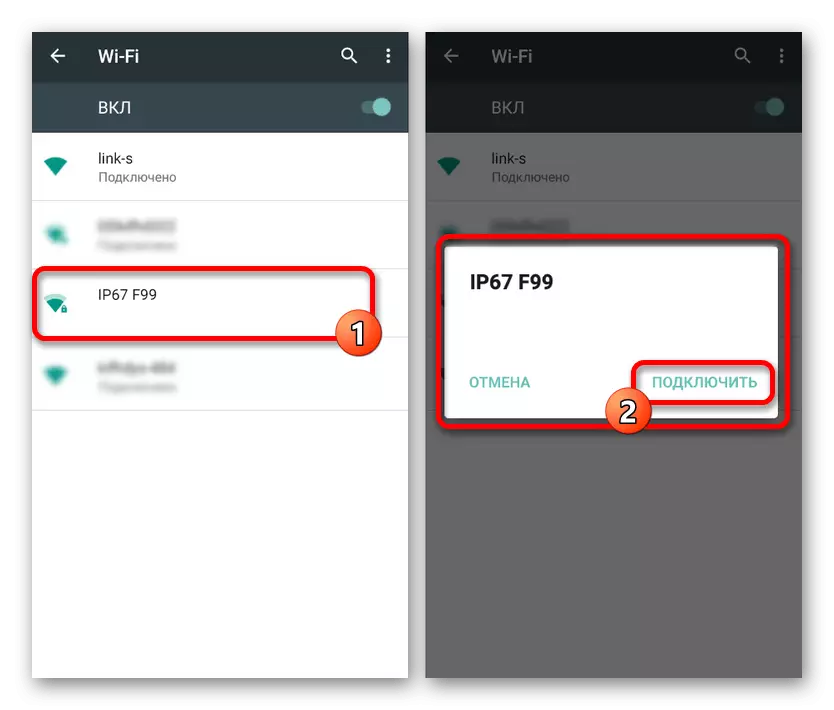
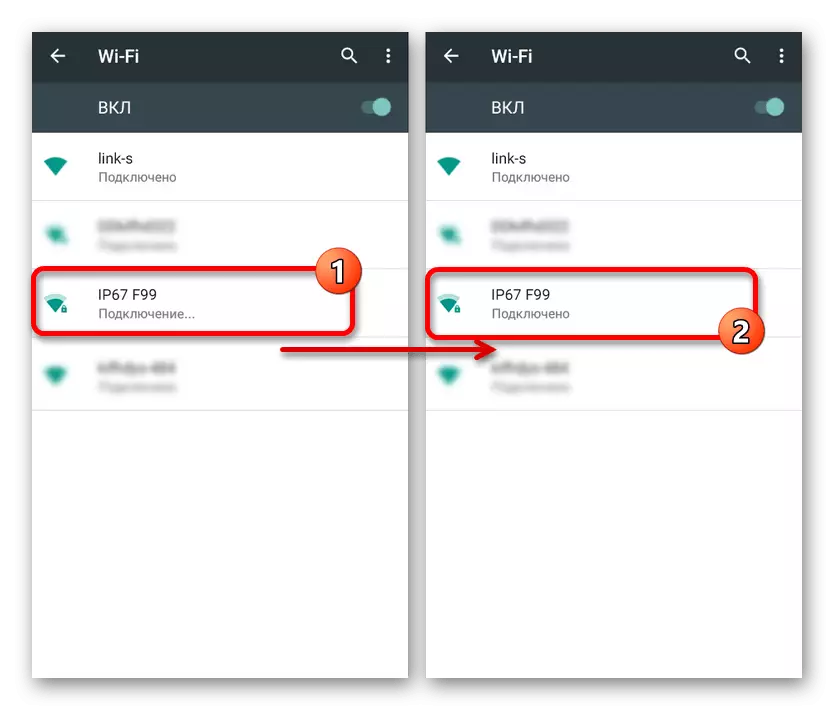
- Go to the "Settings" on the phone, go to the "Wi-Fi" section and use the Wireless Turning Slide. After that, the search for available devices will automatically begin.
- In the list that appears, select the desired device, the name of which should correspond to the name of the endoscope model. To continue, in the Network Title window, click the "Connect" button.
- To successfully install the connection, you will also need to specify a PIN installed by the default manufacturer. As well as the name of the network, it is desirable to find it in the instructions from the kit, as combinations may differ on different devices.

To enable, it is sometimes necessary to confirm the connection through a special window on the phone screen. As a result, the standard camera application should be opened or one of the special programs discussed by us further. At the same time, depending on the model of the smartphone, some actions will be different.
Step 2: Applications for Endoscope
Some models of the endoscope when connecting to the phone can use standard applications to work with the camera, so that the special software is required. However, such options are rather exceptions, while the overwhelming majority of devices will only work with one of the special applications available for downloading on Google Play.
OTG VIEW
The best Android program that allows you to receive the image and control the camera connected separately, you can safely call OTG VIEW. This application is compatible with most USB endoscopes and can work properly with devices connected via Wi-Fi.
Download OTG View from Google Play Market
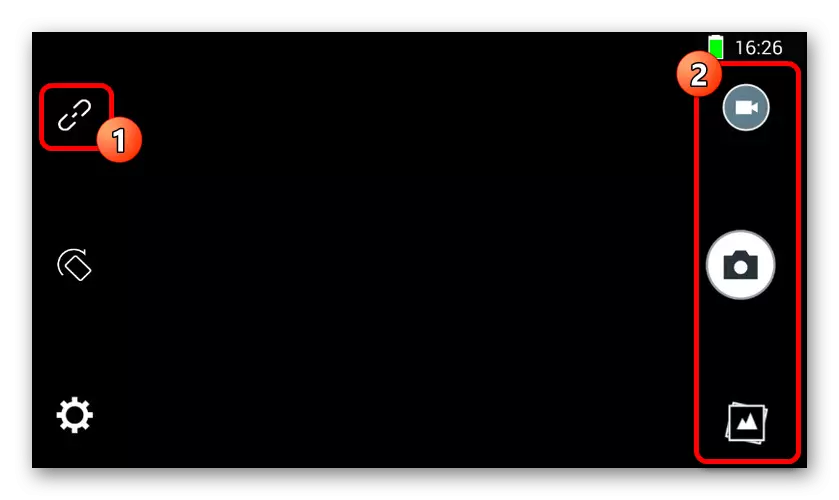
- After performing actions from the first section of the instructions, open OTG View. As a result, the picture appears on the screen or image from an external chamber. To update the connection, you can use the icon in the left upper corner of the screen.
- With the help of the application, you can create video or photos that, in combination with the characteristics of many endoscopes, guarantees high quality. In addition, the image can be fed up or rotated using the auxiliary menu.
- Special attention deserves embedded application settings, limited by several parameters like video mode and display of watermarks. Depending on the version of the OS, the application may vary for the best or worse.


Due to the fact that this decision is initially intended to work with the endoscope and is the best, try using OTG VIEW in the first place. It also note that compatibility with software can be specified on the package or in the instructions from the device.
An98.
An98, as well as the option discussed above, aims exclusively to work with the endoscope, so it will probably have to be installed separately. It is not much different from OTG VIEW and provides almost identical functions. Moreover, most models of devices will also work through AN98.
Download an98 from Google Play Market
- To access the image from the camera, open the application and wait for the download to complete. If the black screen appears after that, check the external camera connection with your smartphone and update the connection using the button in the upper left corner.
- Here, as in the past case, you can rotate or reflect the image, create photos and videos that are stored in the working folder of the application. In this case, the camera control is available only when creating a photo.
- Unlike OTG VIEW, the settings are very limited here and do not even have their own menu. The only thing that can be changed is the capture area when using photo and video filming.
The program is an excellent option to work with the camera, especially if for some reason the first application turned out to be non-working. You can use the software on any smartphone, regardless of the version of the OS.
Camerafi.
The application is very different from past variants, as it is originally intended not for an endoscope, but for any external chamber. This allows you to use much more functions, but you cannot guarantee compatibility with multiple devices.
Download Camerafi from Google Play Market
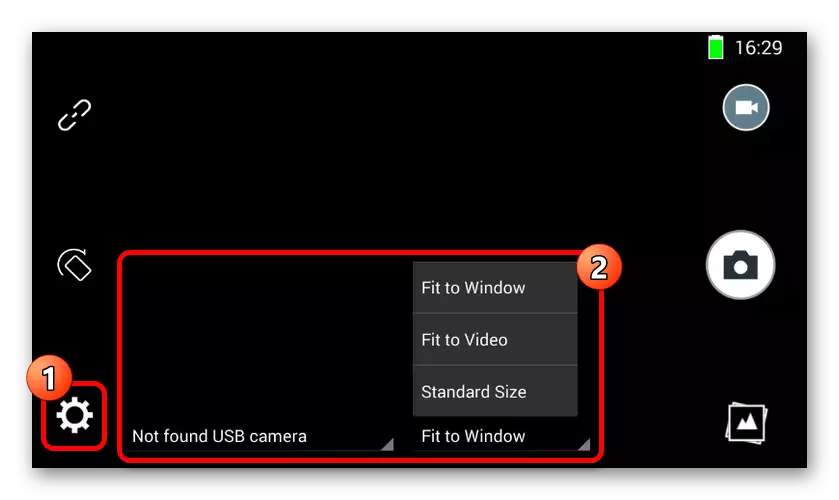
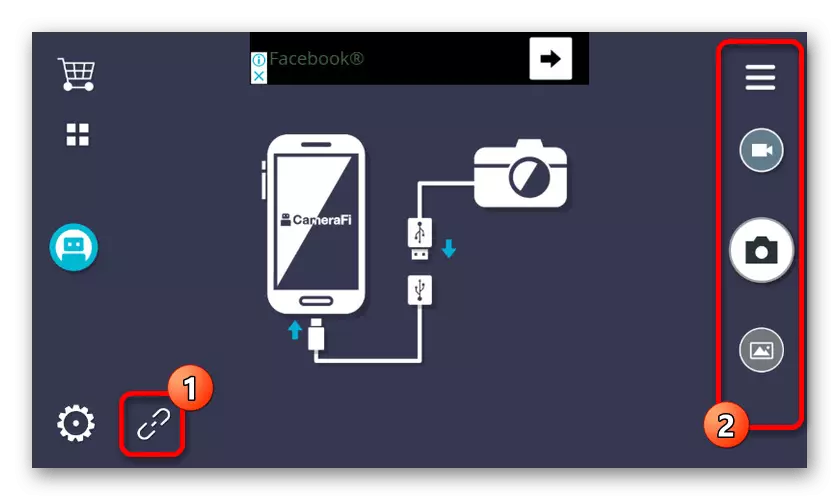
- Connect the endoscope to the phone and run the application. During the first inclusion, you will need to confirm additional permissions in the corresponding window.
- If an image appears on the screen in automatic mode, check or re-connect the external chamber and press the connections button on the bottom panel. As a result, the picture will have to be updated.
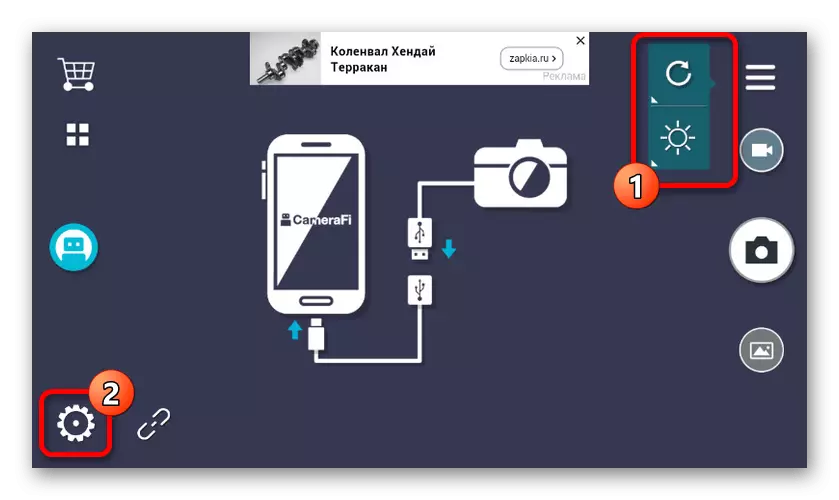
- As we mentioned earlier, a few additional features are present due to the features. For example, you can control not only the position of the frame, but also brightness with contrast even before creating a picture.
- Parameters also provide a much larger range of sections. You will have to study the options on your own, since the only point affecting the work of the endoscope is the "camera selection". It is here that you can specify an external device if for some reason uses built-in phone cameras.


The main problem of the application is in the presence of advertisements on each page, including the section with the settings. You can disable advertising through the built-in store by selecting the appropriate package.
Wi-Fi View
The last software that is optimally suitable for working with the endoscope will be Wi-Fi View, aimed at the main line on the device with a wireless connection. The application should only be used in combination with Wi-Fi version of the Device.
Download Wi-Fi View from Google Play Market
- Connect the Endoscope via Wi-Fi through "Settings" before the signature is "connected". Further open the downloaded application in advance and wait for the image.
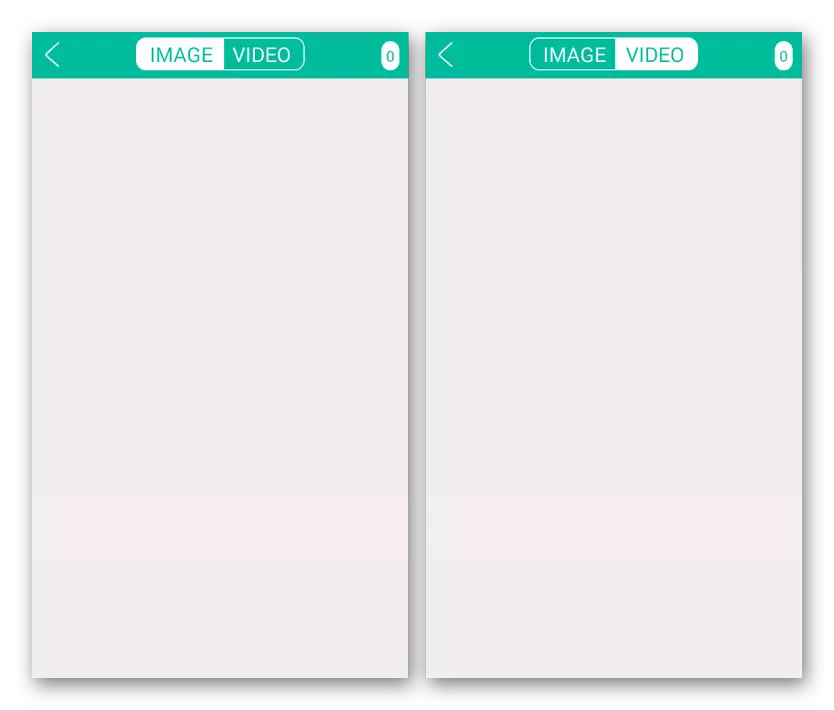
- The application provides all the basic functions, whether it is a photo or video using an external wi-fi camera. To access the library also provides a separate page with two tabs.
- In the settings, you can change the name or password, however, it will be unavailable for the endoscope. The only important parameter is the ability to change the permission.


As you can see, in most cases it is enough to enable the application to gain access to the image from the camera or at least determine the incompatibility of the endoscope with software.
The instructions for hardware connected and the subsequent use of the endoscope is quite enough to successfully connect the external camera with the phone. To avoid possible problems, observe the procedure, first connecting the camera and only after that testing applications.