

Almost every Skype user from time to time use a microphone to talk with colleagues, friends and loved ones. Thanks to this device, voice communication is possible. Sometimes there is a need to check the connected equipment to make sure that its operation is correct and choose the optimum volume. Next, we want to tell you in detail about the available methods of microphone testing in Skype using built-in and additional funds.
Check the microphone for Skype
The algorithm of actions for each option is different, therefore, we first recommend to familiarize yourself with all them to make it easier to determine suitable. Let's start with the integrated functionality in Skype. Before the start of study, the following methods, we strongly advise you to make sure that the connected microphone is in active condition and is generally displayed in the operating system, since the correctness of further inspections depends on this. Detailed instructions on this topic can be found in another our material by clicking on the link below.Read more: How to turn on the microphone in Skype
Method 1: Settings menu
The first way is suitable in cases where it is simply necessary to check that the software sees the microphone and responds to a change in volume. This will help the standard settings menu, where you can also configure the sound of the device used.
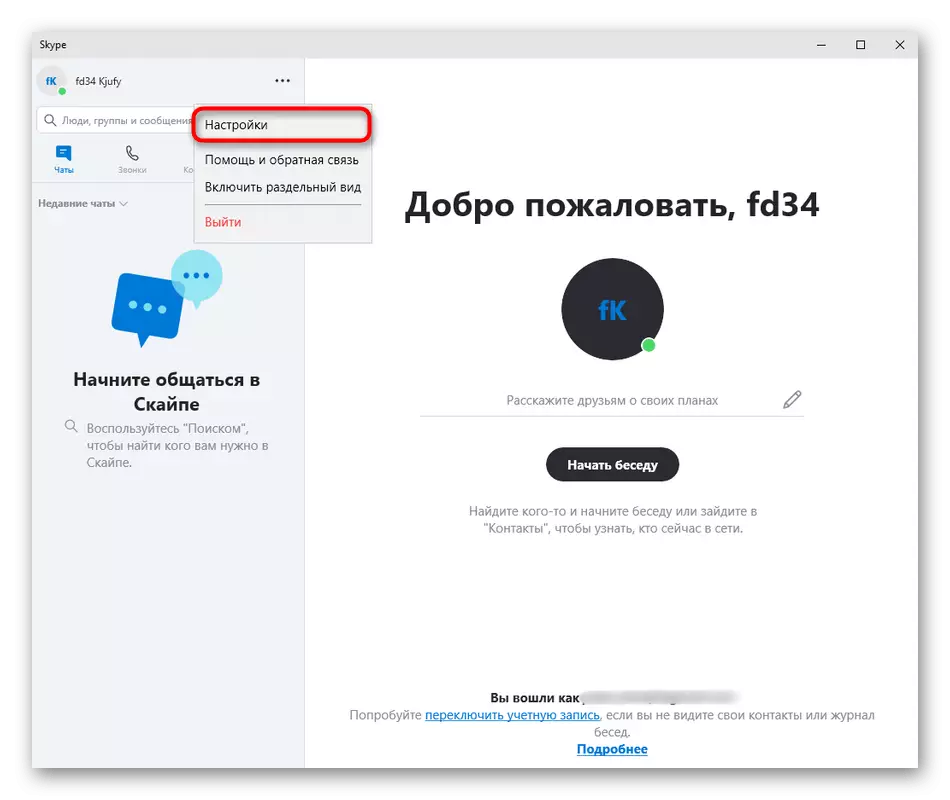
- Run Skype and click on the icon in the form of three horizontal points, which is located on the right of the account name.
- In the context menu that opens, select the first paragraph called "Settings".
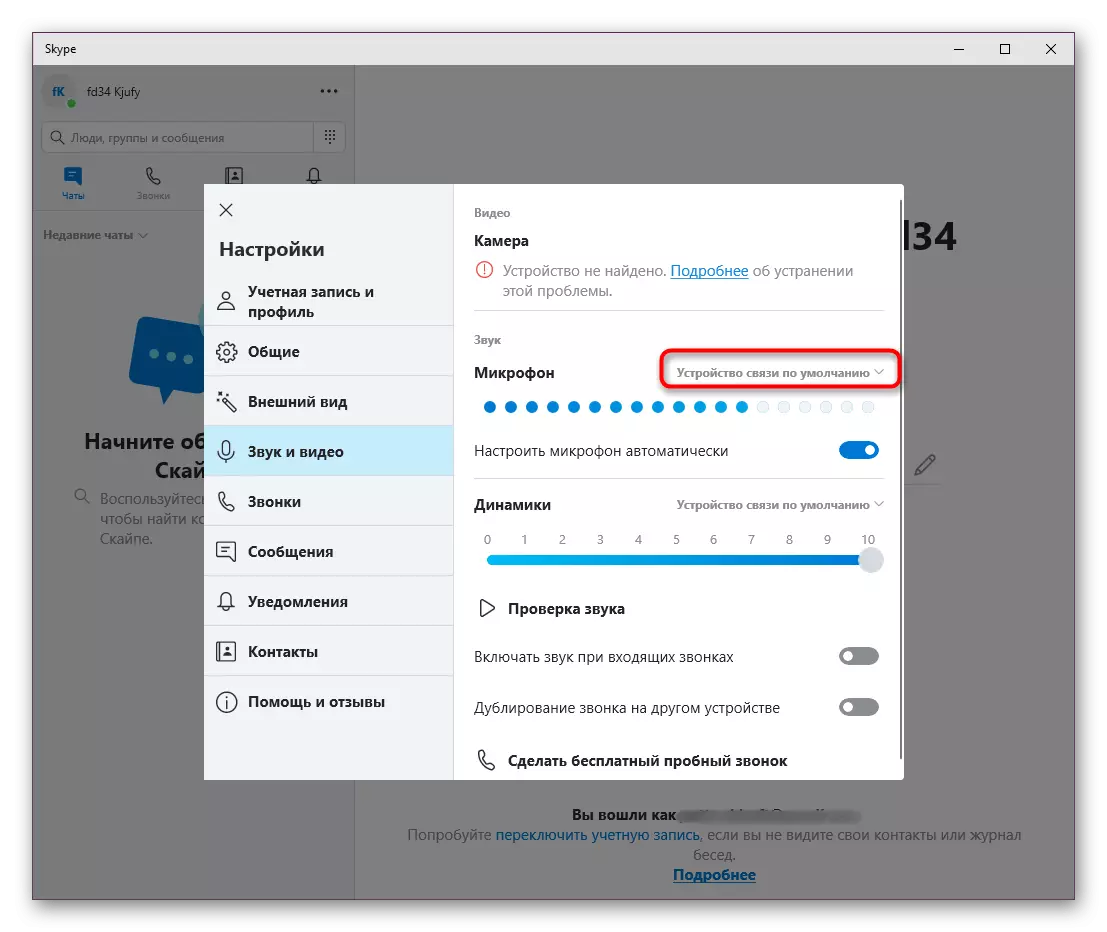
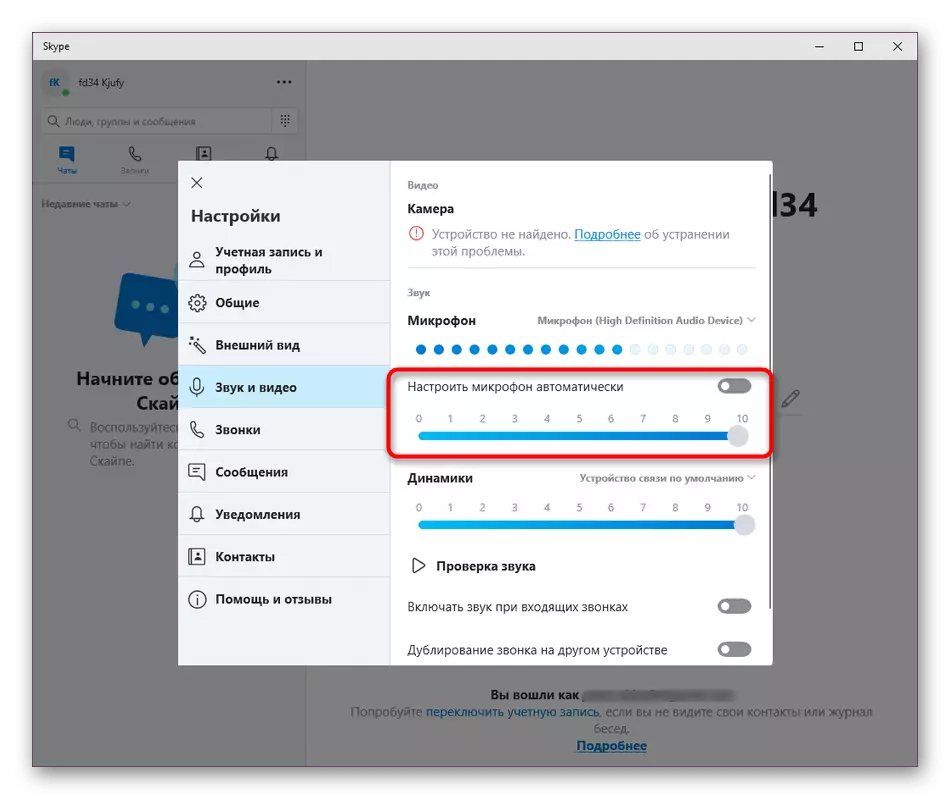
- Pay attention to the panel on the left. Through it, it will be necessary to move to the "Sound and Video" section.
- Expand the default communication list. The name of this list depends on which microphone it is standard.
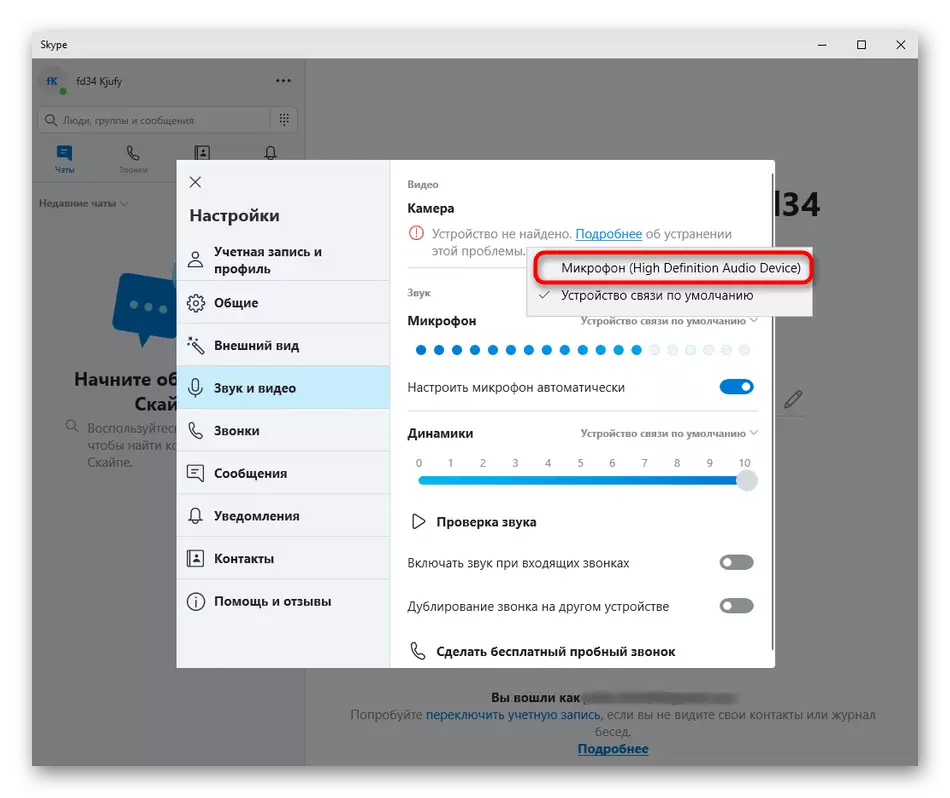
- Here, check the checkbox with the required device.
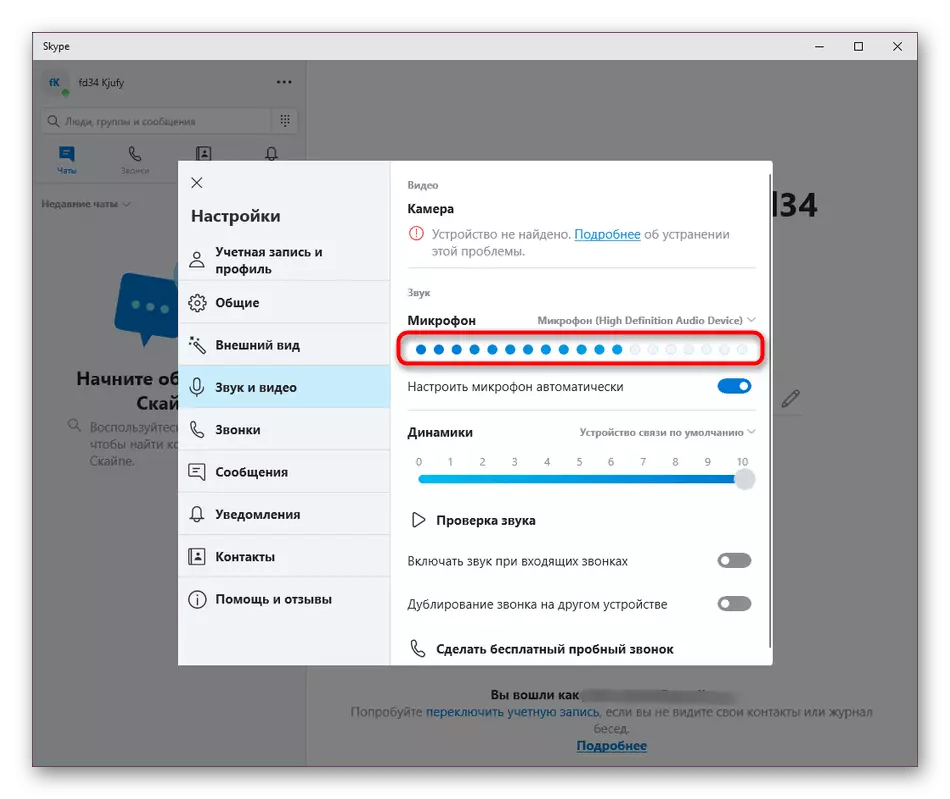
- Now take a look at the dynamic line with points. The markers painted in blue indicate the current microphone volume level. If you try to say something to it, the sensitivity oscillating should occur.
- In addition, you can cancel automatic configuration and independently select a convenient volume level to establish the optimal sound.


When the microphone is not displayed at all or the volume does not change in any way, it should be checked with other methods. If they are invalid, you will need to correct errors with the connection or recognition of the device, which we will talk a little later.
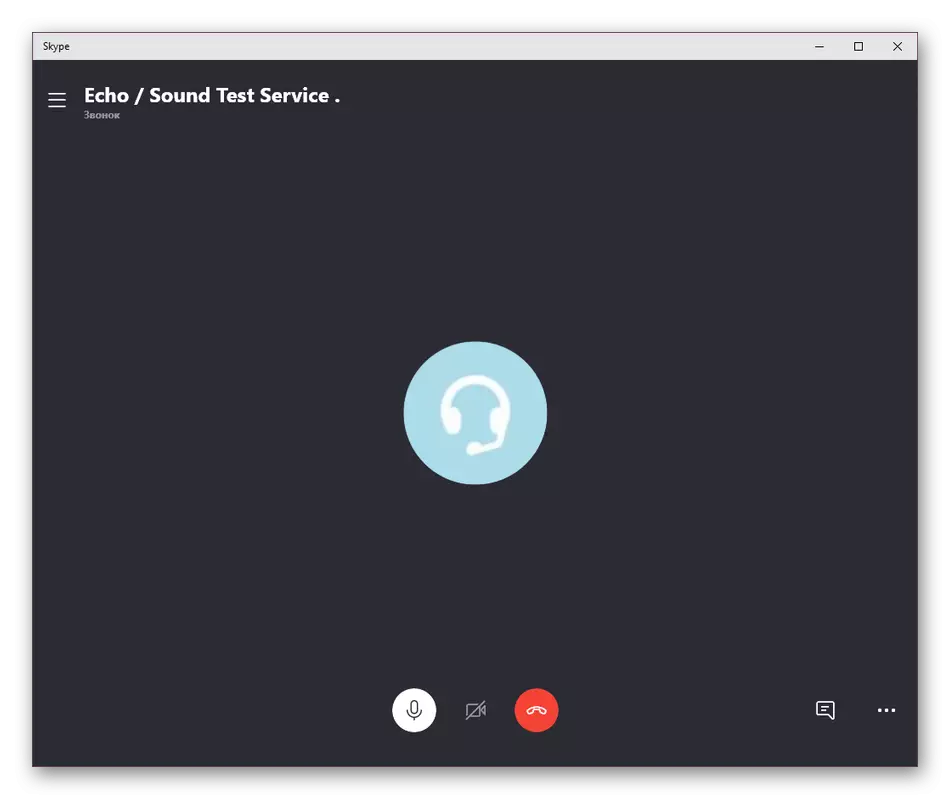
Method 2: ECHO / SOUND TEST SERVICE
Almost every Skype user in his contacts or calls saw a system account named "Echo / Sound Test Service". It is designed to perform verification calls with testing speakers and microphone. This option is perfectly suitable when you need to listen to the result of the recording device, and the call itself is performed as follows:
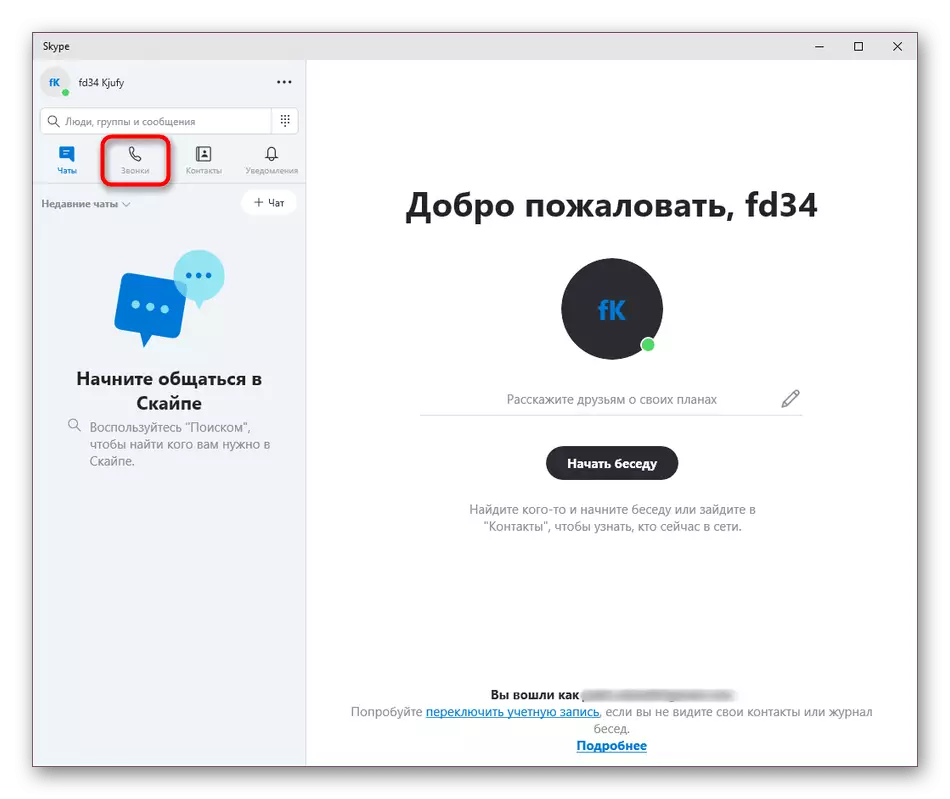
- In the Skype main window, go to the "Call" section.
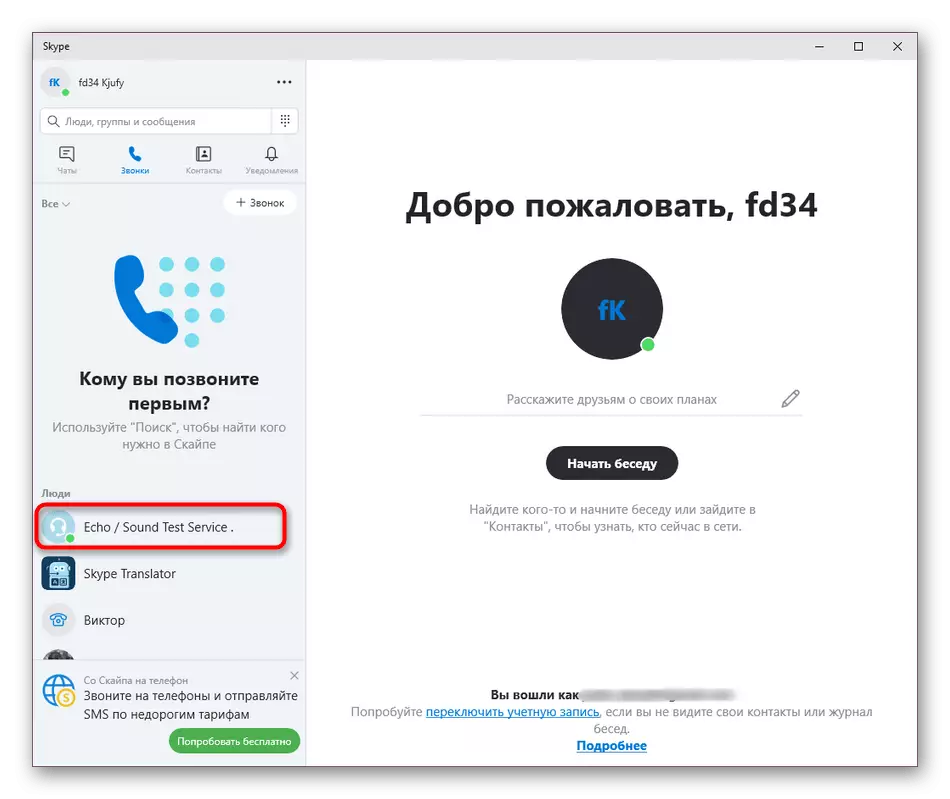
- Here you can use the search or immediately from the "ECHO / SOUND Test Service" that appears to select "ECHO / SOUND TEST SERVICE".
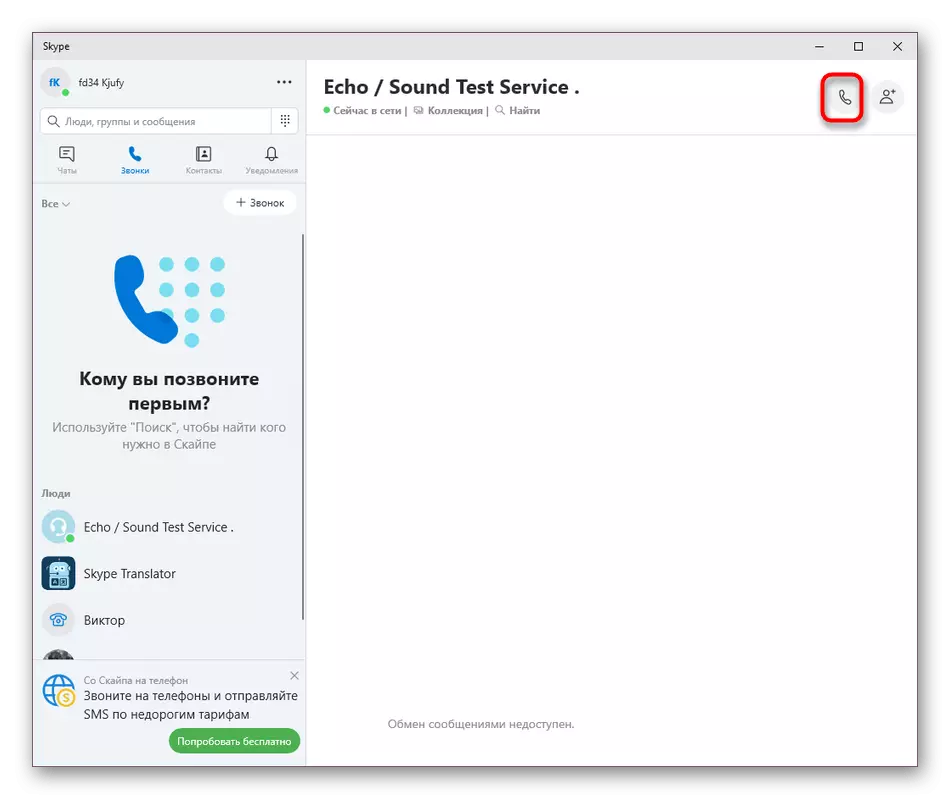
- In the profile of this user, click Phone Tube to make a call.
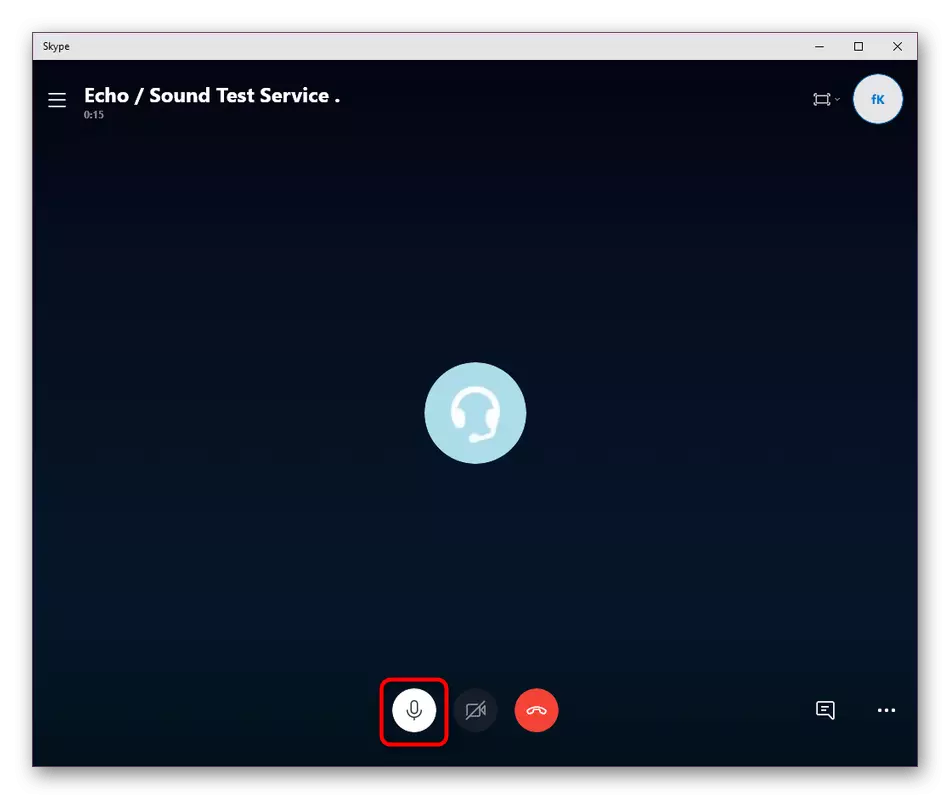
- Listen to the announcer. It will turn out that the recording of the sound will begin after the signal and will last 10 seconds. Then it will be played to familiarize themselves with the result.
- Before recording, do not forget to verify that the microphone is in the on state.
Nothing prevents you in exactly the same way, to call, for example, to a connected account on another device, but the use of a software is much more convenient than such solutions.
Method 3: Sound recording programs from a microphone
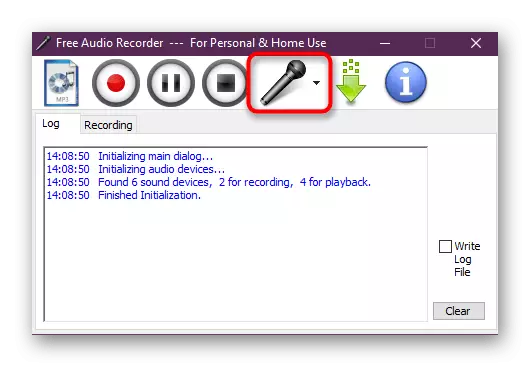
We smoothly proceed to additional tools that allow you to check the correctness of the microphone. Now we want to talk about special software, whose basic functionality is just focused on sound records from the connected equipment. Take for an example of Free Audio Recorder and see how the goal is carried out here.
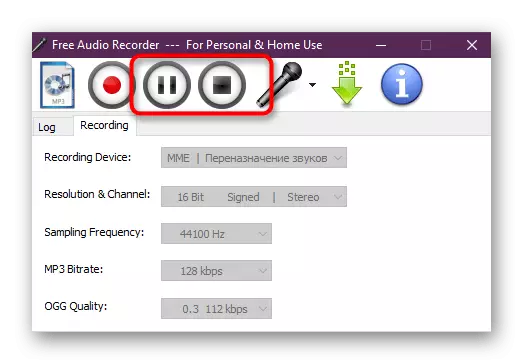
- Go to the above link to download and install the specified application. After that, run it and view the main settings by pressing the microphone button. Here, make sure that the correct device is selected, and the volume matches your requirements.
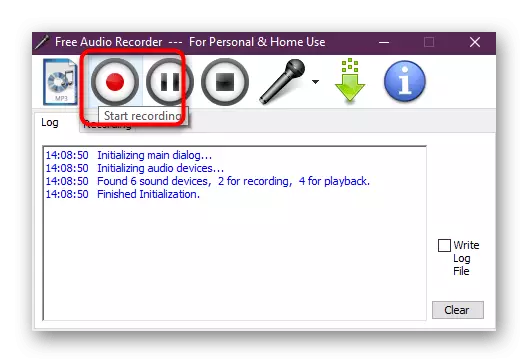
- Next click on the Start Recording icon.
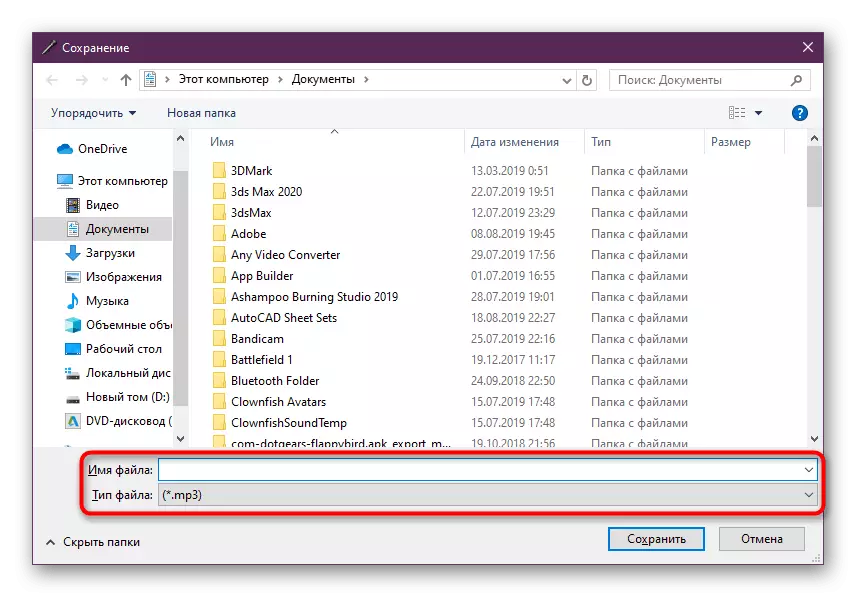
- A standard conductor will open, in which you want to specify the name of the file and its location. This will be audio with your record.
- Unfortunately, no notifications about the beginning of the recording appear, therefore, just start talking to something into the microphone and, if necessary, stop or complete the operation.
- Now you can move to the previously selected place to run the existing file and listen to the result.

Almost the same principle employs other programs. We offer to study Free Audio Recorder analogues in another material further. This will help you choose the optimal version of sound checking through the appropriate software, if the considered tool is not suitable for any reason.
Read more: Sound recording programs from a microphone
Method 4: Online Services
By analogy with software, there are also online services that allow you to quickly check the microphone without the need to download additional files. In another article, on the link below, you will find a detailed overview of the whole four web resources that make it possible to cope with the task quickly and simply. Before that, do not forget to give sites permission to use the microphone.Read more: How to check the microphone online
Method 5: Standard Windows
In the Windows operating system there is a standard recording tool, as well as the microphone status is displayed in the settings. All this will allow you to quickly test the connected device without the use of third-party programs or services, which have already been mentioned earlier. However, you should not forget that before this in the OS, the current microphone must be marked as a default recording tool, otherwise nothing will be written.
Read more: Standard Windows audio check tool
Solving frequent problems
Not always spent tests are successful. Periodically, some users face problems. For example, Skype does not see the microphone or the sound of it is not recorded. When trying to check through third-party funds, various malfunctions may occur. All this will be required to quickly decide to proceed with voice communication in the application. We present separate articles on our website, where the most popular and frequent problems with the work of the equipment under consideration are considered, as well as in detail all the ways to solve them are described.
Read more:
What to do if the microphone does not work in Skype
Elimination of the problem of the microphone inoperability in Windows
After successful testing and solving all problems, you can safely switch to the commission of calls in Skype. Additionally, it should be noted that in the event of an unsatisfactory listened result, it is recommended to change the basic microphone settings. For example, increase the sound, remove the echo or set the improvement parameters. This will help to establish the correct sound and the interlocutor will feel more comfortable.
Read more:
Emphasis Effect in Skype
How to set up a microphone on a laptop
Configure a microphone in Skype
Voice change in Skype