
It is still a lot of users have the Windows 7 operating system installed and regularly released updates to it. However, do not always work successfully carry out this procedure, sometimes the user is faced with an error occurs, accompanied by different codes. One of them is designated as 80244022 and may indicate a variety of problems, from problems with an Internet connection, to the absence of certain system files. In this article, we want to help beginners and experienced users to deal with this difficulty by choosing the optimal method for solving.
Bug fixes with the update code 80244022 in Windows 7
As clearly say which of the solutions will work in any given situation, it is impossible, you have to sort through each mode in turn, beginning with the most simple and effective, and ending more complicated and infrequent methods. Only through trial can understand what prevents update and fix itself it does not take much time.Method 1: Date and Time Check
For windose very important that the date and time are set correctly. If these settings are not true, you can get a number of problems, among them the error code 80244022. In this case, you only need to check the correctness of said parameters and change them if necessary:
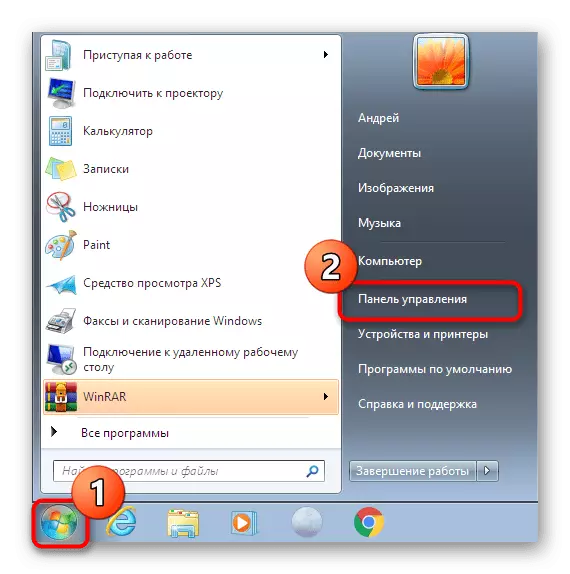
- Open the "Start" menu and go to the section "Control Panel".
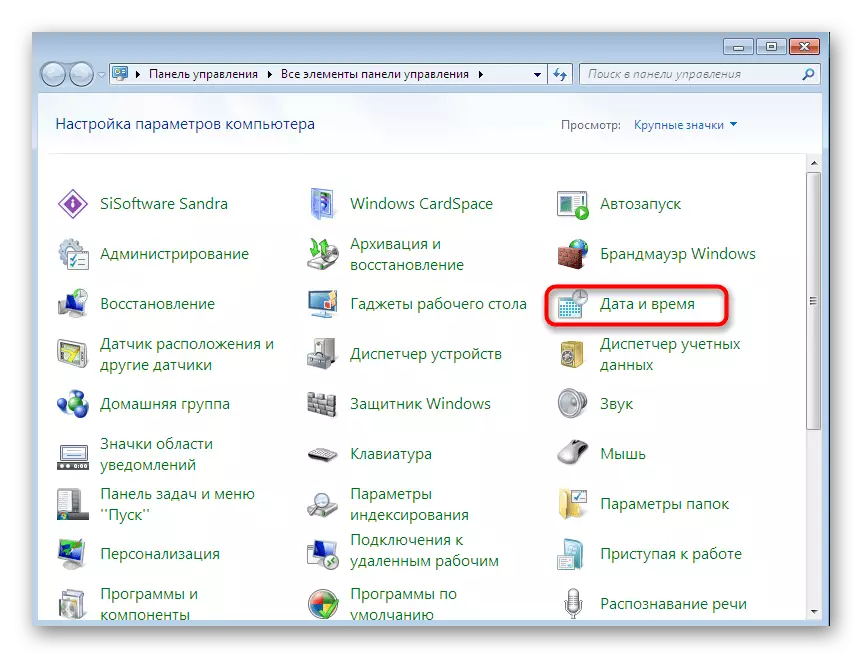
- Navigate to the section "Date and Time".
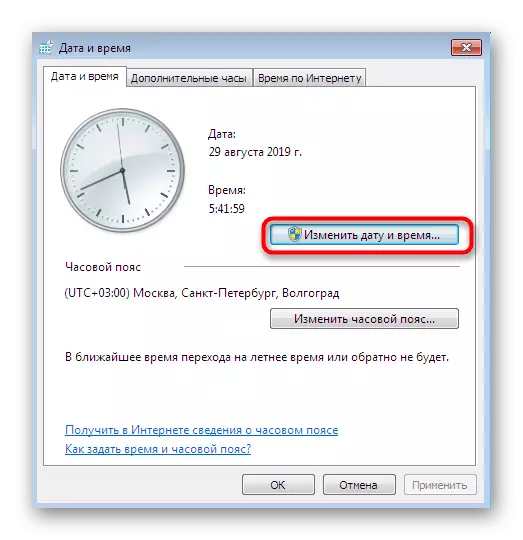
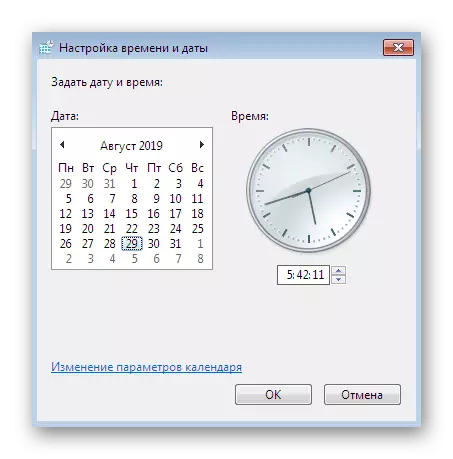
- This will open a small new window, where you should click on "Change date and time."
- Use the drop down menu to set the correct values.
However, not always banal time change is successful. Not excluded the situation when there are difficulties with the timing or date does go astray after the computer is restarted. More detailed information on these topics can be found in our other articles by clicking on the links below.
Read more:
Synchronize the time in Windows 7
We solve the problem of the reset time on the computer
Method 2: Using troubleshooting
Each windose current version has built detection system and fix problems. It works in different directions, because helps to correct mistakes and to update. There is no absolute guarantee that this method will work for sure, but you are not required virtually no effort, because it should definitely try.
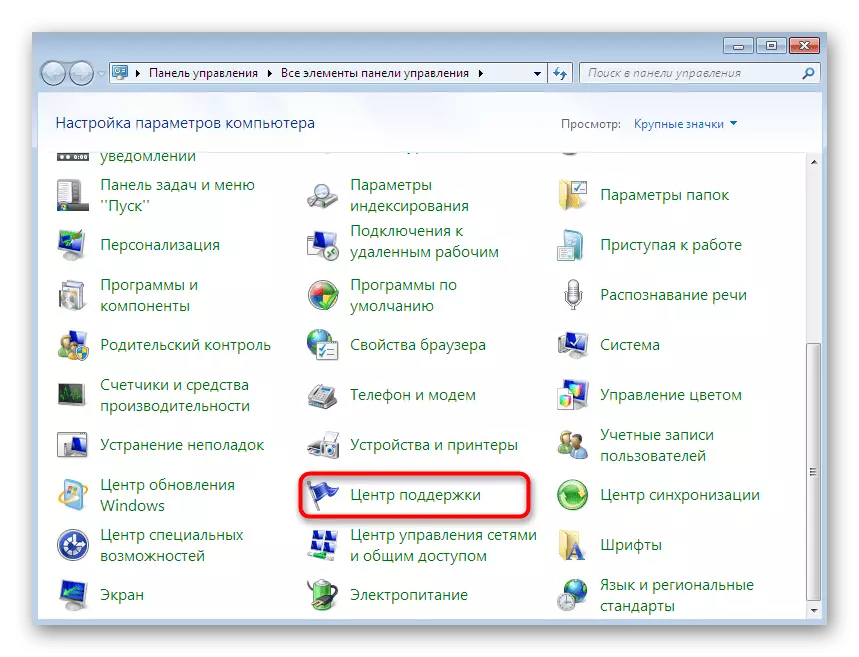
- Again move to the "Control Panel", then select the section "Support Center".
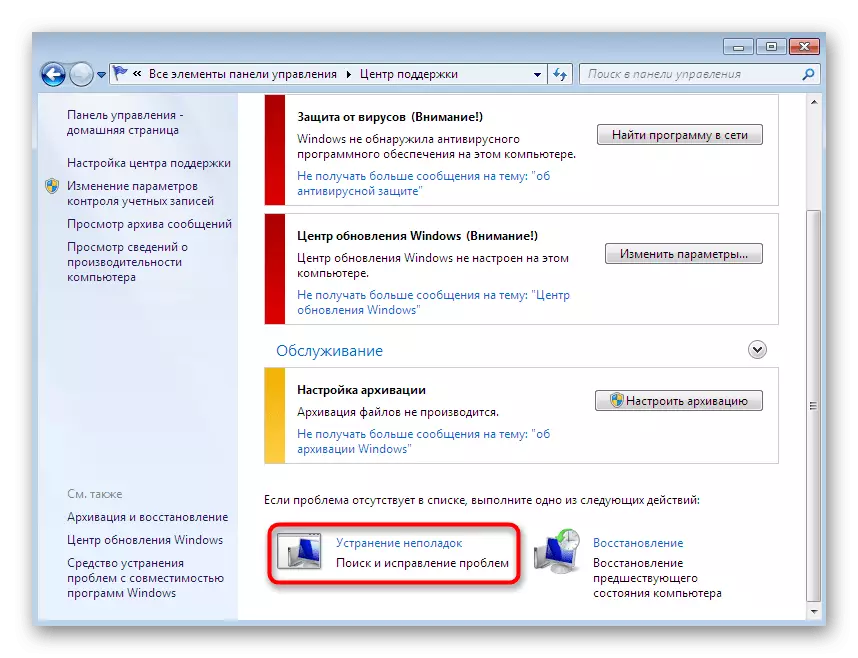
- Drop down to the bottom of the window, where Found "Troubleshooting".
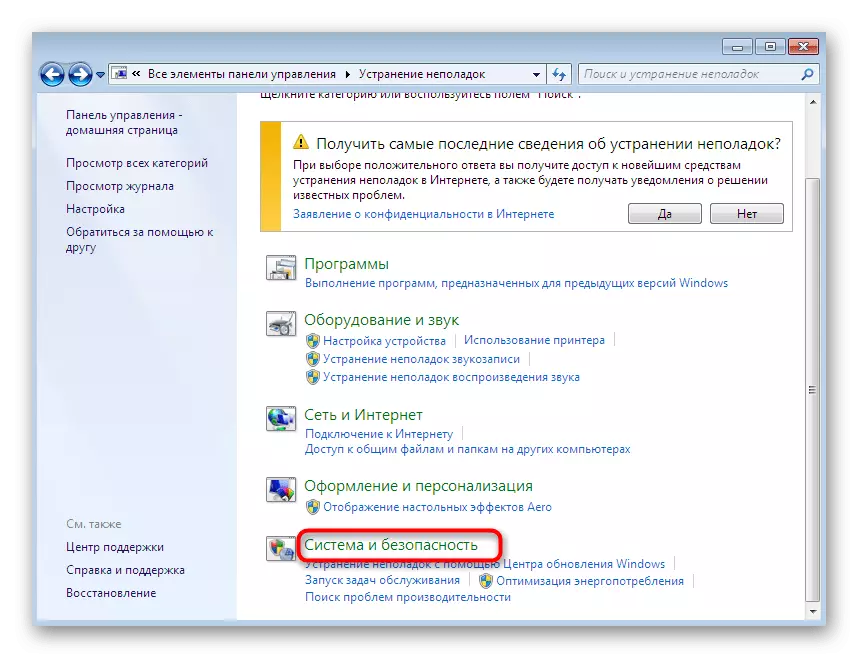
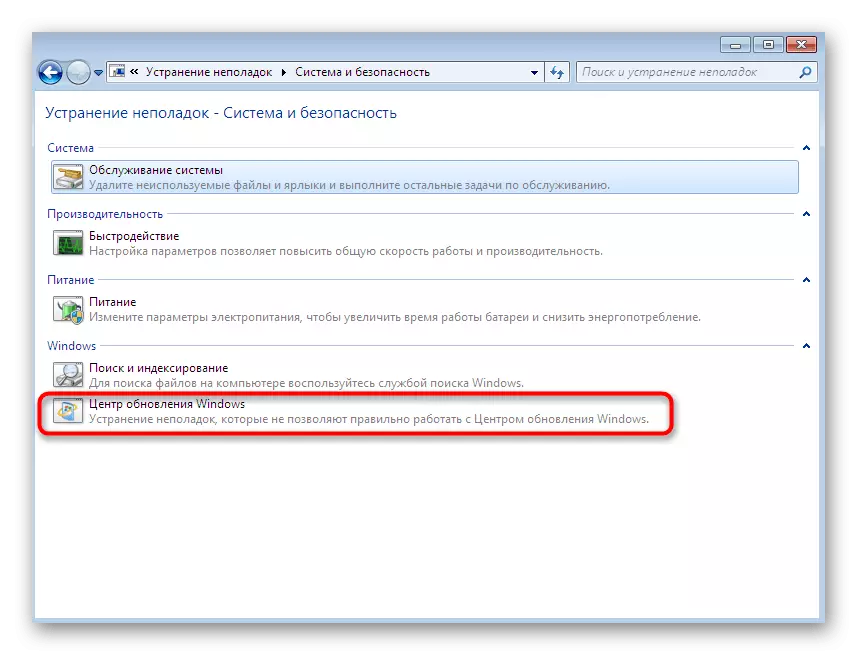
- In the window that opens, click on the label "System and Security" to get a complete list of all the corrected version.
- "Windows Update" will need to select the menu that appears.
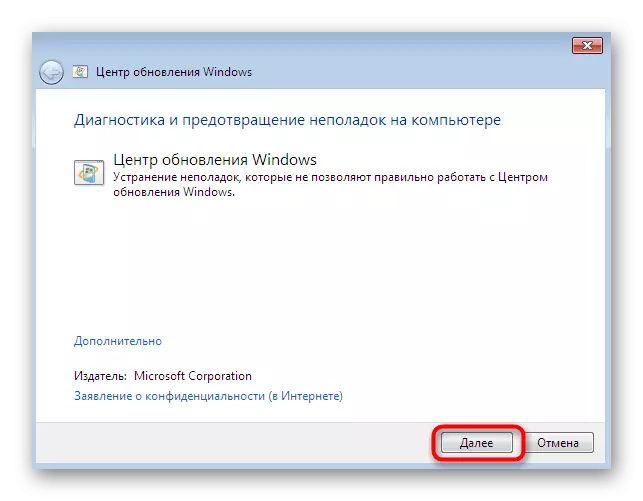
- Check out the information that is displayed in the wizard fix problems and then move on.
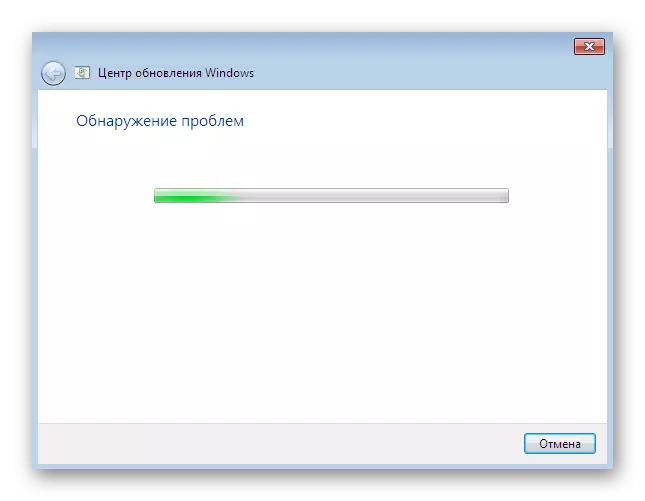
- Expect to complete the scan, and then follow the instructions displayed on the screen.
Usually, after the scanning is complete you will receive a notification that there was no error found or identified problems successfully corrected. In addition, the individual may appear and indicate that you need to fulfill in order to remedy that has completed its work.
Method 3: Setting IE connection parameters
It is no secret that in order to download updates in windose 7 used the Internet, and connect to it through a standard web browser Internet Explorer. Sometimes the browser configuration does not allow the system to work correctly means the OS, so you need to check them out and set manually:
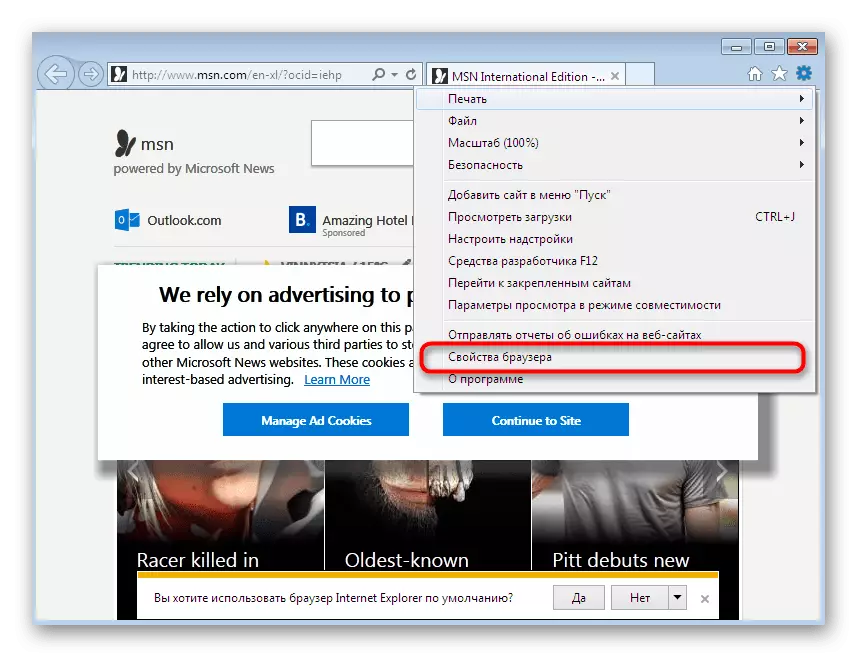
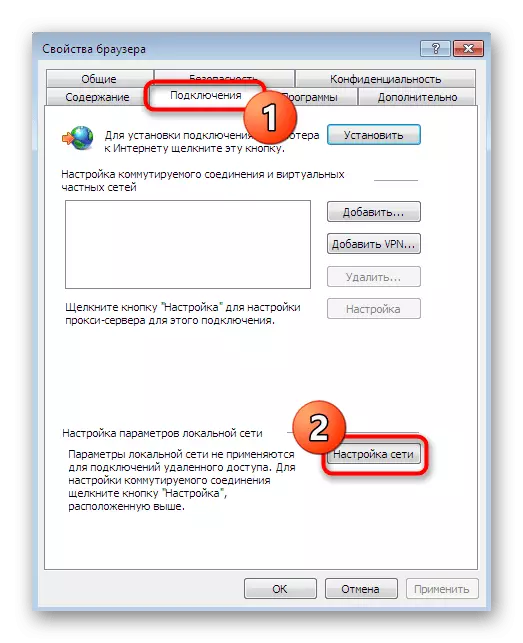
- Start Internet Explorer, click the icon looks like a gear, which is right at the top, and from the context menu, select "Internet Options."
- Navigate to the tab "Connections" and "Settings LAN Settings" button, click on the "Network Settings".
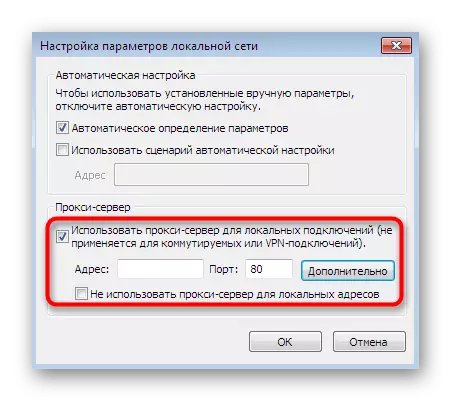
- Tick "Use proxy server for your LAN" and click on the active "Advanced" button.
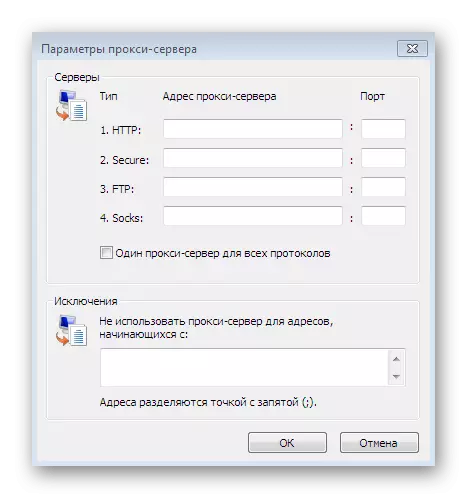
- Erase everything present the proxy server settings, and then apply the settings.
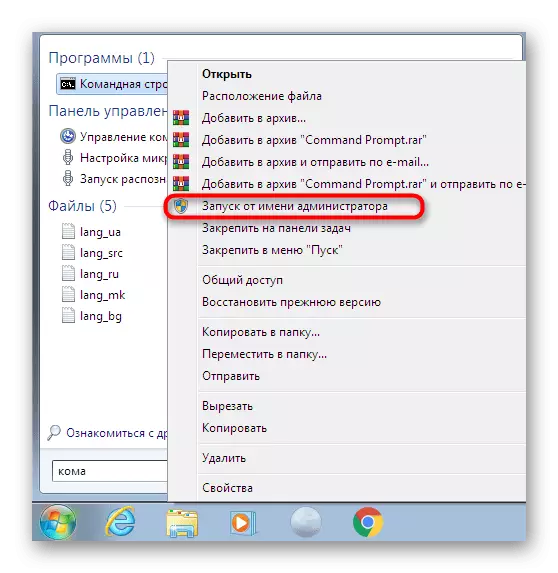
- Open the "Start", find the "Command Line" there and run it on the name of the administrator.
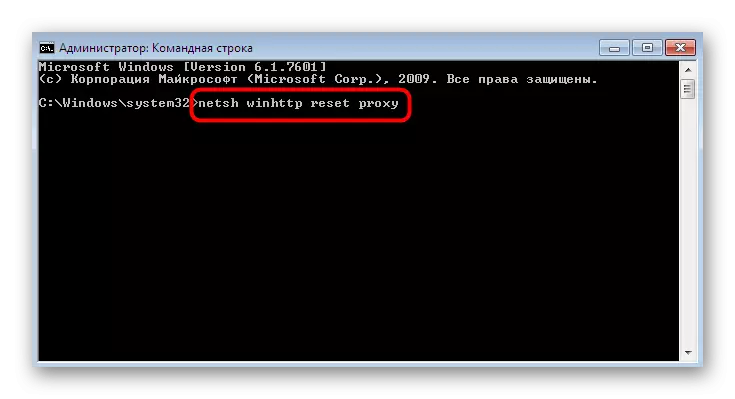
- Enter the NETSH WinHTTP Reset Proxy command there and press the ENTER key. This will restart the proxy server parameters.
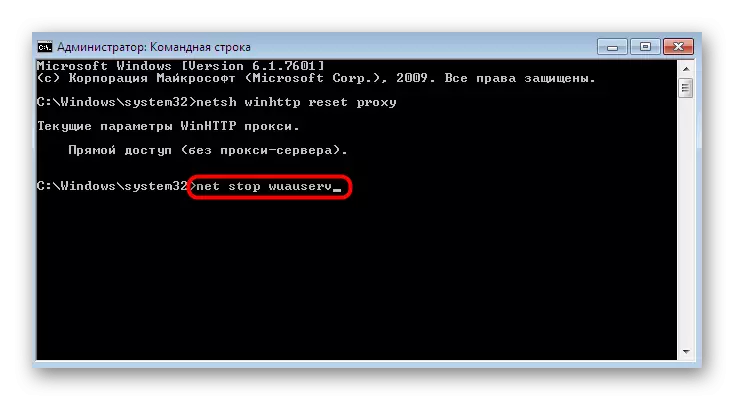
- After that, it will only be left to restart Windows Update. To do this, use the Net Stop Wuauserv command by stopping the service.
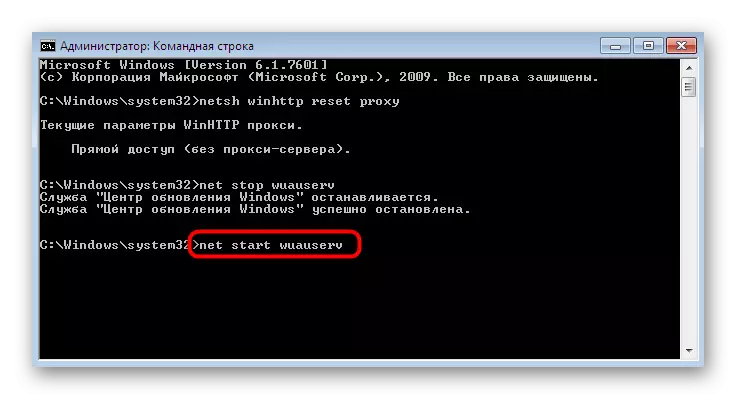
- Then enter Net Start Wuauserv, restarting it.
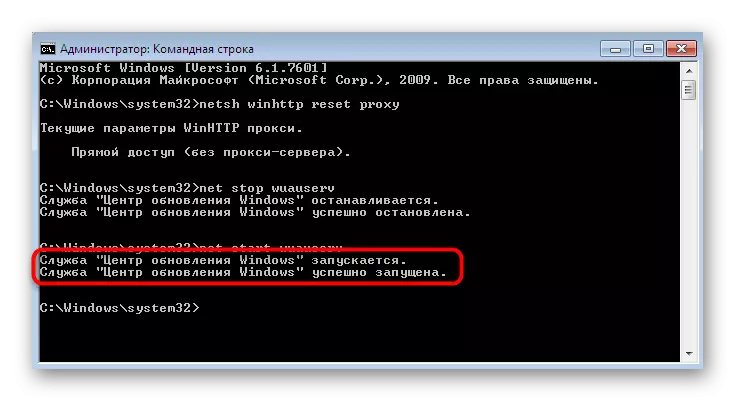
- A new line should be notified that the Windows Update Service Center has been successfully launched.
Upon completion of this procedure, you can safely go to the update section and run this operation again, in the hope that this manipulation will be effective, and the annilated error 80244022 will never appear anymore.
Method 4: Reset Update Center Configuration
Let us turn to the most difficult one, but in most cases the working manual that implies full reset of absolutely all settings of the update center with the further registration of the "clean" DLL files required for the correct operation of the system. The whole process will occur in the console, so prepare in advance for what you have to copy and insert many commands, and some of them are manually administered.
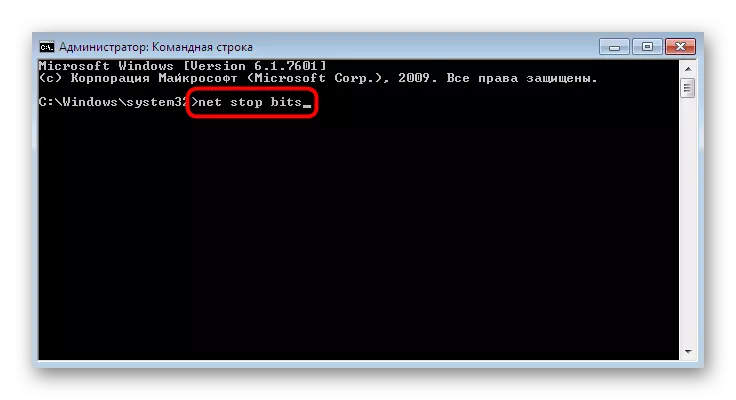
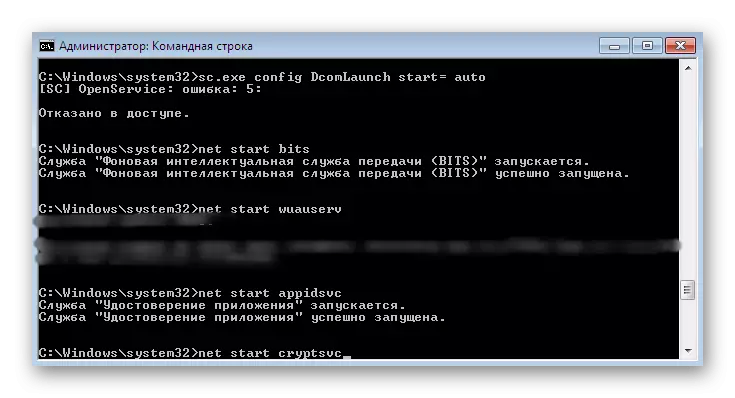
- To get started, stop all services related to Windows update. To do this, enter the NET Stop BITS command and click on ENTER.
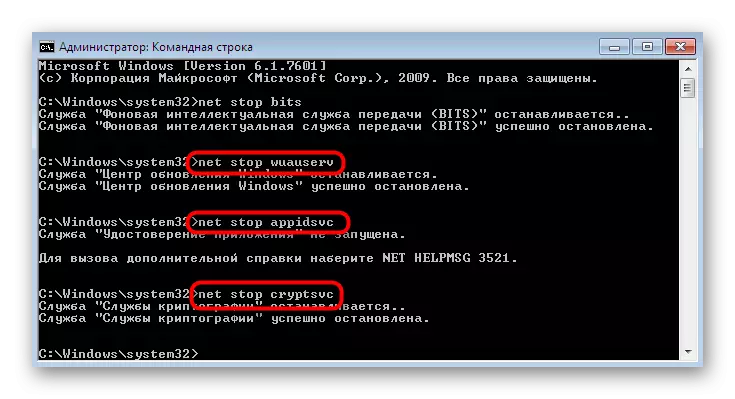
- Consistently specify three more rows of Net Stop Wuauserv, Net Stop AppIDSVC and Net Stop CryptSVC, waiting for notifications that each service has been stopped.
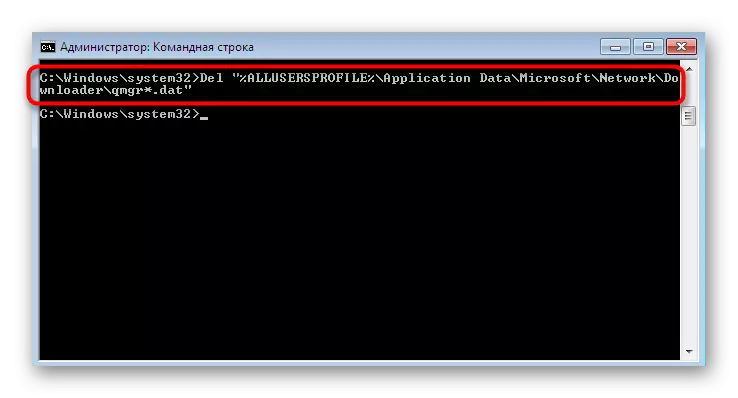
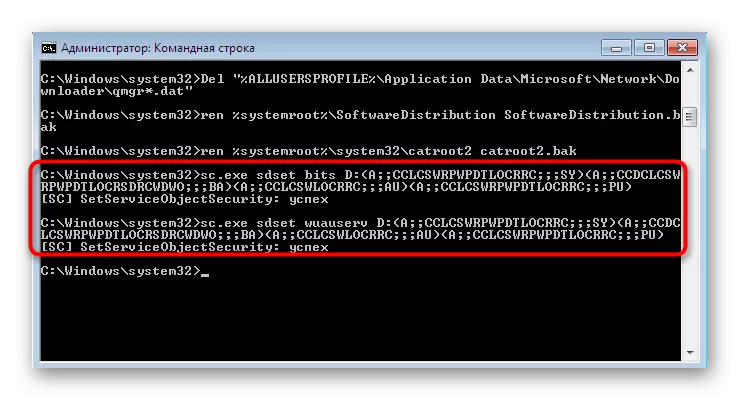
- Delete the service files that may be damaged due to which the error occurs. In the future, all this will be restored, but now you need to get rid of the problem elements by entering the Del command.% Allusersprofile% \ Application Data \ Microsoft \ Network \ DOWNLOADER \ QMGR * .DAT.
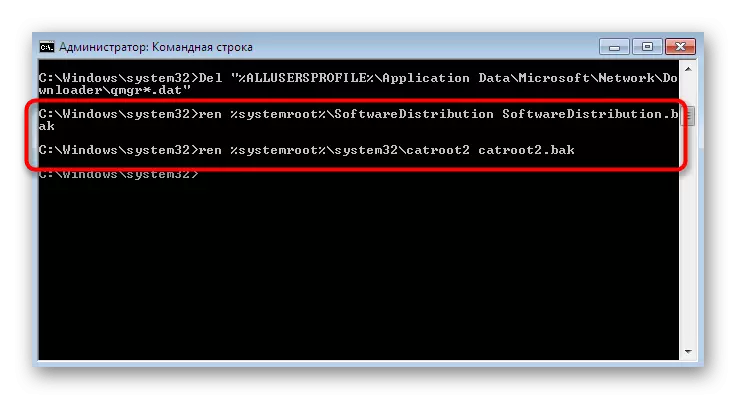
- Next, rename the directories where all configuration and temporary files are stored. The next time you start the services, these directory will be created automatically. As for renaming, it is carried out in two teams:
Ren% Systemroot% \ Softwaredistribution softwaredistribution.bak
Ren% Systemroot% \ System32 \ Catroot2 Catroot2.bak
- Practically the same thing happens with discharge services. First enter sc.exe sdset bits D: (A ;; CCLCSWRPWPDTLOCRRC ;;; SY) (A ;; CCDCLCSWRPWPDTLOCRSDRCWDWO ;;; BA) (A ;; CCLCSWLOCRRC ;;; AU) (A ;; CCLCSWRPWPDTLOCRRC ;;; PU), and then sc.exe sdset wuauserv D: (a ;; CCLCSWRPWPDTLOCRRC ;;; SY) (a ;; CCDCLCSWRPWPDTLOCRSDRCWDWO ;;; BA) (a ;; CCLCSWLOCRRC ;;; AU) (a ;; CCLCSWRPWPDTLOCRRC ;;; PU). You have to get the line with the message "Success".
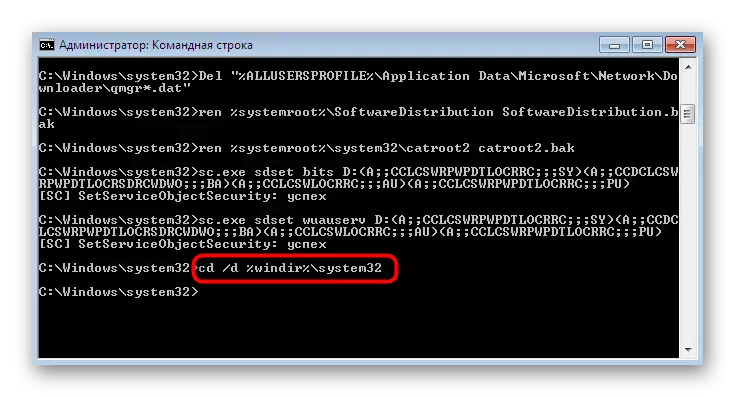
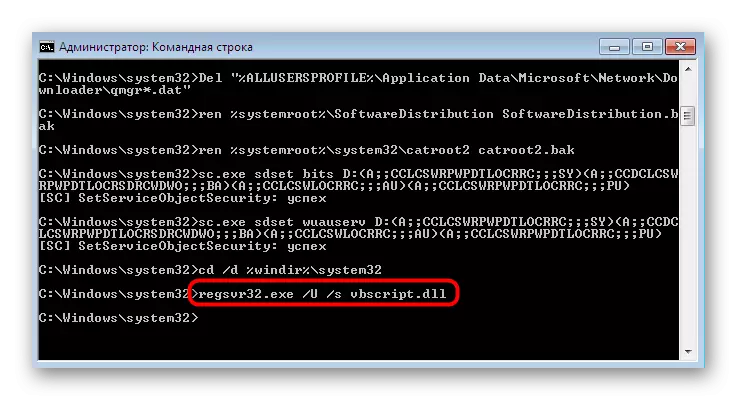
- It remained the most difficult process - re-register DLL-critical files. To do this, first navigate to the System directory by the command cd / d% windir% \ system32.
- Then copy all the contents below, or enter each line separately to create everything necessary DLL.
regsvr32.exe / U / s vbscript.dll
regsvr32.exe / U / s mshtml.dll
regsvr32.exe / U / s msjava.dll
regsvr32.exe / U / s msxml.dll
regsvr32.exe / U / s actxprxy.dll
regsvr32.exe / U / s shdocvw.dll
regsvr32.exe / U / s Mssip32.dll
regsvr32.exe / U / s wintrust.dll
regsvr32.exe / U / s initpki.dll
regsvr32.exe / U / s dssenh.dll
regsvr32.exe / U / s rsaenh.dll
regsvr32.exe / U / s gpkcsp.dll
regsvr32.exe / U / s sccbase.dll
regsvr32.exe / U / s slbcsp.dll
regsvr32.exe / U / s cryptdlg.dll
regsvr32.exe / U / s Urlmon.dll
regsvr32.exe / U / s Oleaut32.dll
regsvr32.exe / U / s msxml2.dll
regsvr32.exe / U / s Browseui.dll
regsvr32.exe / U / s shell32.dll
regsvr32.exe / U / s atl.dll
regsvr32.exe / U / s jscript.dll
regsvr32.exe / U / s msxml3.dll
regsvr32.exe / U / s softpub.dll
regsvr32.exe / U / s wuapi.dll
regsvr32.exe / U / s wuaueng.dll
regsvr32.exe / U / s wuaueng1.dll
regsvr32.exe / U / s wucltui.dll
regsvr32.exe / U / s wups.dll
regsvr32.exe / U / s wups2.dll
regsvr32.exe / U / s wuweb.dll
regsvr32.exe / U / s scrrun.dll
regsvr32.exe / U / s msxml6.dll
regsvr32.exe / U / s ole32.dll
regsvr32.exe / U / s qmgr.dll
regsvr32.exe / U / s qmgrprxy.dll
regsvr32.exe / U / s wucltux.dll
regsvr32.exe / U / s muweb.dll
regsvr32.exe / U / s wuwebv.dll
regsvr32.exe / s vbscript.dll
regsvr32.exe / s mshtml.dll
regsvr32.exe / s msjava.dll
regsvr32.exe / s msxml.dll
regsvr32.exe / s actxprxy.dll
regsvr32.exe / s shdocvw.dll
regsvr32.exe / s Mssip32.dll
regsvr32.exe / s wintrust.dll
regsvr32.exe / s initpki.dll
regsvr32.exe / s dssenh.dll
regsvr32.exe / s rsaenh.dll
regsvr32.exe / s gpkcsp.dll
regsvr32.exe / s sccbase.dll
regsvr32.exe / s slbcsp.dll
regsvr32.exe / s cryptdlg.dll
regsvr32.exe / s Urlmon.dll
regsvr32.exe / s Oleaut32.dll
regsvr32.exe / s msxml2.dll
regsvr32.exe / s Browseui.dll
regsvr32.exe / s shell32.dll
regsvr32.exe / s Mssip32.dll
regsvr32.exe / s atl.dll
regsvr32.exe / s jscript.dll
regsvr32.exe / s msxml3.dll
regsvr32.exe / s softpub.dll
regsvr32.exe / s wuapi.dll
regsvr32.exe / s wuaueng.dll
regsvr32.exe / s wuaueng1.dll
regsvr32.exe / s wucltui.dll
regsvr32.exe / s wups.dll
regsvr32.exe / s wups2.dll
regsvr32.exe / s wuweb.dll
regsvr32.exe / s scrrun.dll
regsvr32.exe / s msxml6.dll
regsvr32.exe / s ole32.dll
regsvr32.exe / s qmgr.dll
regsvr32.exe / s qmgrprxy.dll
regsvr32.exe / s wucltux.dll
regsvr32.exe / s muweb.dll
regsvr32.exe / s wuwebv.dll
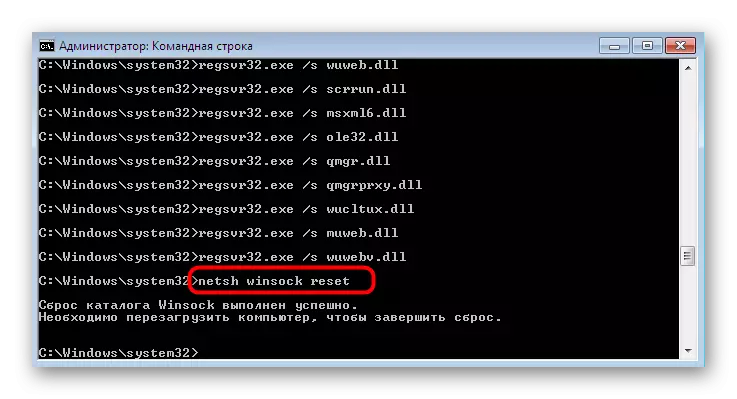
- Additionally, it is recommended to reset the parameters of the Internet protocols through the netsh winsock reset.
- Finally, start all stopped services by introducing successively the following lines:
sc.exe config wuauserv start = auto
sc.exe config bits start = delayed-auto
sc.exe config cryptsvc start = auto
sc.exe config TrustedInstaller start = demand
sc.exe config DcomLaunch start = auto
Net Start Bits.
Net Start Wuauserv
Net Start AppIDSVC.
Net Start Cryptsvc.
After completing these steps do not usually need to restart the computer as they are applied automatically. As you can see, this option is quite complicated and will take time, but once you get a fully working files, preventing the emergence of the problem.
Method 5: Modify the registry
Method of editing registry settings involves the activation of a backup server, and from which updates will be downloaded. This will help to get rid of the time considered an error, but after the installation of server innovation is recommended to select the main, to further check whether the problem is fixed after the addition of the latest files. To do this, follow these actions:
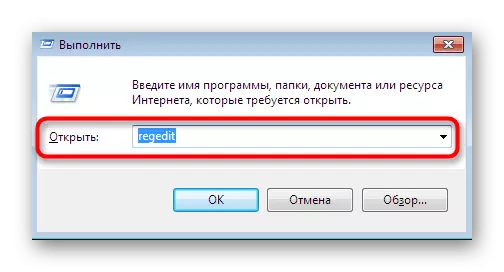
- Open the utility "Execute" by using the standard keyboard shortcut Win + R. In the pop field, enter regedit and press Enter.
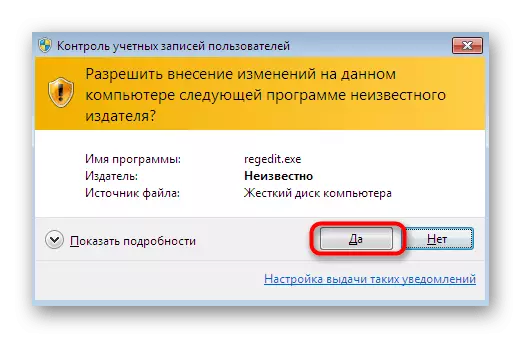
- If the User Account Control window appears, select it in the option "Yes".
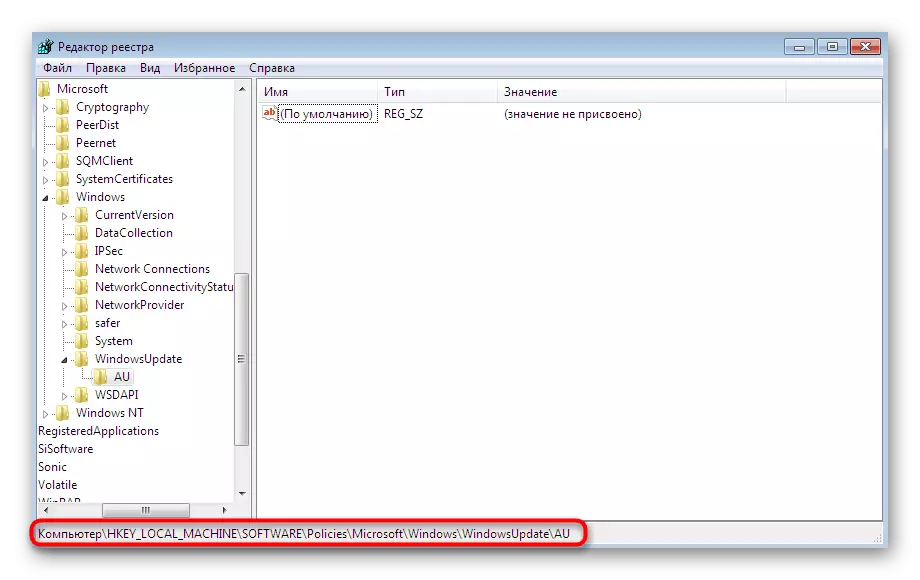
- Follow the path HKEY_LOCAL_MACHINE \ SOFTWARE \ Policies \ Microsoft \ Windows \ Windows \ Update \ AU.
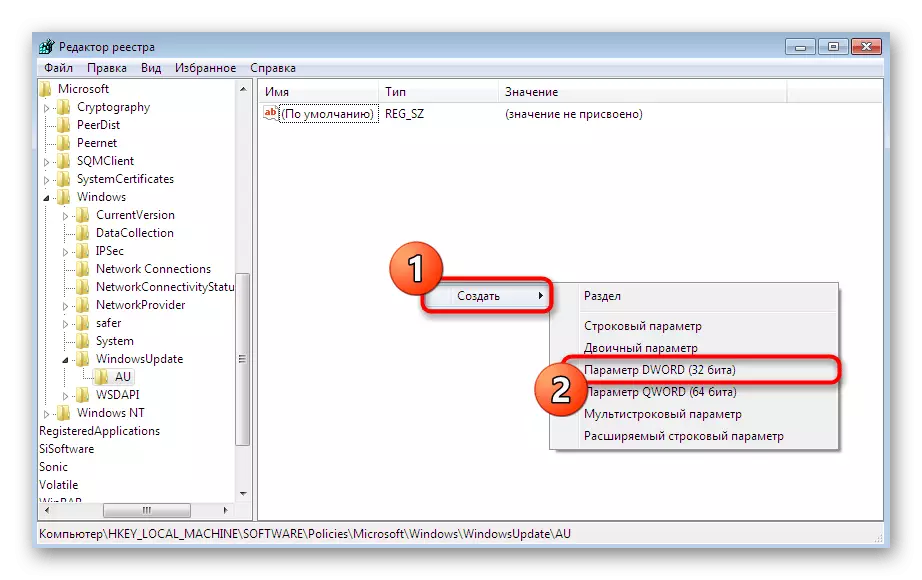
- Click on any empty space right mouse button. In the context menu, select "New" and "DWORD (32-bit)."
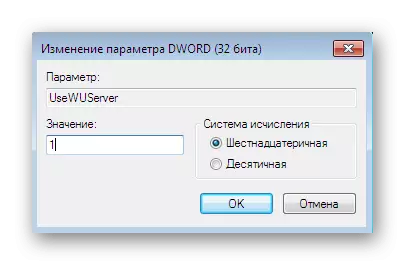
- Name it «UseWUServer», and then double-click the LMB to open the properties.
- Set to 1 to activate the backup server. If necessary, this value can be changed to 0 to disable the option.

The changes will be applied only after restarting the PC. Then you can safely proceed to try to install updates from the backup server. Do not forget to turn it off, if it is not brought results or innovations have been added correctly.
Method 6: Install the update manually
The above methods do not prove to be effective in cases where the problem is caused by some specific update conflicting with the system. In the event of such situations it is recommended to install the files manually, bypassing the Windows Update. Then there is a chance that after the successful completion of this operation, the error 80244022 disappear completely. For more information and all the necessary instructions on this subject can be found in our other material on.Read more: Manual installation of updates in Windows 7
Method 7: Error correction and recovery system
Before switching to the most radical measures, it is recommended to make a standard operating system verification for errors. This is done using standard built-in funds. If they did not find any problems, then you already need to restore, roll back to the first backup or returning factory settings. All this in the deployed form is described in the individual articles that are available at the following links.
Read more:
Checking a computer with Windows for errors
Restoring the system in Windows 7
Above you have been familiar with the most diverse Methods of Error Solving 80244022, which occurs when you try to install updates in Windows 7. Additionally, it should be noted that all this may be ineffective for users of WINDOVS Pirate versions, because often from there just cut the update center or simply delete system files . Consider this when solving your problem.