
Now almost every user during its interaction with the operating system reproduces music, launches video or games. The correct perception of what is happening depends on the quality of the sound, and the emergence of problems forces the users on their own decisions. So certain users encounter periodic lies in Windows 7, which causes even more questions, because after restarting the laptop or after some time it appears again. Today we would like to consider this problem as in detail, submitting possible options for its corrections.
We solve problems with periodic sound lies on a laptop in Windows 7
Problems associated with the temporary disappearance of sound can be both software and hardware, therefore, have to look for a solution in order, starting from the simplest way. After all, I do not want to disassemble the laptop, check its sound card, and then detect that the failure was in the disconnected service. Therefore, we suggest familiarizing yourself with the methods below, starting from the first and ending with the verification with the correction of hardware problems, if programmatically from difficulty will not get rid of it.Method 1: Using troubleshooting
The first option using the built-in need to eliminate the problems of Windows is not always effective, but here all checks and corrections occur in automatic mode, which means you can spend some of your time, waiting for the completion of scanning and receiving a report. Starting the check is carried out through the appropriate section in the "Control Panel" and looks like this:
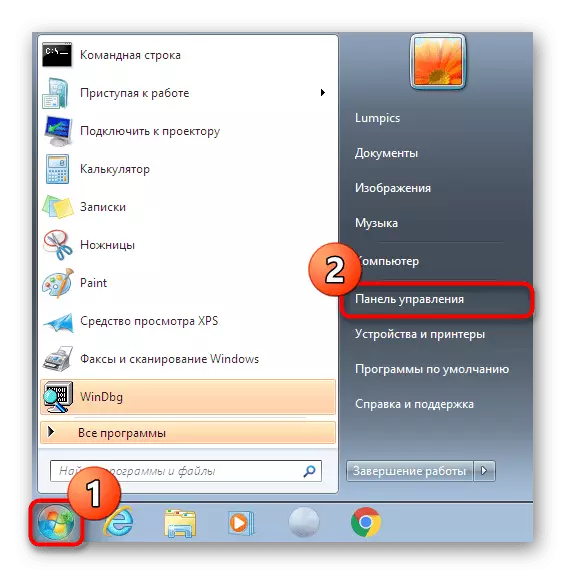
- Open the Start menu and go to the control panel.
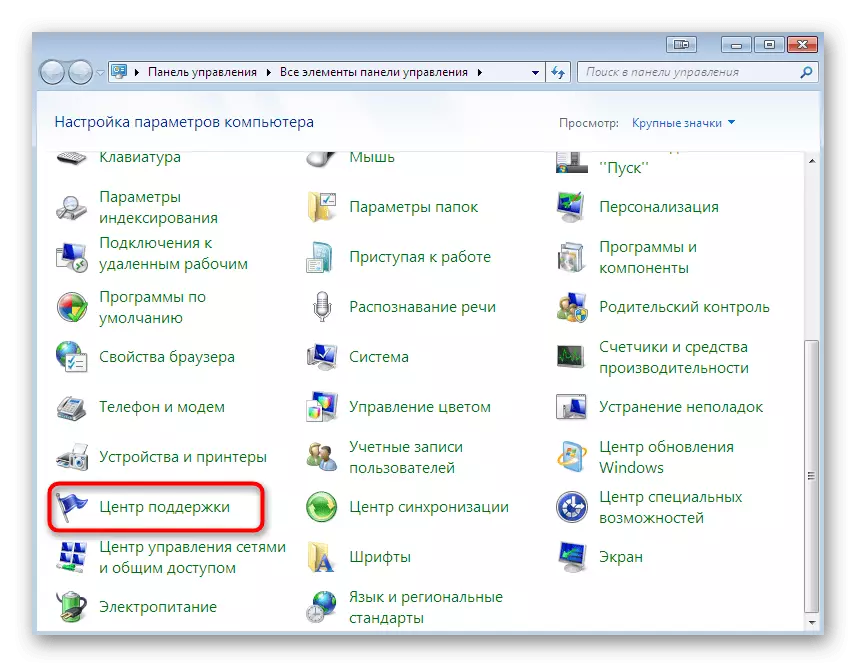
- Run down the window, where find the category "Support Center" category.
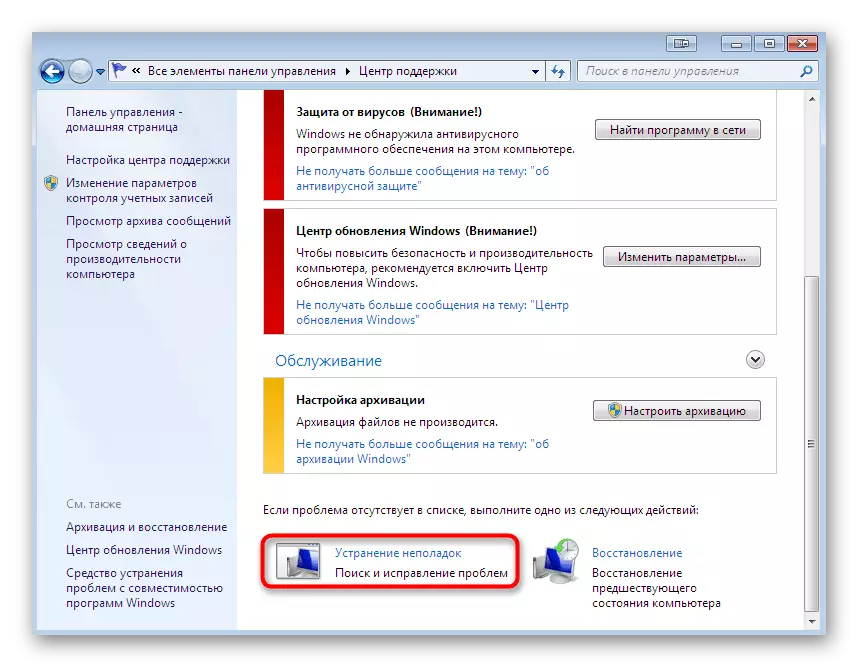
- There you will need to select the Troubleshooting Tool.
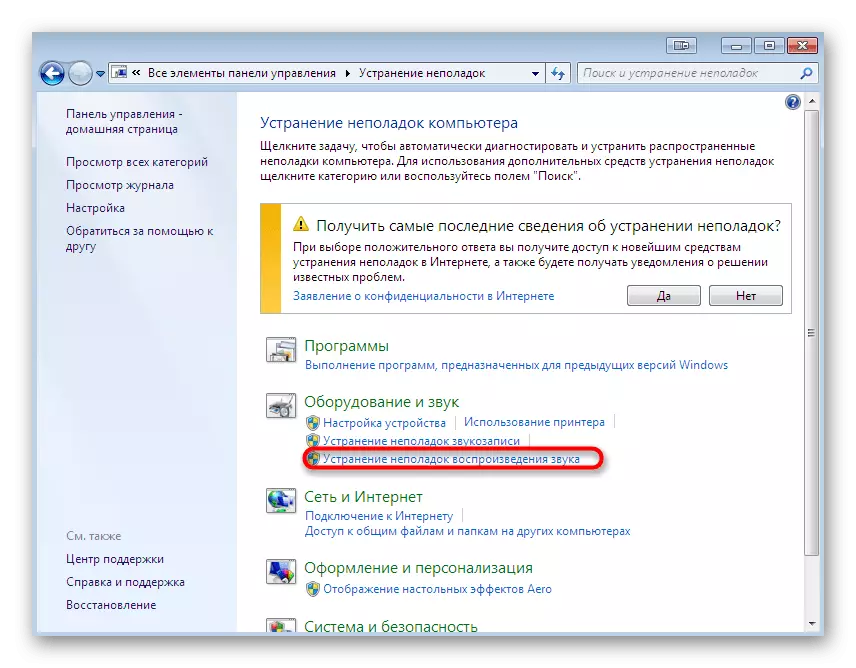
- Scan options will appear. In the "Equipment and Sound" section, click on the "Troubleshooting Sound Playback" button.
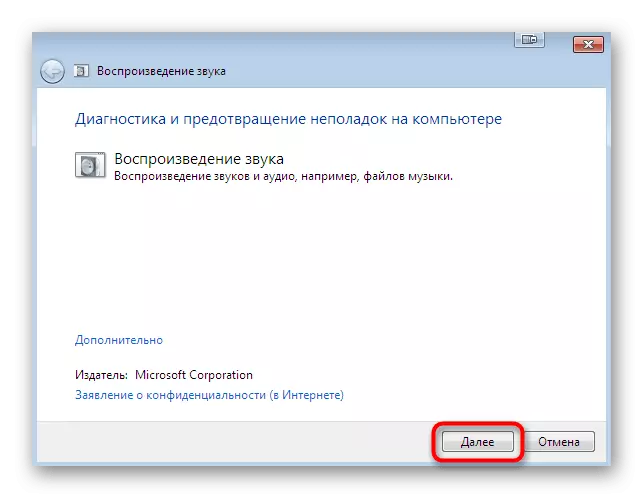
- The "Wizard Solutions Wizard" opens. In it just click "Next".
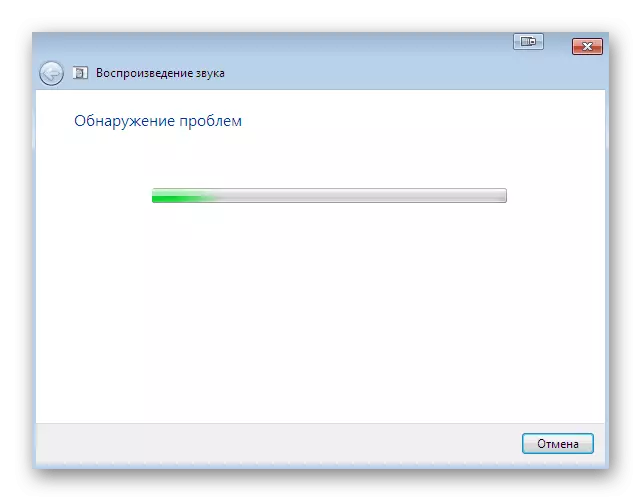
- Expect the standard tool.
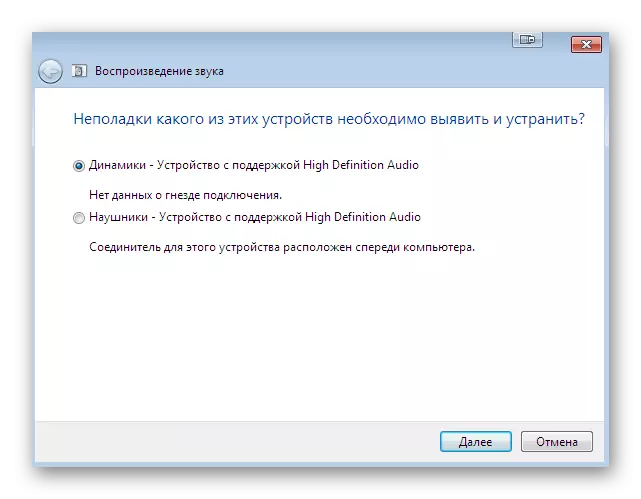
- Check out the questions that have appeared and follow the instructions that will be displayed hereinafter.
Upon completion of the scan, a text report will appear. If the means managed to find any errors, you will immediately be notified about it. Then you need to restart the laptop and check the effectiveness of the correction by turning to the standard use of the OS.
Method 2: Verification of Windows Audio
The second factor on which is required to pay attention - the performance of the Windows Audio service. Of course, if you used the first way, I probably noticed that the tool independently reboots this service. But the fact is that it just starts it again, and does not change the parameters that we will check now.
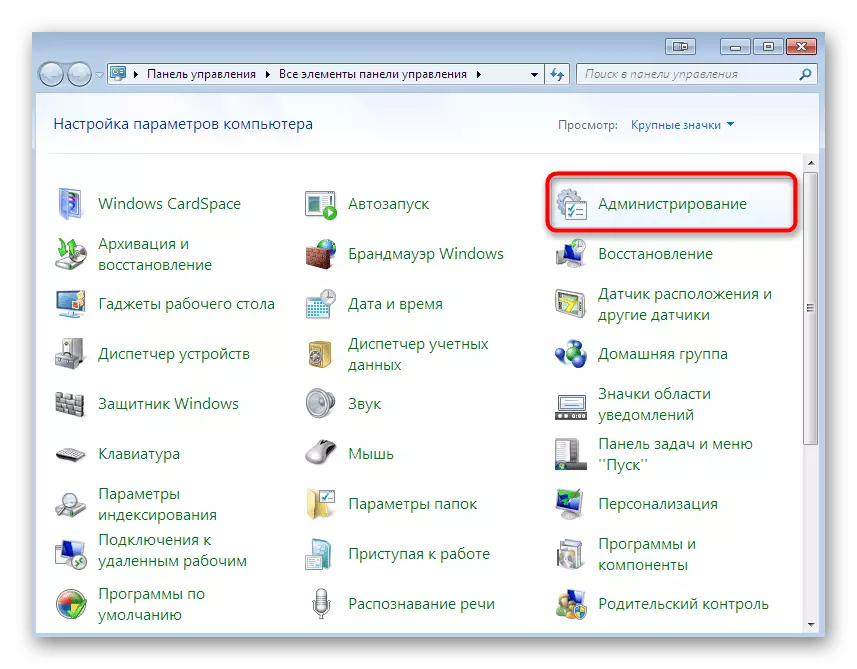
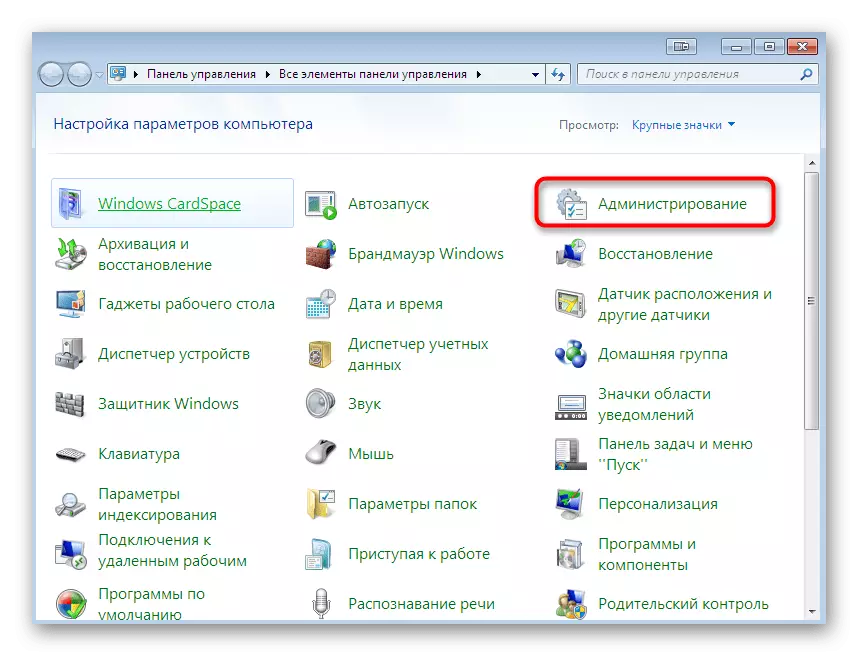
- Return to the "Control Panel" where you go to the "Administration" section.
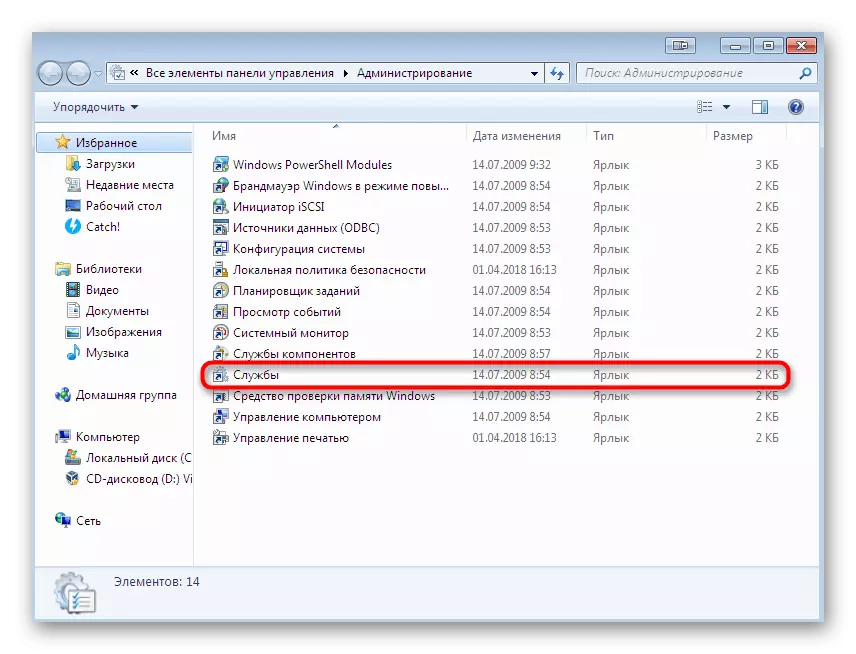
- Here in the list, find the line "Services" and click on it.
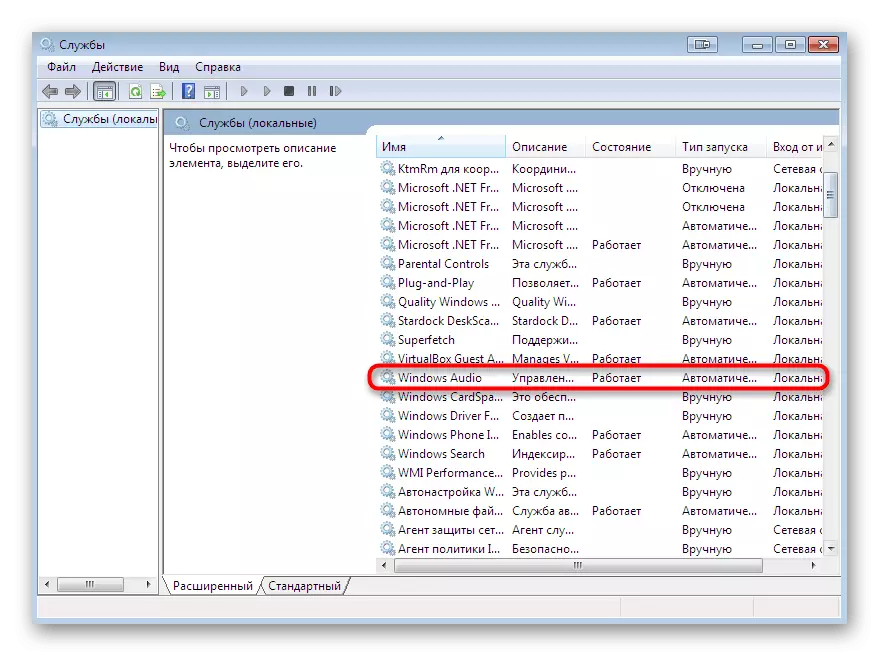
- A list of all standard and additional services will open. Among all names, find "Windows Audio" and double-click the left mouse button on it to move to the properties.
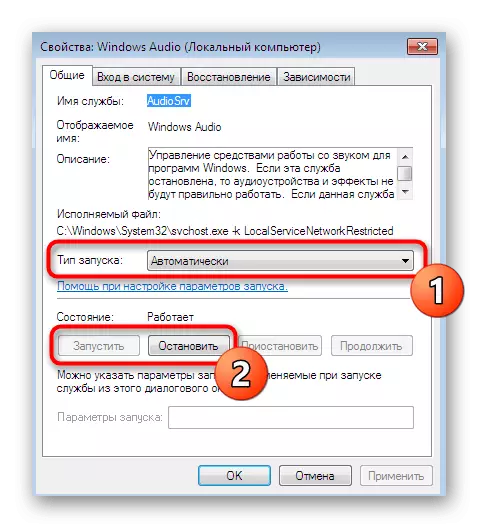
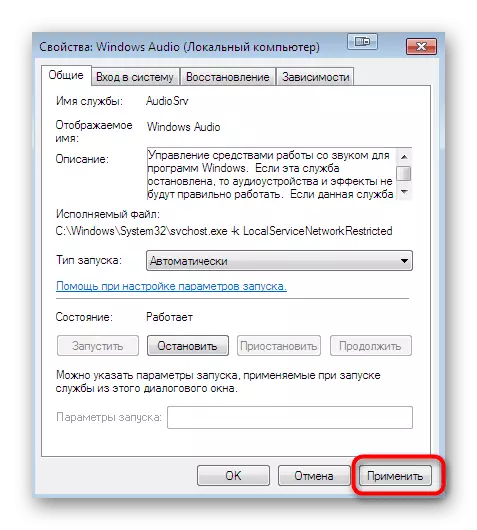
- In the Properties window, make sure that the startup type is set in "Automatically" mode, and the service itself functions. If this is not the case, change the state yourself.
- Upon completion, only click on "Apply" to save all settings.
After that, it is recommended to restart the laptop and proceed to its active use to make sure that the service reviewed is normal. If it turns out that it continues to stop or settings are somehow clogged, go to the following ways, where the correction of this situation is just described. Additionally, we recommend paying attention to the recommendations on solving problems with the Windows Audio service, going to the study of the material specified below.
Read more: We solve problems with the audio service in Windows
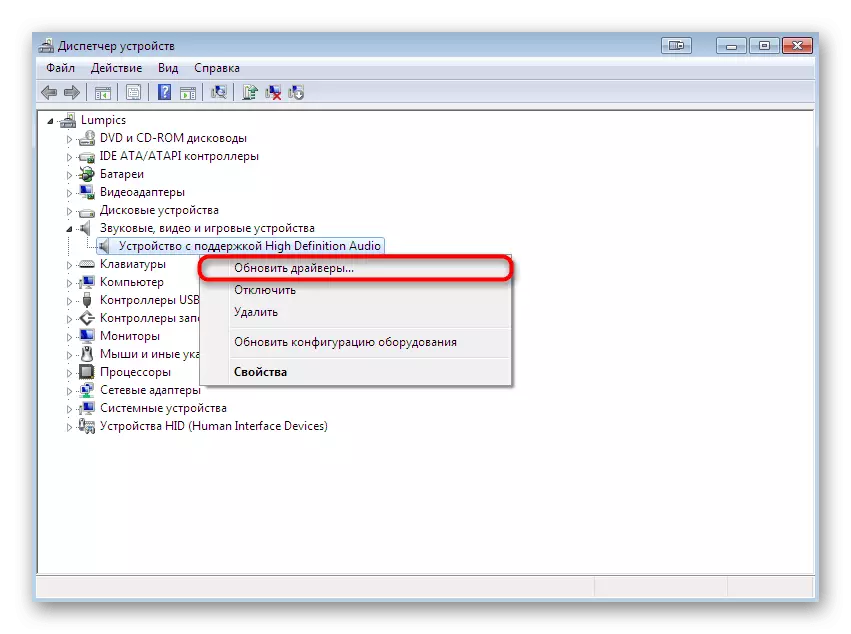
Method 3: Installing Sound Drivers
If you only installed the operating system, it could notice that the sound works normally before installing special drivers, so some users and neglect by it. However, such actions can cause unpleasant consequences, which are discussed in this article. Therefore, it is necessary to install a suitable software on the sound card, after learning the name of the laptop motherboard or its name. Read more about this definition in other materials on our website, while moving on the links listed below.
Read more:
Determine the model of the motherboard
Find out the name of the laptop model
As for the directly installation of drivers, it happens when using special web resources, third-party or built-in tools. Here each user chooses the optimal option for itself. To understand this will also help individual articles indicated below.
Read more:
Installing drivers in the Windows operating system
Download and install audio drivers for Realtek
Method 4: View Windows Event Log
We turn to the final method that is associated with the Sound Sound Playback Software in Windows 7. Its meaning is to view the Windows event log, where absolutely all operations performed in the OS are written. This will help determine which program, utility or parameter provokes a stop of the Audio service or causes other failures.
- Open the Main Menu "Control Panel", for example, through the Start window. Here, move to the "Administration" section.
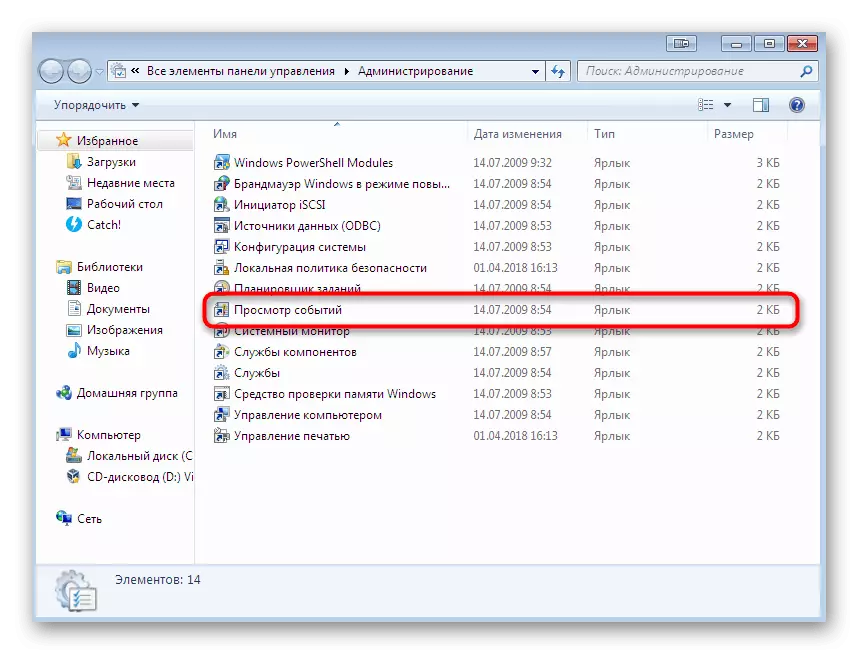
- Select the "View Event" string.
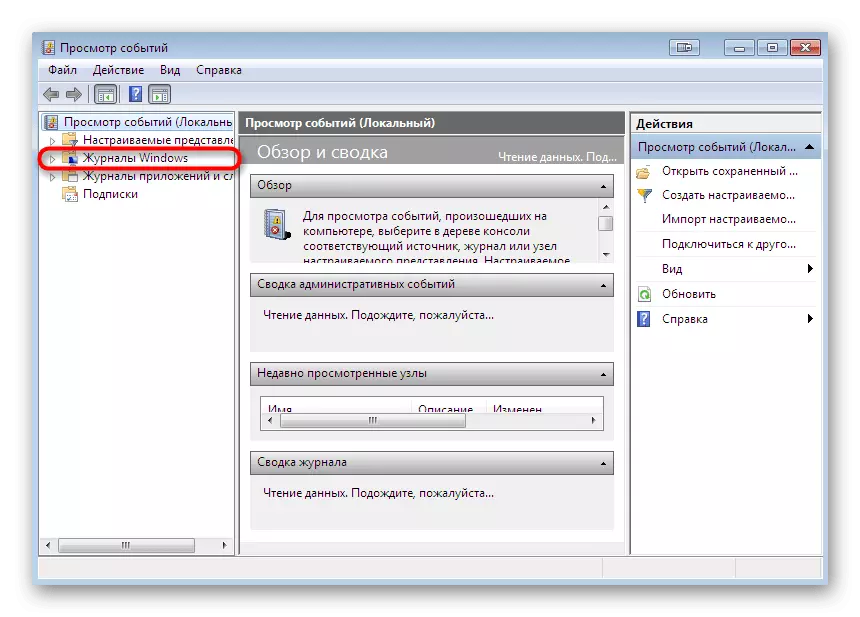
- Pay attention to the panel on the left. It will take it to deploy the "Windows Magazines" directory.
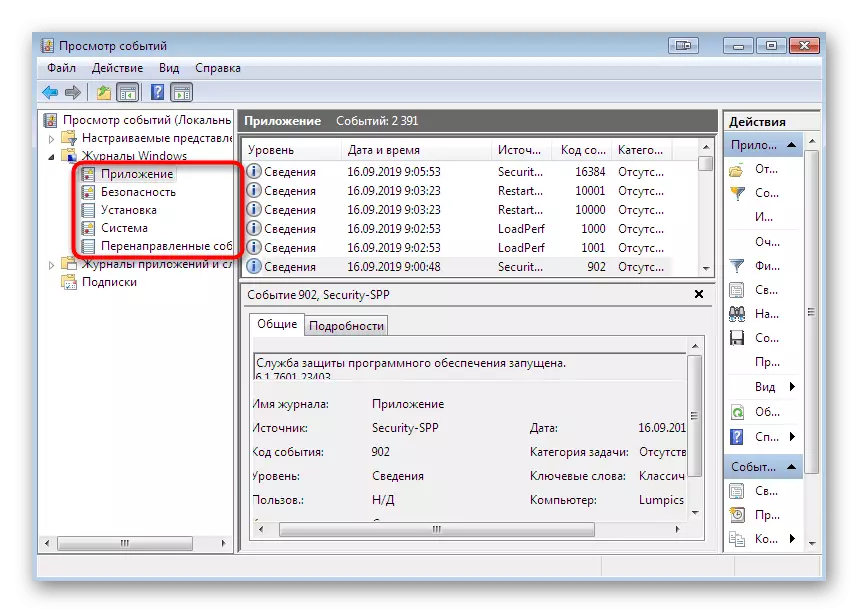
- Now in the list "Appendix" or "System" you can find out all the events that have occurred throughout the session. It is advisable to go here immediately after the sound disappeared.
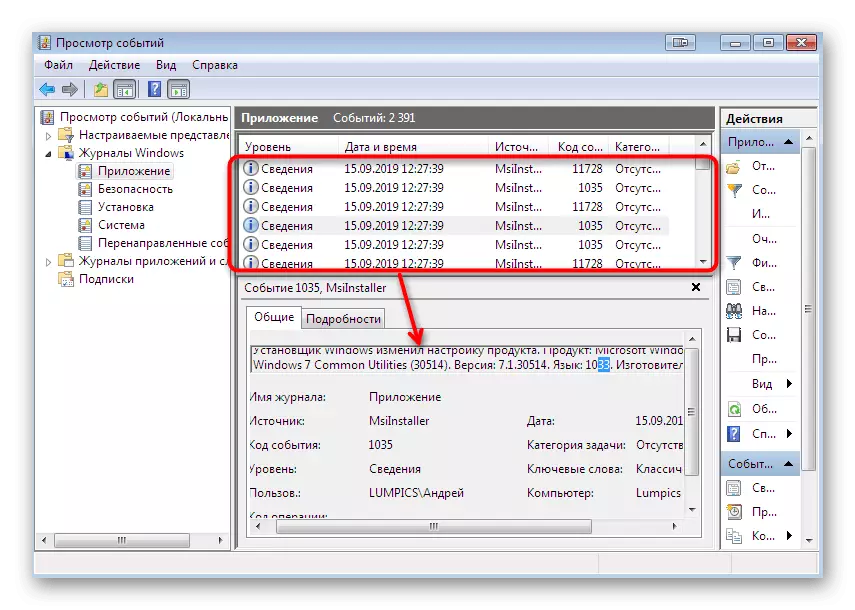
- Press the line of one of the errors or information to view detailed information. Here will be the reason for stopping the service or failure in the OS.
If with the help of the presented information it turned out to find an irritant, you need to immediately get rid of it. Often, such problems provokes the effect of viruses or previously third-party software. Therefore, you should act on the basis of the current situation. In case of detection of incomprehensible files and processes, run scanning for threats, and if it is a third-party application, delete it. Read more about all this.
Read more:
Combating computer viruses
Installation and uninstalling programs in Windows 7
Method 5: Checking the built-in and peripheral devices
Above you have been familiar with the program methods of solving difficulty with a loss of sound in the operating system. Now we want to pay the time for hardware breakdowns or failures that can also lead to a similar situation. First, check the existing peripheral equipment (headphones, speakers or an outer sound card). Make sure that the devices themselves function correctly, and also try replacing the cable or connect the equipment directly in the case of using adapters, external audible cards or similar devices. If suddenly it turns out that the problem is in the periphery, it should be diagnosed and repaired or simply replaced.
We now turn to the internal components. Here, attention should be paid to the audio card, the connection loop and 3.5 mm connector, through which the headset is connected. To begin with, read the following article to find out all about testing a sound card in Windows 7.
Read more: Checking a sound card in Windows 7
The following actions, unfortunately, do not fulfill the laptop without disassembly. You need to access the motherboard to diagnose the headphone jack and make sure that the sound card connection loop has not departed or was damaged. The sound card itself is made in the form of a black square, in most cases with the inscription REALTEK, because it will not be difficult to find it. If you doubt that you will have to make such an inspection yourself, refer to the specialists in the service center.
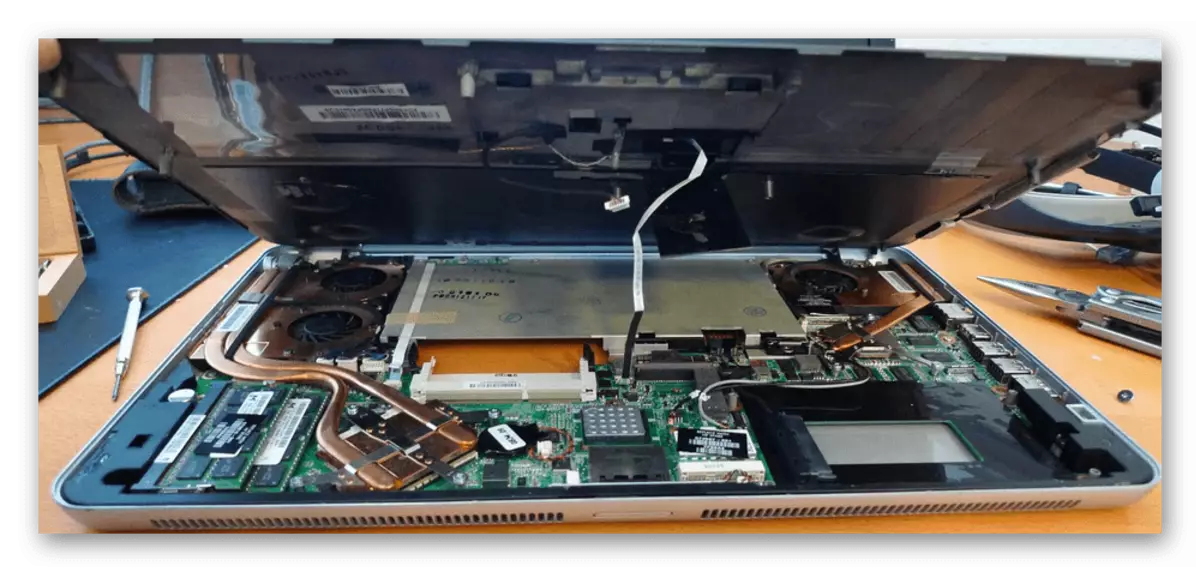
Read more: Disassemble the laptop at home
Above you have been familiar with accessible methods of solving difficulty with temporary lies on a laptop in Windows 7. As you can see, there are many reasons for the occurrence of an error, and they are divided into software and hardware. Therefore, the user is faced with a difficult task of diagnosis and correction, which will help to understand the material presented above.
See also: Solving problems with speakers on a laptop